Mounting NFS to a container running on Kubernetes
Overview
In this post I'll take a look at how to set up a simple NFS server on Ubuntu and make use of it in a nginx container running on a Kubernetes cluster
NFS is a file system protocol that allows for sharing files and directories over a network. It has been around for a long time and for many purposes it has been replaced by other more modern storage solutions, but still there are use-cases for it and organizations using it.
NFS is pretty straightforward to set up, you install the server, export a share and away you go. However it seems that there's a lot of struggles around permissions and I have had some issues my self so I thought I'd create a short write up, mostly for my own reference.
Let's start with the server setup
If you already have a NFS server and just want to see how to mount NFS to a container jump to this section
Install and configure the NFS server
I'm using a freshly installed Ubuntu 20.04 server in this setup
The server has two (virtual) disks, the first one holds the OS installation and the second will be used for the data served by nfs. Note that this is completely optional
Set up new disk
First I'll set up the second disk
1sudo fdisk -l
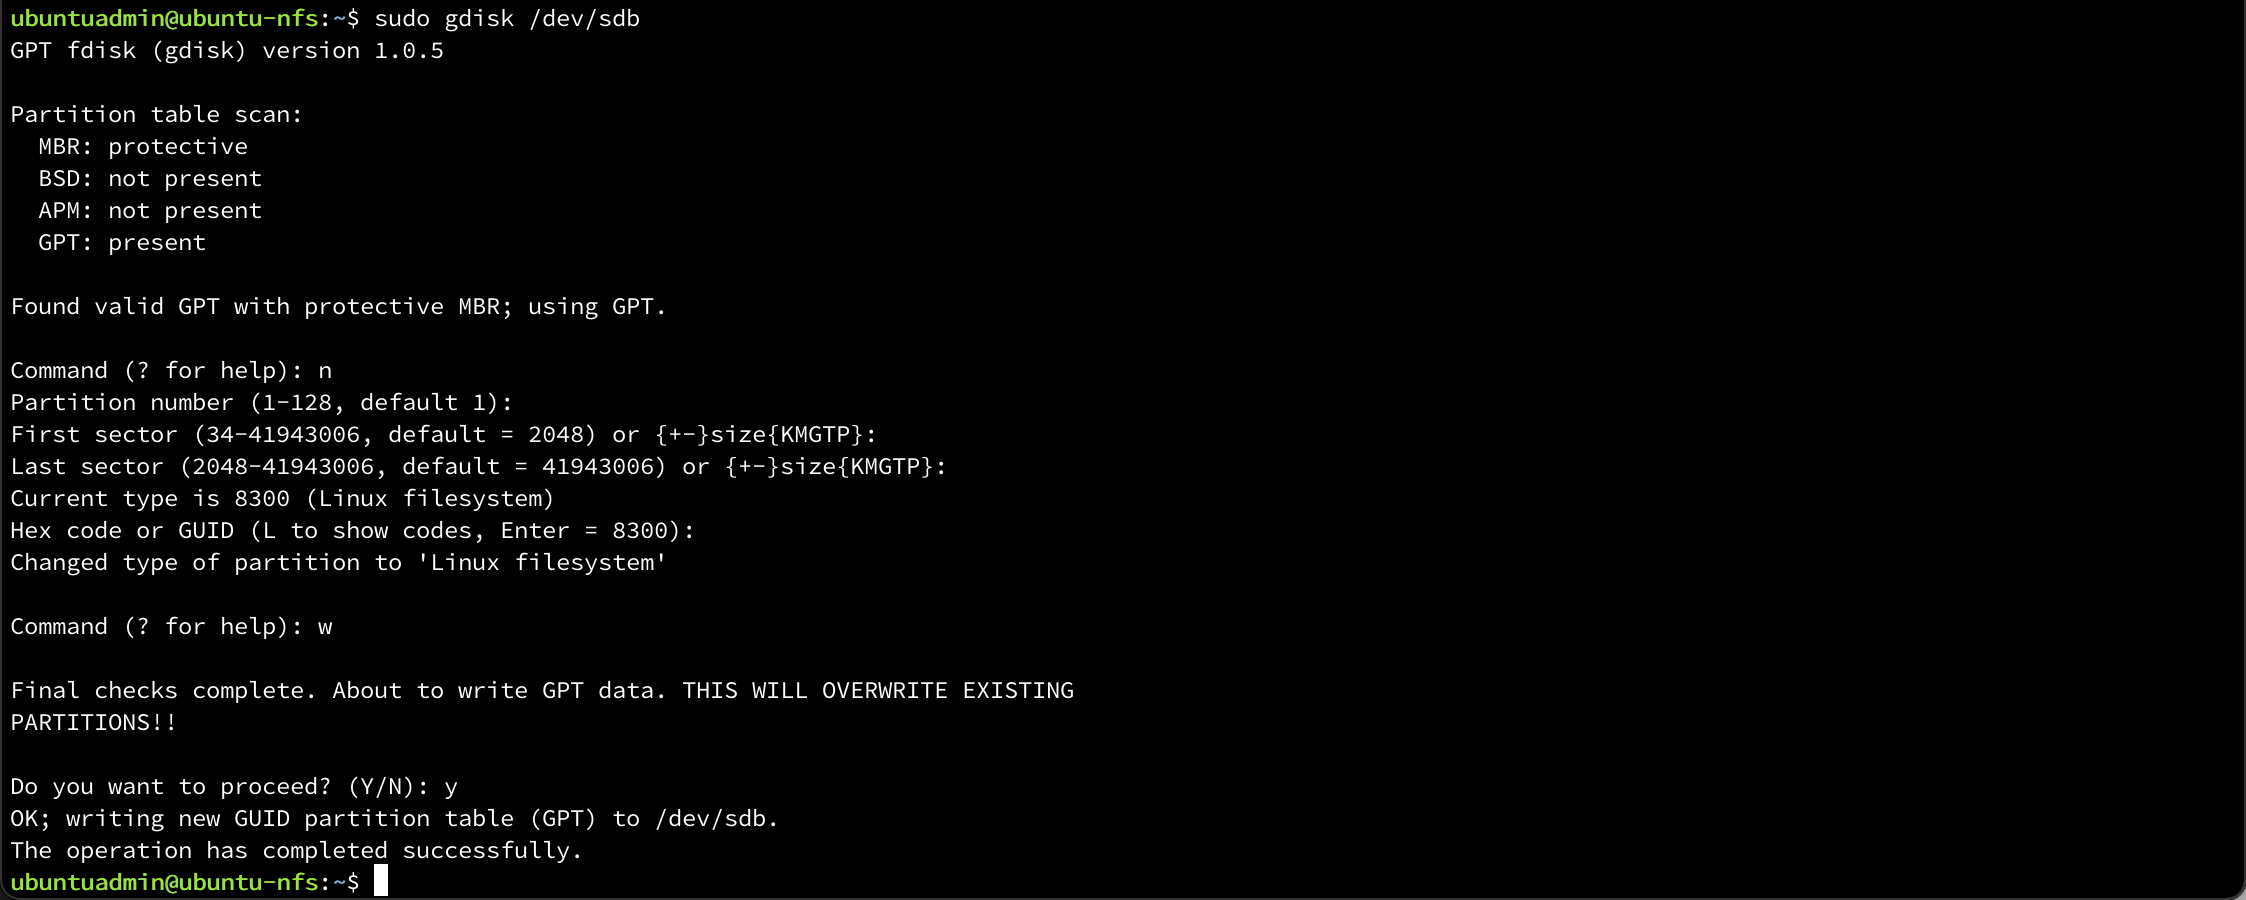
2sudo gdisk /dev/sdb
Set up a new primary partition by following the defaults
Let's list the partitions to verify that our partition has been created
1sudo fdisk -l

Now we'll create a filesystem on the partition
1sudo mkfs.ext4 /dev/sdb1
We'll create a directory on root that we'll mount our disk to
1sudo mkdir /nfs
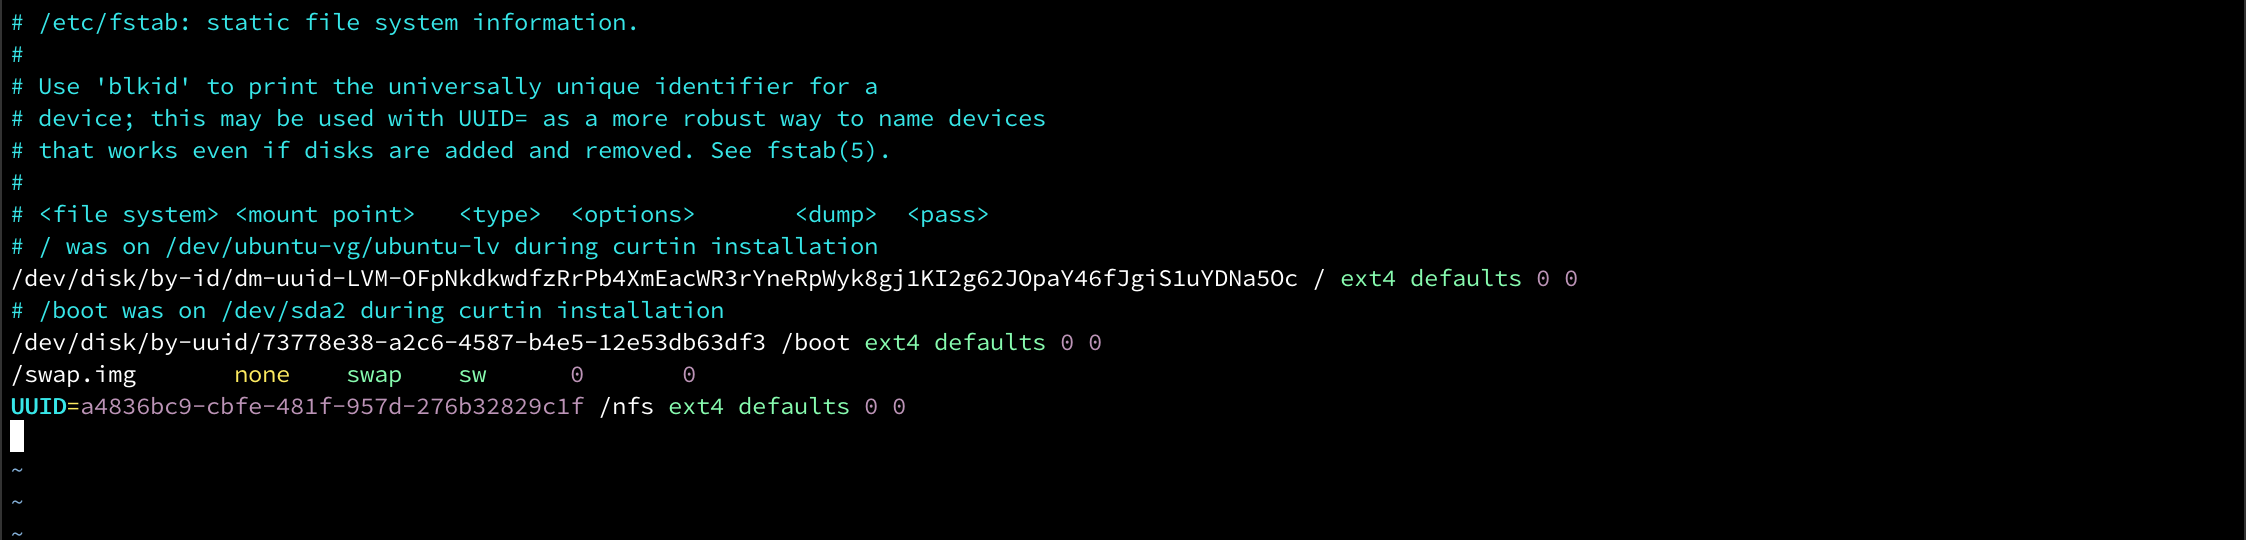
And to make this persist reboots we'll edit the /etc/fstab file to include the mount. First we'll retrive the UUID of the disk with the blkid command
1sudo blkid

1sudo vi /etc/fstab
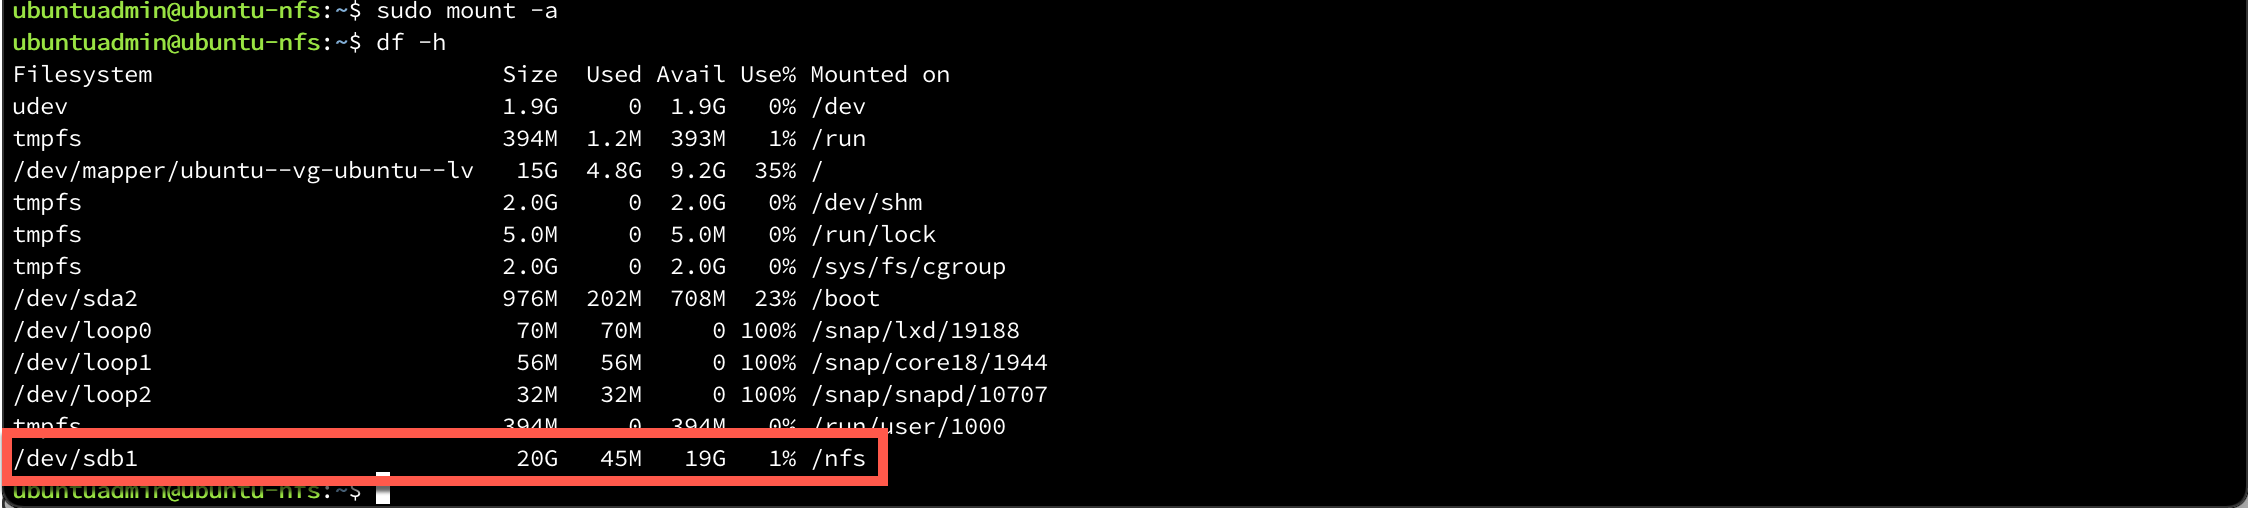
Now, let's finally mount the disk to the mount point and verify with the df command
1sudo mount -a
2sudo df -h
Install NFS server
1sudo apt-get update
2sudo apt-get install nfs-kernel-server
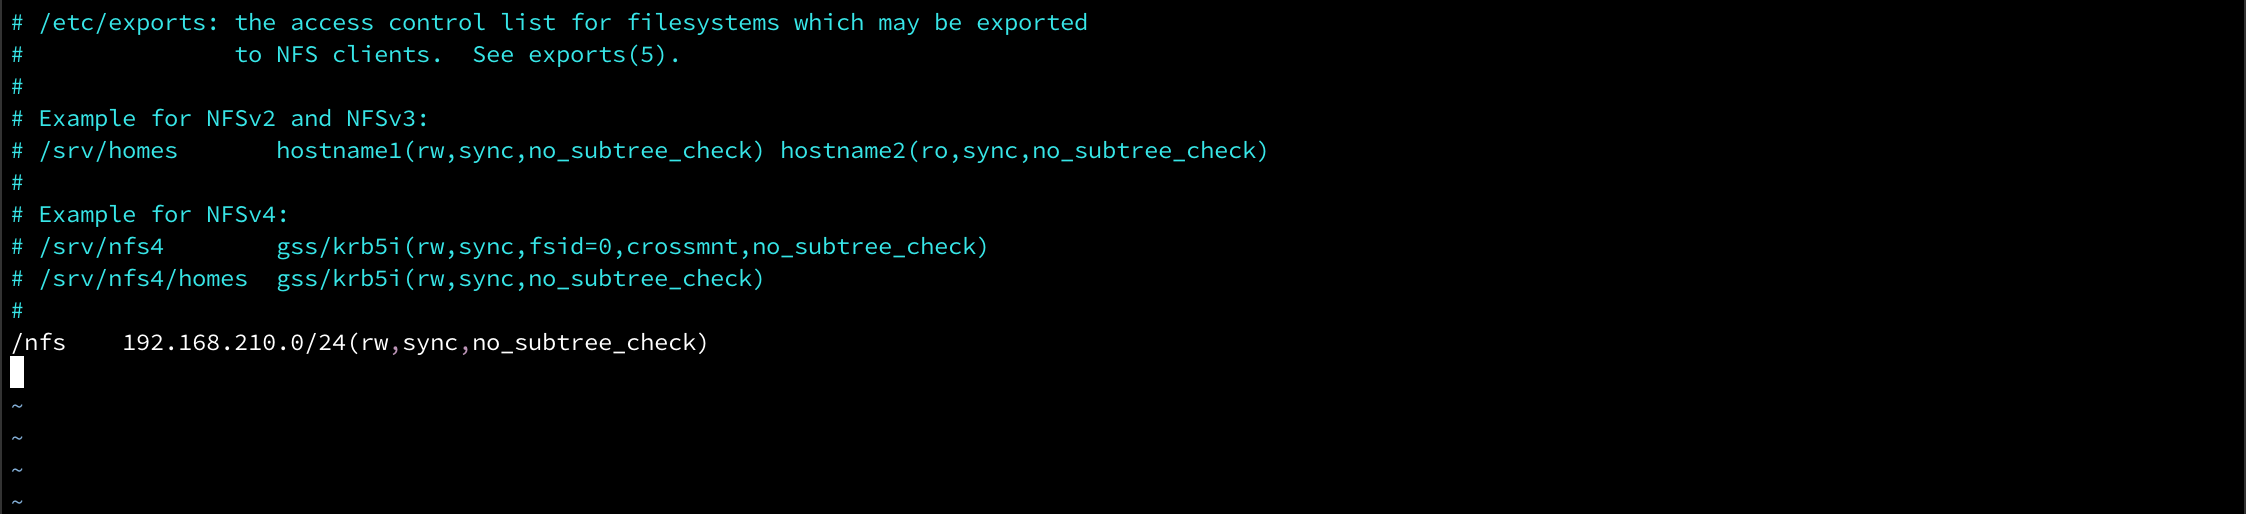
Configure exports
We'll add our directory to the exports of the server in the /etc/exports file. For an explanation of the different options take a look at this article
Now we need to actually tell the server to export the directory
1sudo exportfs -ar
We can verify that the directory has been shared with the -v parameter
1sudo exportfs -v

On a client I can verify with the showmounts command

Configure firewall
If the firewall is active we need to tell it to allow NFS traffic
1sudo ufw allow from 192.168.2.0/24 to any port nfs
Test mount from container
To test the mounting of this directory from a container let's first create a file in the directory.

Now let's try to mount the nfs share from a container/pod.
I have a TCE Kubernetes cluster which I've written about here, and we're using the nginx image for deploying a pod with a container that mounts the nfs directory. Note that we've added a volume and a volumeMount to our yaml spec
 1apiVersion: v1
 2kind: Pod
 3metadata:
 4  labels:
 5    run: nginx
 6  name: nginx
 7spec:
 8  containers:
 9  - image: nginx
10    name: nginx
11    volumeMounts:
12    - name: nfs-vol
13      mountPath: /var/nfs # The mountpoint inside the container
14  volumes:
15  - name: nfs-vol
16    nfs:
17      server: 192.168.200.90 # IP to our NFS server
18      path: /nfs # The exported directory
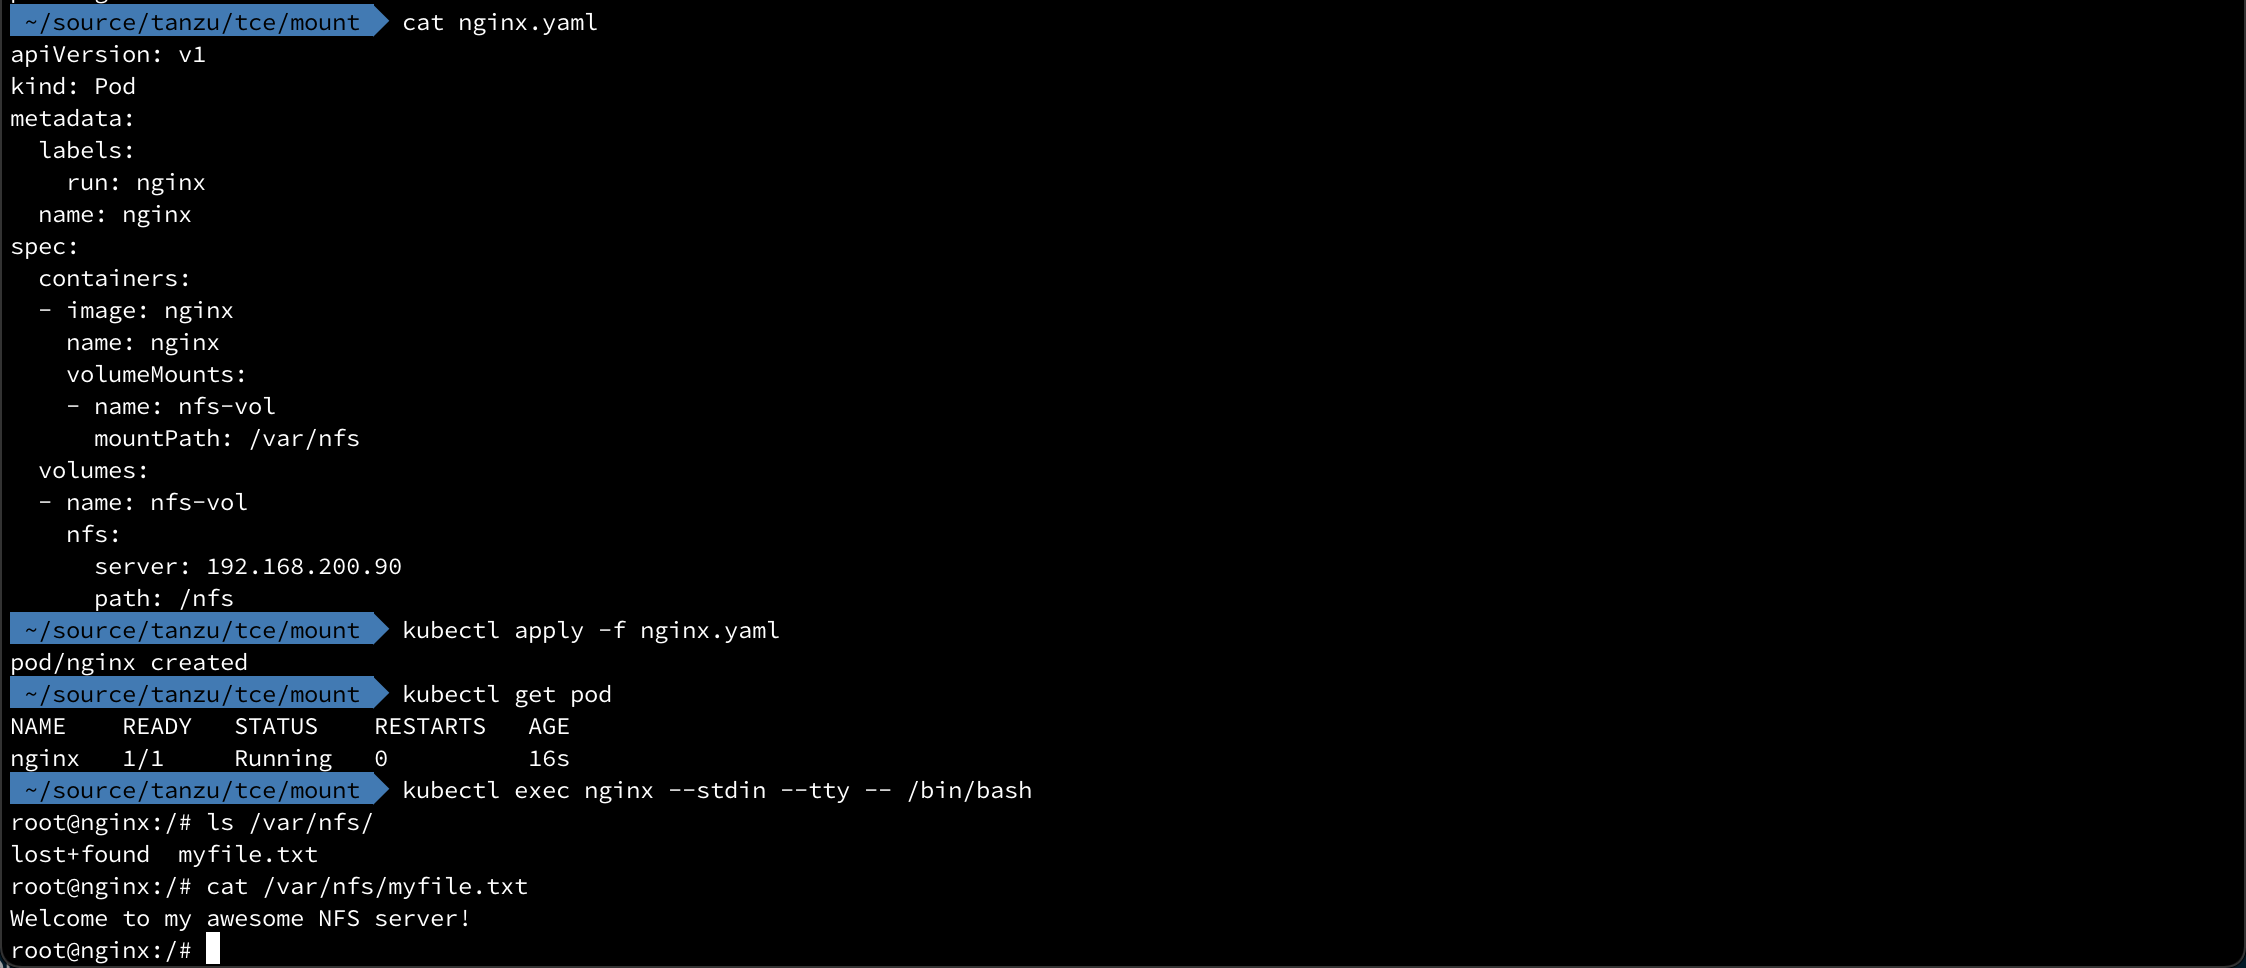
Great, it works!
Permissions and user mapping
A big note with NFS, and what's creating issues for users are the permission and user mappings. Normally an NFS share will not be shared with root access (root_squash) and the user that needs access to the share will need to exist on the NFS server.
Refer to this NFS how-to for more information
Use NFS for the static content
Now that we know that we can mount a NFS share in the container let's see if we can use it to host our static html files
By default nginx serves files from the /usr/share/nginx/html directory which we can verify from our running container

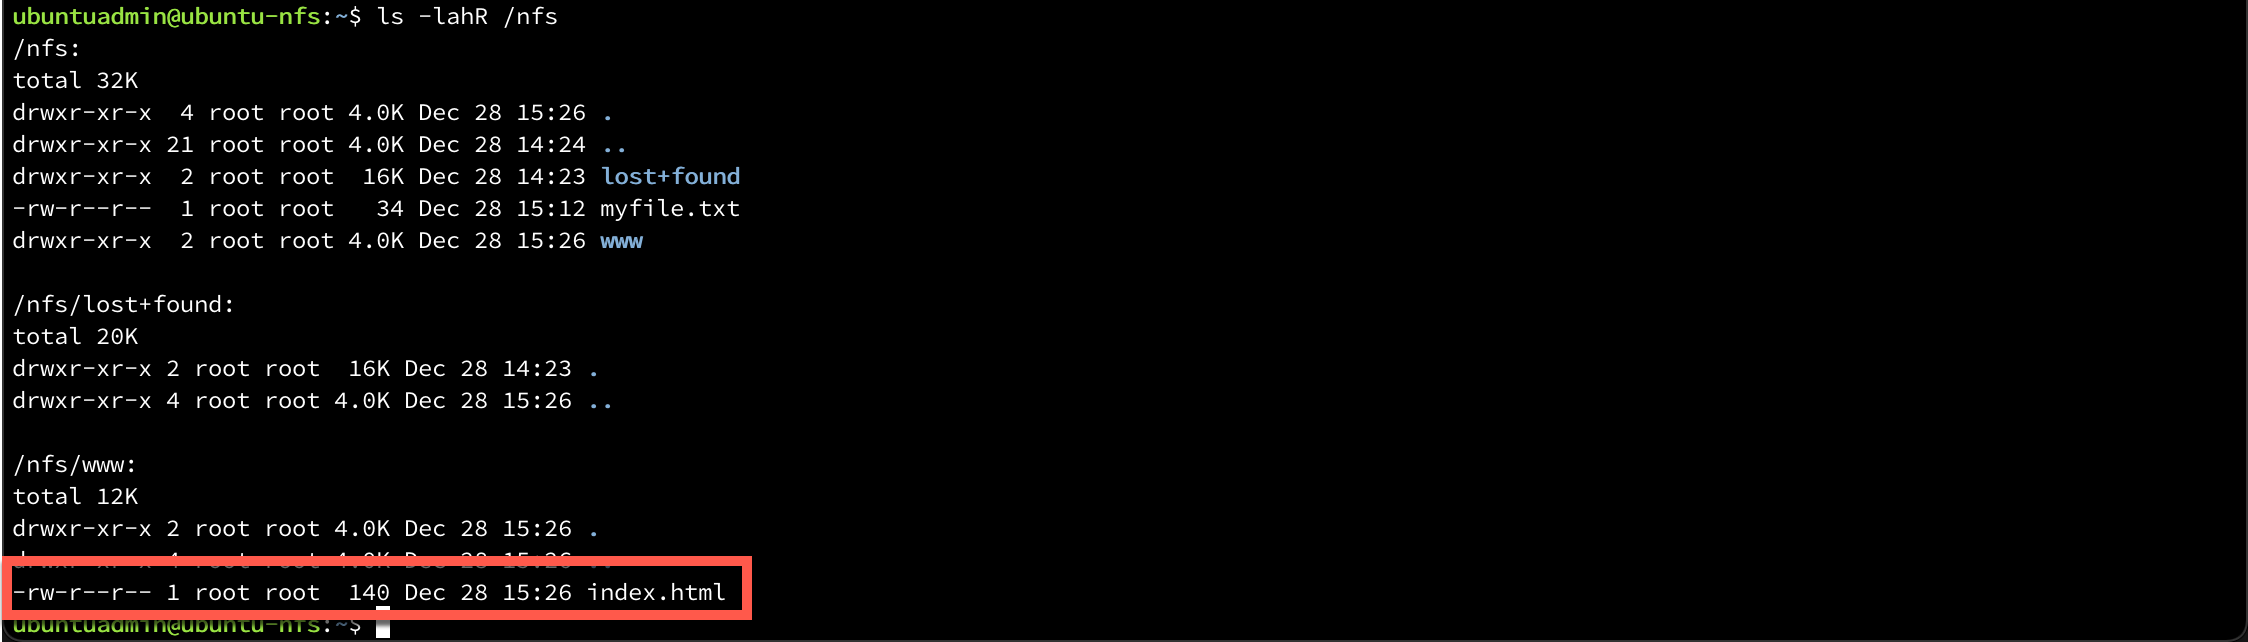
With this knowledge, let's create a new directory for NFS to export, add a static html file to the directory and mount this directory to the directory inside of the container
Recreate pod with mountpoint to correct directory
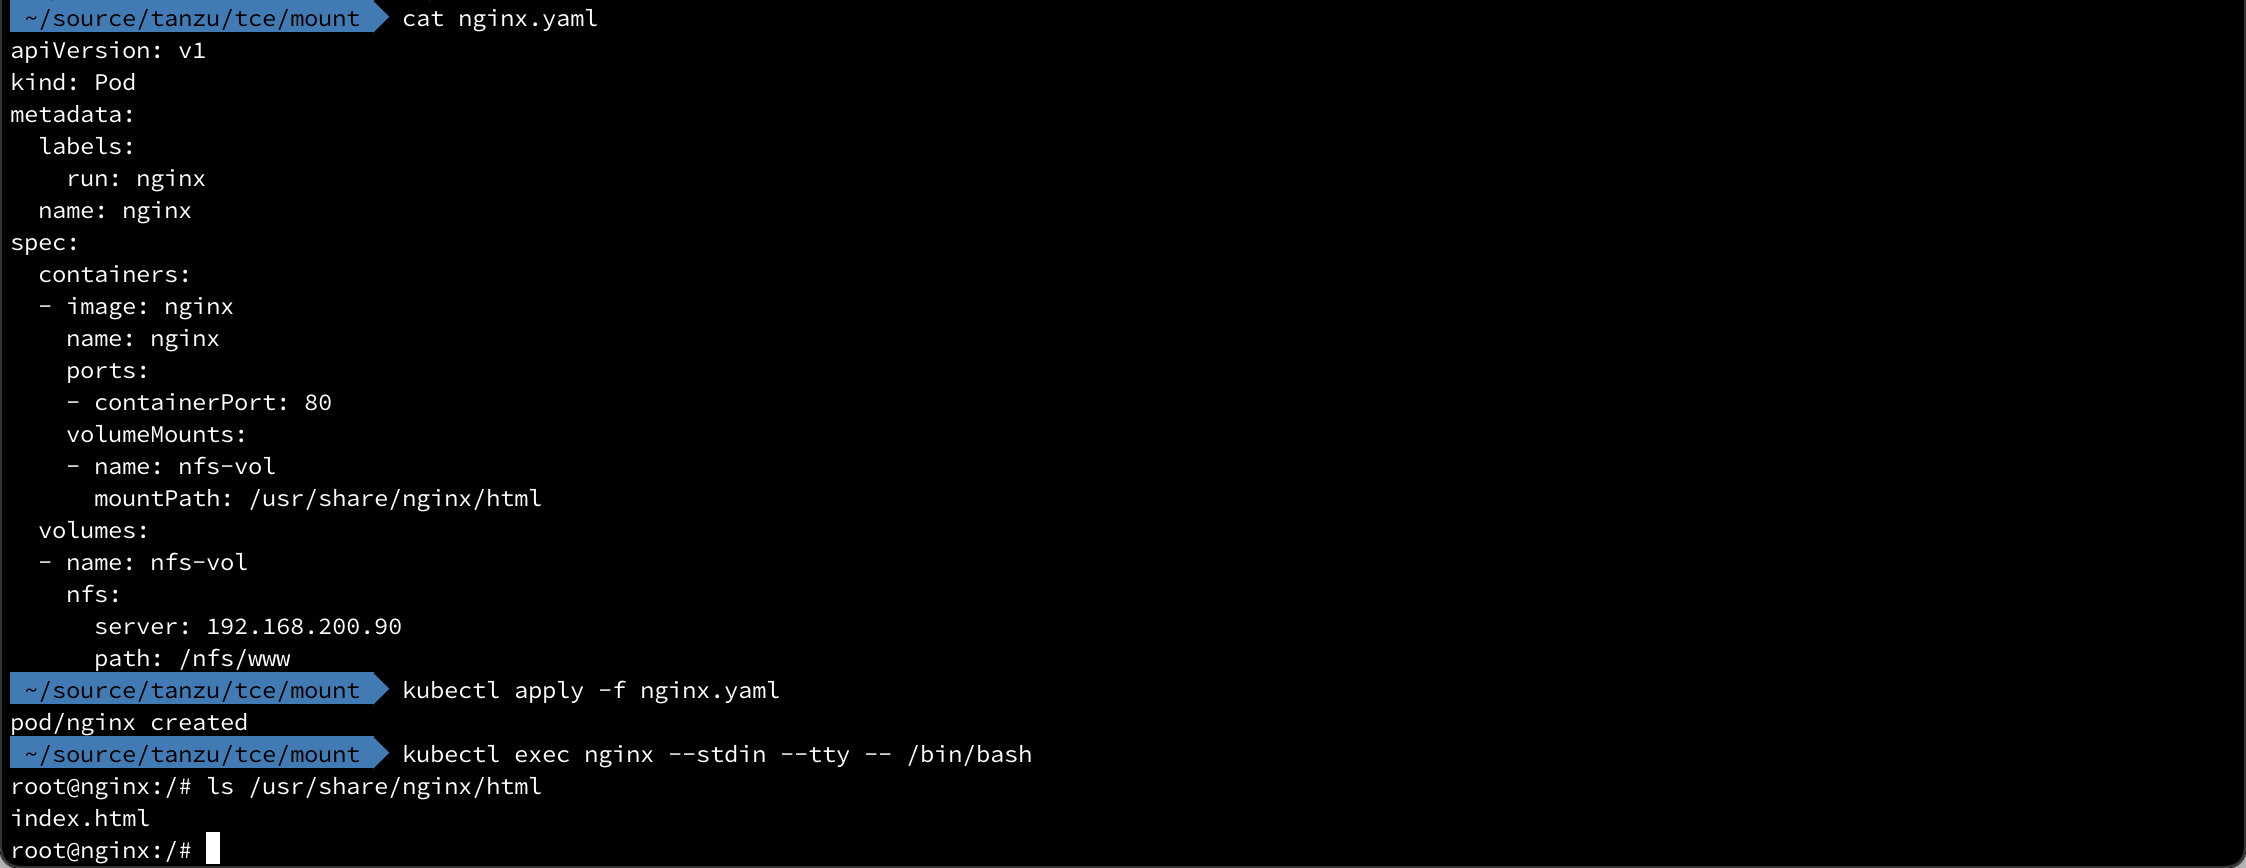
As we can see our container sees the html file, now let's try to see if we can get it to work through http as well.
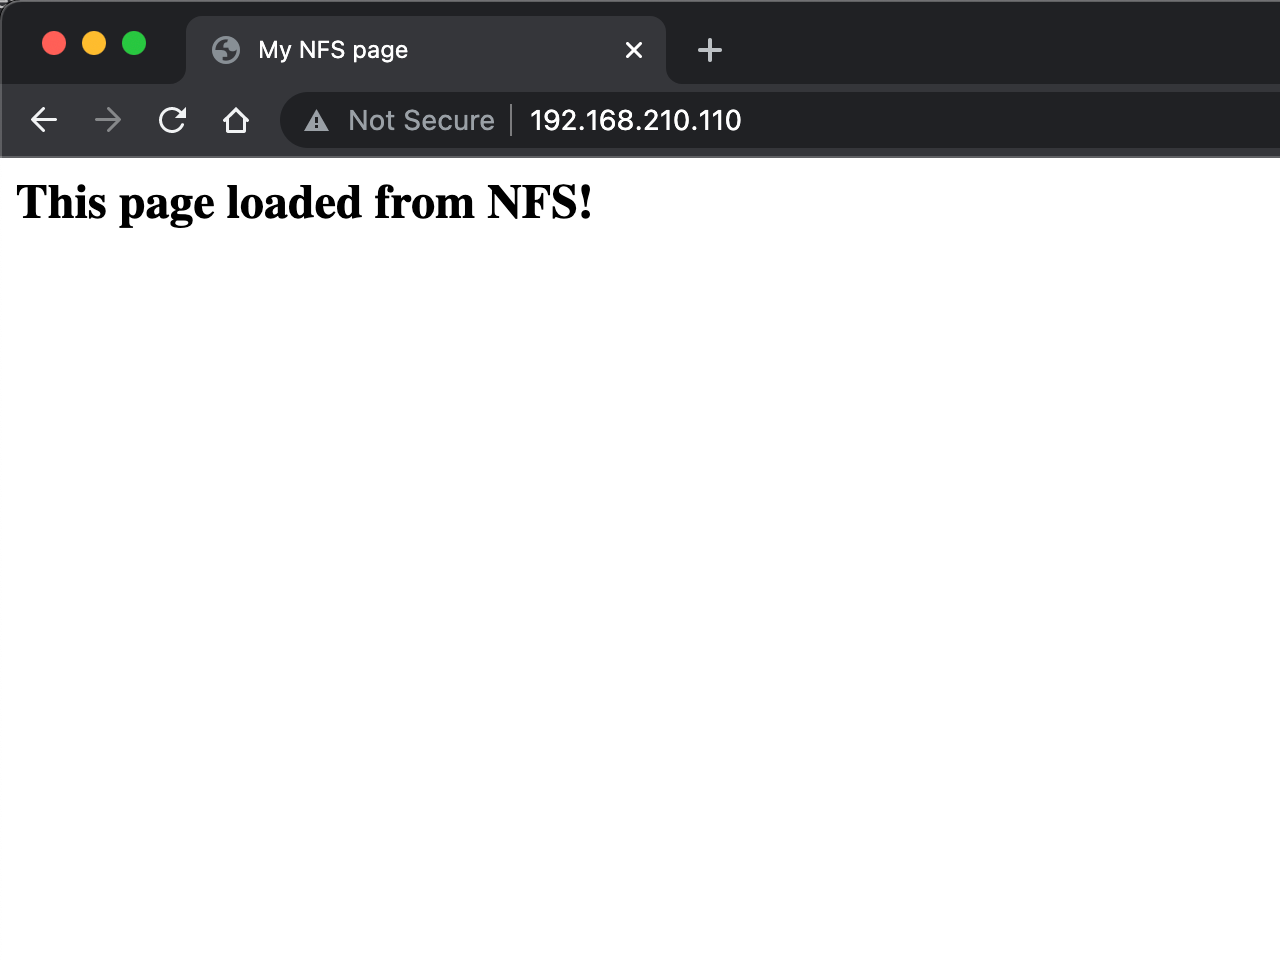
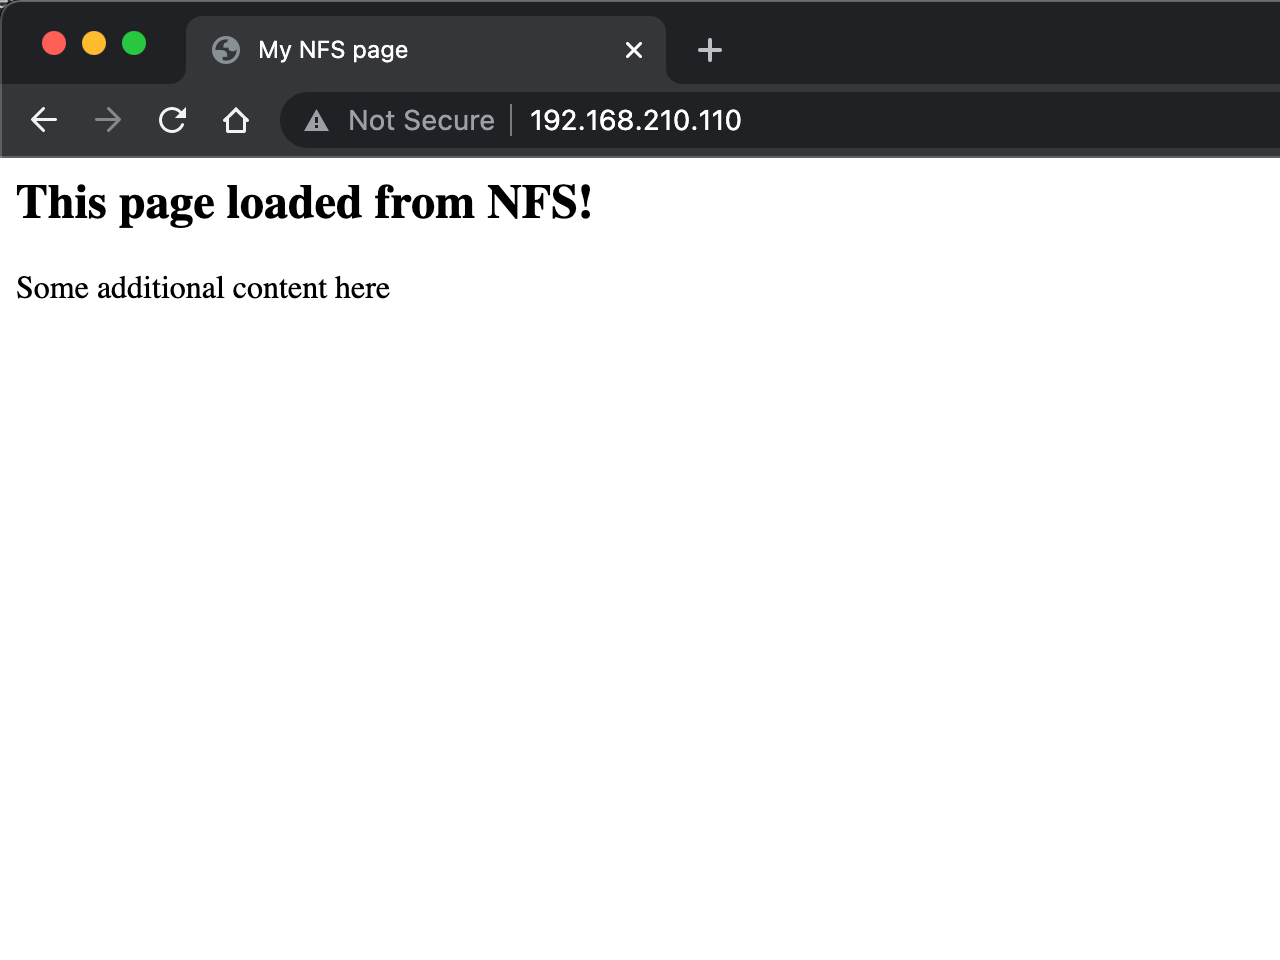
First we'll expose our pod so that it we can access it from outside the cluster, and then let's open it up in a browser

And if we edit the page on the nfs server, let's see if it updates the page

And refresh the browser
Persistent volumes
Finally, let's try to bring in Persistent Volumes and Persistent Volume Claims to the mix which are Kubernetes objects for working with files and directories.
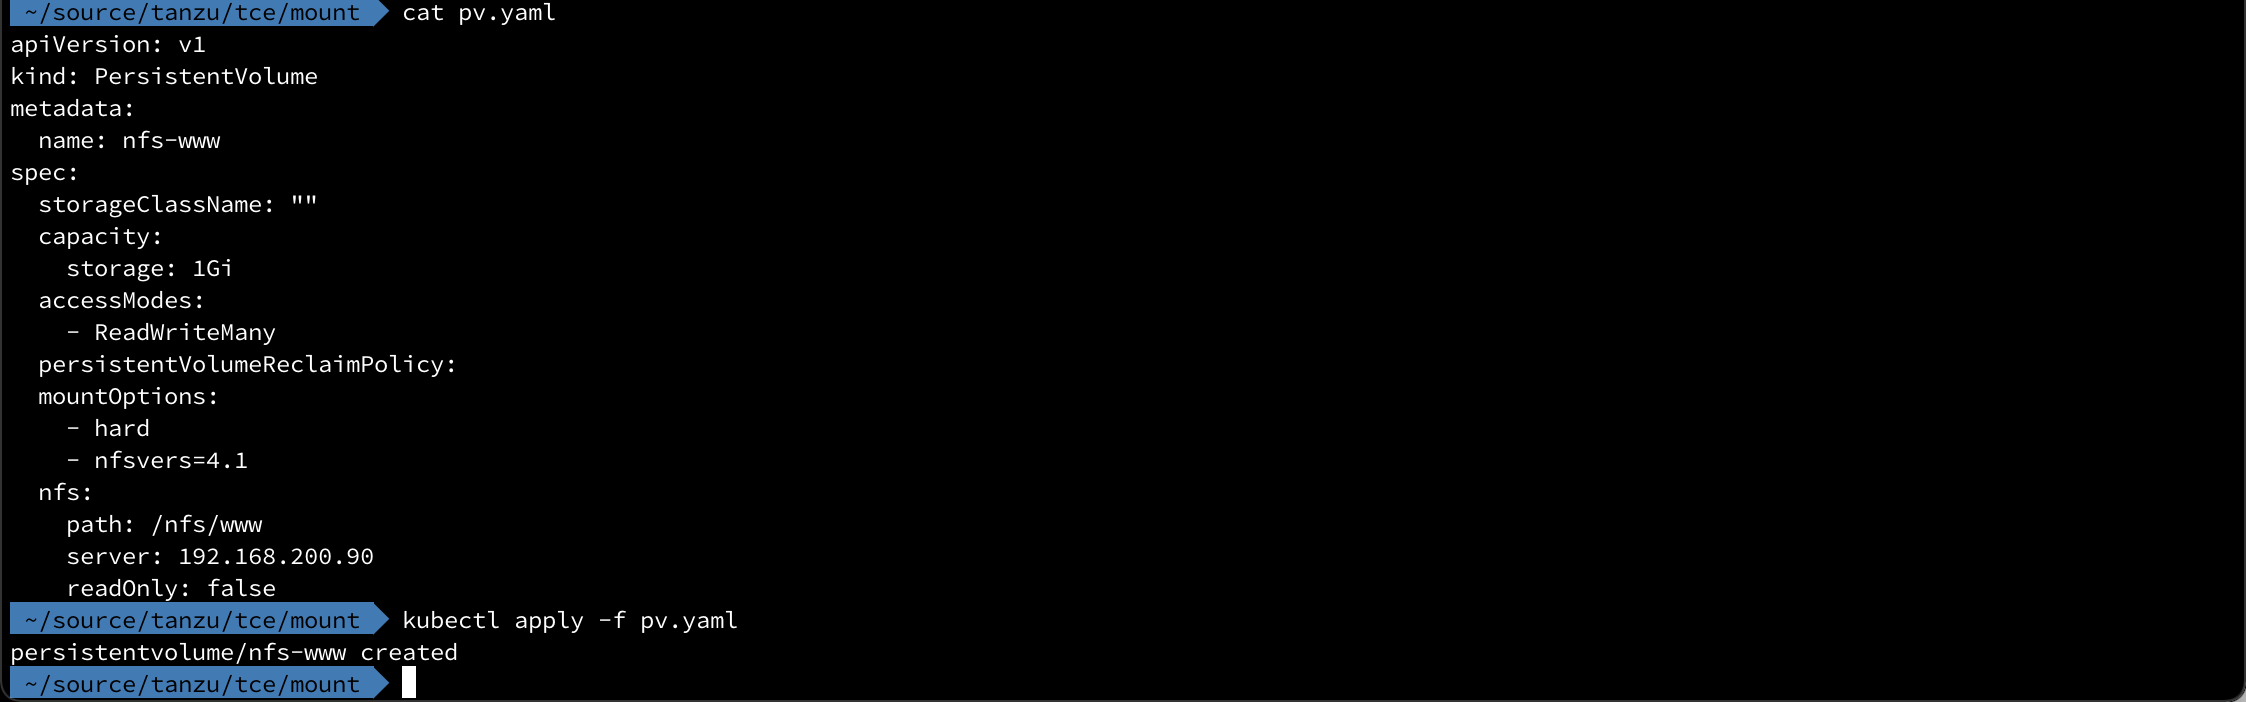
We'll create a Persistent Volume that points to our NFS share
 1apiVersion: v1
 2kind: PersistentVolume
 3metadata:
 4  name: nfs-www
 5spec:
 6  storageClassName: ""
 7  capacity:
 8    storage: 1Gi
 9  accessModes:
10    - ReadWriteMany
11  persistentVolumeReclaimPolicy:
12  mountOptions:
13    - hard
14    - nfsvers=4.1
15  nfs:
16    path: /nfs/www
17    server: 192.168.200.90
18    readOnly: false
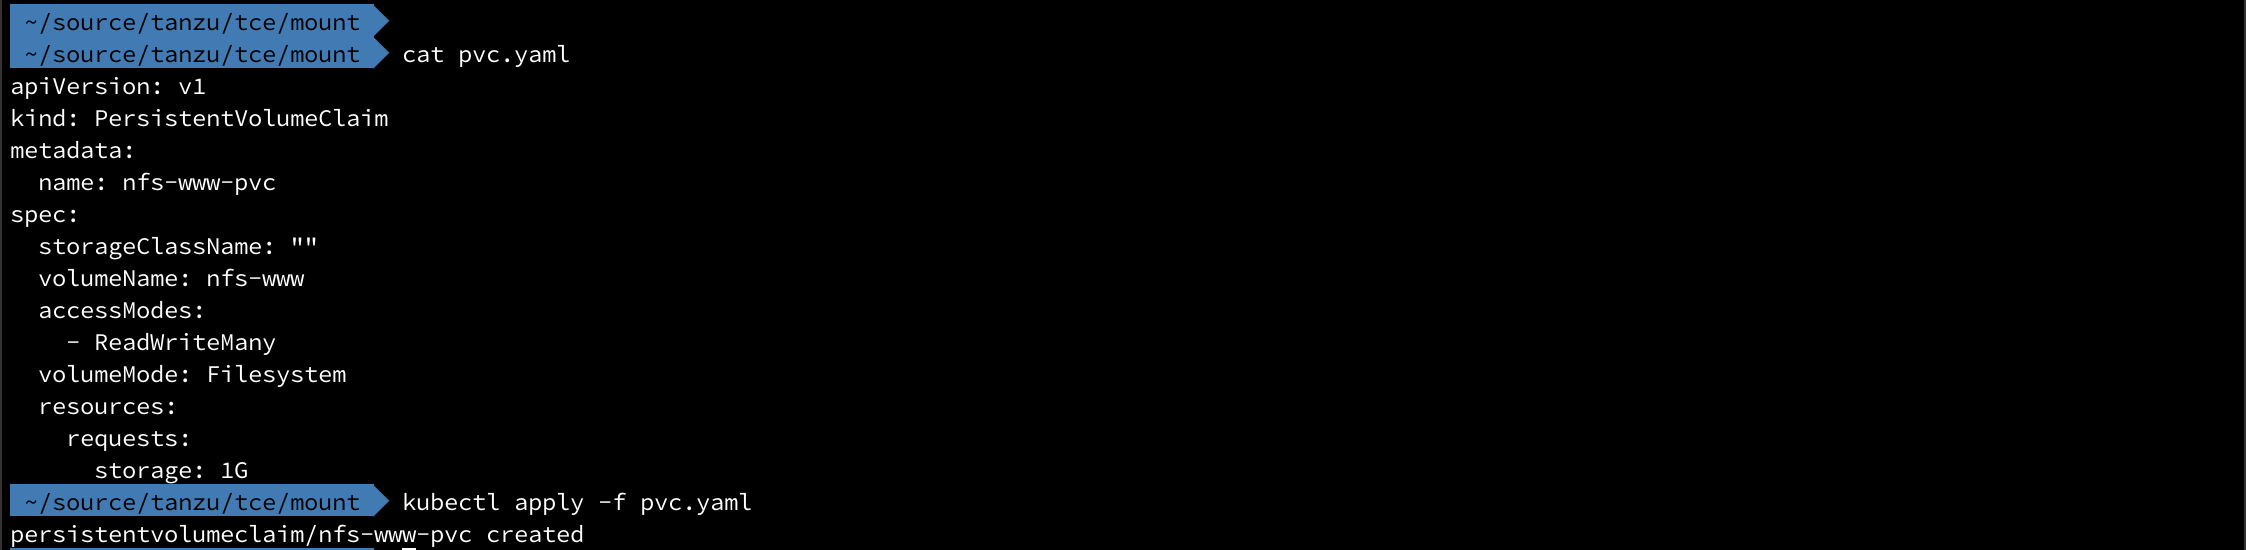
And we'll create a Persistent Volume claim to bind to the PV we just created
 1apiVersion: v1
 2kind: PersistentVolumeClaim
 3metadata:
 4  name: nfs-www-pvc
 5spec:
 6  storageClassName: ""
 7  volumeName: nfs-www
 8  accessModes:
 9    - ReadWriteMany
10  volumeMode: Filesystem
11  resources:
12    requests:
13      storage: 1G

Now, let's change our pod to use the PVC instead
 1apiVersion: v1
 2kind: Pod
 3metadata:
 4  labels:
 5    run: nginx
 6  name: nginx
 7spec:
 8  containers:
 9  - image: nginx
10    name: nginx
11    ports:
12    - containerPort: 80
13    volumeMounts:
14    - name: nfs-vol
15      mountPath: /usr/share/nginx/html
16  volumes:
17  - name: nfs-vol
18    persistentVolumeClaim:
19      claimName: nfs-www-pvc

As we can see the only thing we need to change is the volumes part and replace the nfs stanza with this persistentVolumeClaim stanza
With this we can reuse the pod spec if we wanted, for instance if we have multiple environments with different NFS servers. The only thing to change then is the PV that points to the NFS server