Installing a Proxmox host
In this post we'll take a look at Proxmox and more specifically the Proxmox Virtual Environment (PVE). We'll install a PVE host, set up storage and networking, and create a virtual machine.
Hardware
The hardware used in this setup is a Supermicro host with 1 physical CPU and 64GB RAM. It has 4x1GbE ethernet ports and 2x25GbE SFP+ ports. The host have 1x960 GB NVMe disk which will be used as a boot disk, and 2x3.84 TB SSDs we'll use for ZFS storage.
Install PVE
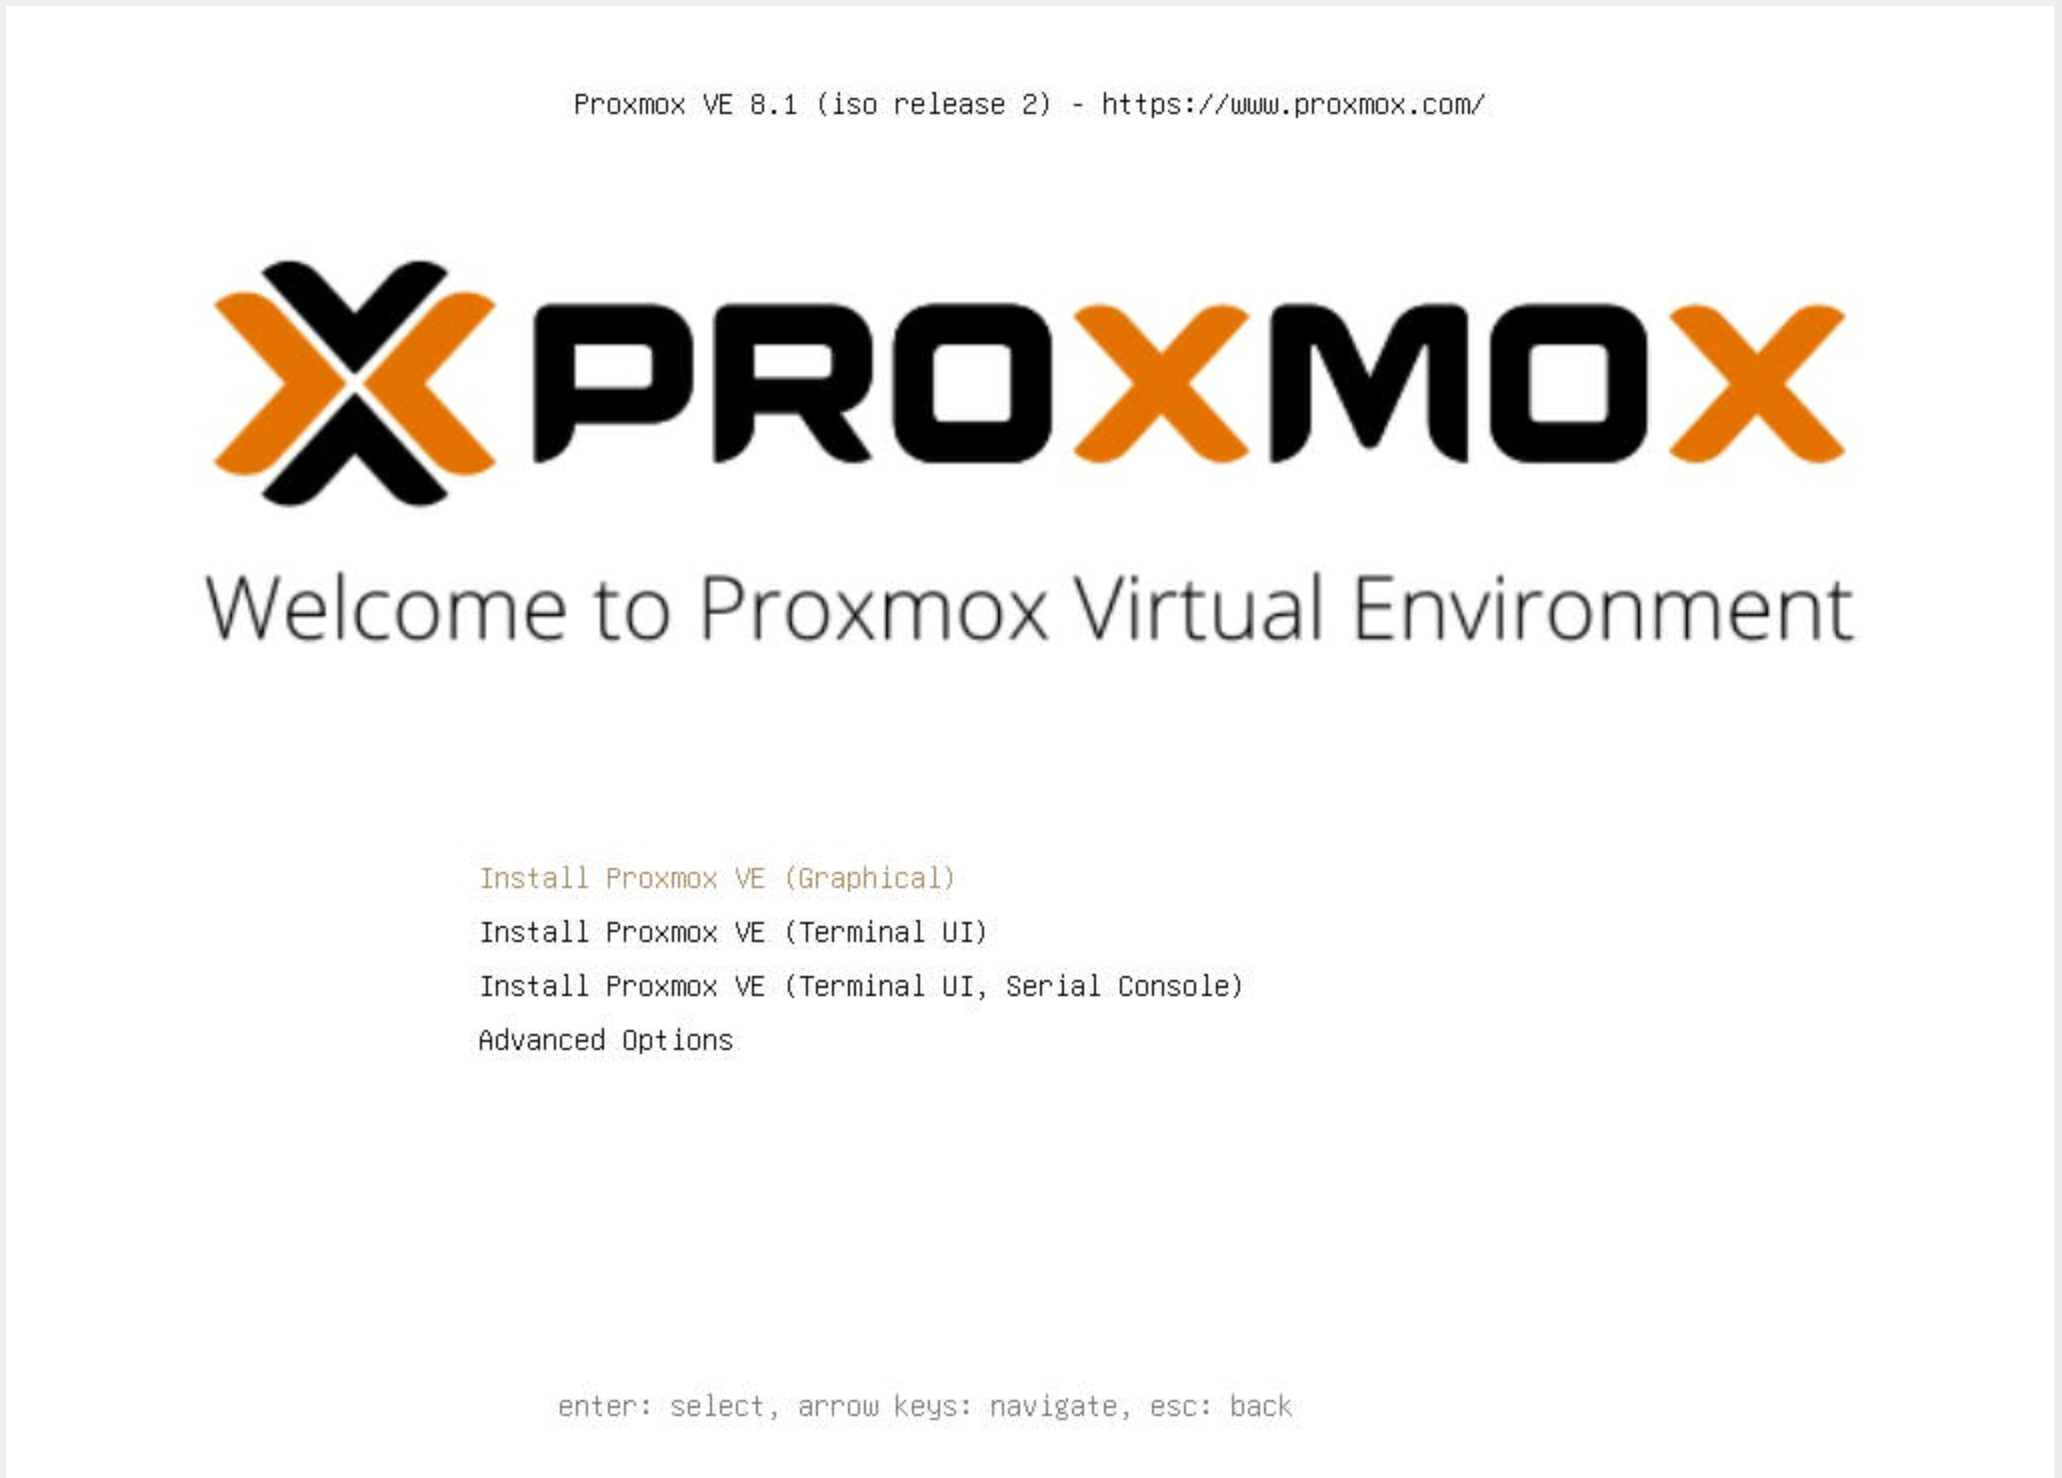
After mounting the installer image and booting the host on it we'll go ahead with the PVE installation
For this post we'll choose the Graphical installer
We'll read and accept the EULA
Select the Installer target disk

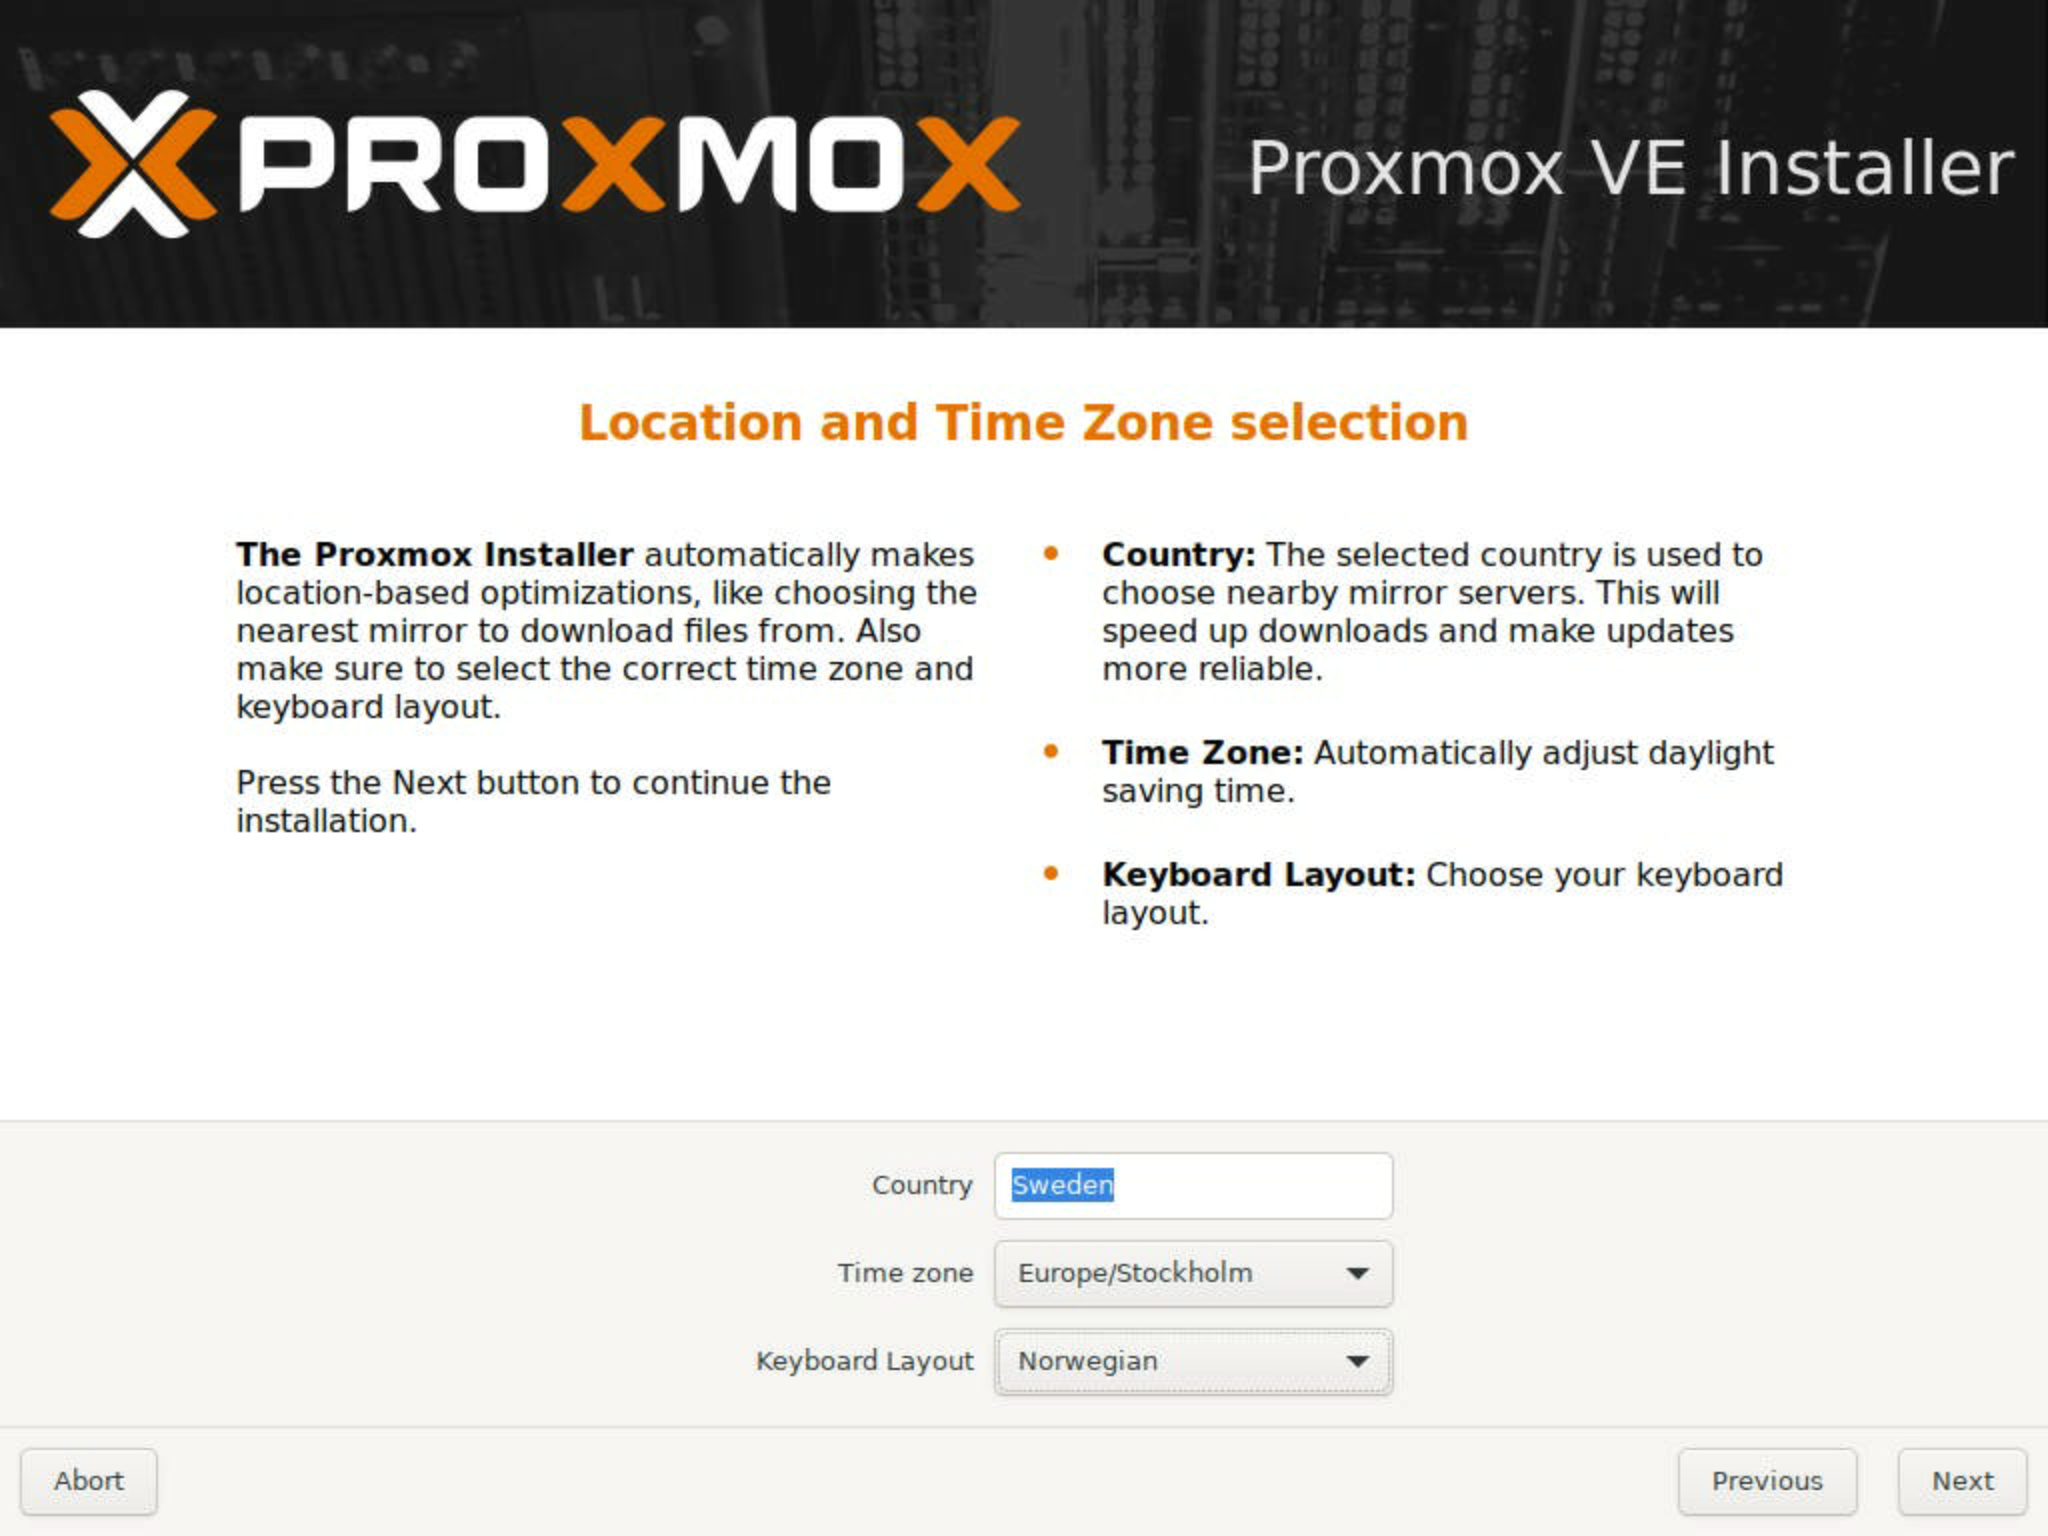
Set timezone and location settings
Set Admin password and email

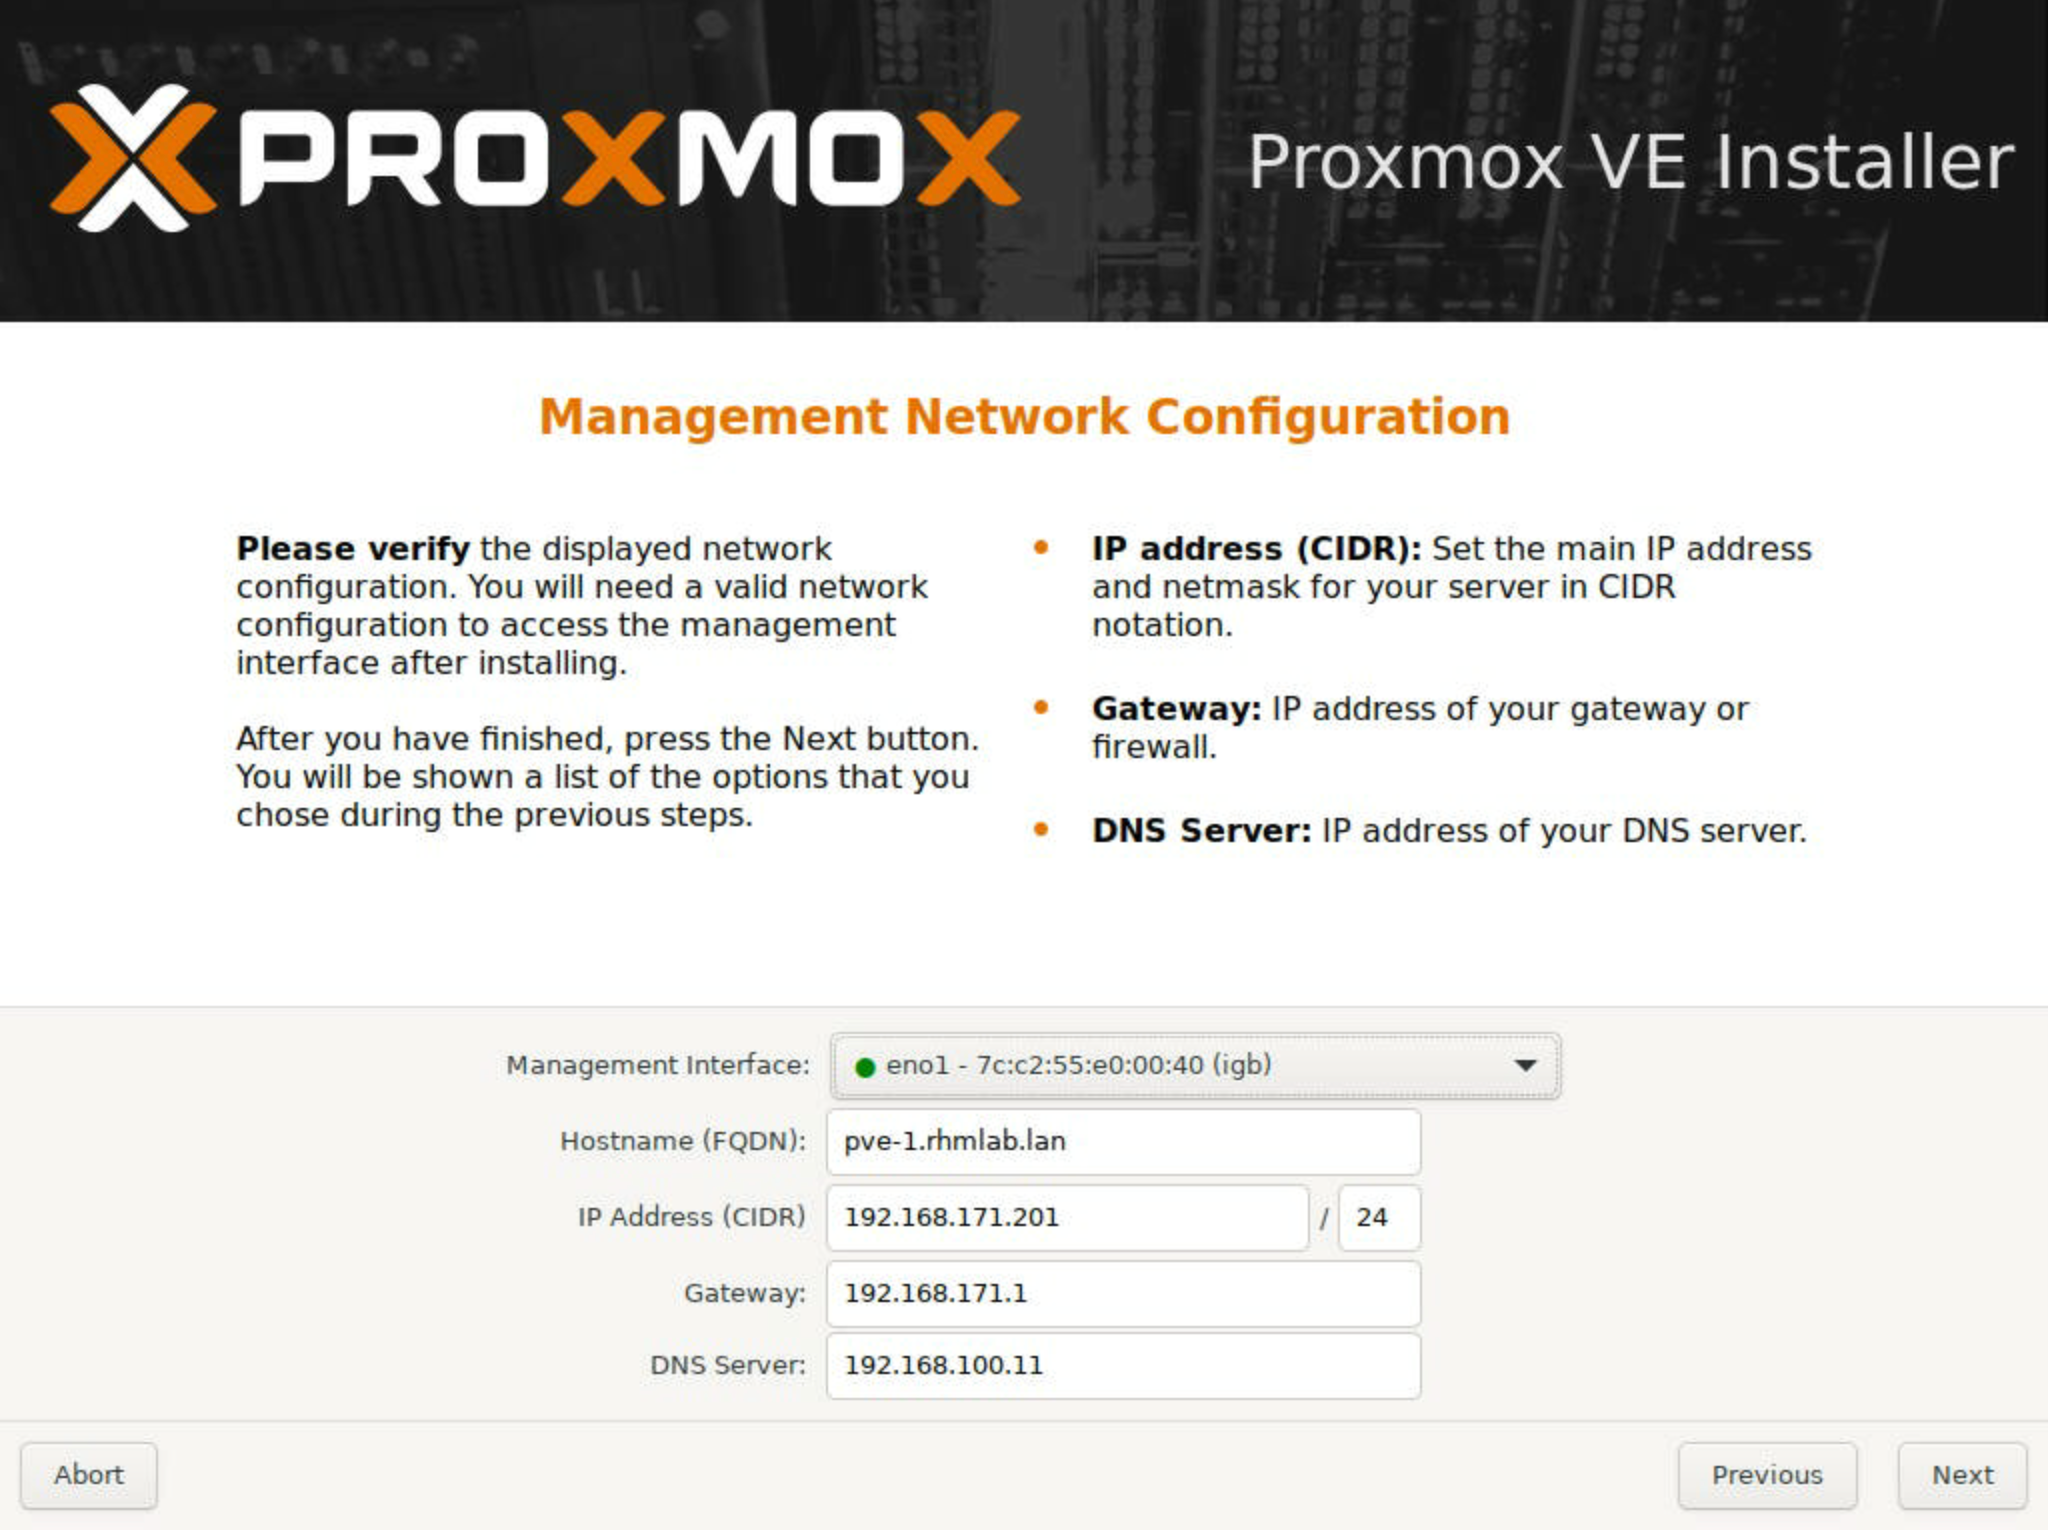
Set Management network
Verify the Installer summary
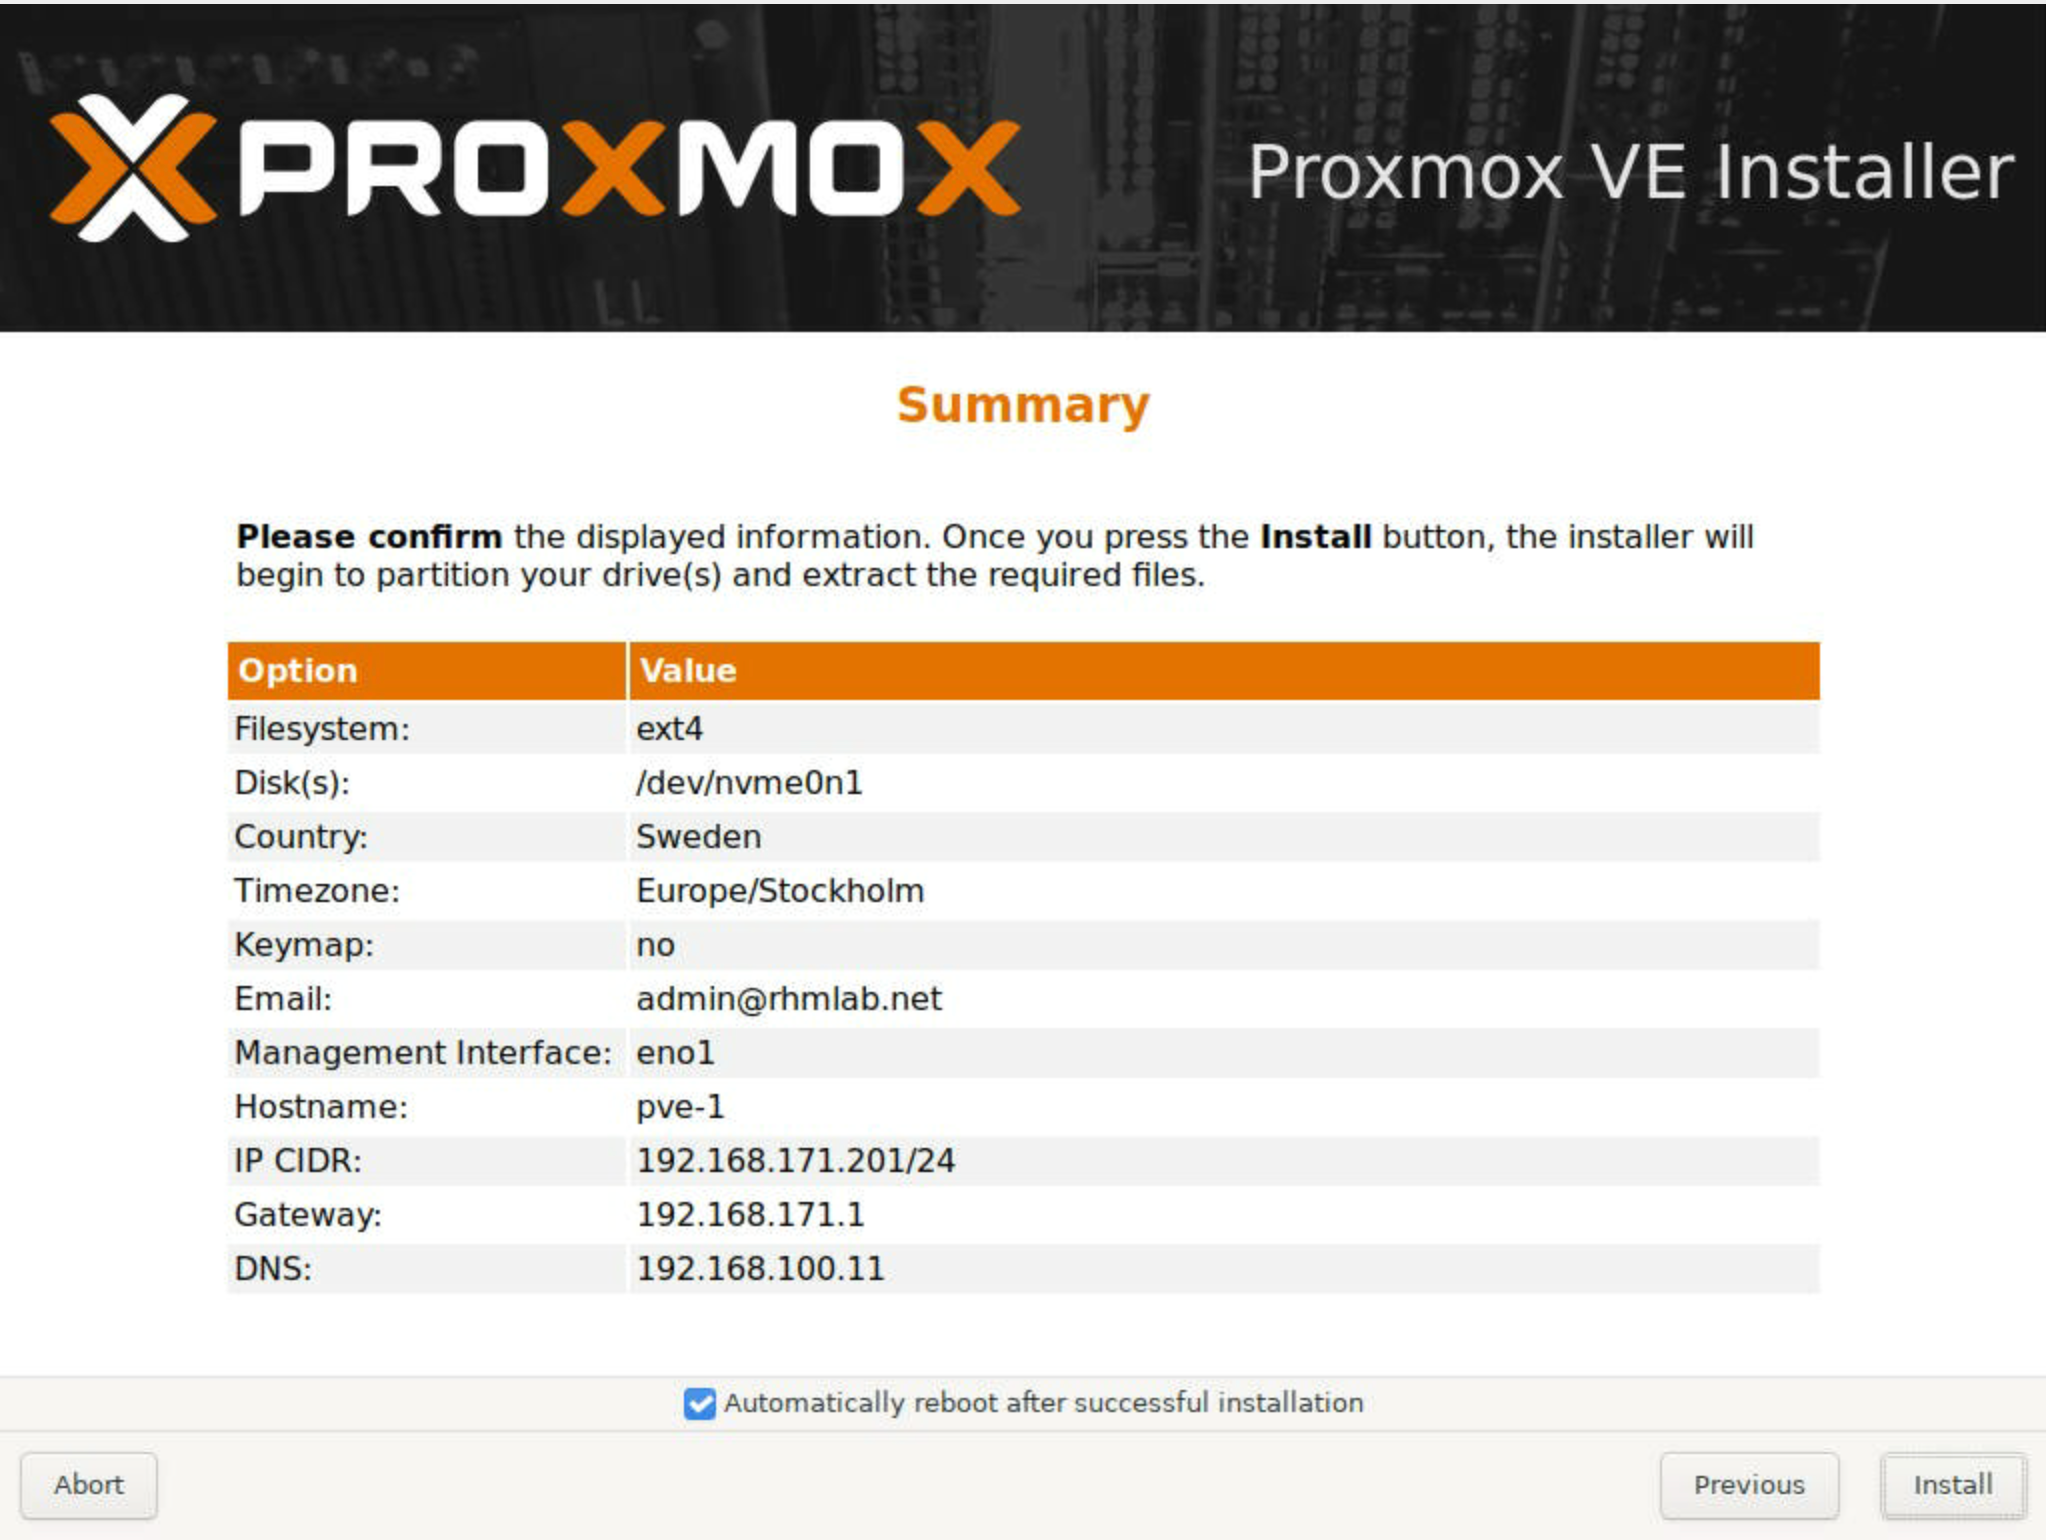
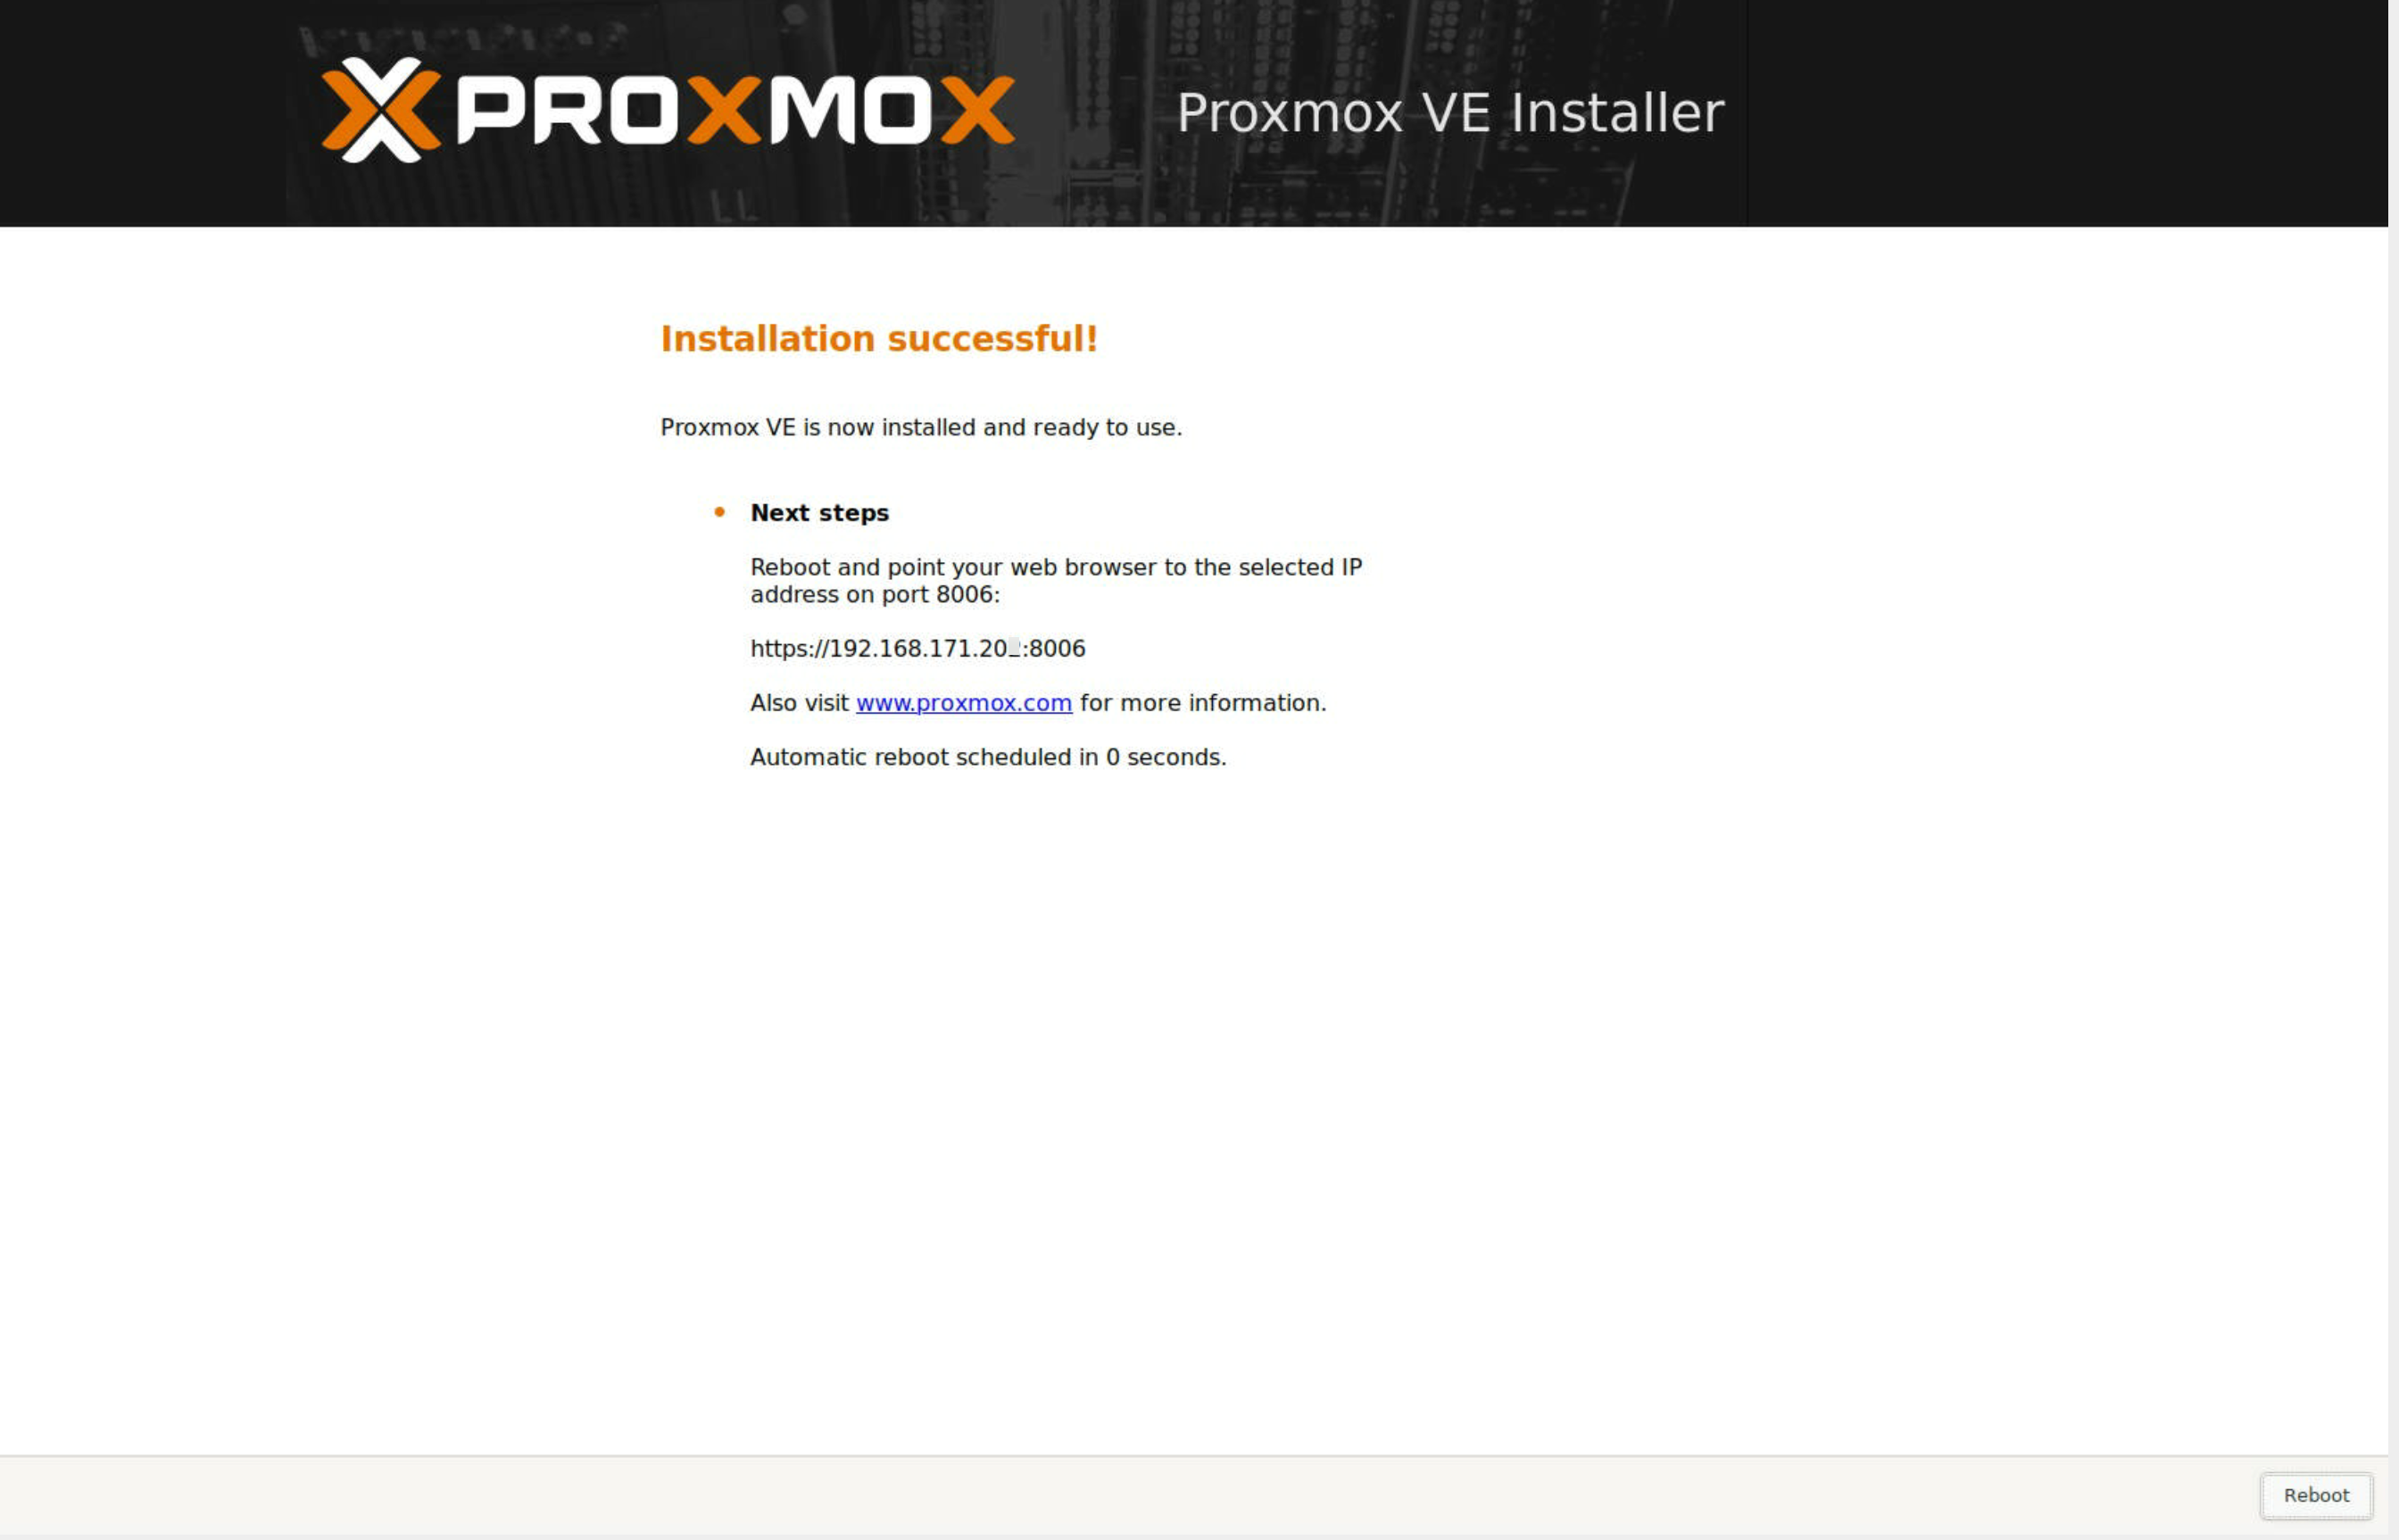
The Installer has finished and are preparing to restart our host
Configure VLAN on management network
In my environment I want to have the PVE node management on a specific VLAN and such I have to add a VLAN tag to the network configuration before the host comes online
There's multiple ways of doing VLANs in a Linux based setup. In this case I'll just set a tag on the interface and not create a bridge which is what we'll use later on for VMs.
From the CLI we'll edit the /etc/network/interfaces file
Note! Ensure that you have a backup of the file before editing
I've commented out the settings which the installer set for us and added in my new config
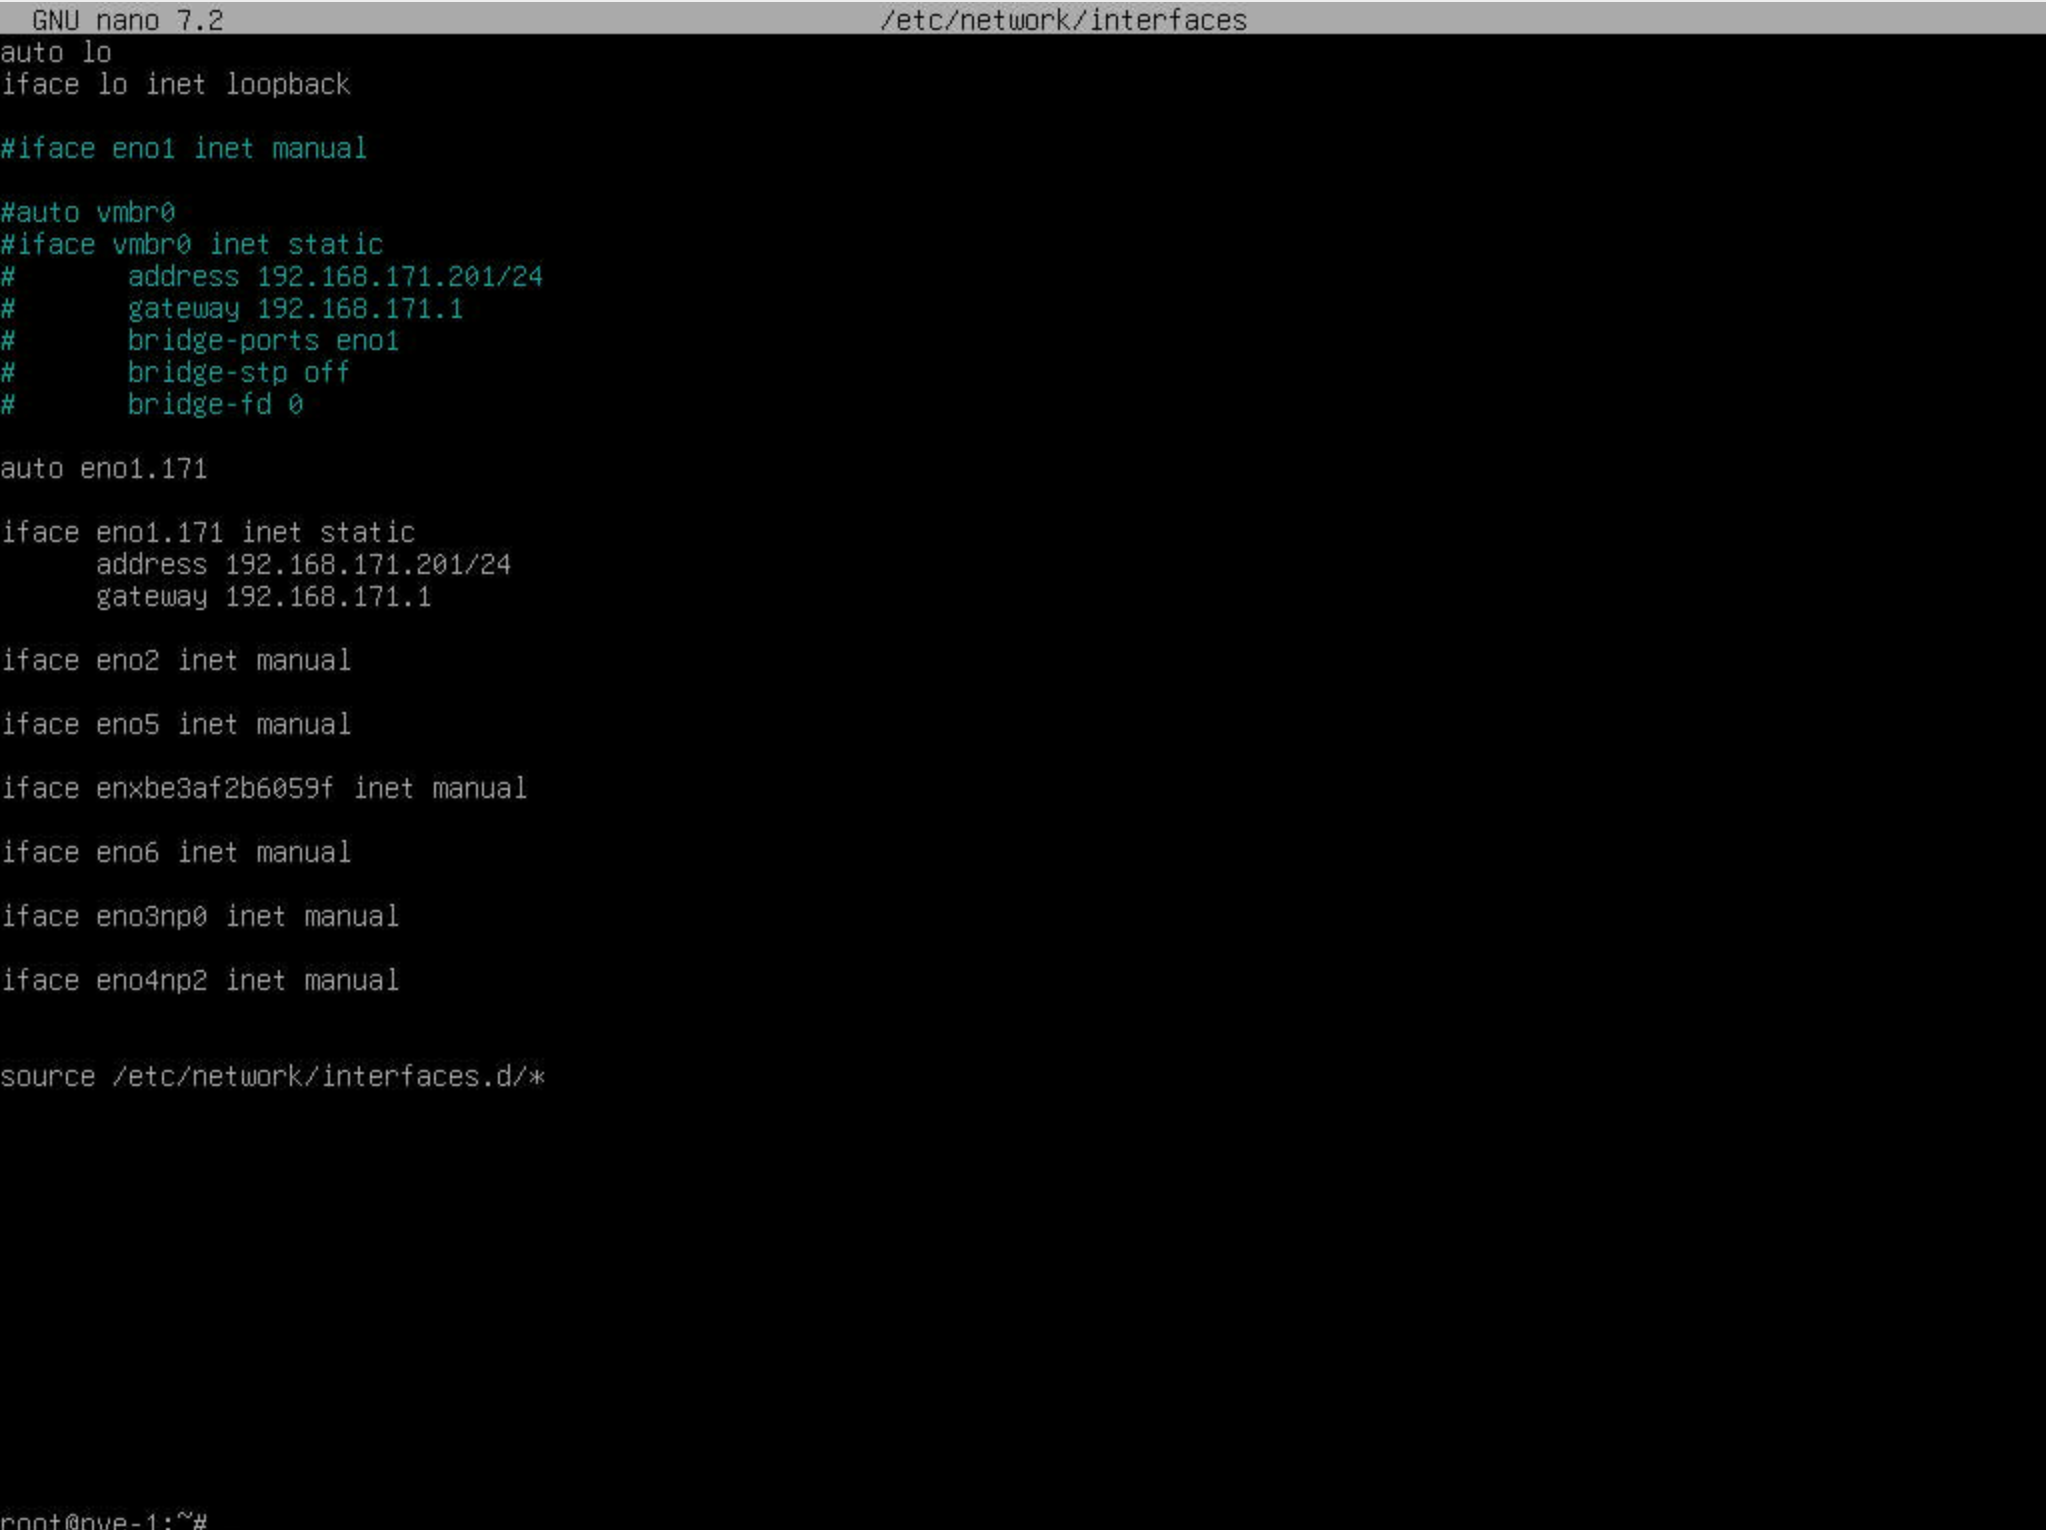
1auto eno1.171
2iface eno1.171 inet static
3    address 192.168.171.201/24
4    gateway 192.168.171.1
After saving the file we can go ahead and restart the networking stack and check our IP settings
1systemctl restart networking
2ip addr
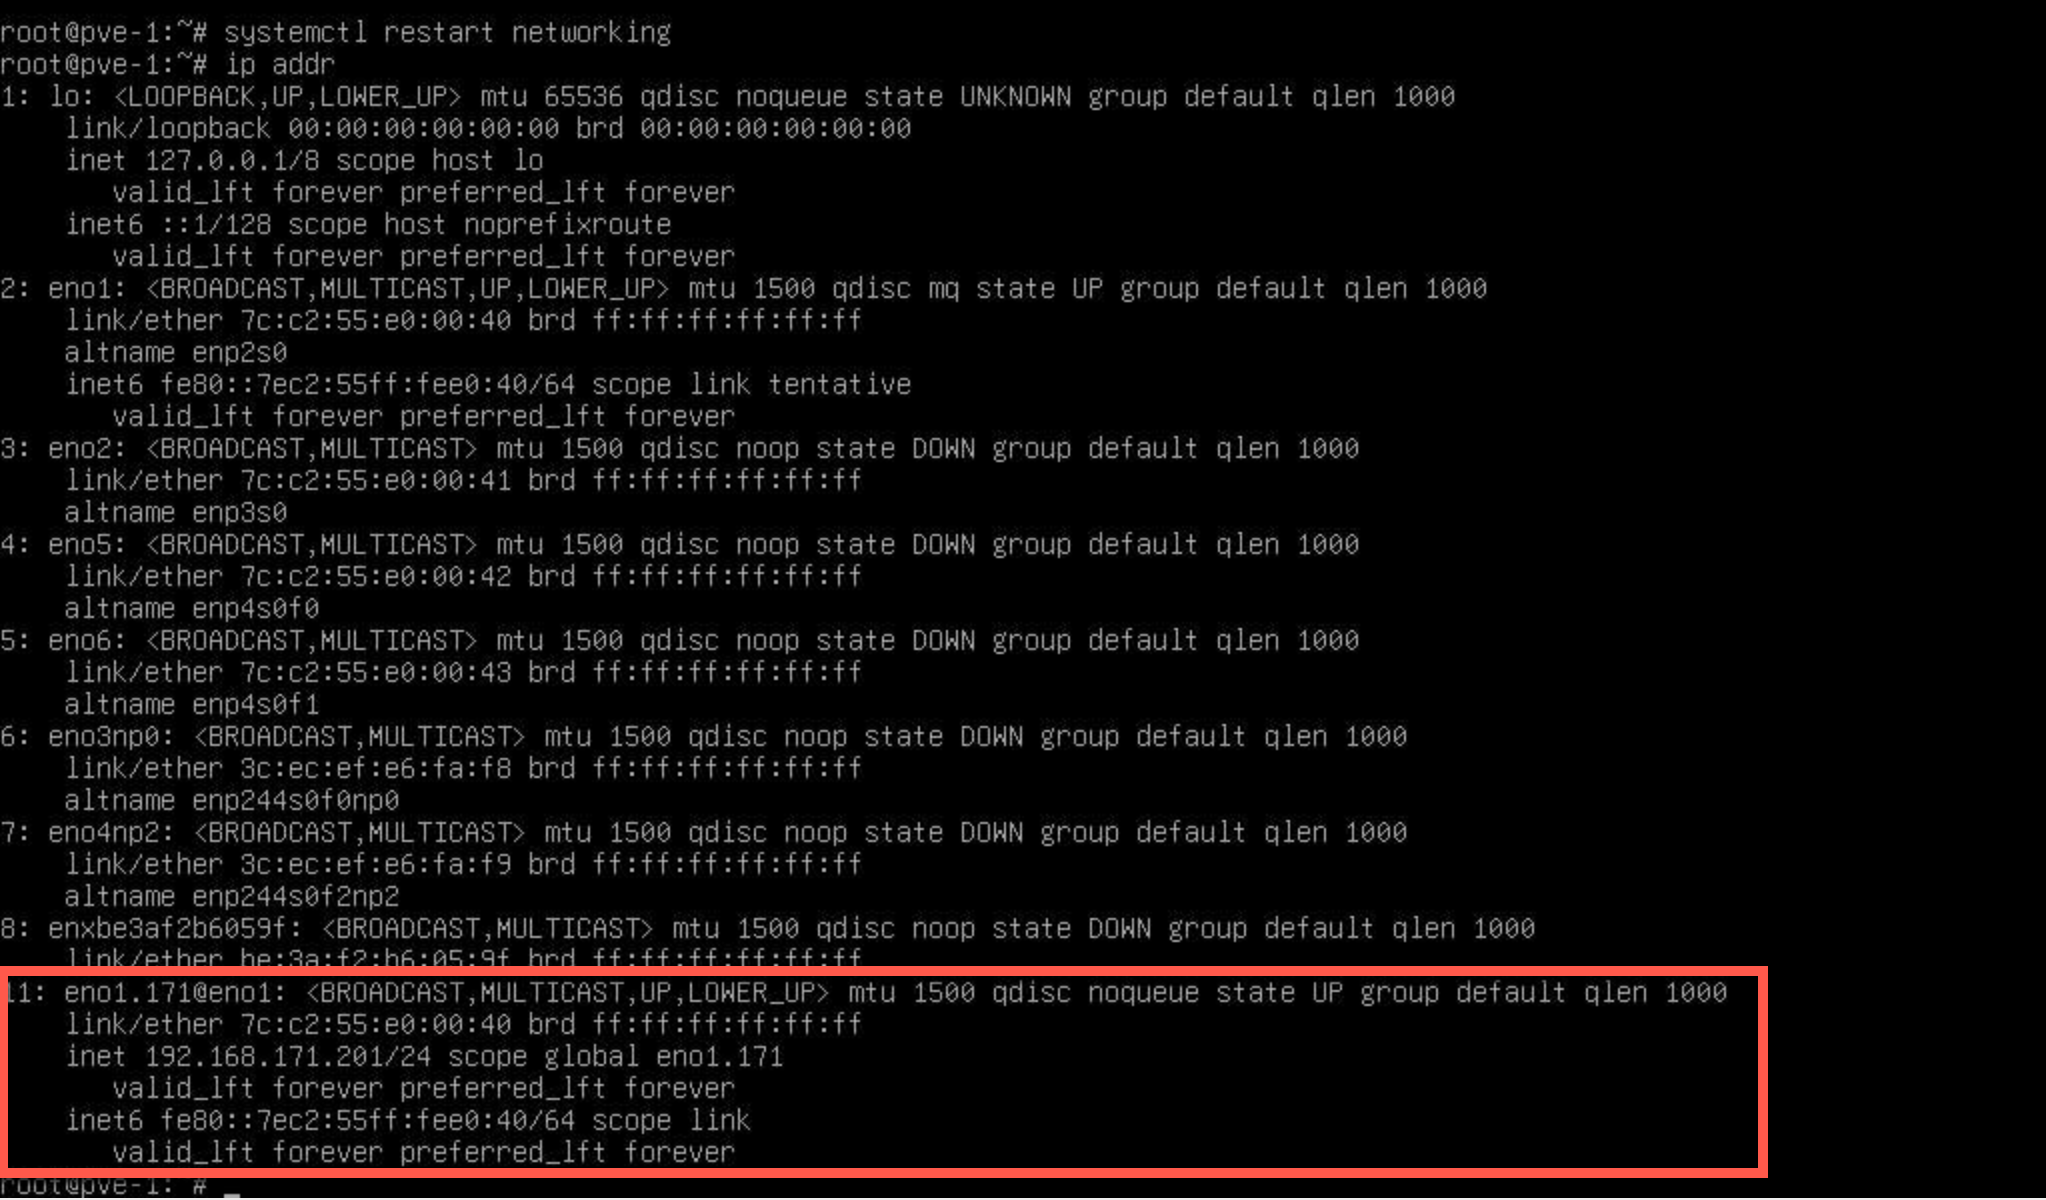
With this we can verify that our interface now has a VLAN tag eno1.171 and it should be online.
PVE initial configuration
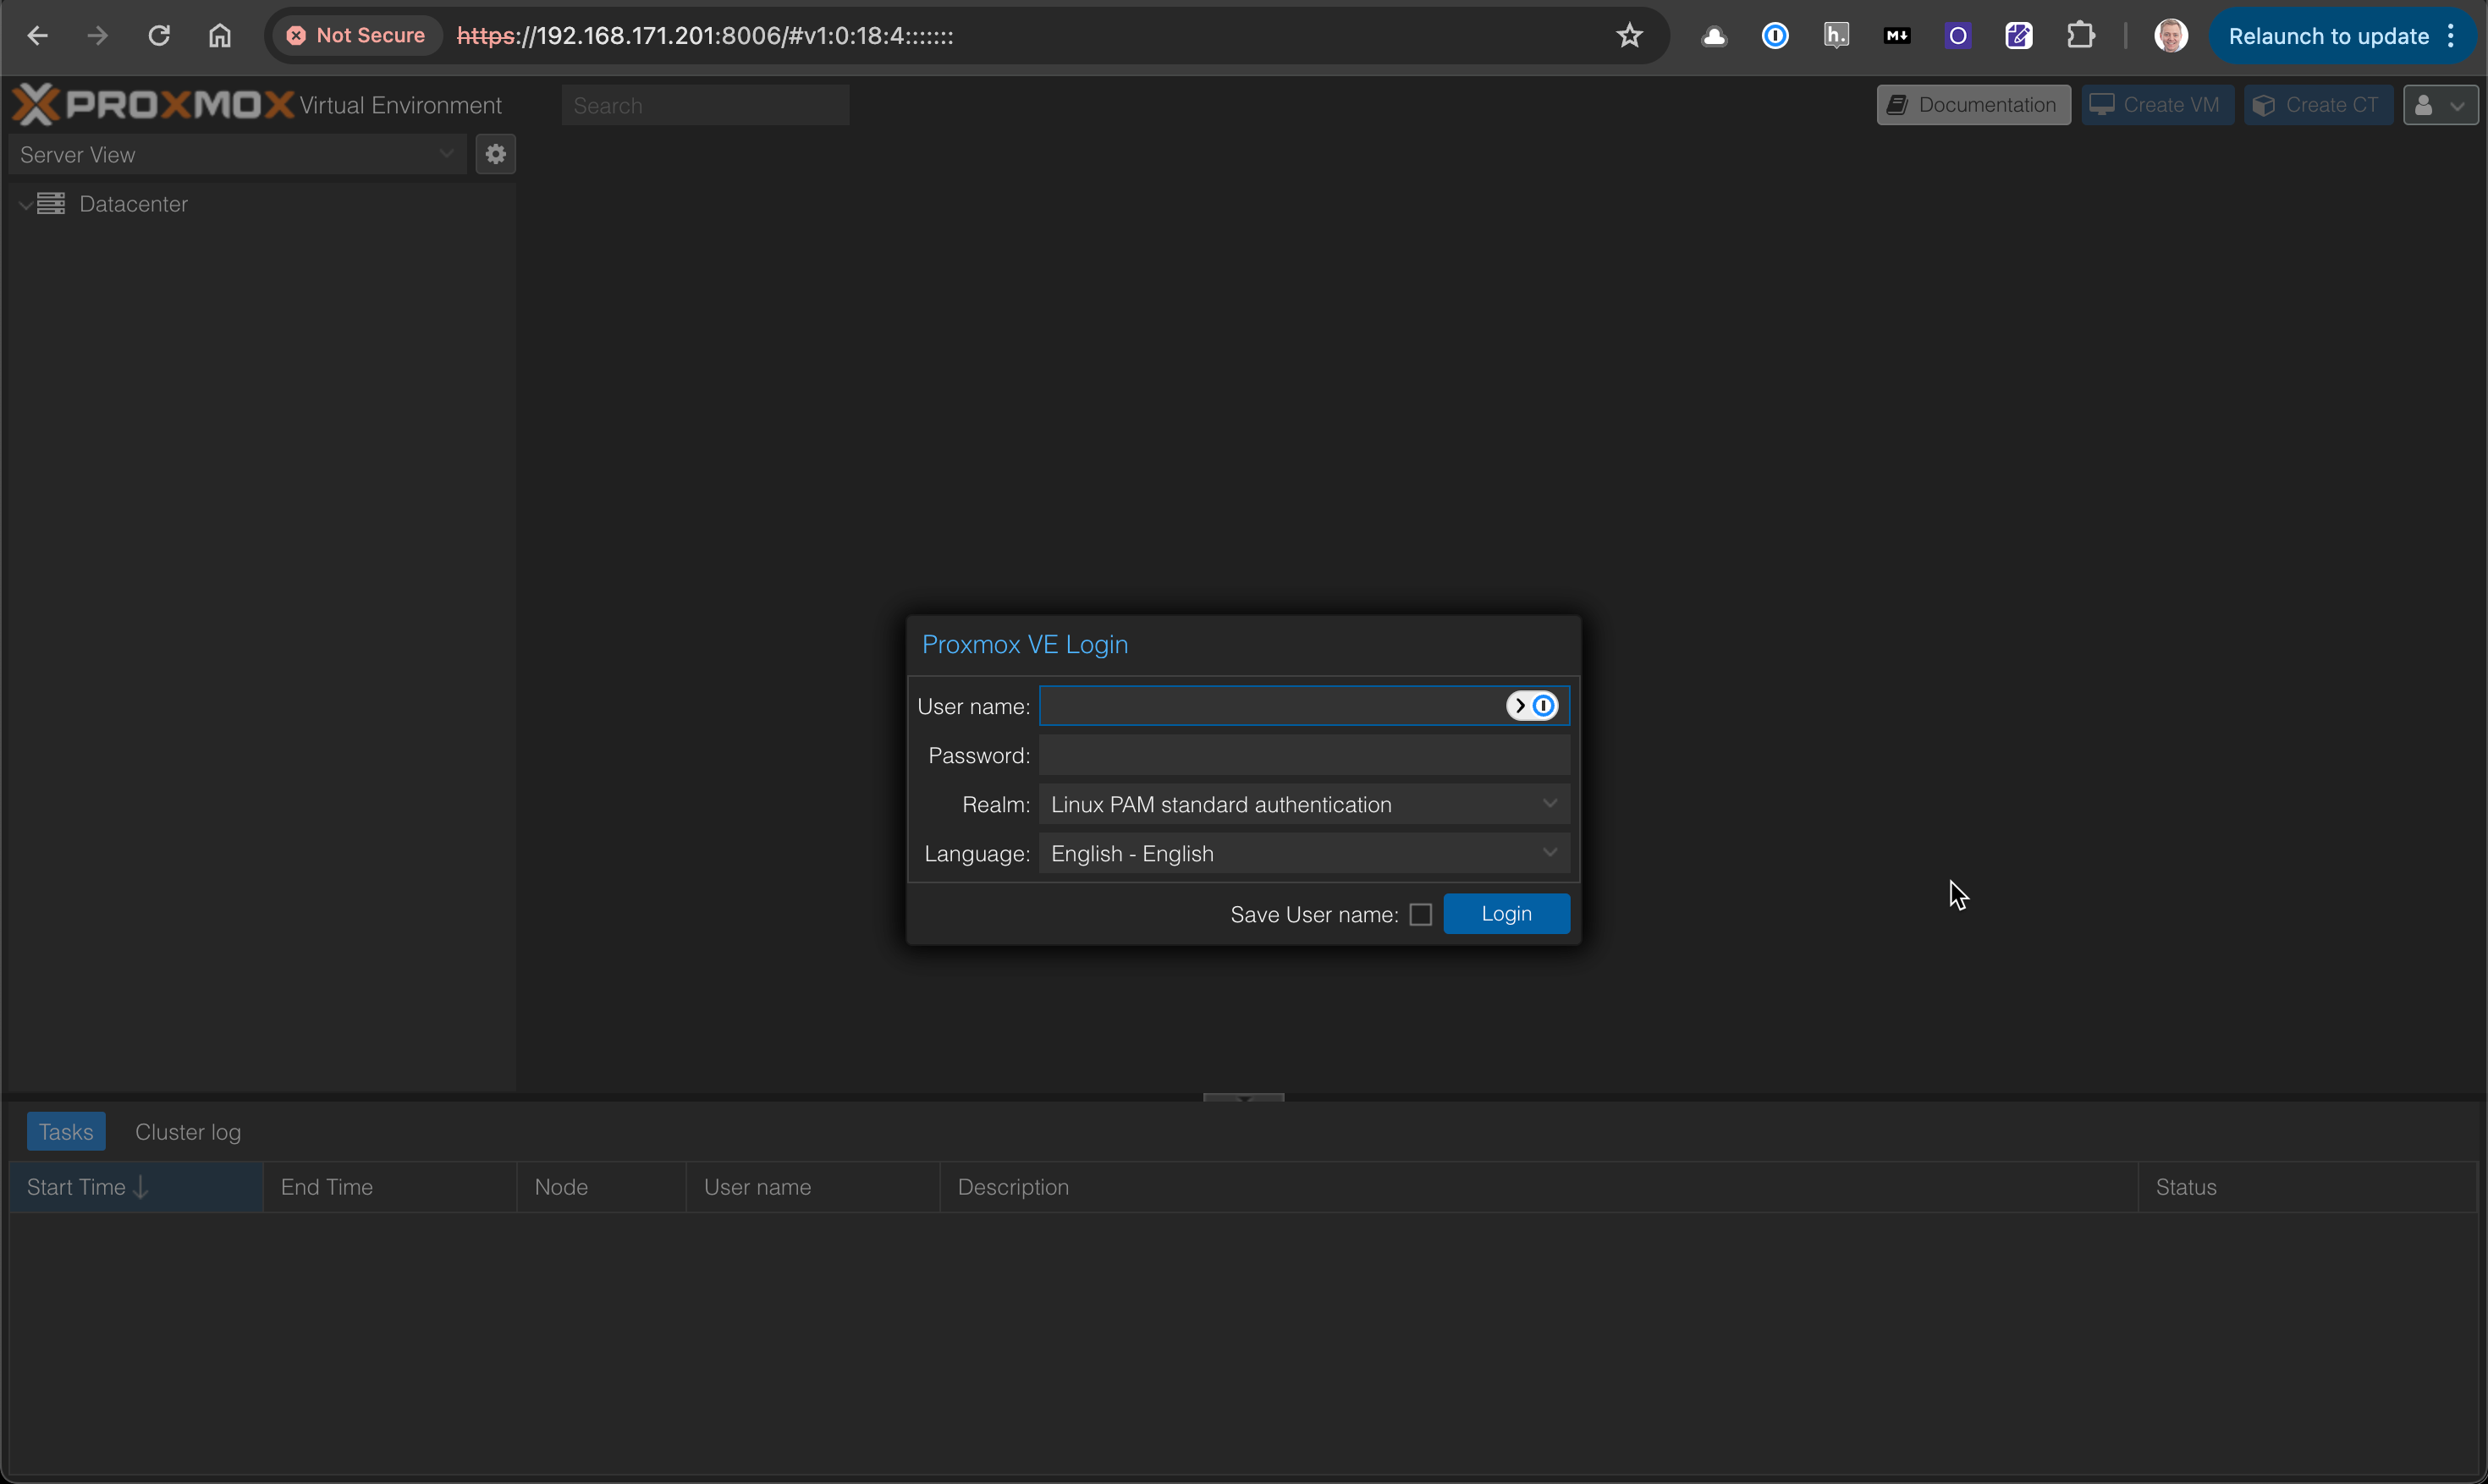
Let's login to the host with our root user
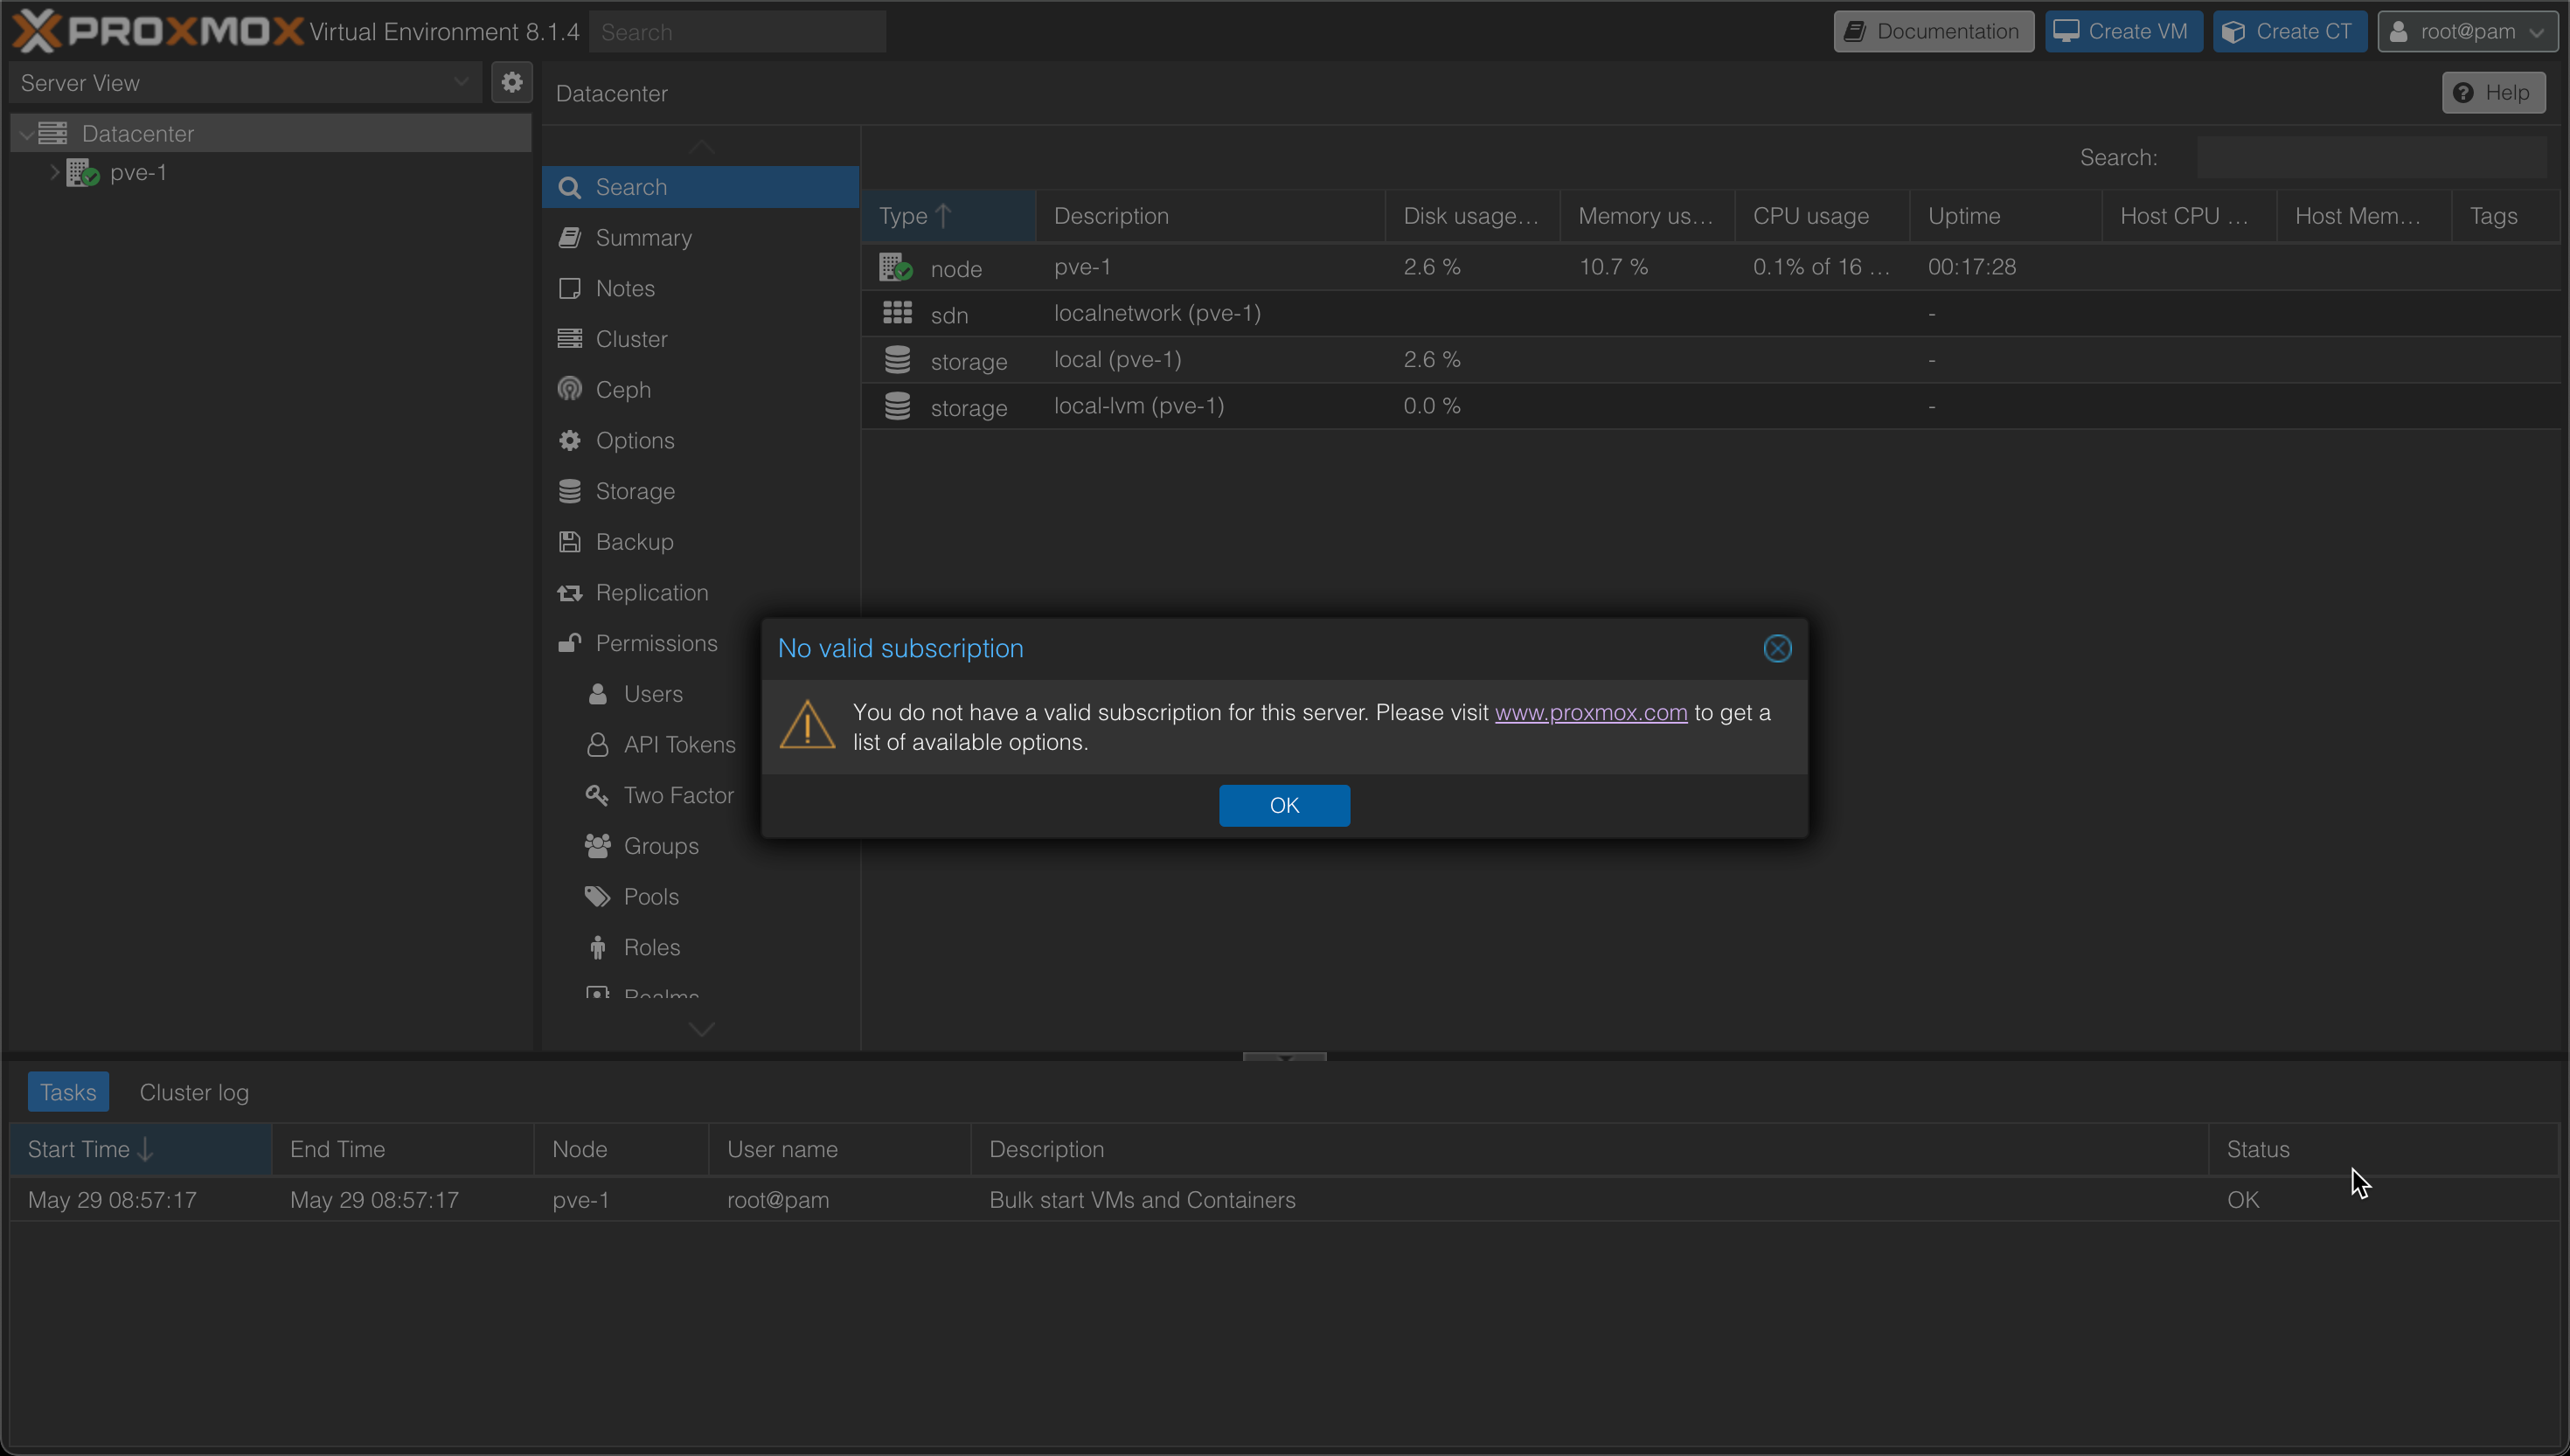
We'll be greeted with a message stating that we don't have a valid subscription
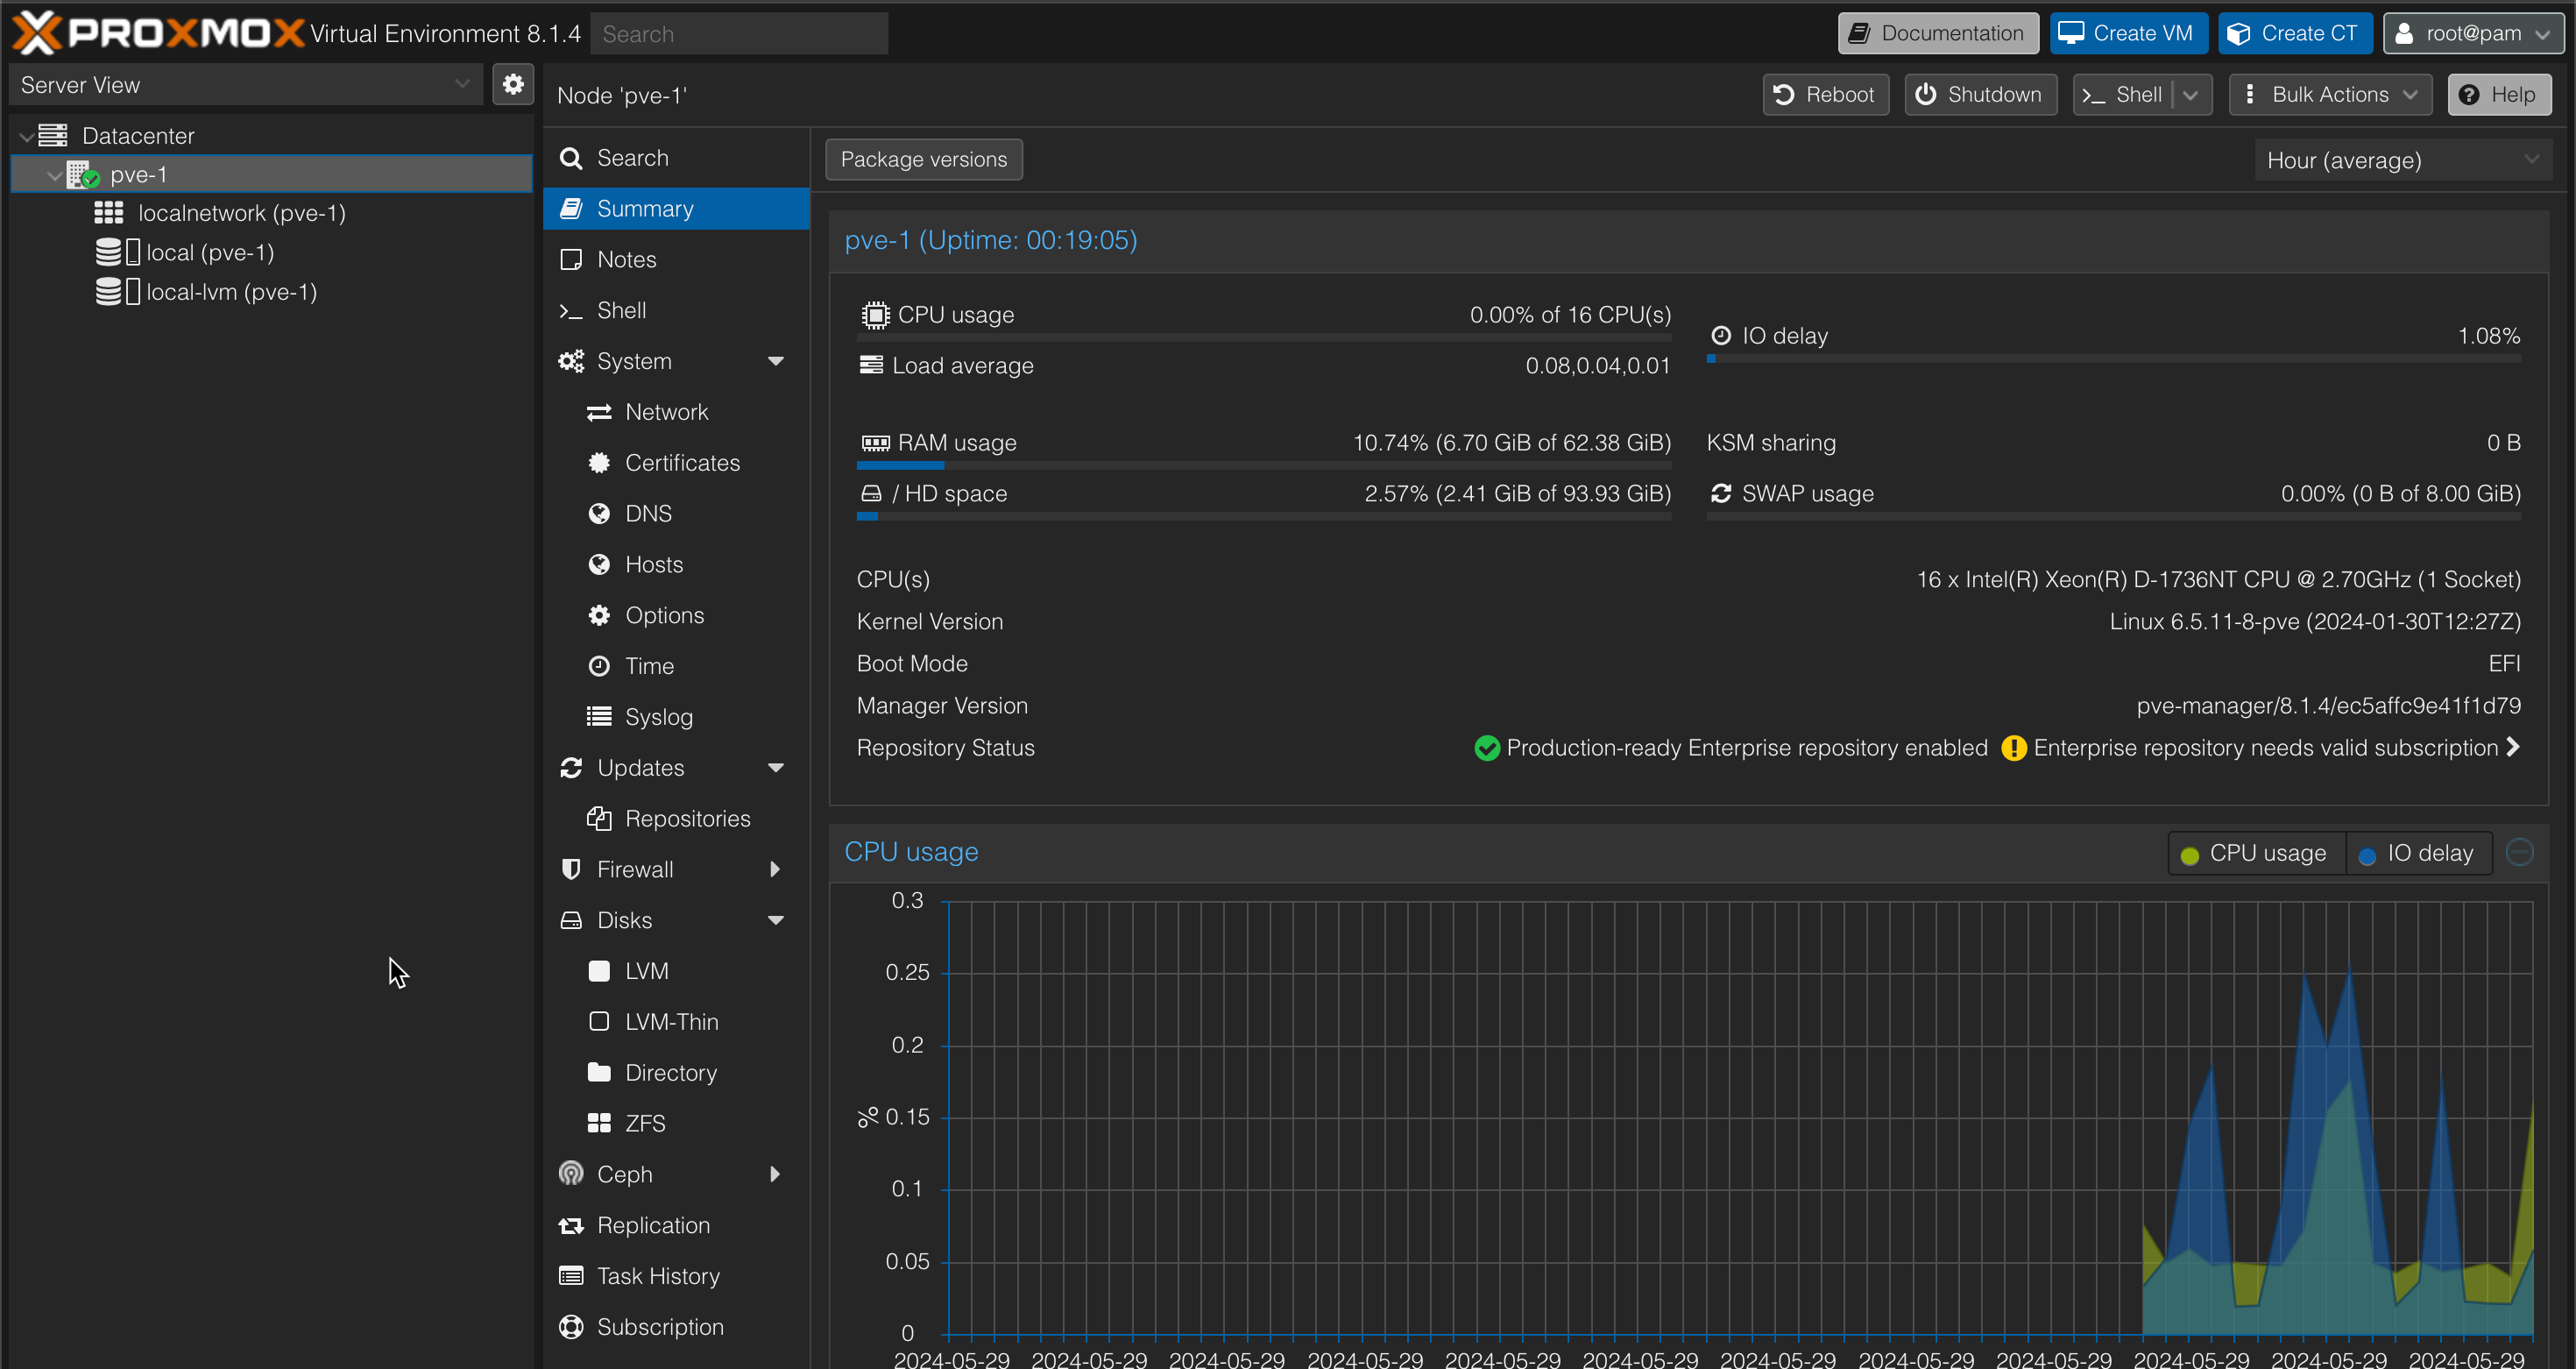
Let's check out the Host summary page to get some information about our host
Before creating a VM on this host we'll have to prepare a few things. First we'll set up a storage pool, secondly we'll need to prepare the networking.
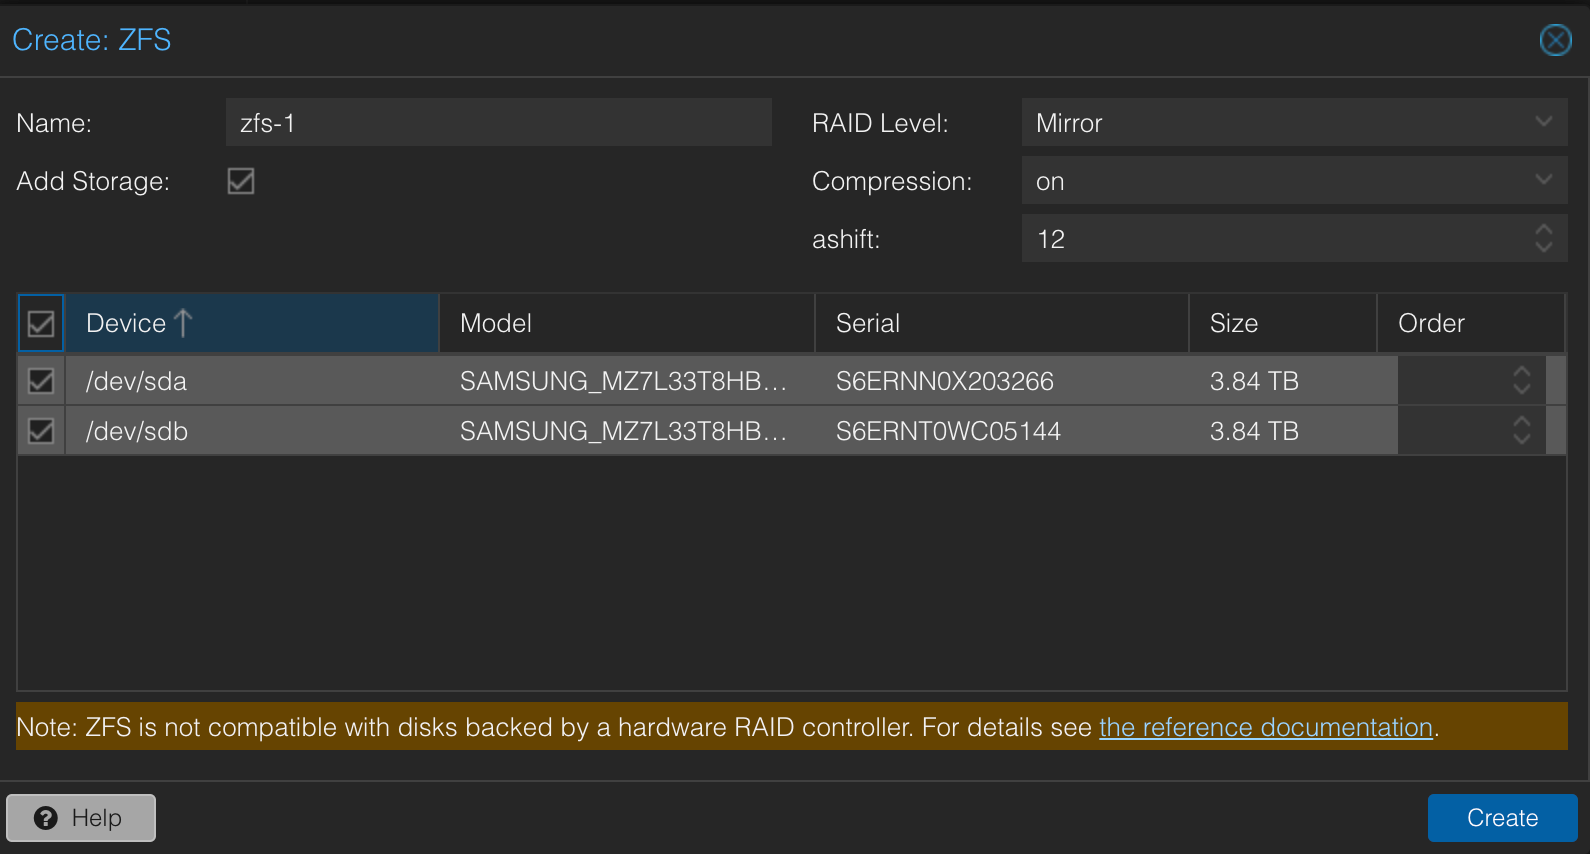
Create Storage pool
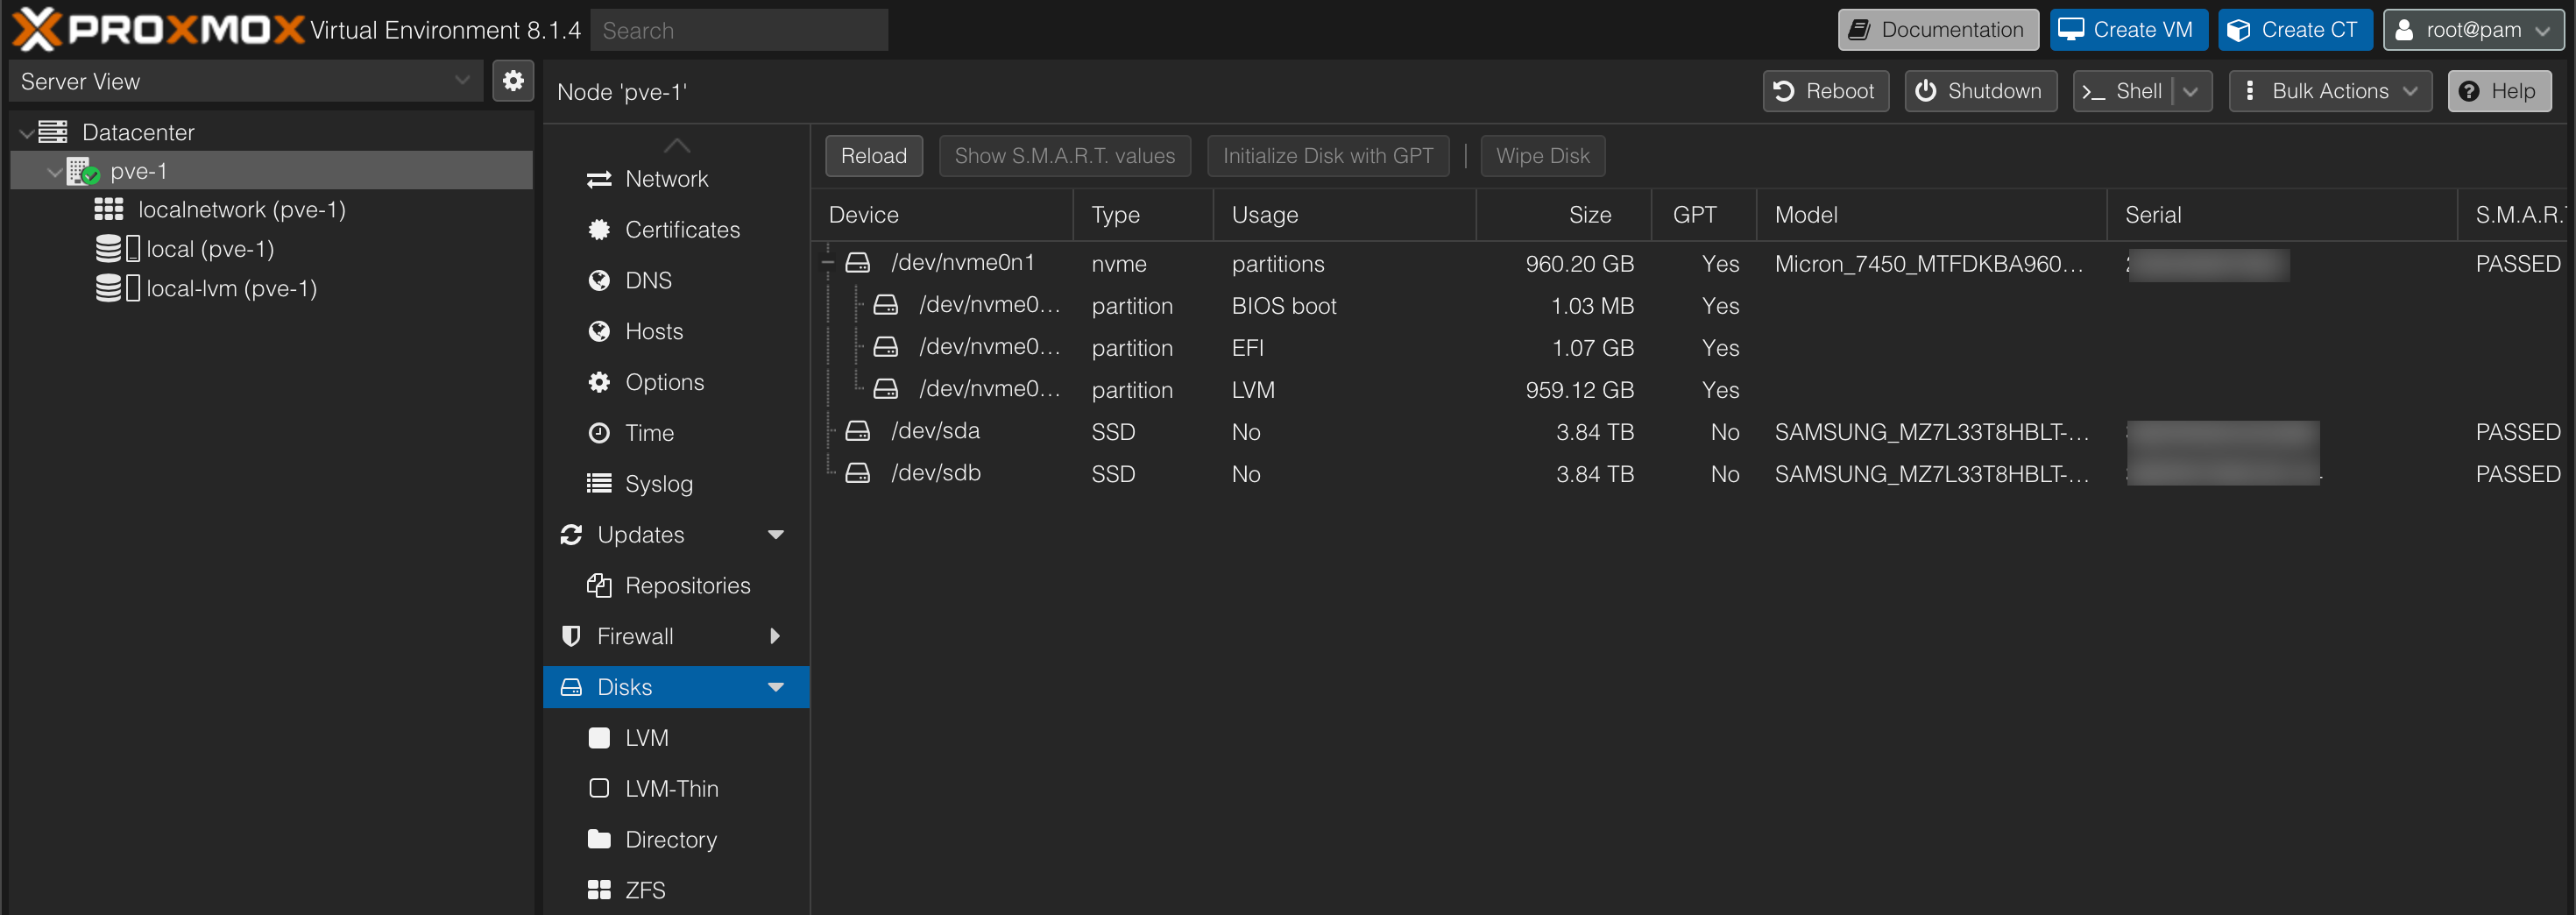
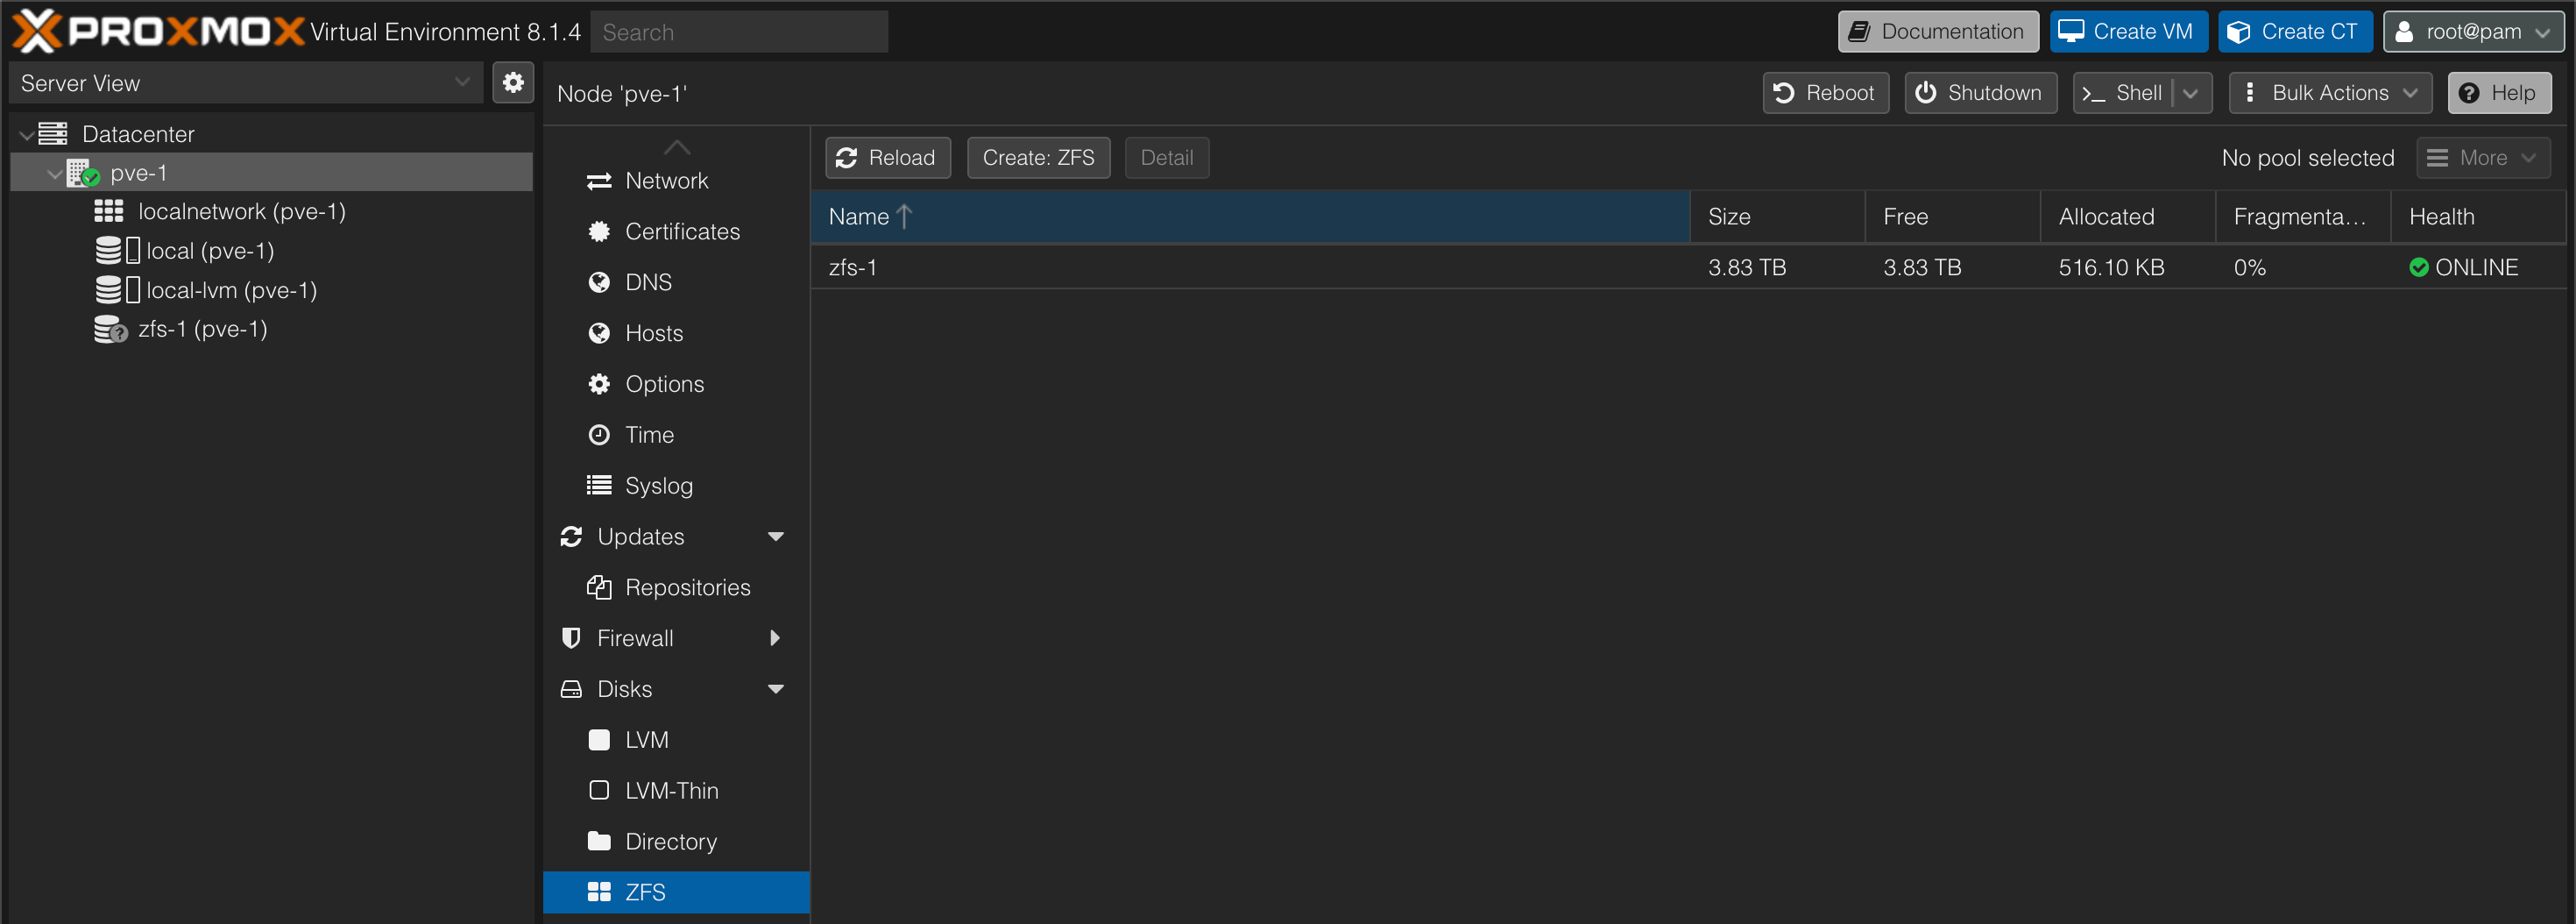
We'll set up a ZFS pool consisting of our two SSD disks
The pool will be configured with the two SSD disks in RAID1, or mirroring.
Configure Networks
Now, let's take a look at the networking.
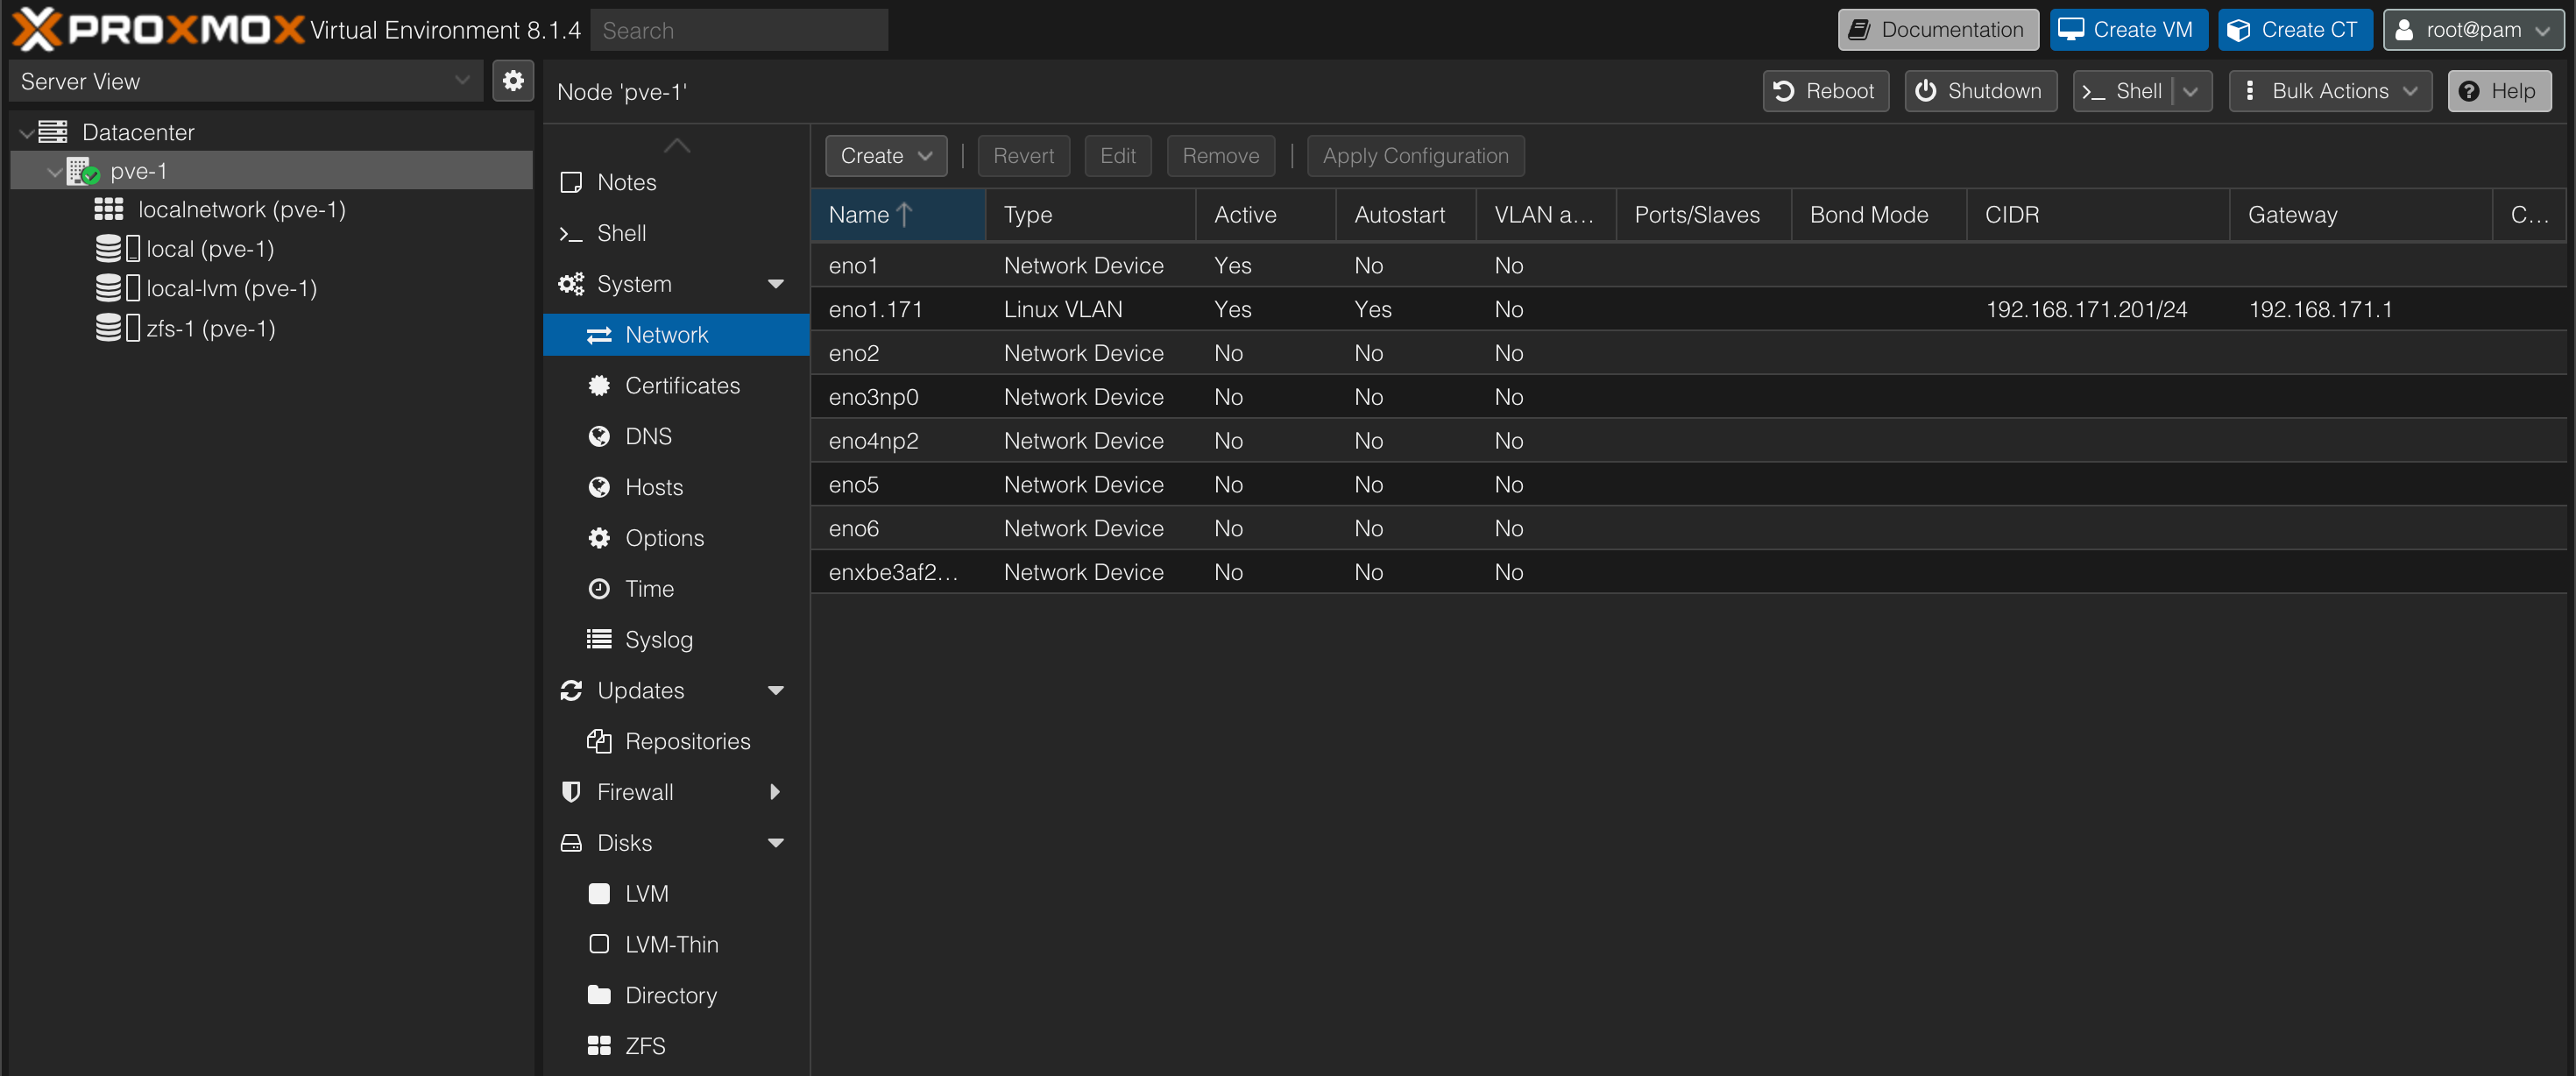
We've already covered the VLAN on our management network. But for VM traffic we would like to be able to support multiple VLANs. To do this we'll create a bridge.
Note! PVE also supports OVS (Open vSwitch). We will not use that in this setup.
We'll give the bridge a name, and we'll specify the physical interface(s) to connect this bridge to.
For the change to take affect we'll hit the Apply configuration button
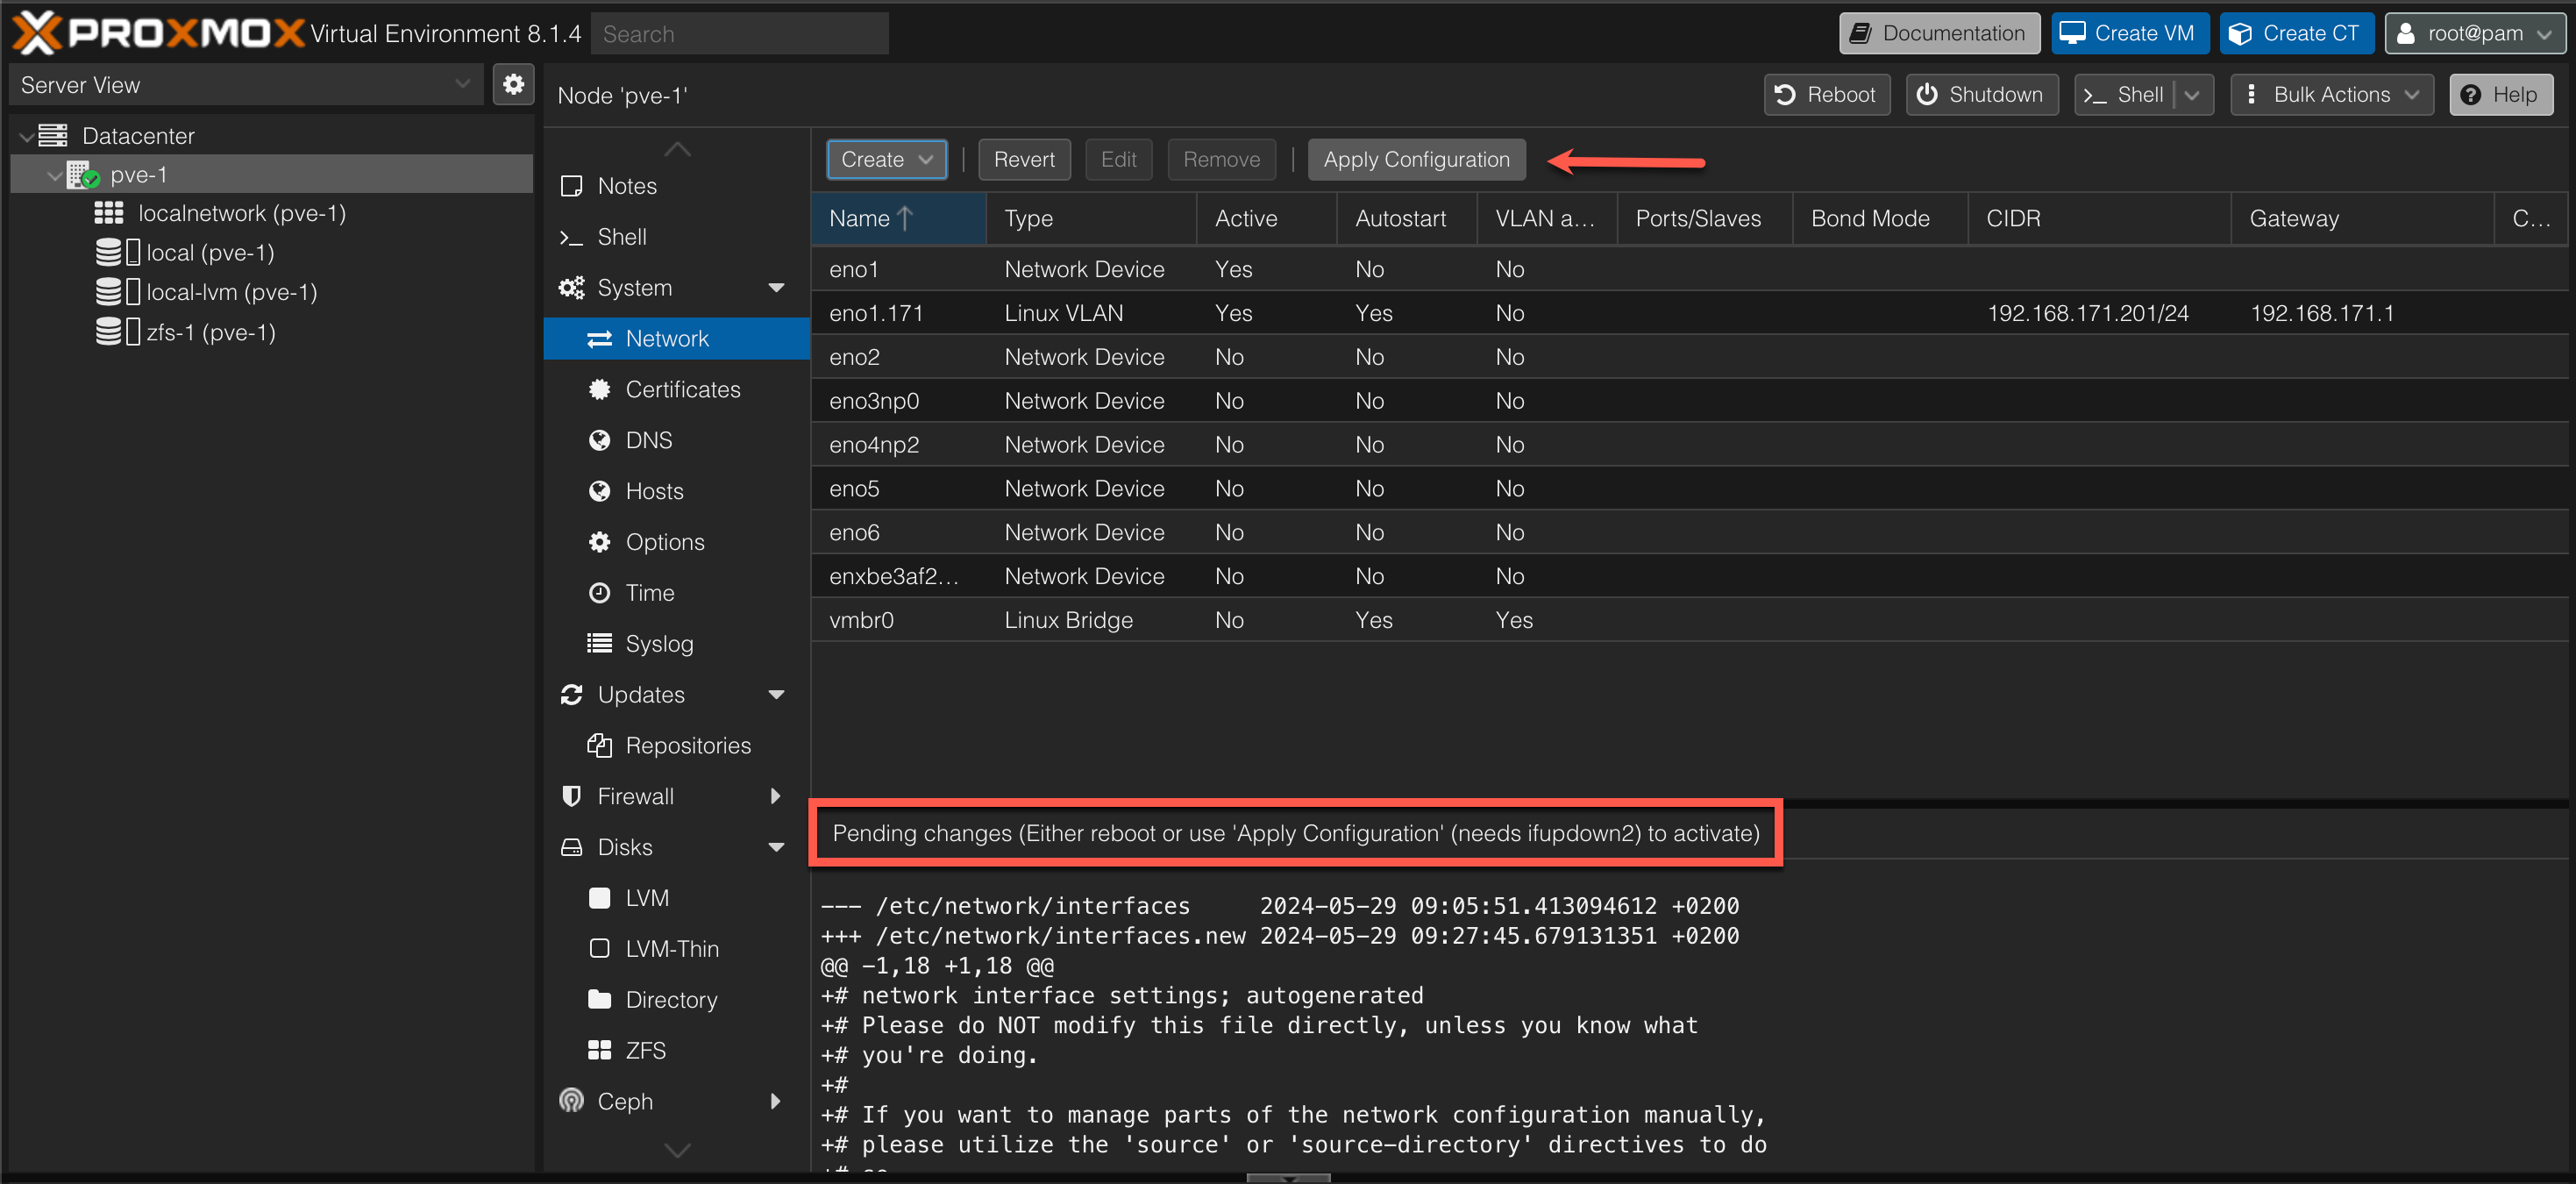
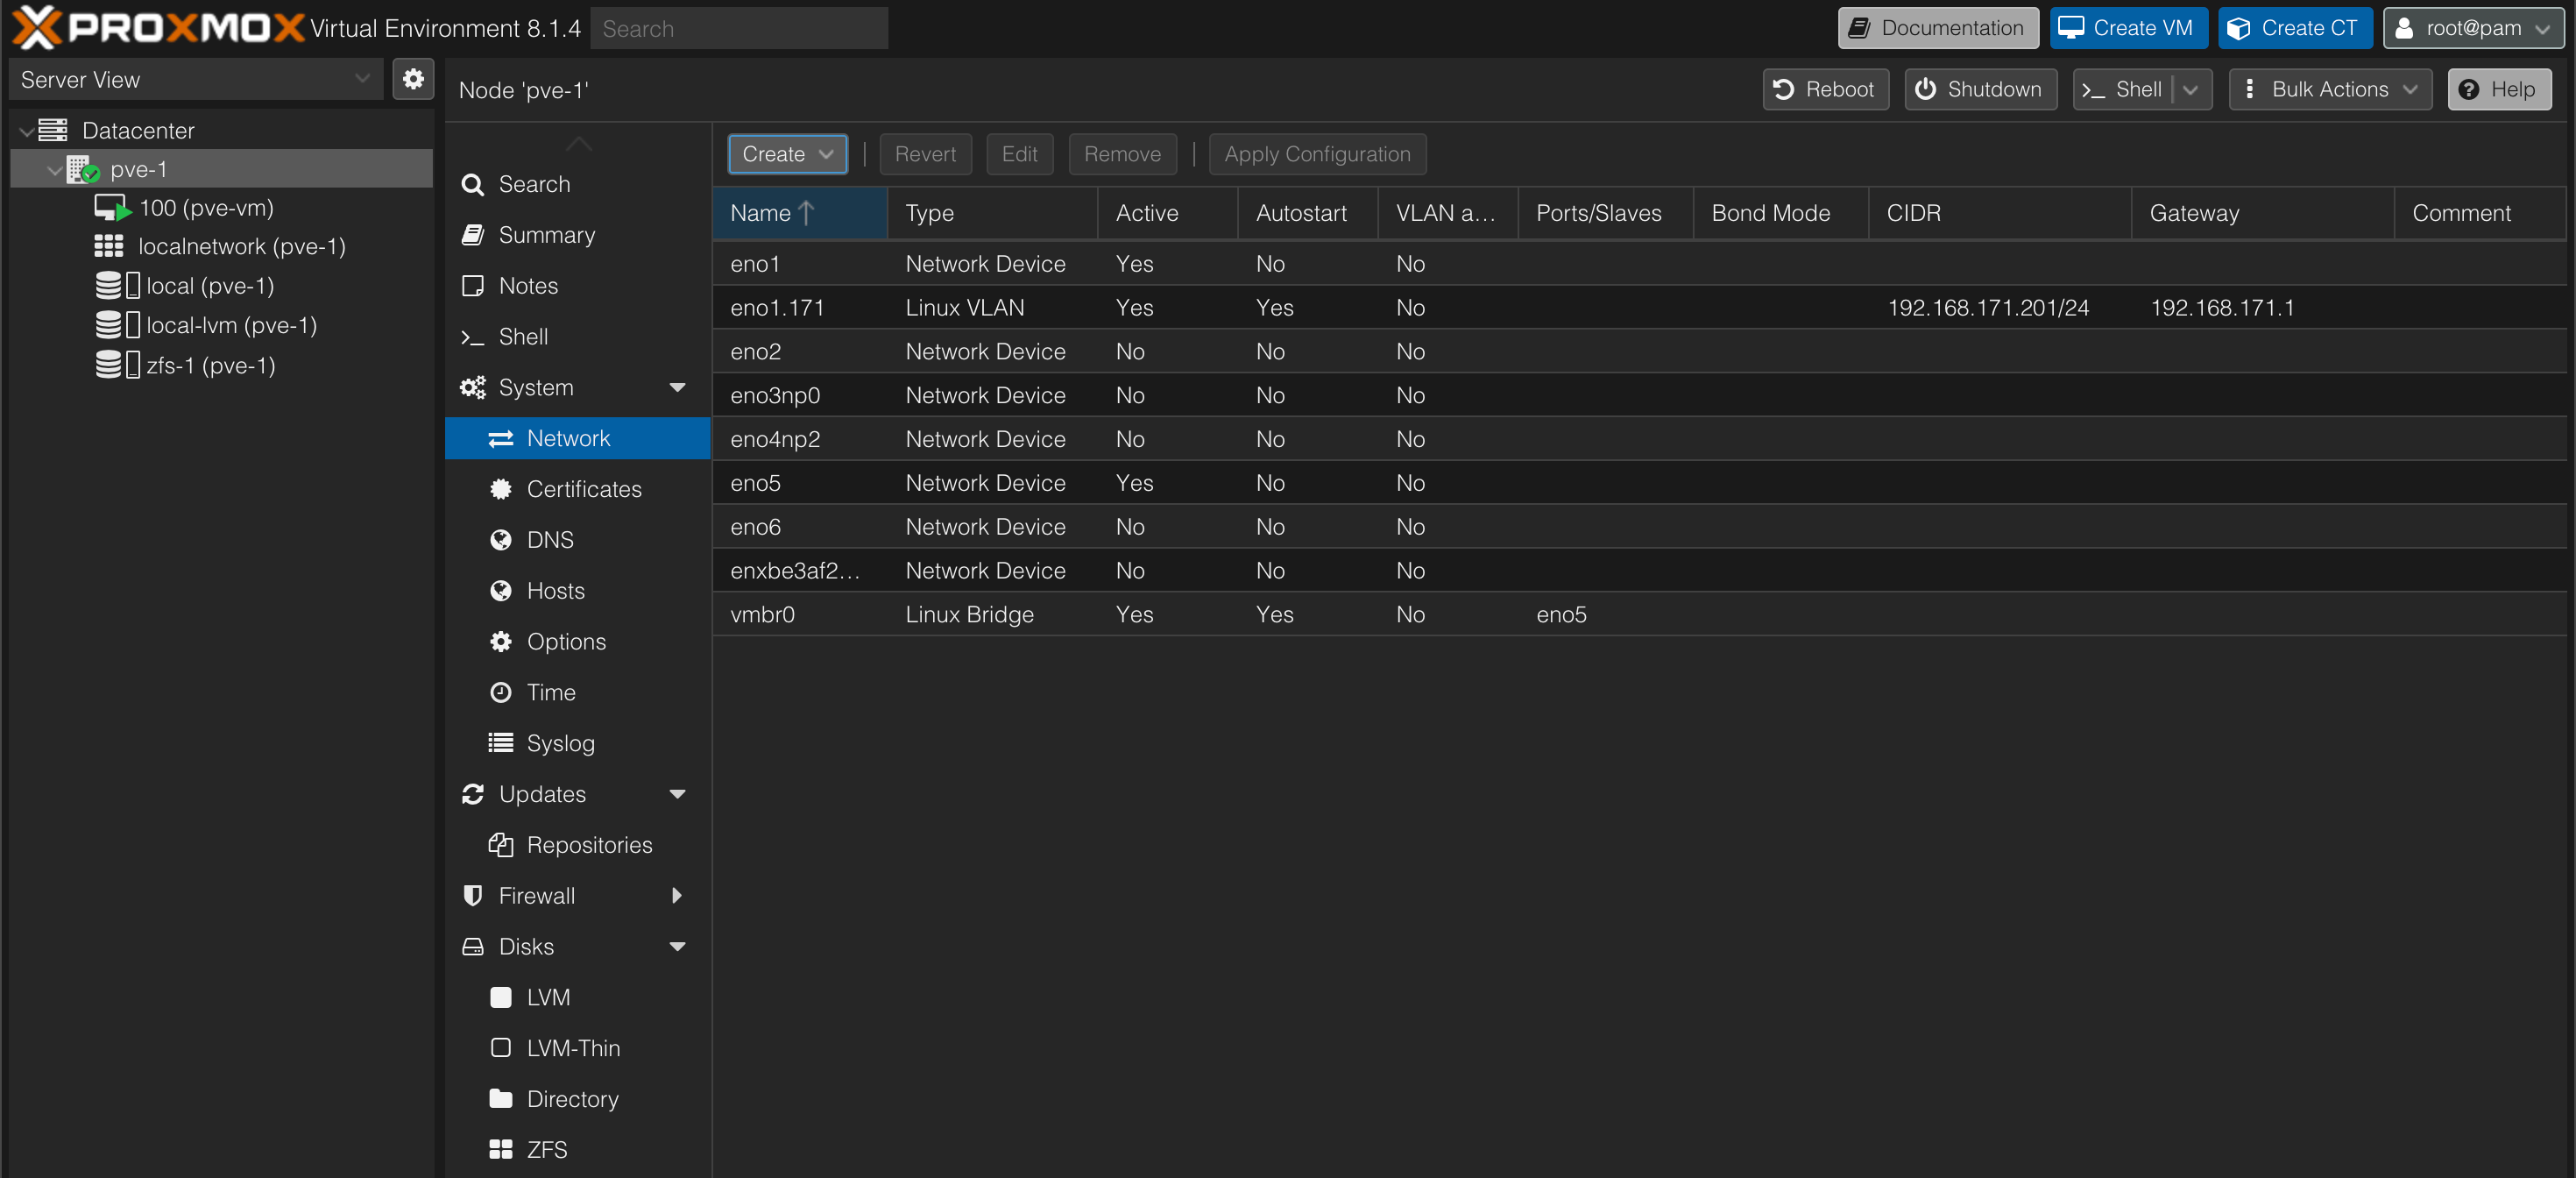
With that our bridge should be created
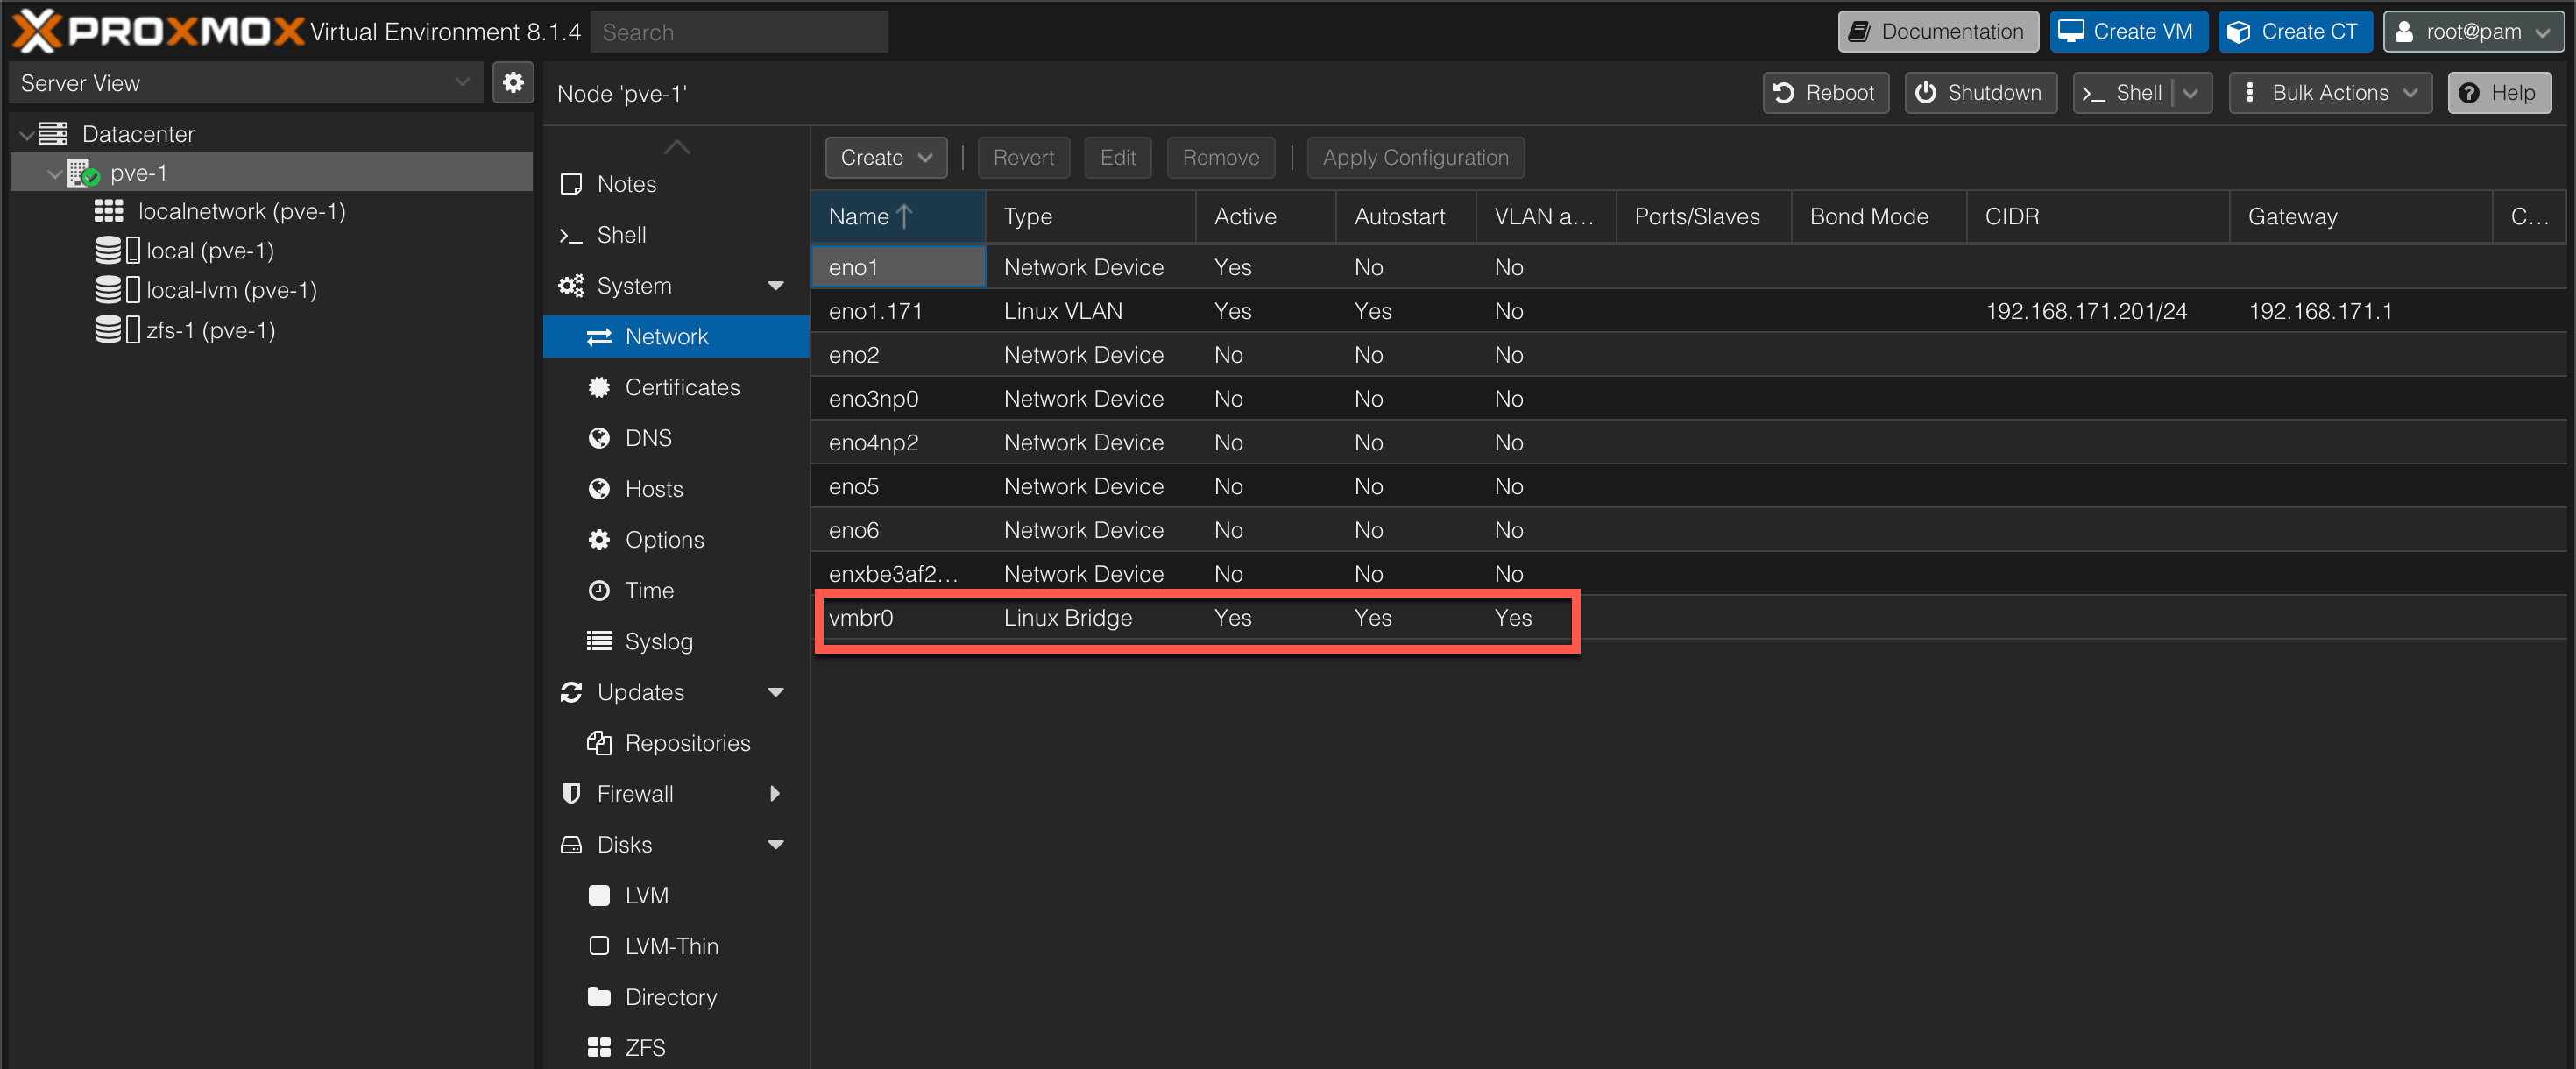
As we can see we now have a VLAN aware Linux bridge on our physical interface eno5.
More information about VLANs in Proxmox can be found in the documentation
Create VM
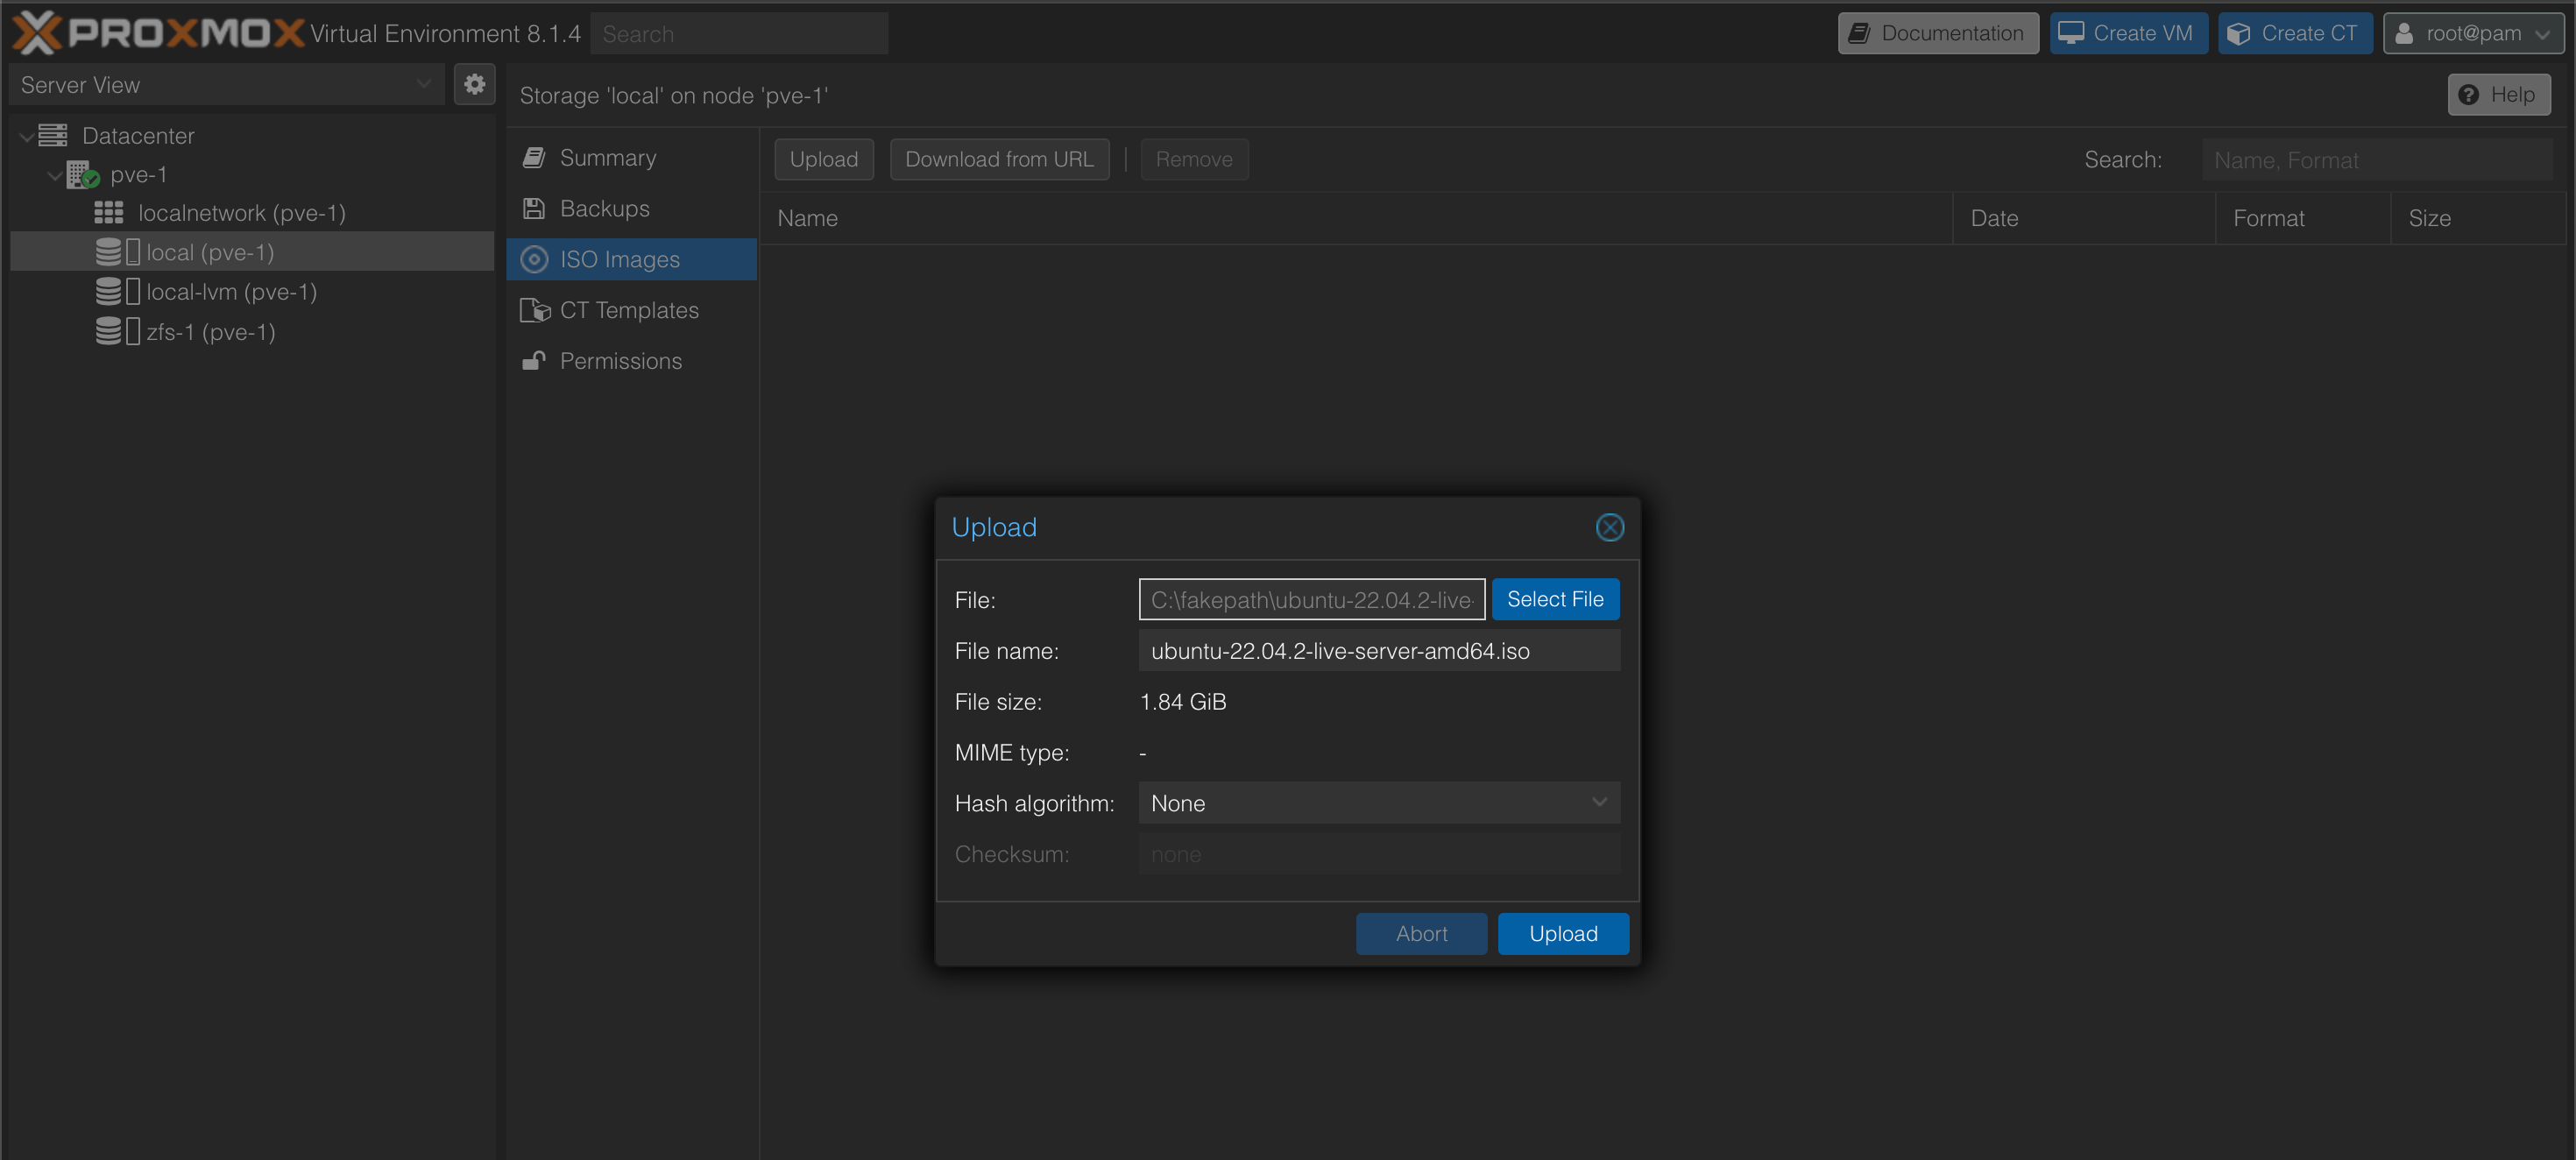
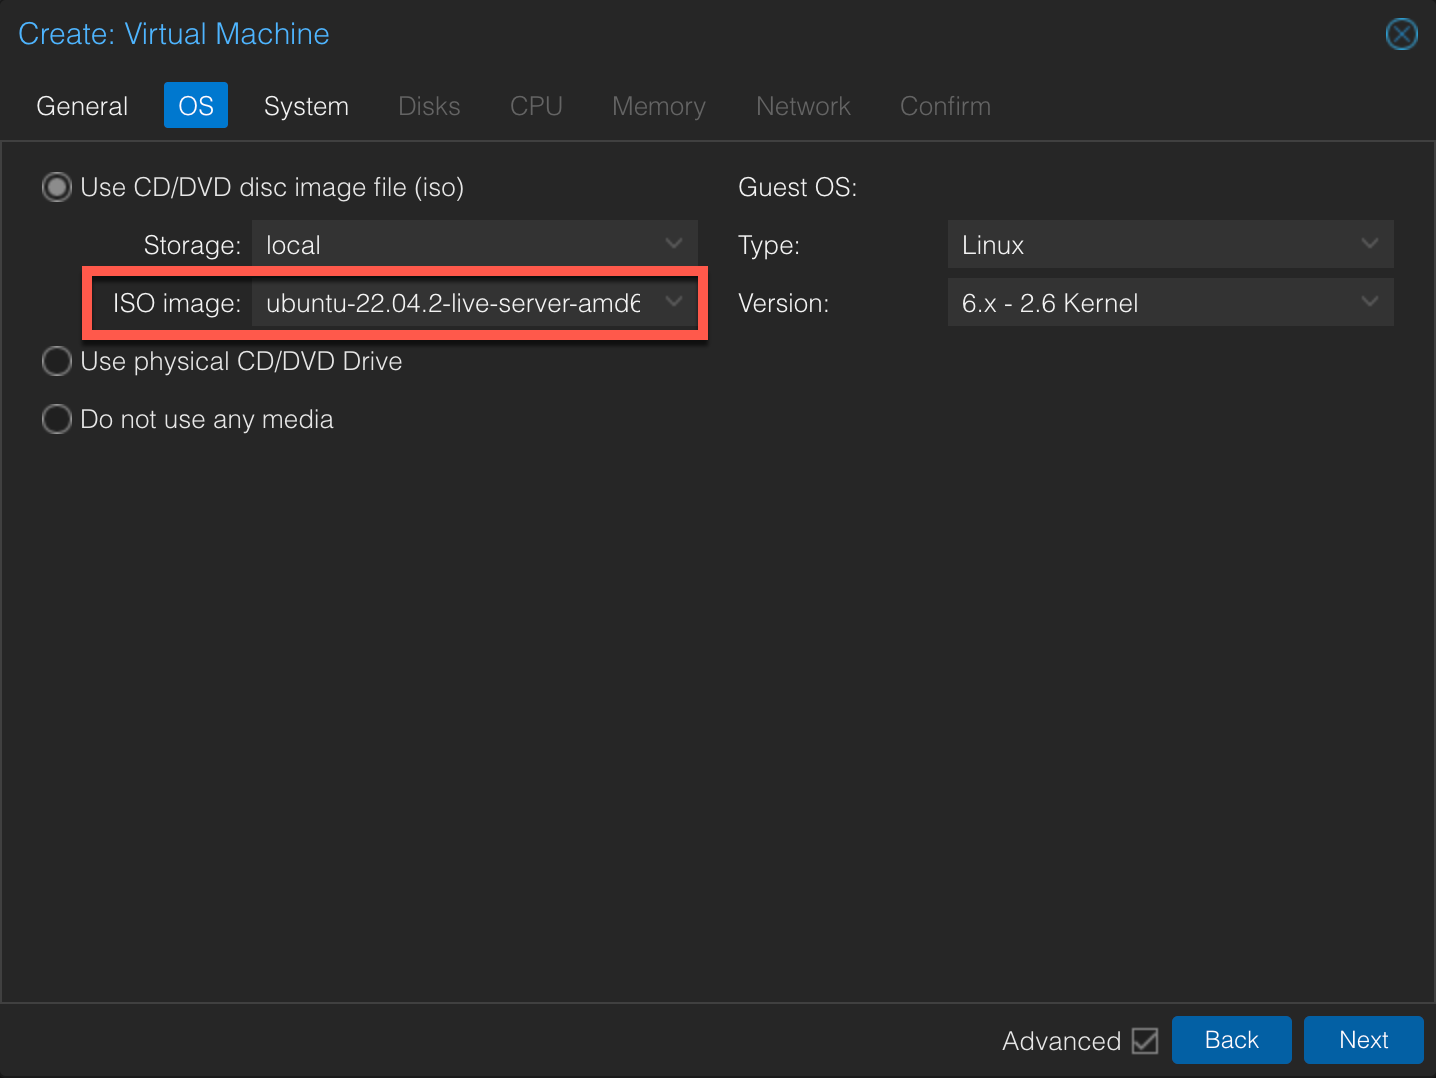
Last thing to do before creating our first VM is to upload a image
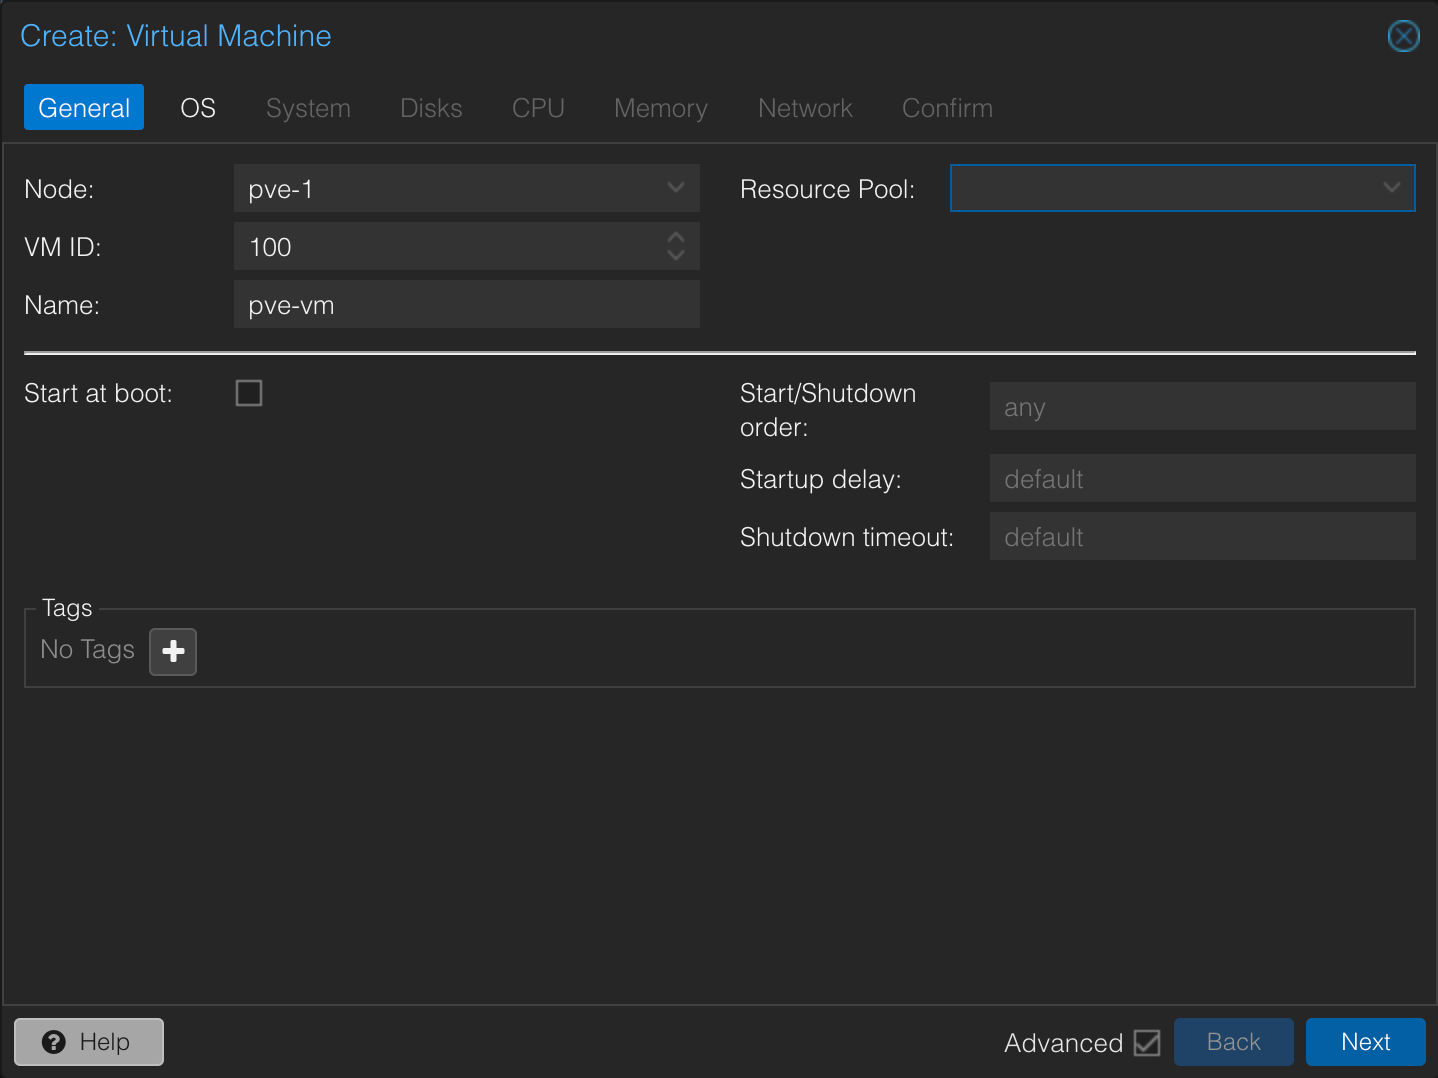
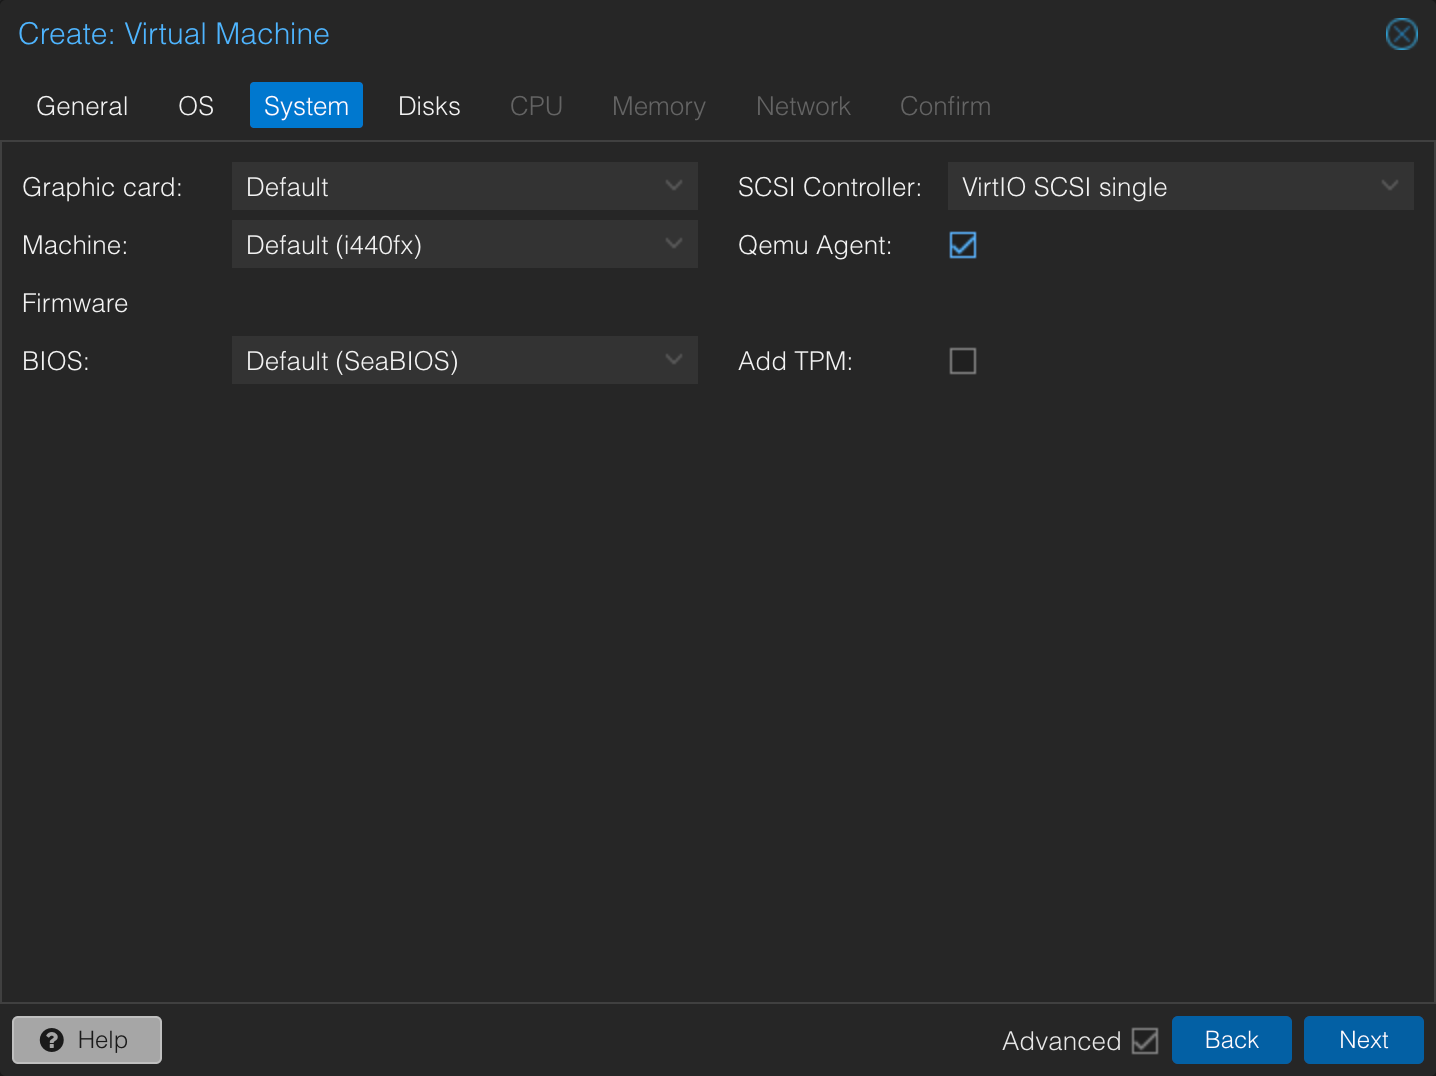
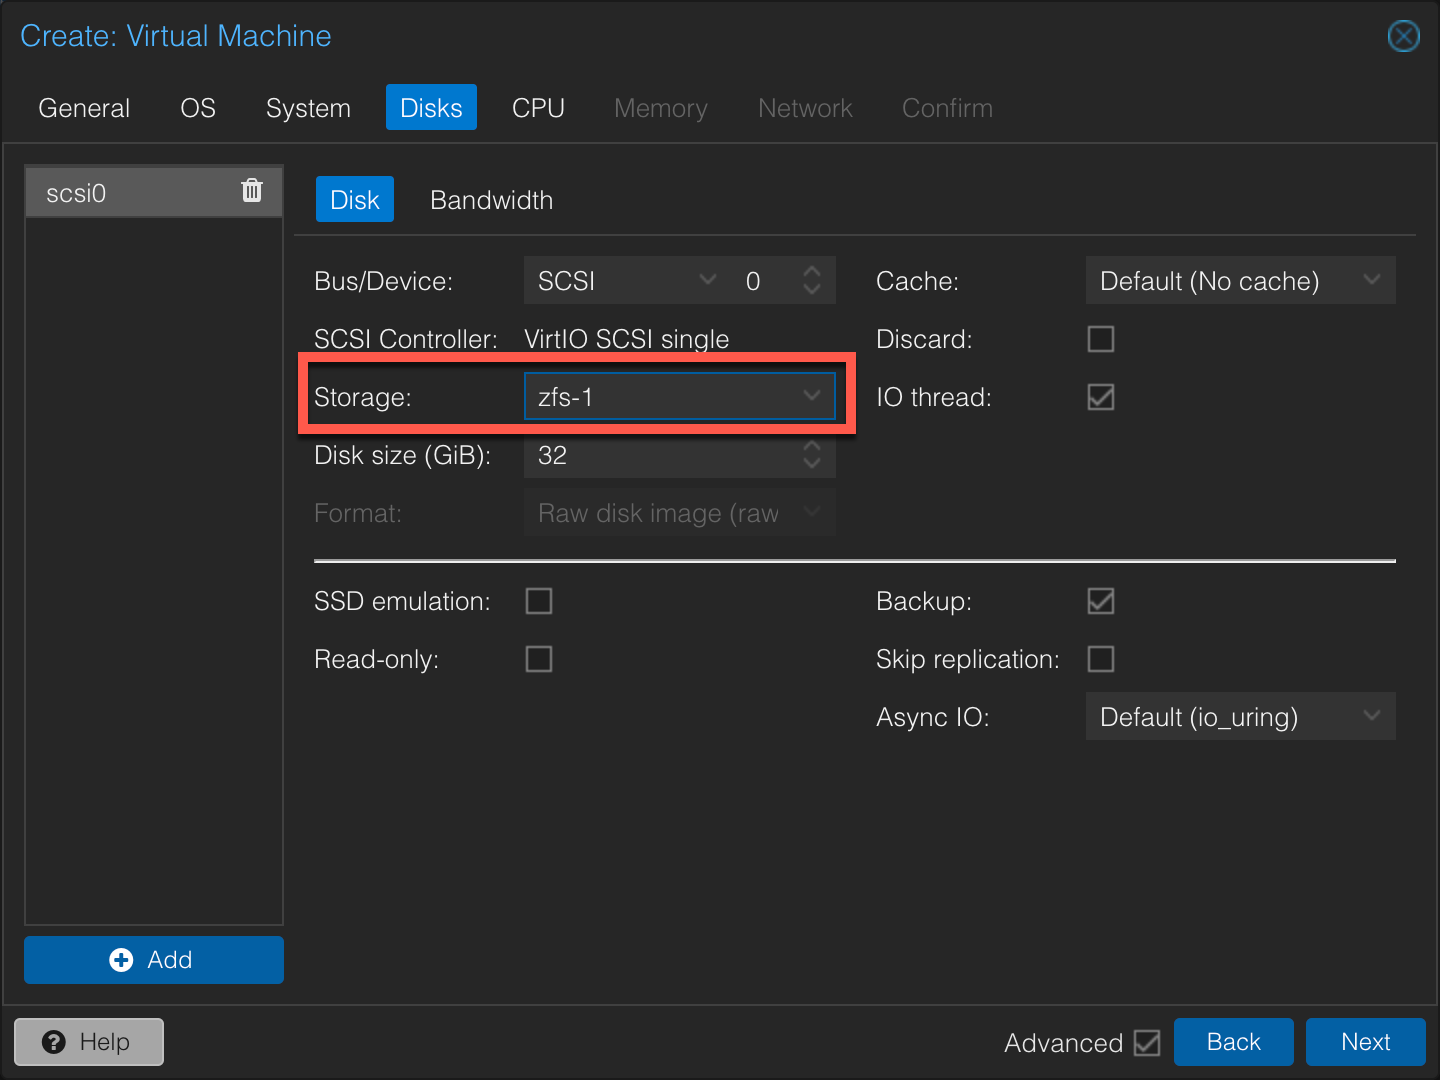
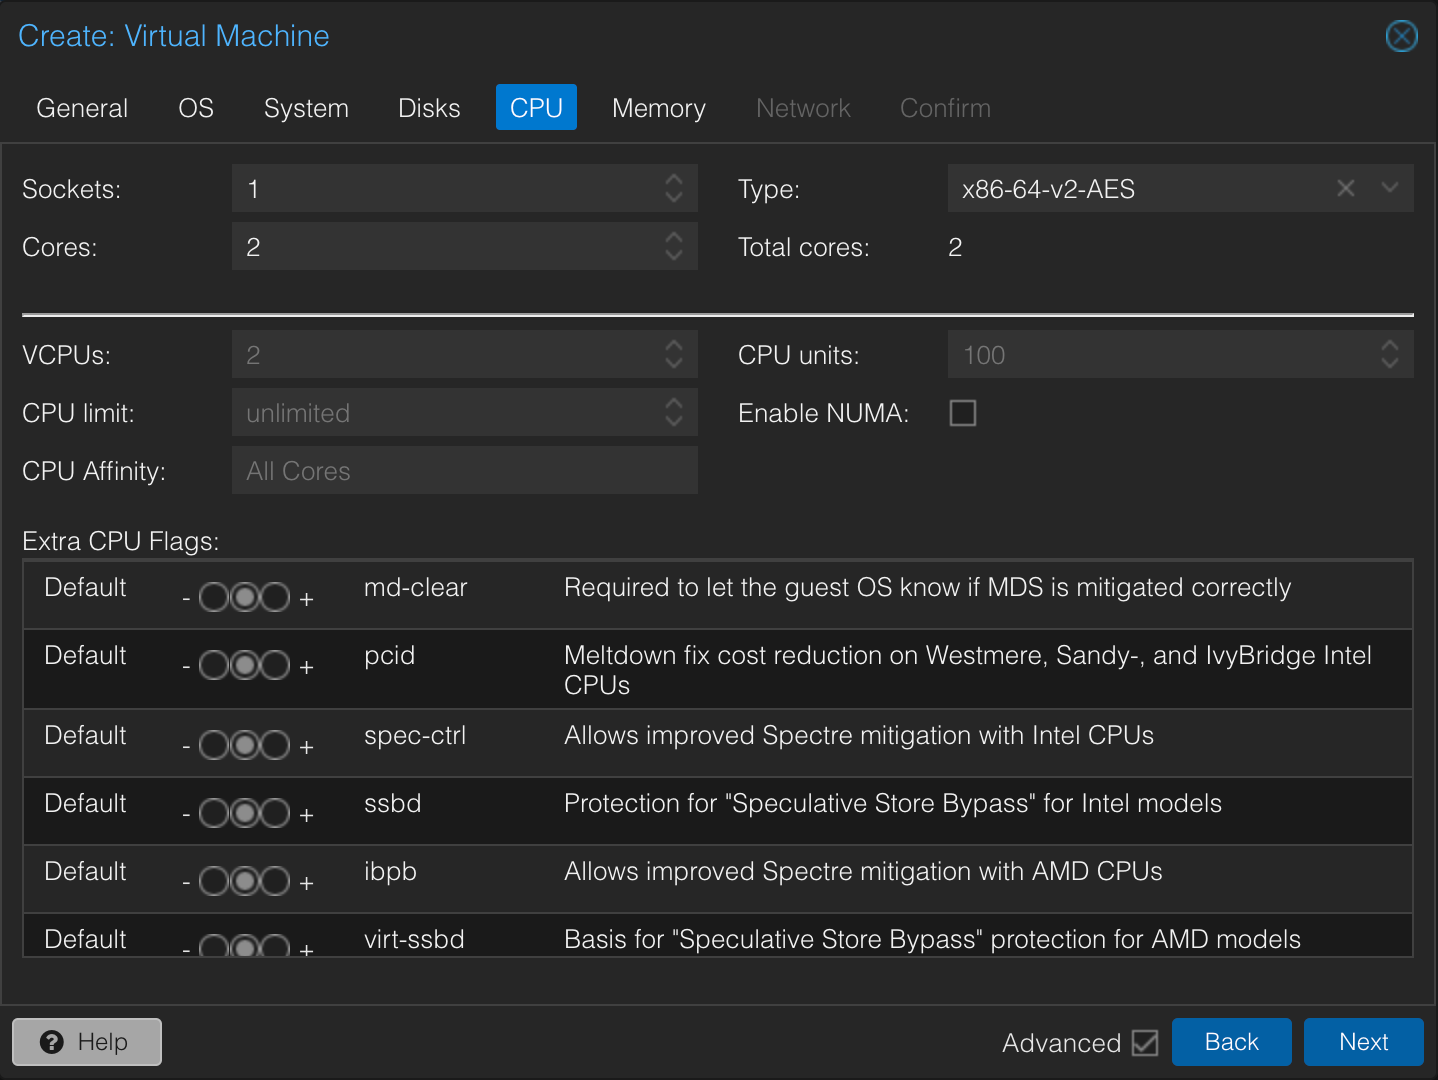
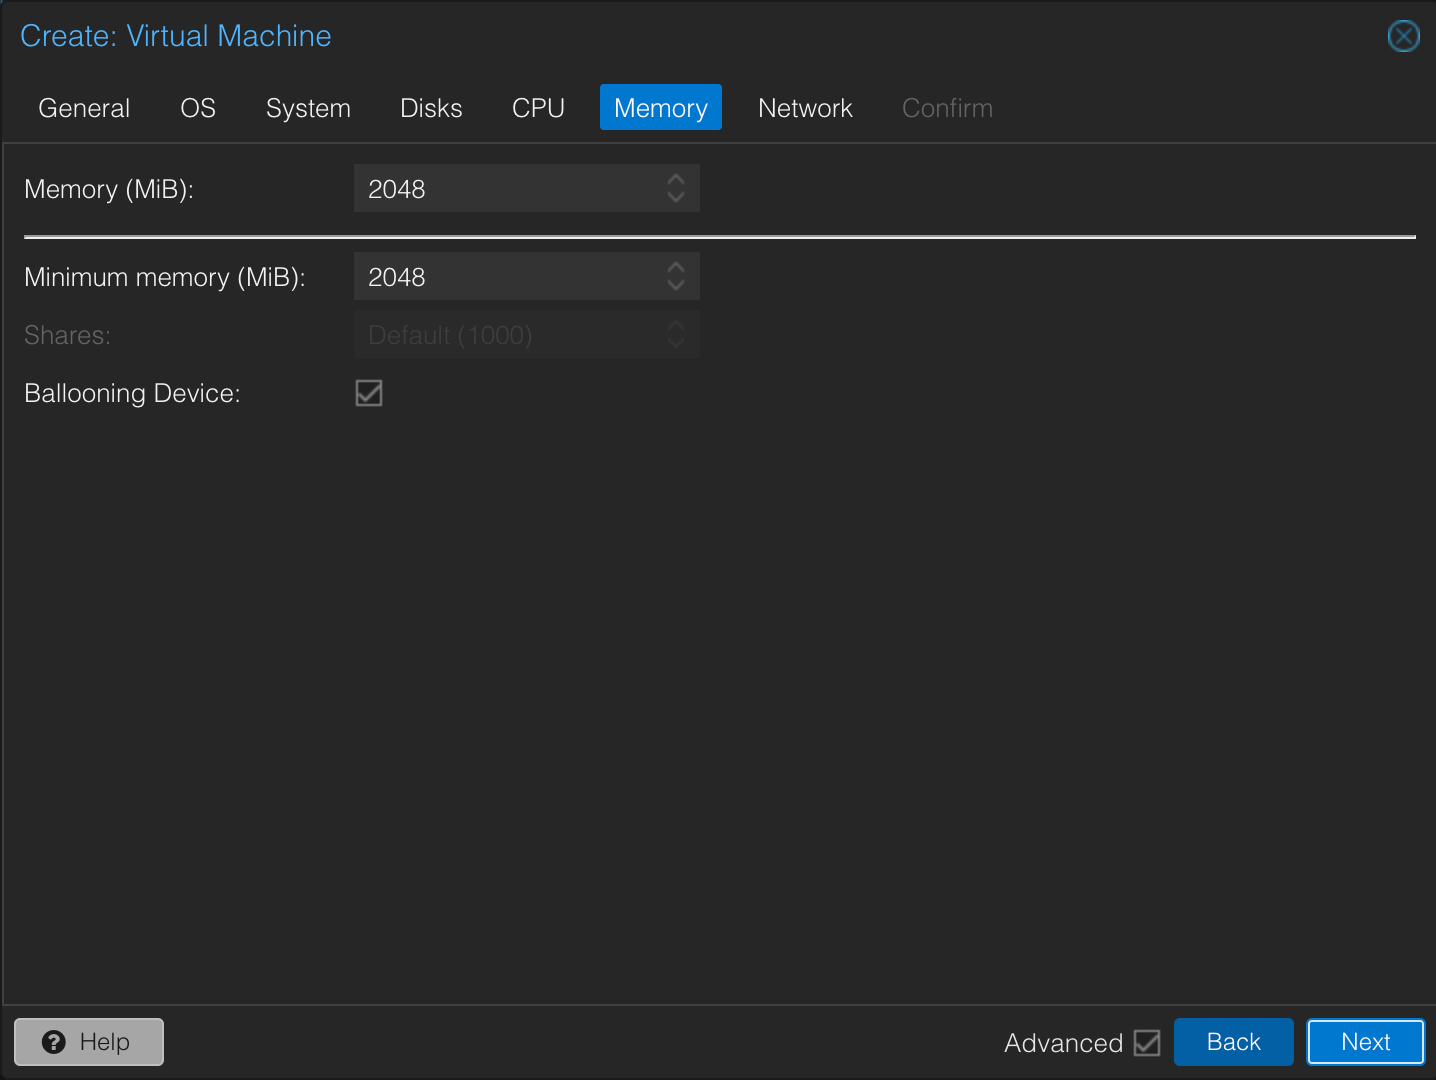
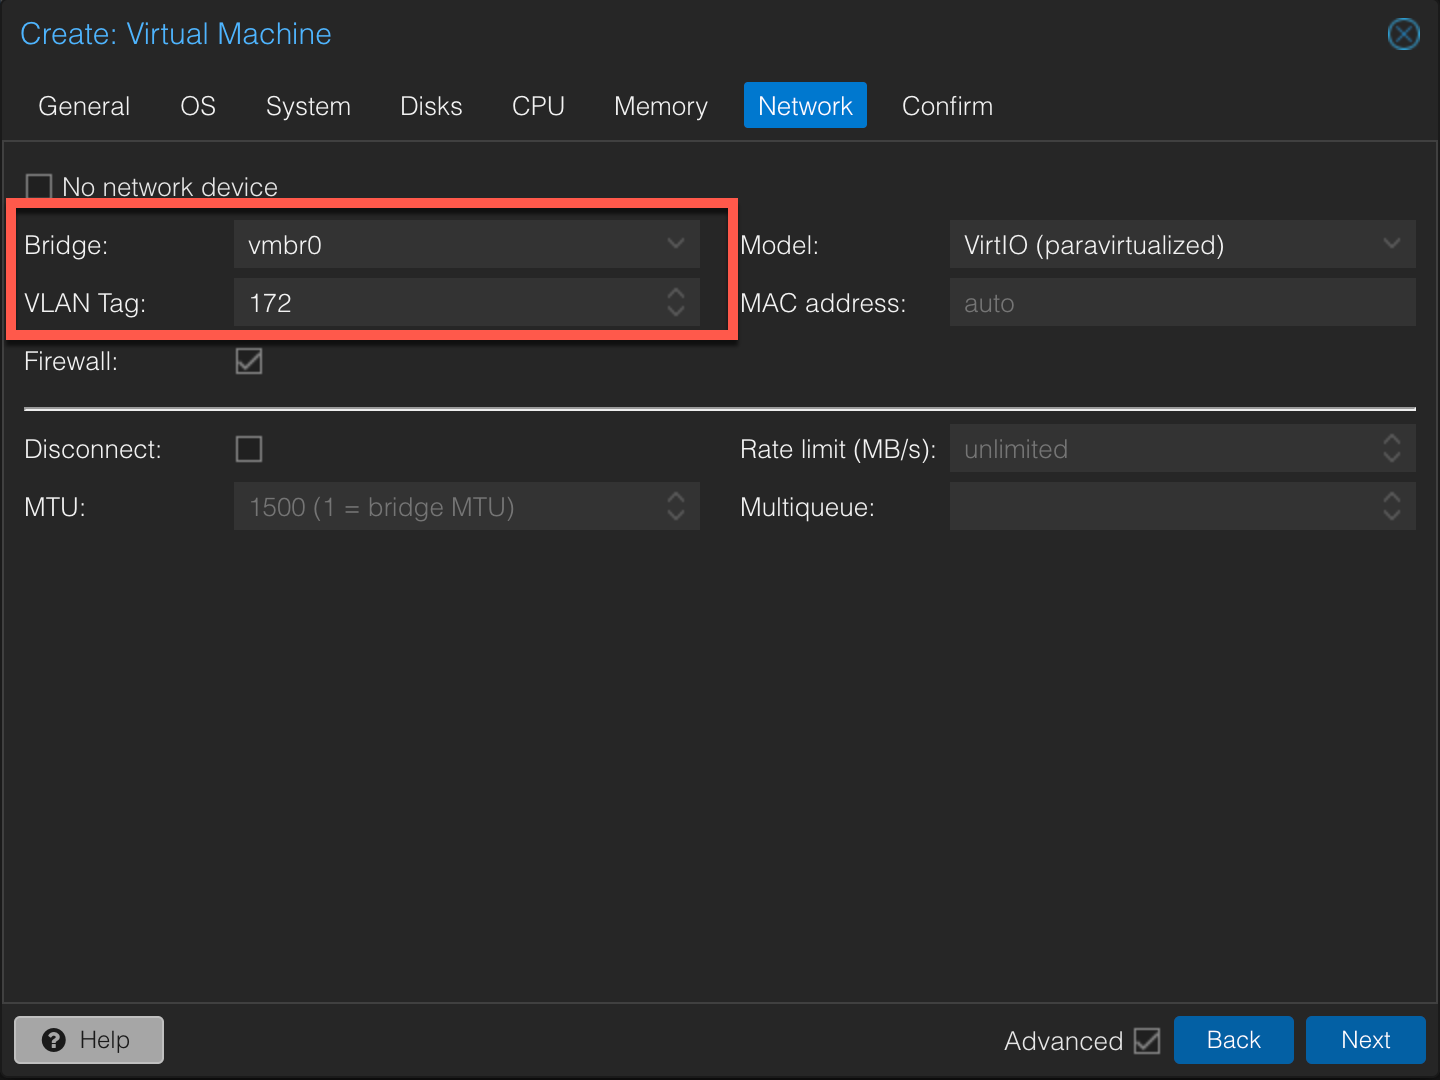
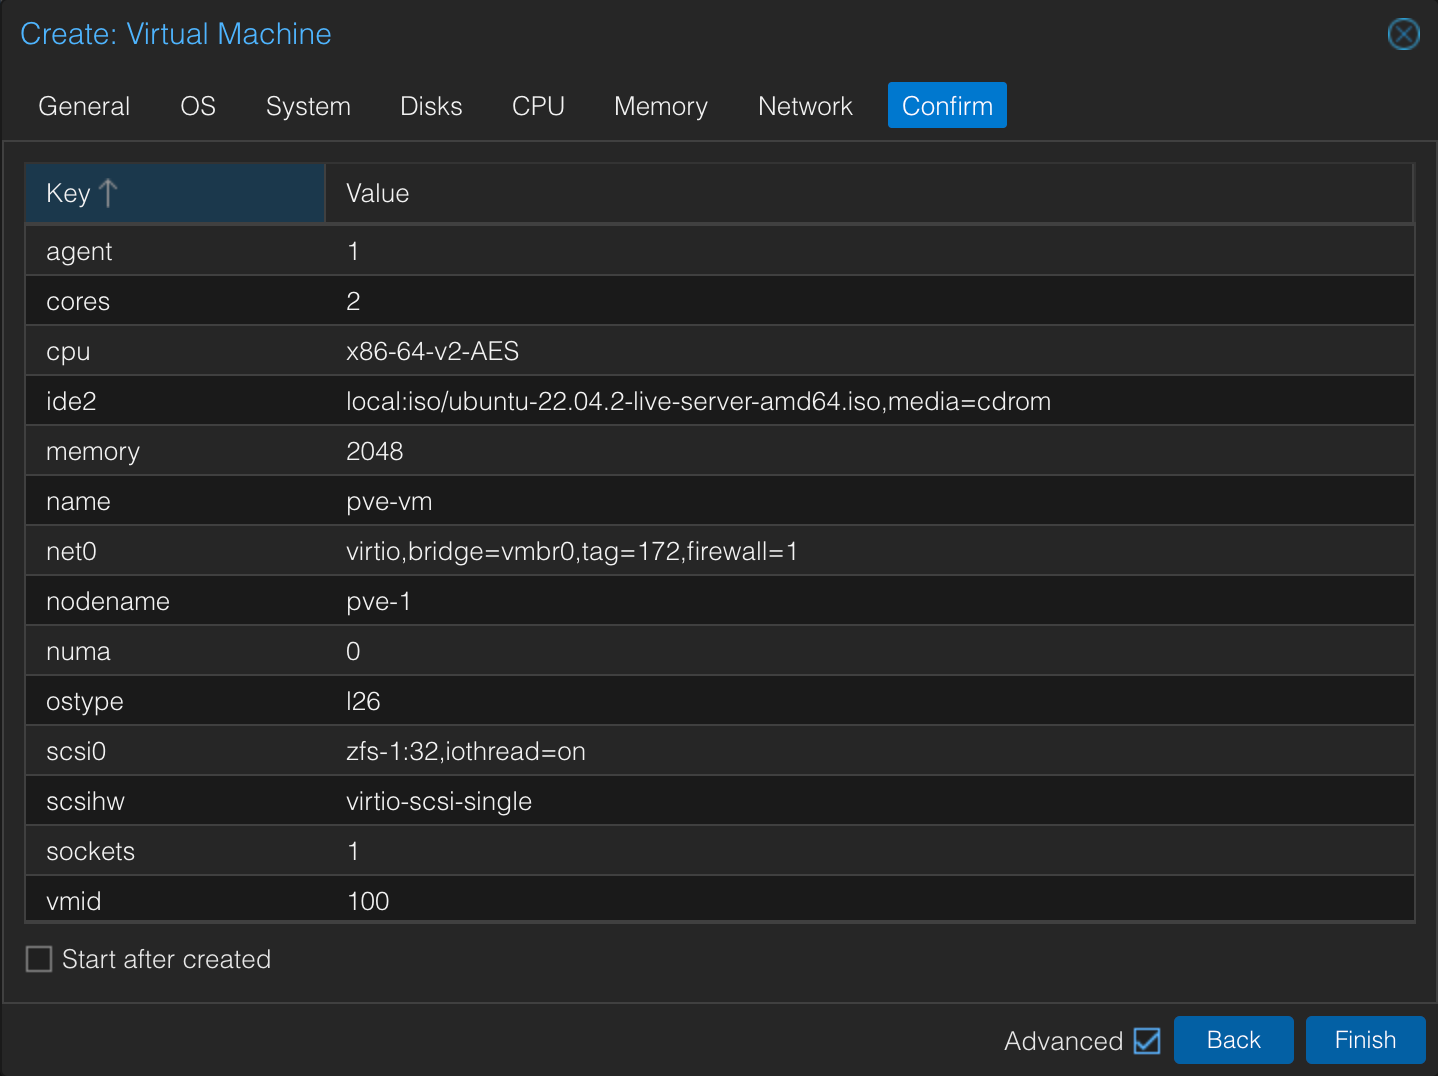
To create our VM we'll hit the Create VM button and follow the wizard. We'll mostly use the defaults, but we'll select the image to use, set the VLAN and choose the zfs pool for storage
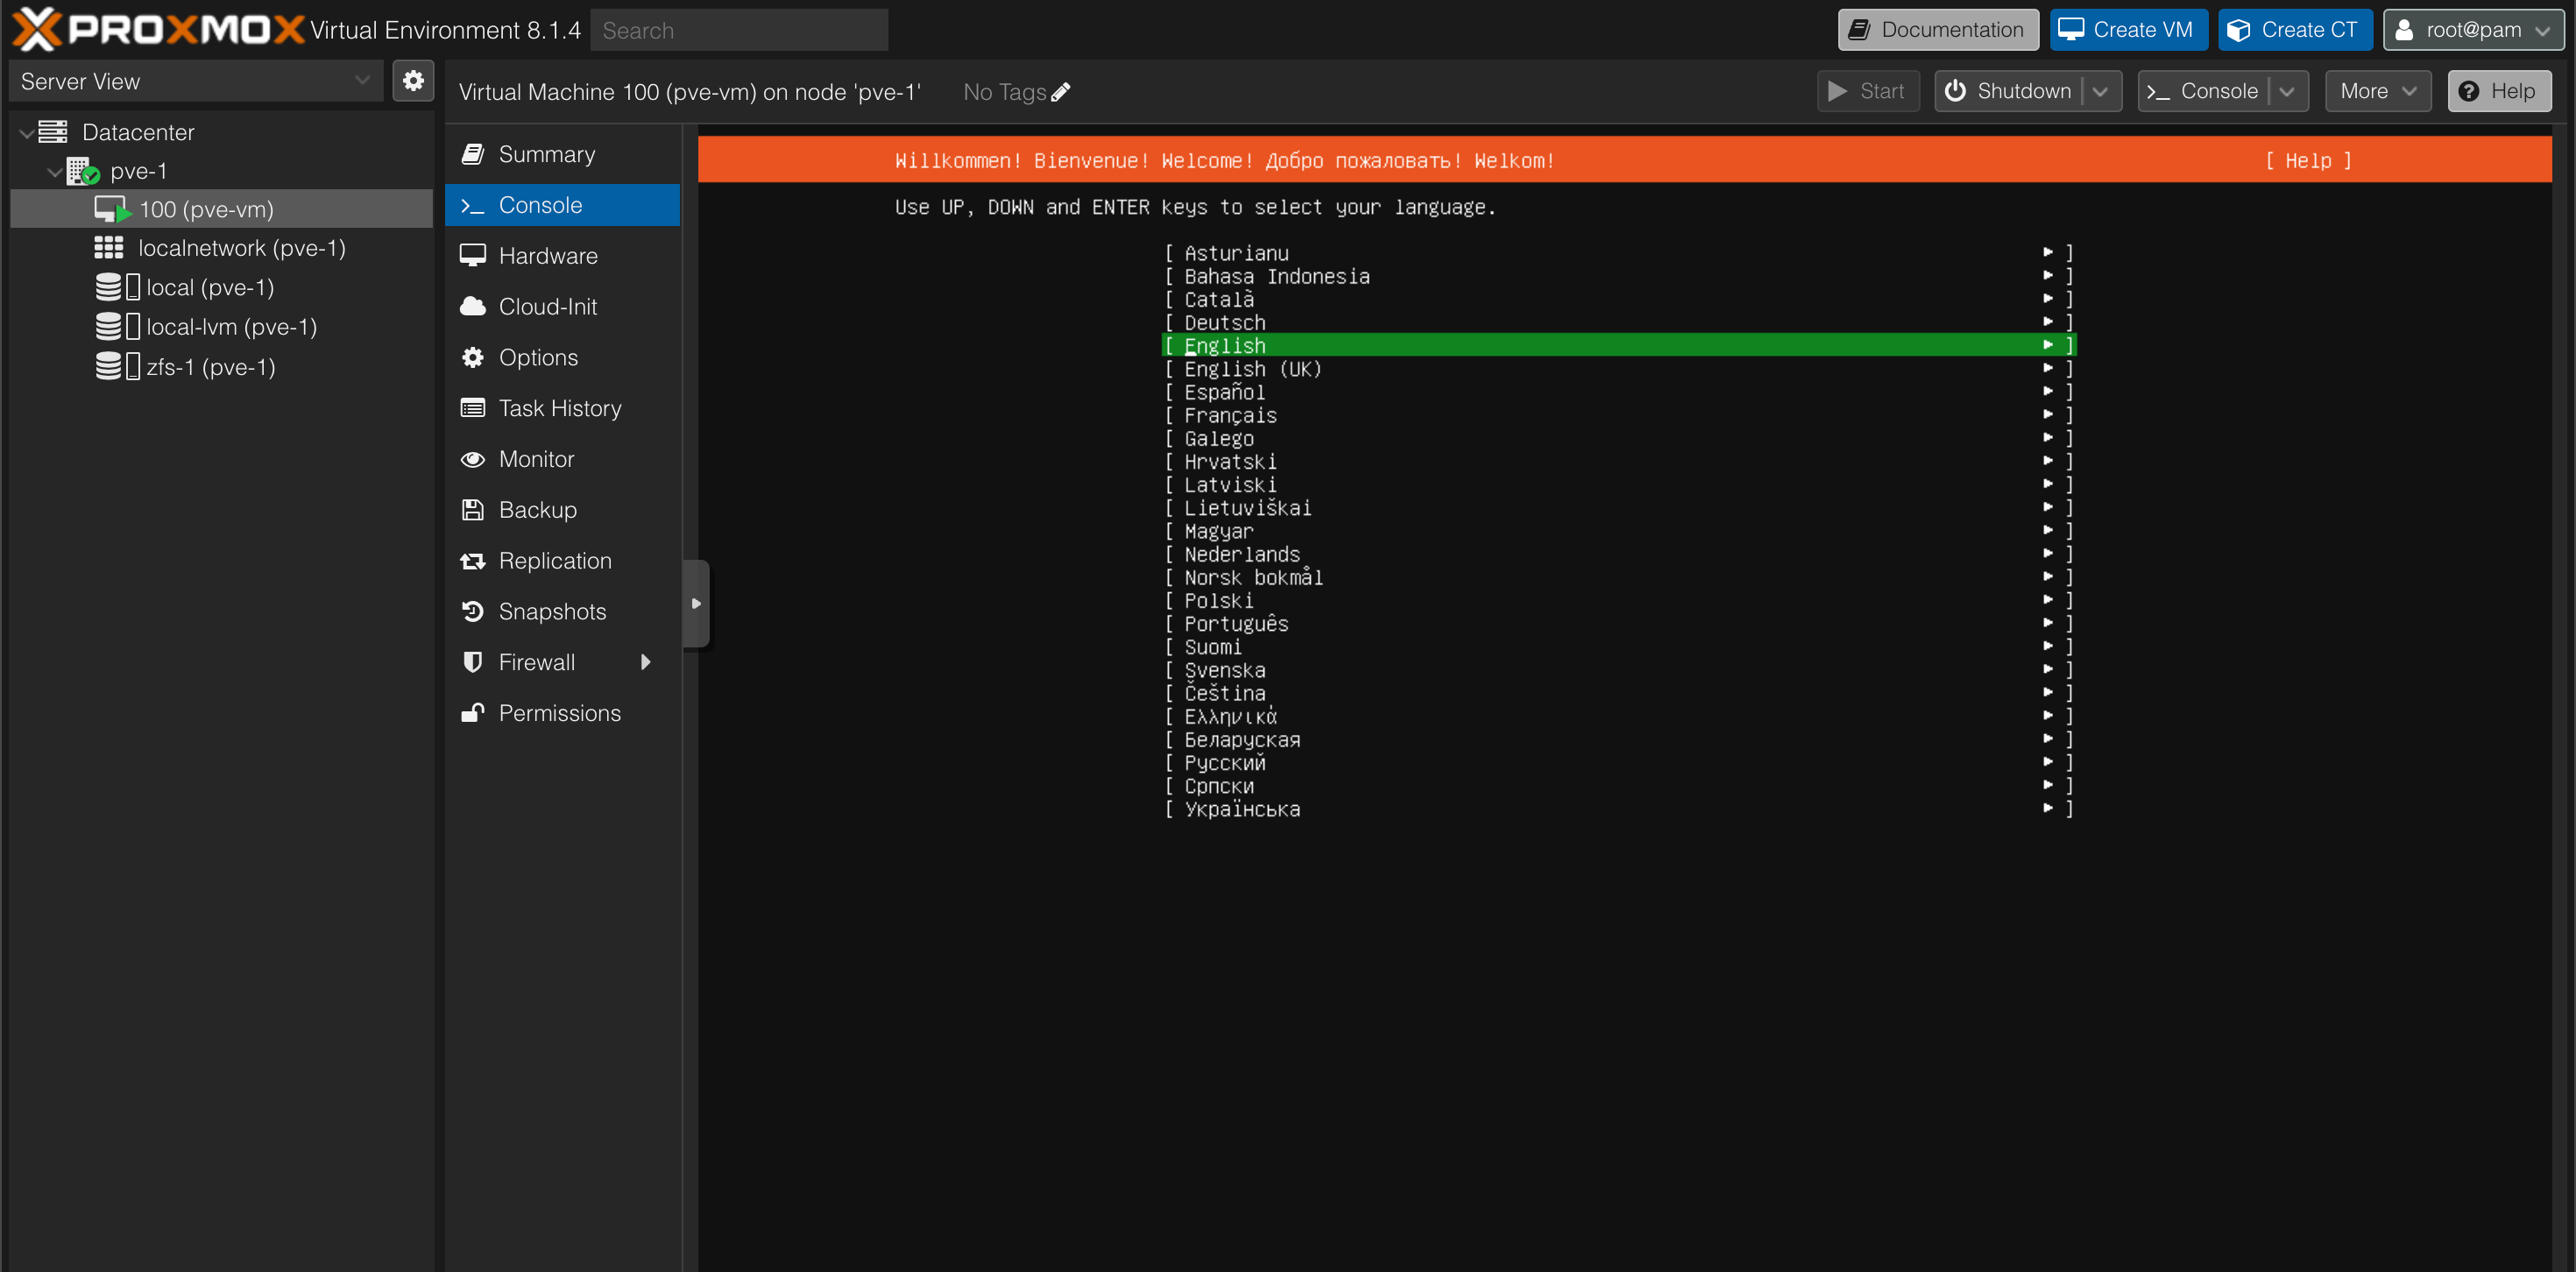
We'll start the VM and after a few seconds our Ubuntu installer should start
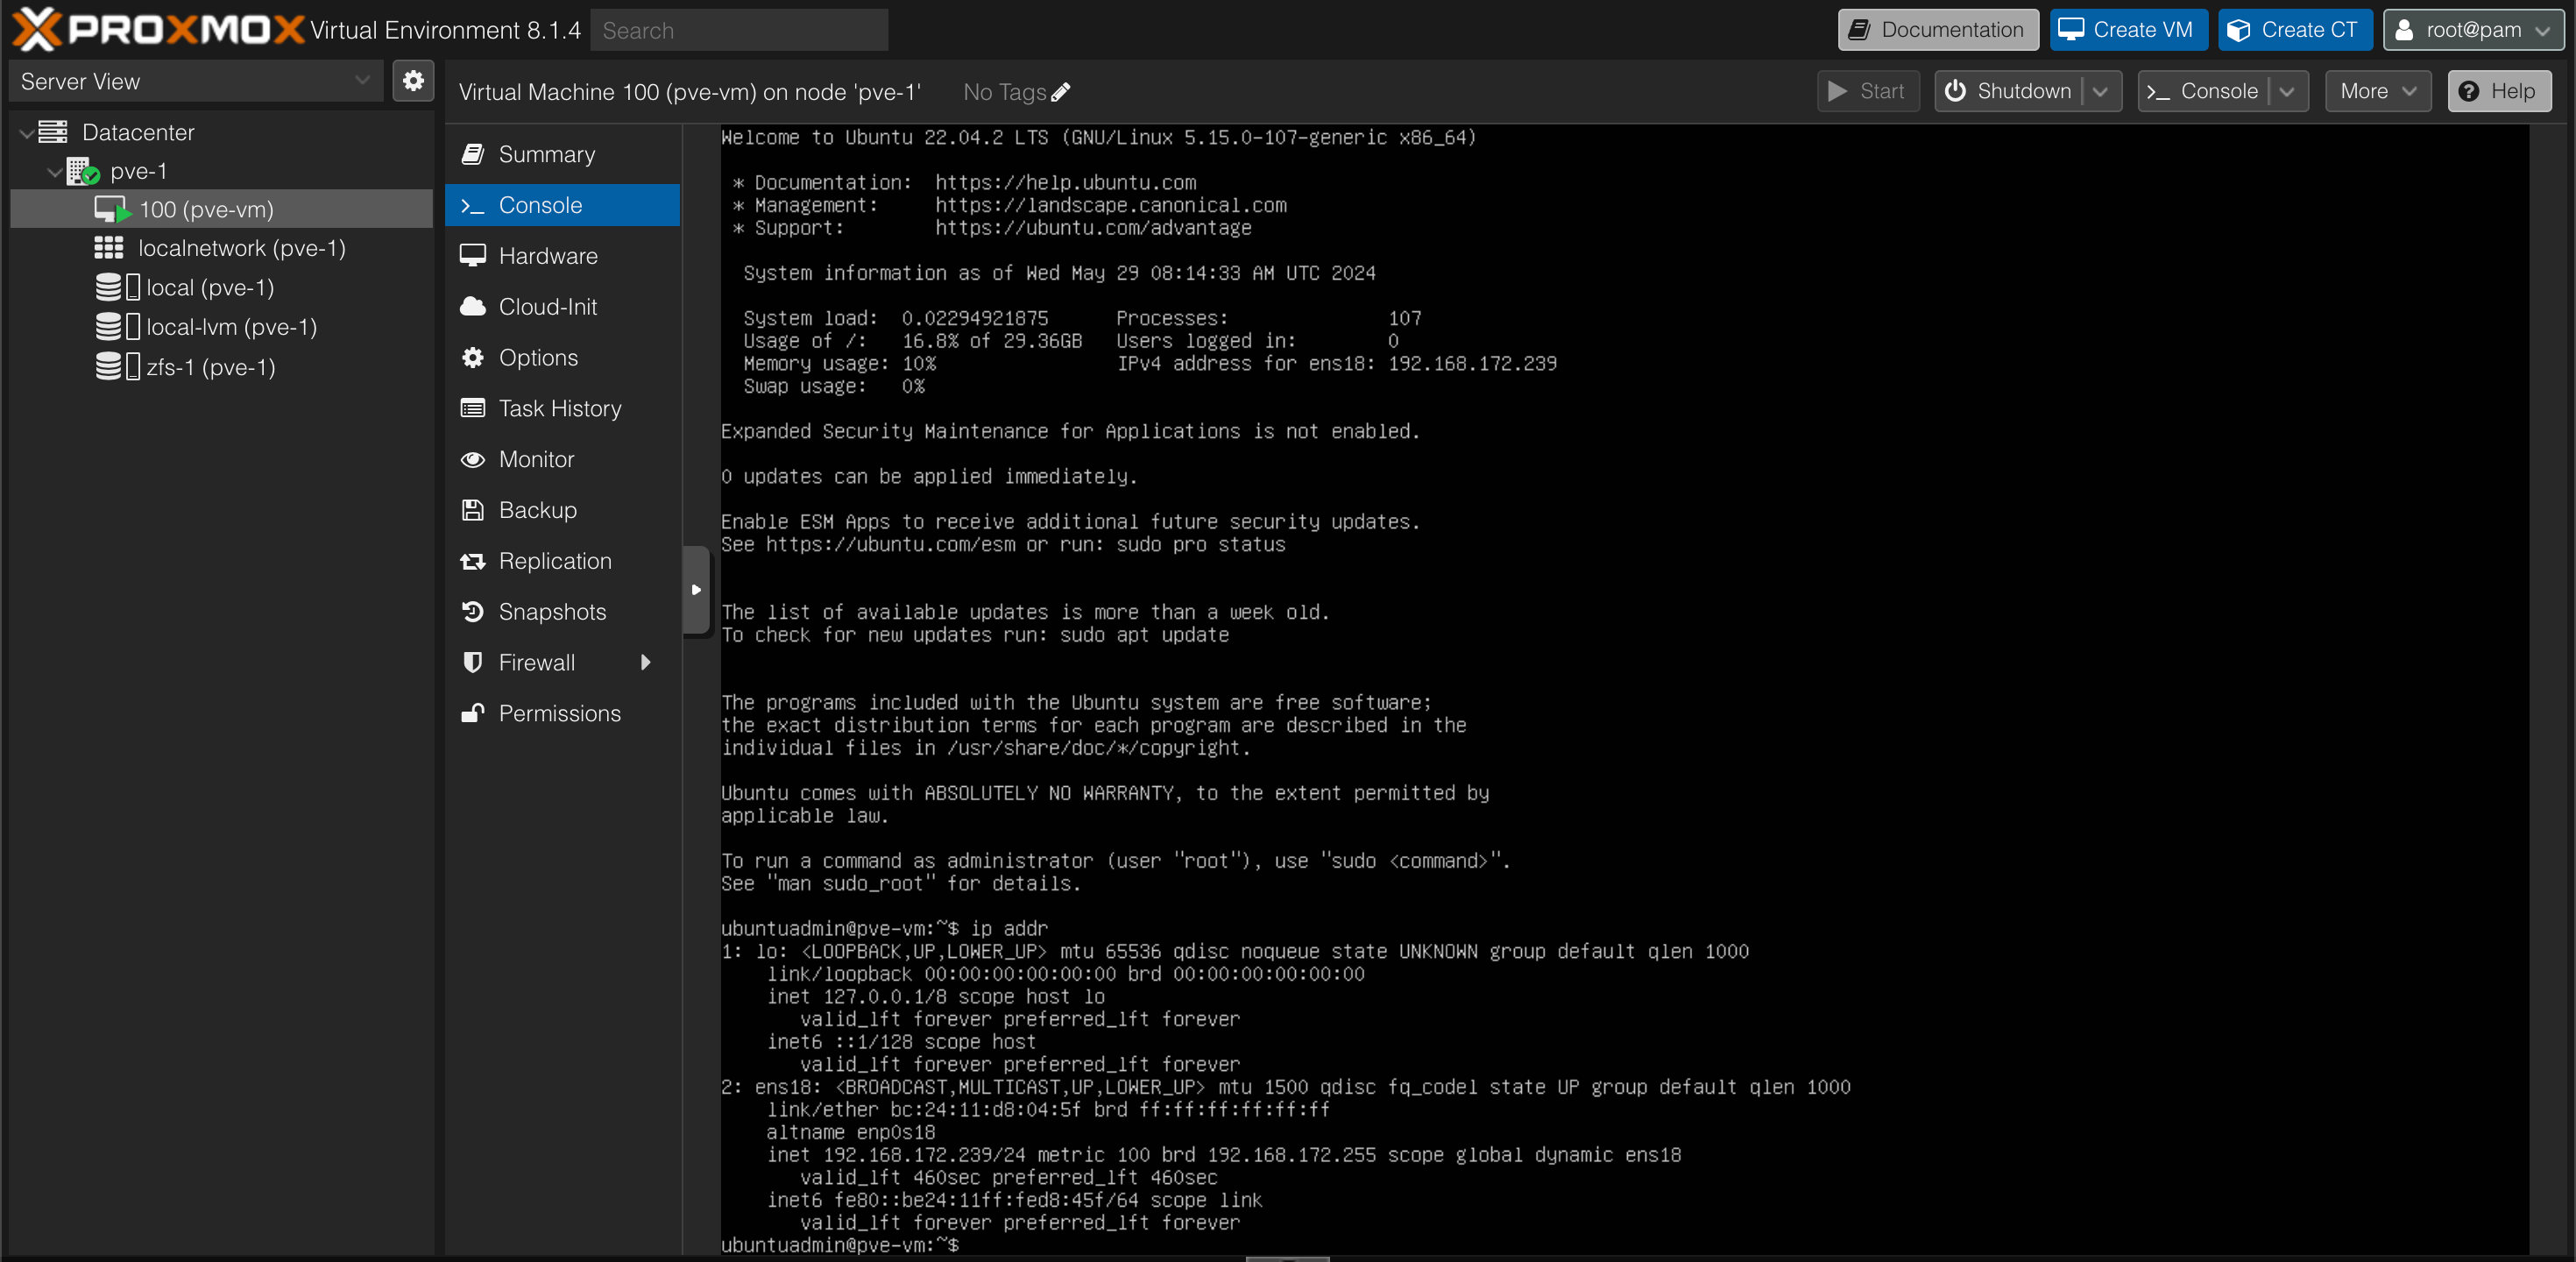
After stepping through the installer settings and waiting for the installation to finish we can verify that our VM has gotten an IP address from our DHCP server
And we can verify the connectivity
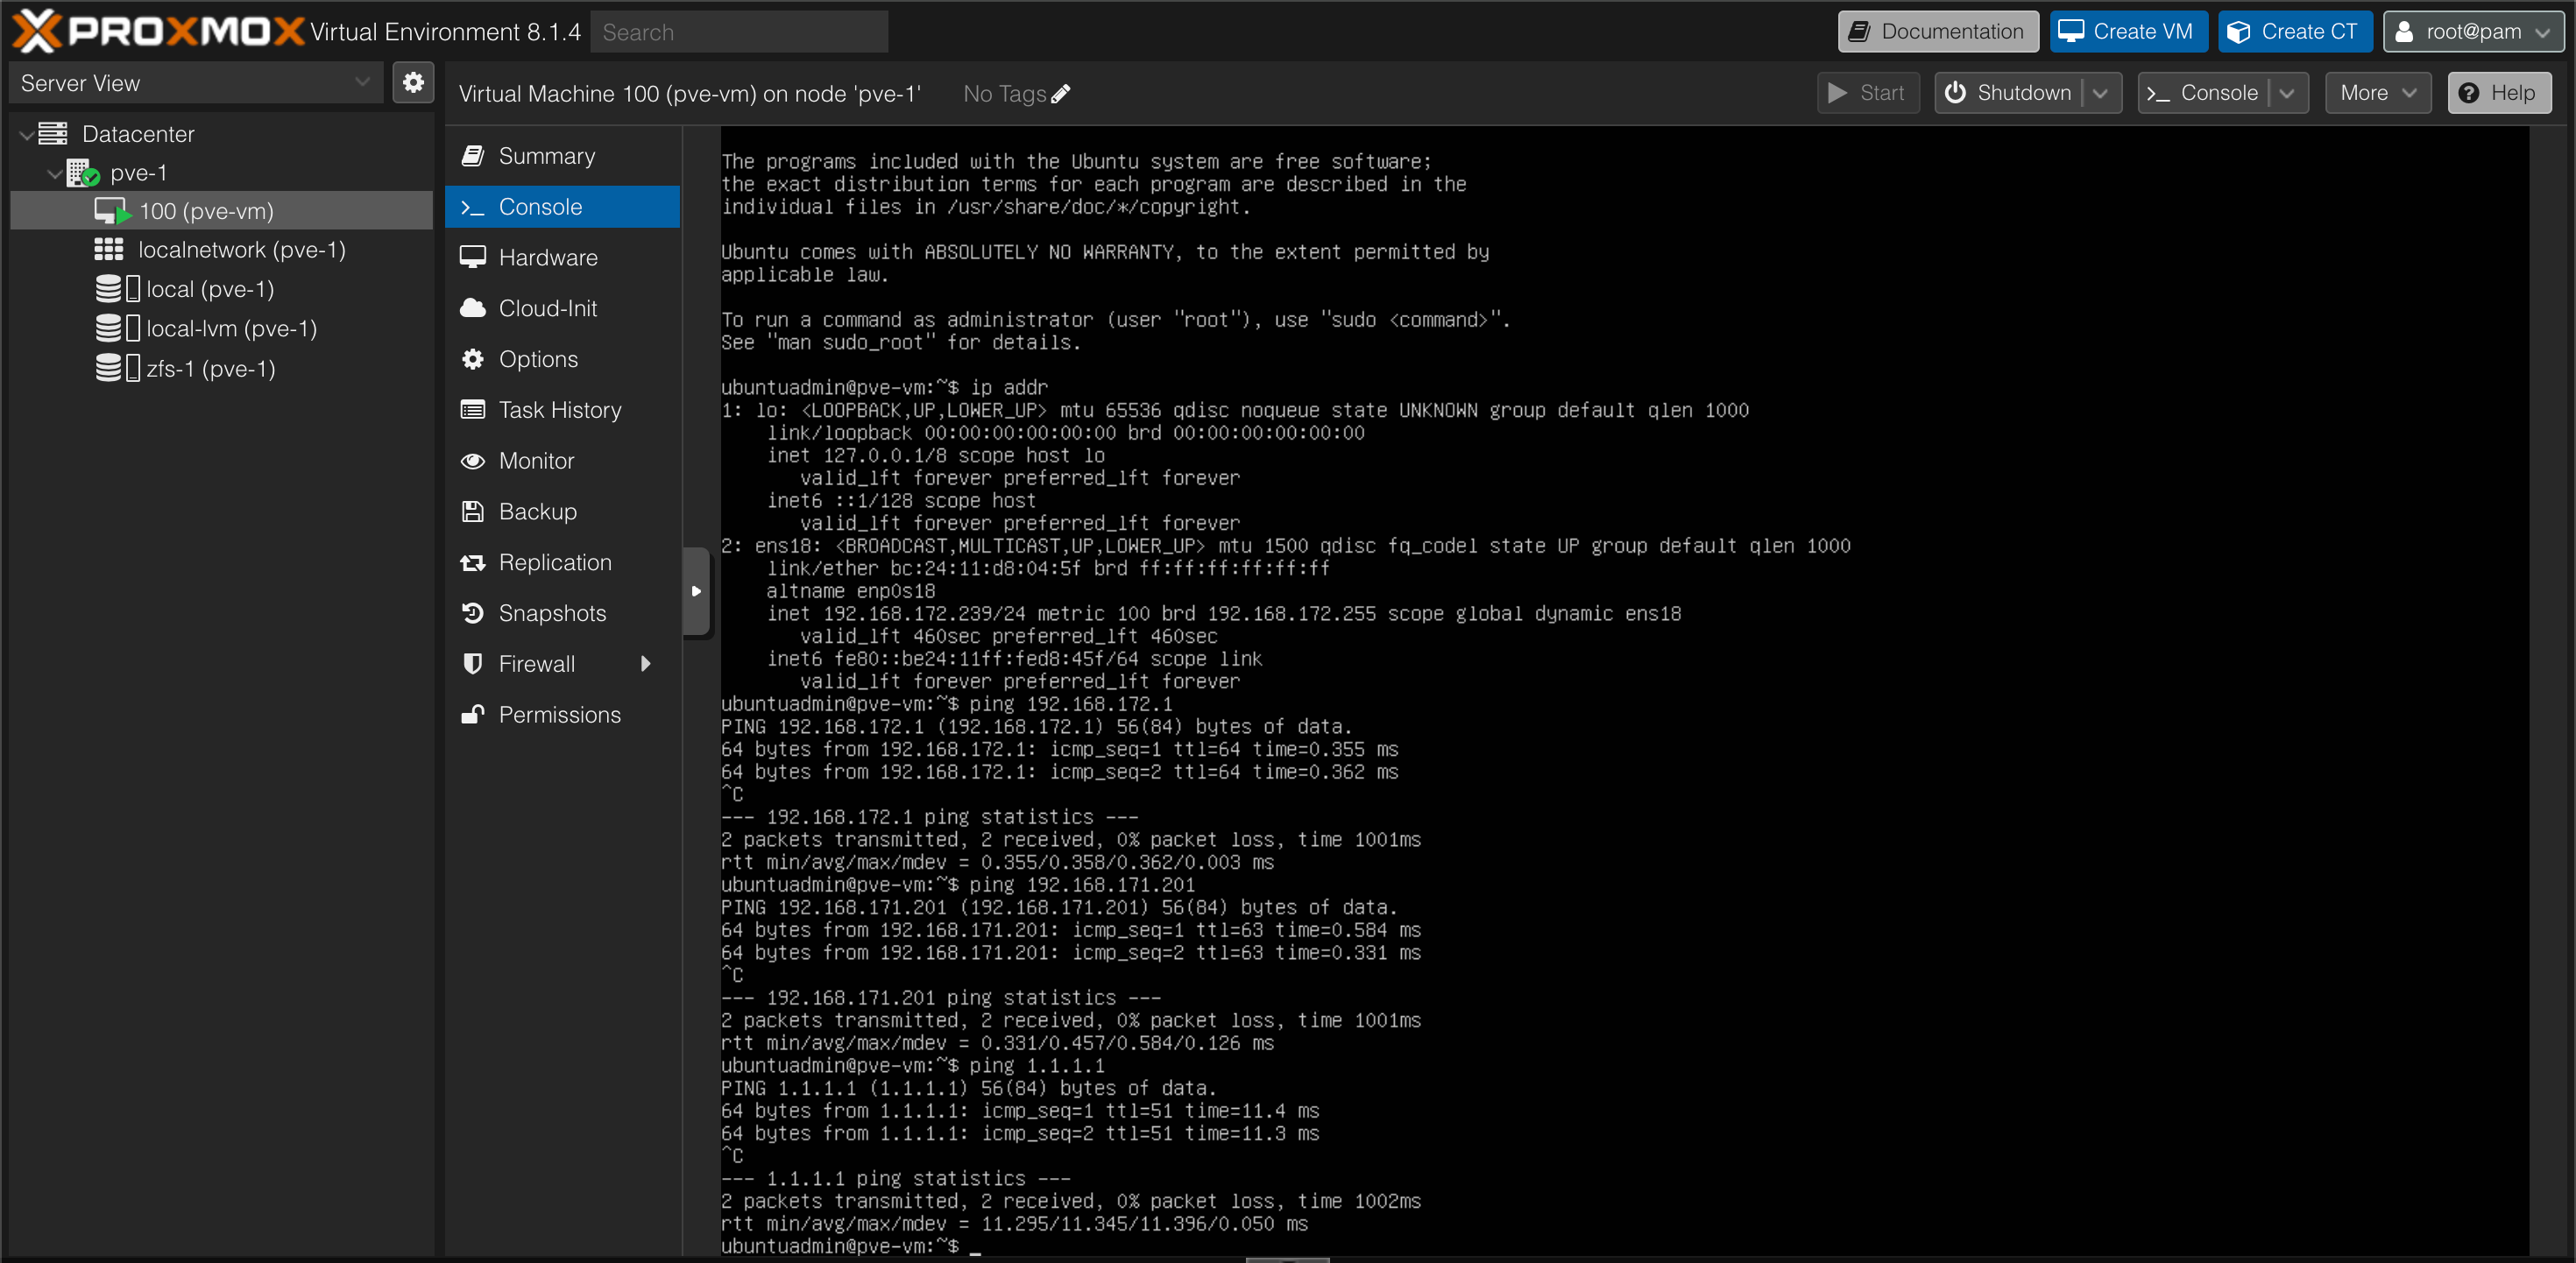
Note that there's no firewall rules in place for outgoing traffic or for the traffic between the VLANs in use here. In a production environment proper measures should be taken
Summary
In this post we have seen how to install a Proxmox VE host, configure a VLAN on the management interface, and created a ZFS pool for VM storage. We've also created a Linux bridge for supporting VLANs on VMs and finally we created an Ubuntu VM to test our setup.
In an upcoming post we'll see how to create a cluster and how to set up replication of our ZFS pools.
Thanks for reading.