Deploying Harbor registry with Tanzu Packages
Update 2022-10-21: After just one year in the wild VMware announced on Oct 21 2022 that they would no longer update or maintain the TCE project and that by end of 2022 the Github project will be removed. For more information check out my blog post here
Most of the things mentioned in this post (outside of installing TCE) should still be valid for other Kubernetes distributions
Continuing with Tanzu Packages and Tanzu Community Edition (TCE) clusters we'll now take a look at deploying a Harbor Image registry.
Harbor is an open source image registry and can be installed both on Kubernetes, a Docker system or on a virtual machine.
There's lots of features available in Harbor, like image vulnerability scanning, content signing and validation, replication, and more, but in this post we'll focus on getting Harbor up and running on a TCE cluster.
Pre requisites
Before we look at Harbor we'll take care of the pre-req's.
Harbor will be set up with Contour for ingress, and we'll also use cert-manager for certificate generation. If you handle certs by yourself this is optional.
Take a look at my blog post here for deploying Contour on TCE
In addition you'll probably want to have some kind of persistent storage for storing images and the Harbor configuration. I'll use NFS for this.
I have a blog post here that looks at deploying and configuring NFS to work with TCE clusters
Persistent volume
We'll create one Persistent Volume mapped to an NFS share, and a Persistent Volume Claim bound to this. As we'll see when we configure Harbor we could have created Persistent Volumes for the different Harbor services, but for now I'm fine with one PV/PVC that can be shared.
 1apiVersion: v1
 2kind: PersistentVolume
 3metadata:
 4  name: nfs-harbor
 5spec:
 6  storageClassName: "" #We could have used Storage classes and dynamic provisioning
 7  capacity:
 8    storage: 20Gi #Total amount of storage to be available from NFS
 9  accessModes:
10    - ReadWriteOnce
11  persistentVolumeReclaimPolicy:
12  nfs:
13    path: /mnt/media/kube/harbor #Path on NFS server
14    server: x.x.x.x #NFS server
15    readOnly: false
16---
17apiVersion: v1
18kind: PersistentVolumeClaim
19metadata:
20  name: nfs-harbor-pvc
21  namespace: harbor
22spec:
23  storageClassName: ""
24  volumeName: nfs-harbor #Bind to the PV created above
25  accessModes:
26    - ReadWriteOnce
27  volumeMode: Filesystem
28  resources:
29    requests:
30      storage: 20Gi
1kubectl apply -f pv-harbor.yaml
2kubectl -n harbor get pv,pvc

With PV's created and contour and cert-manager already running we're ready to take a look at the Harbor configuration.
Harbor deployment
The Tanzu Package documentation for Harbor can be found here. For more information about how to work with packages take a look at my post here, or the official documentation
There's a lot of configuration options for the Harbor package. A yaml file, with all options and a lot of comments can be found here
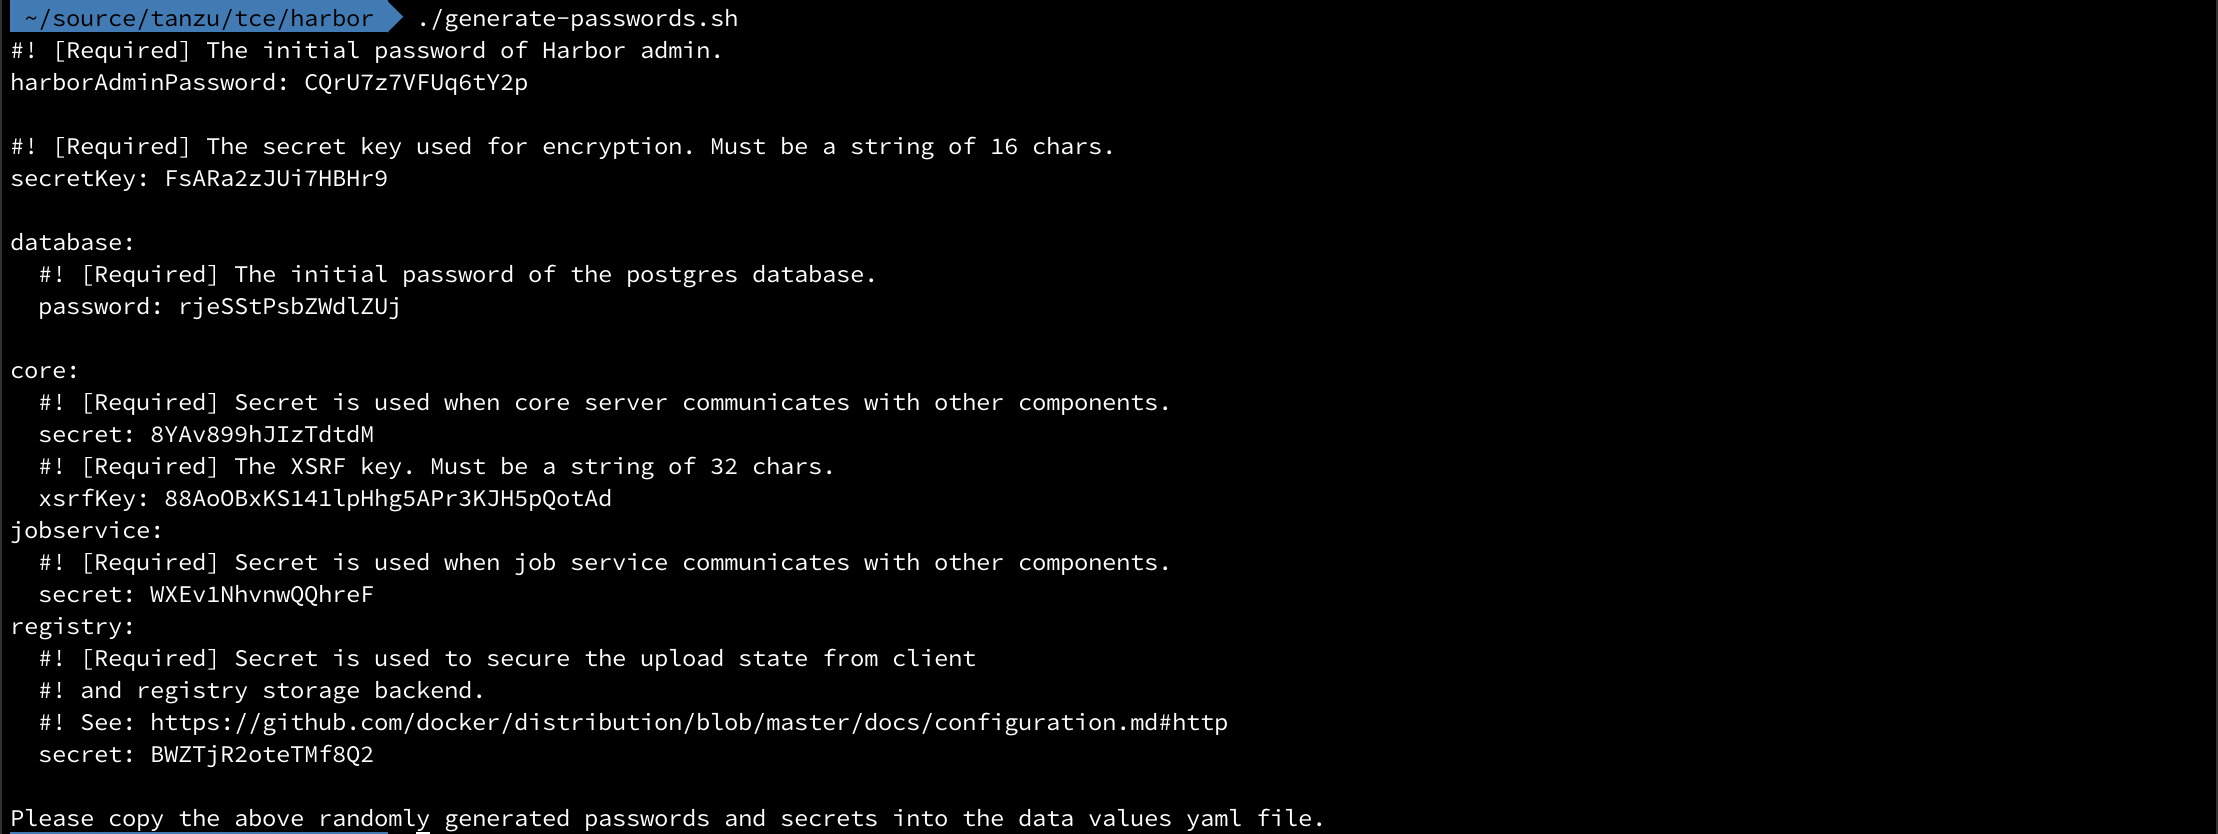
Passwords
Before we look at the config file there are quite a few passwords and secrets that needs to be configured in the file. If you don't want to provide all of this yourself there's a handy script here that can generate these for you. If you do want to provide them yourself, please make sure you check the length requirements in the comments of the config yaml file.
Config file
I've downloaded the config yaml file and adjusted it to fit my environment. Again, there's lots of options in the file so I've omitted some of the stuff I've left at the default, and I've ripped out the comments.
 1namespace: harbor
 2hostname: tce-harbor.rhmlab.local #Hostname used to reach the Harbor UI
 3port:
 4  https: 443
 5logLevel: info
 6enableContourHttpProxy: true
 7harborAdminPassword: CQrU7z7VFUq6tY2p
 8secretKey: FsARa2zJUi7HBHr9
 9database:
10  password: rjeSStPsbZWdlZUj
11core:
12  replicas: 1
13  secret: 8YAv899hJIzTdtdM
14  xsrfKey: 88AoOBxKS141lpHhg5APr3KJH5pQotAd
15jobservice:
16  replicas: 1
17  secret: WXEv1NhvnwQQhreF
18registry:
19  replicas: 1
20  secret: BWZTjR2oteTMf8Q2
21notary:
22  enabled: true
23trivy:
24  enabled: true
25  replicas: 1
26  gitHubToken: ""
27  skipUpdate: false
28persistence:
29  persistentVolumeClaim:
30    registry:
31      existingClaim: "nfs-harbor-pvc"
32      storageClass: "-"
33      subPath: "registry"
34      accessMode: ReadWriteOnce
35      size: 10Gi
36    jobservice:
37      existingClaim: "nfs-harbor-pvc"
38      storageClass: "-"
39      subPath: "jobservice"
40      accessMode: ReadWriteOnce
41      size: 1Gi
42    database:
43      existingClaim: "nfs-harbor-pvc"
44      storageClass: "-"
45      subPath: "db"
46      accessMode: ReadWriteOnce
47      size: 1Gi
48    redis:
49      existingClaim: "nfs-harbor-pvc"
50      storageClass: "-"
51      subPath: "redis"
52      accessMode: ReadWriteOnce
53      size: 1Gi
54    trivy:
55      existingClaim: "nfs-harbor-pvc"
56      storageClass: "-"
57      subPath: "trivy"
58      accessMode: ReadWriteOnce
59      size: 5Gi
60  imageChartStorage:
61    disableredirect: false
62    type: filesystem
63    filesystem:
64      rootdirectory: /storage
65pspNames: null
66metrics:
67  enabled: false
68  core:
69    path: /metrics
70    port: 8001
71  registry:
72    path: /metrics
73    port: 8001
74  jobservice:
75    path: /metrics
76    port: 8001
77  exporter:
78    path: /metrics
79    port: 8001
80
81network:
82  ipFamilies: ["IPv4","IPv6"]
Make a note of the storage settings. Harbor supports dynamic provisioning of storage by utilizing Storage Classes. In my environment there's no support for dynamic storage provisioning and I'm not using Storage classes. As per the documentation I've had to set storageClass: "-" which let's me configure the PVC we previously created.
Deploy package
With the config file ready we're good to go!
1tanzu package available list harbor.community.tanzu.vmware.com
2tanzu package install harbor --package-name harbor.community.tanzu.vmware.com --version 2.2.3 --values-file <config-file>
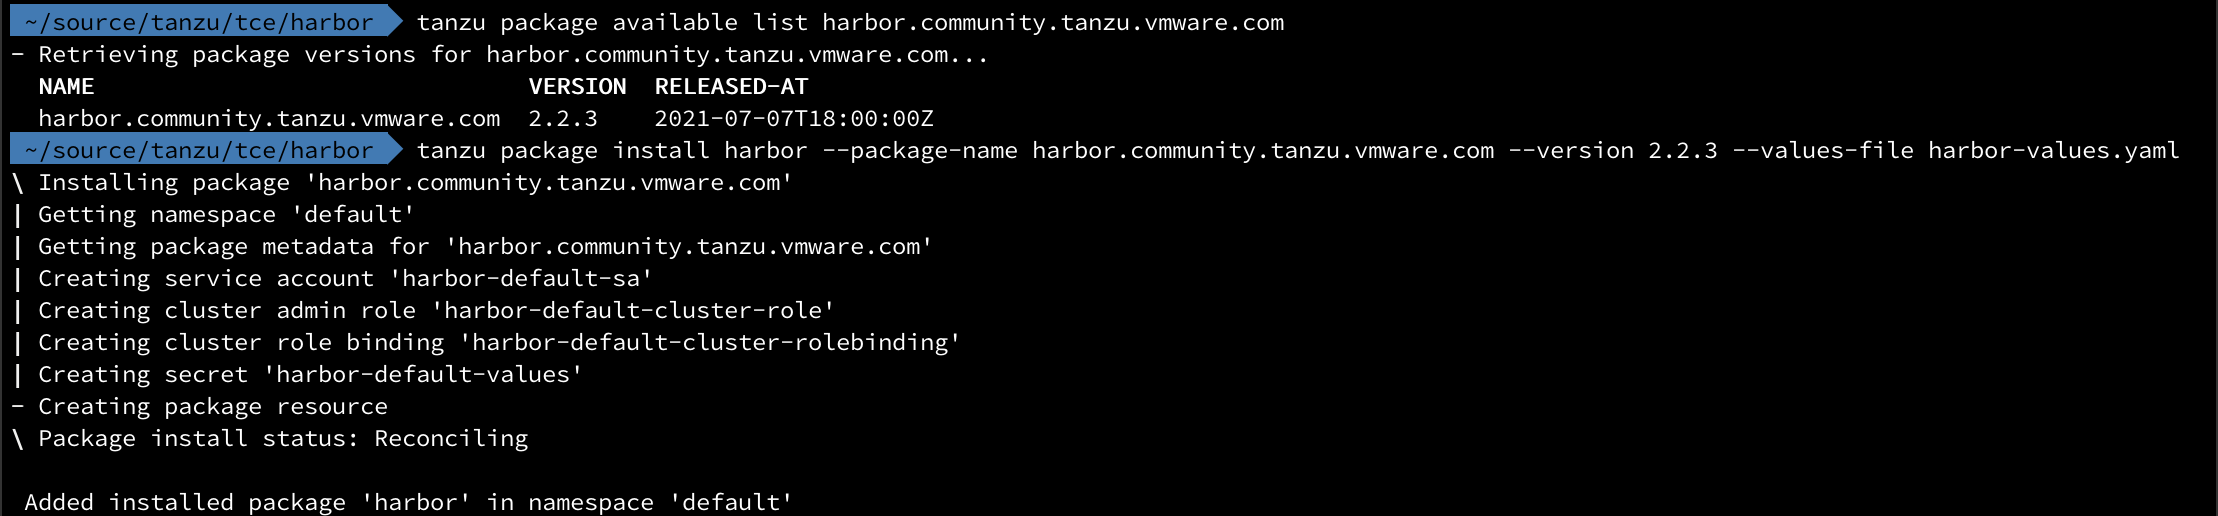
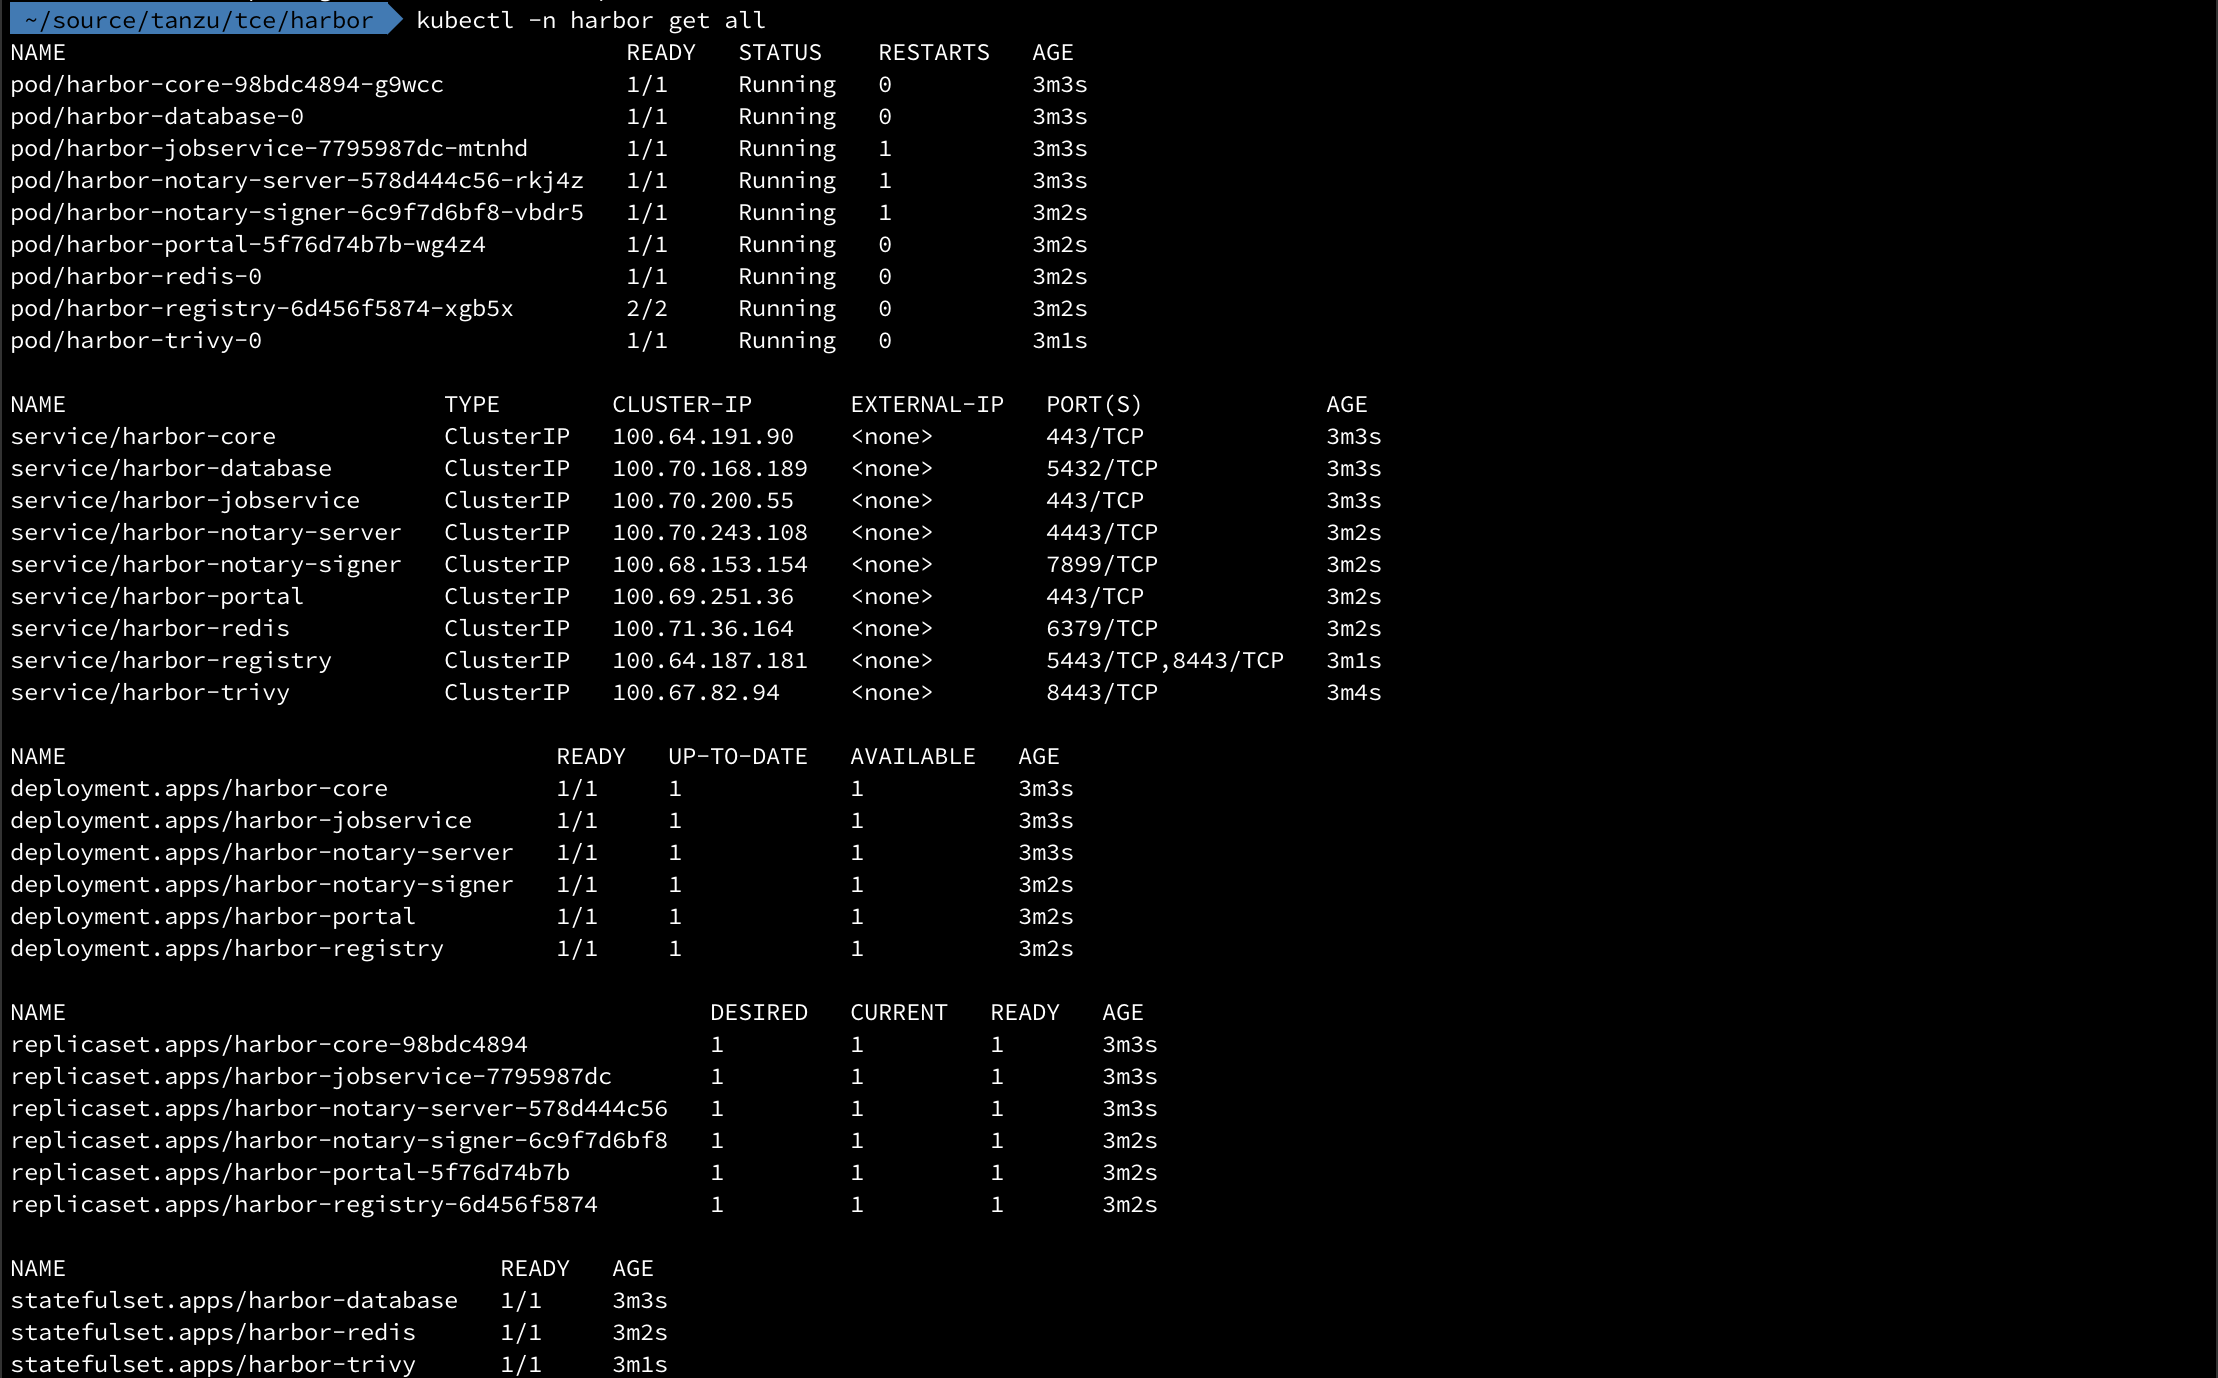
After a while there should be lots of resources provisioned and running in our namespace
1kubectl -n harbor get all
Note that we've configured to use contour http proxies so we'll have to verify that these are created
1kubectl -n harbor get httpproxies

With this we can point the dns name to the envoy load balancer deployed by contour
1kubectl -n projectcontour get svc

Harbor usage
Let's test the Harbor portal!
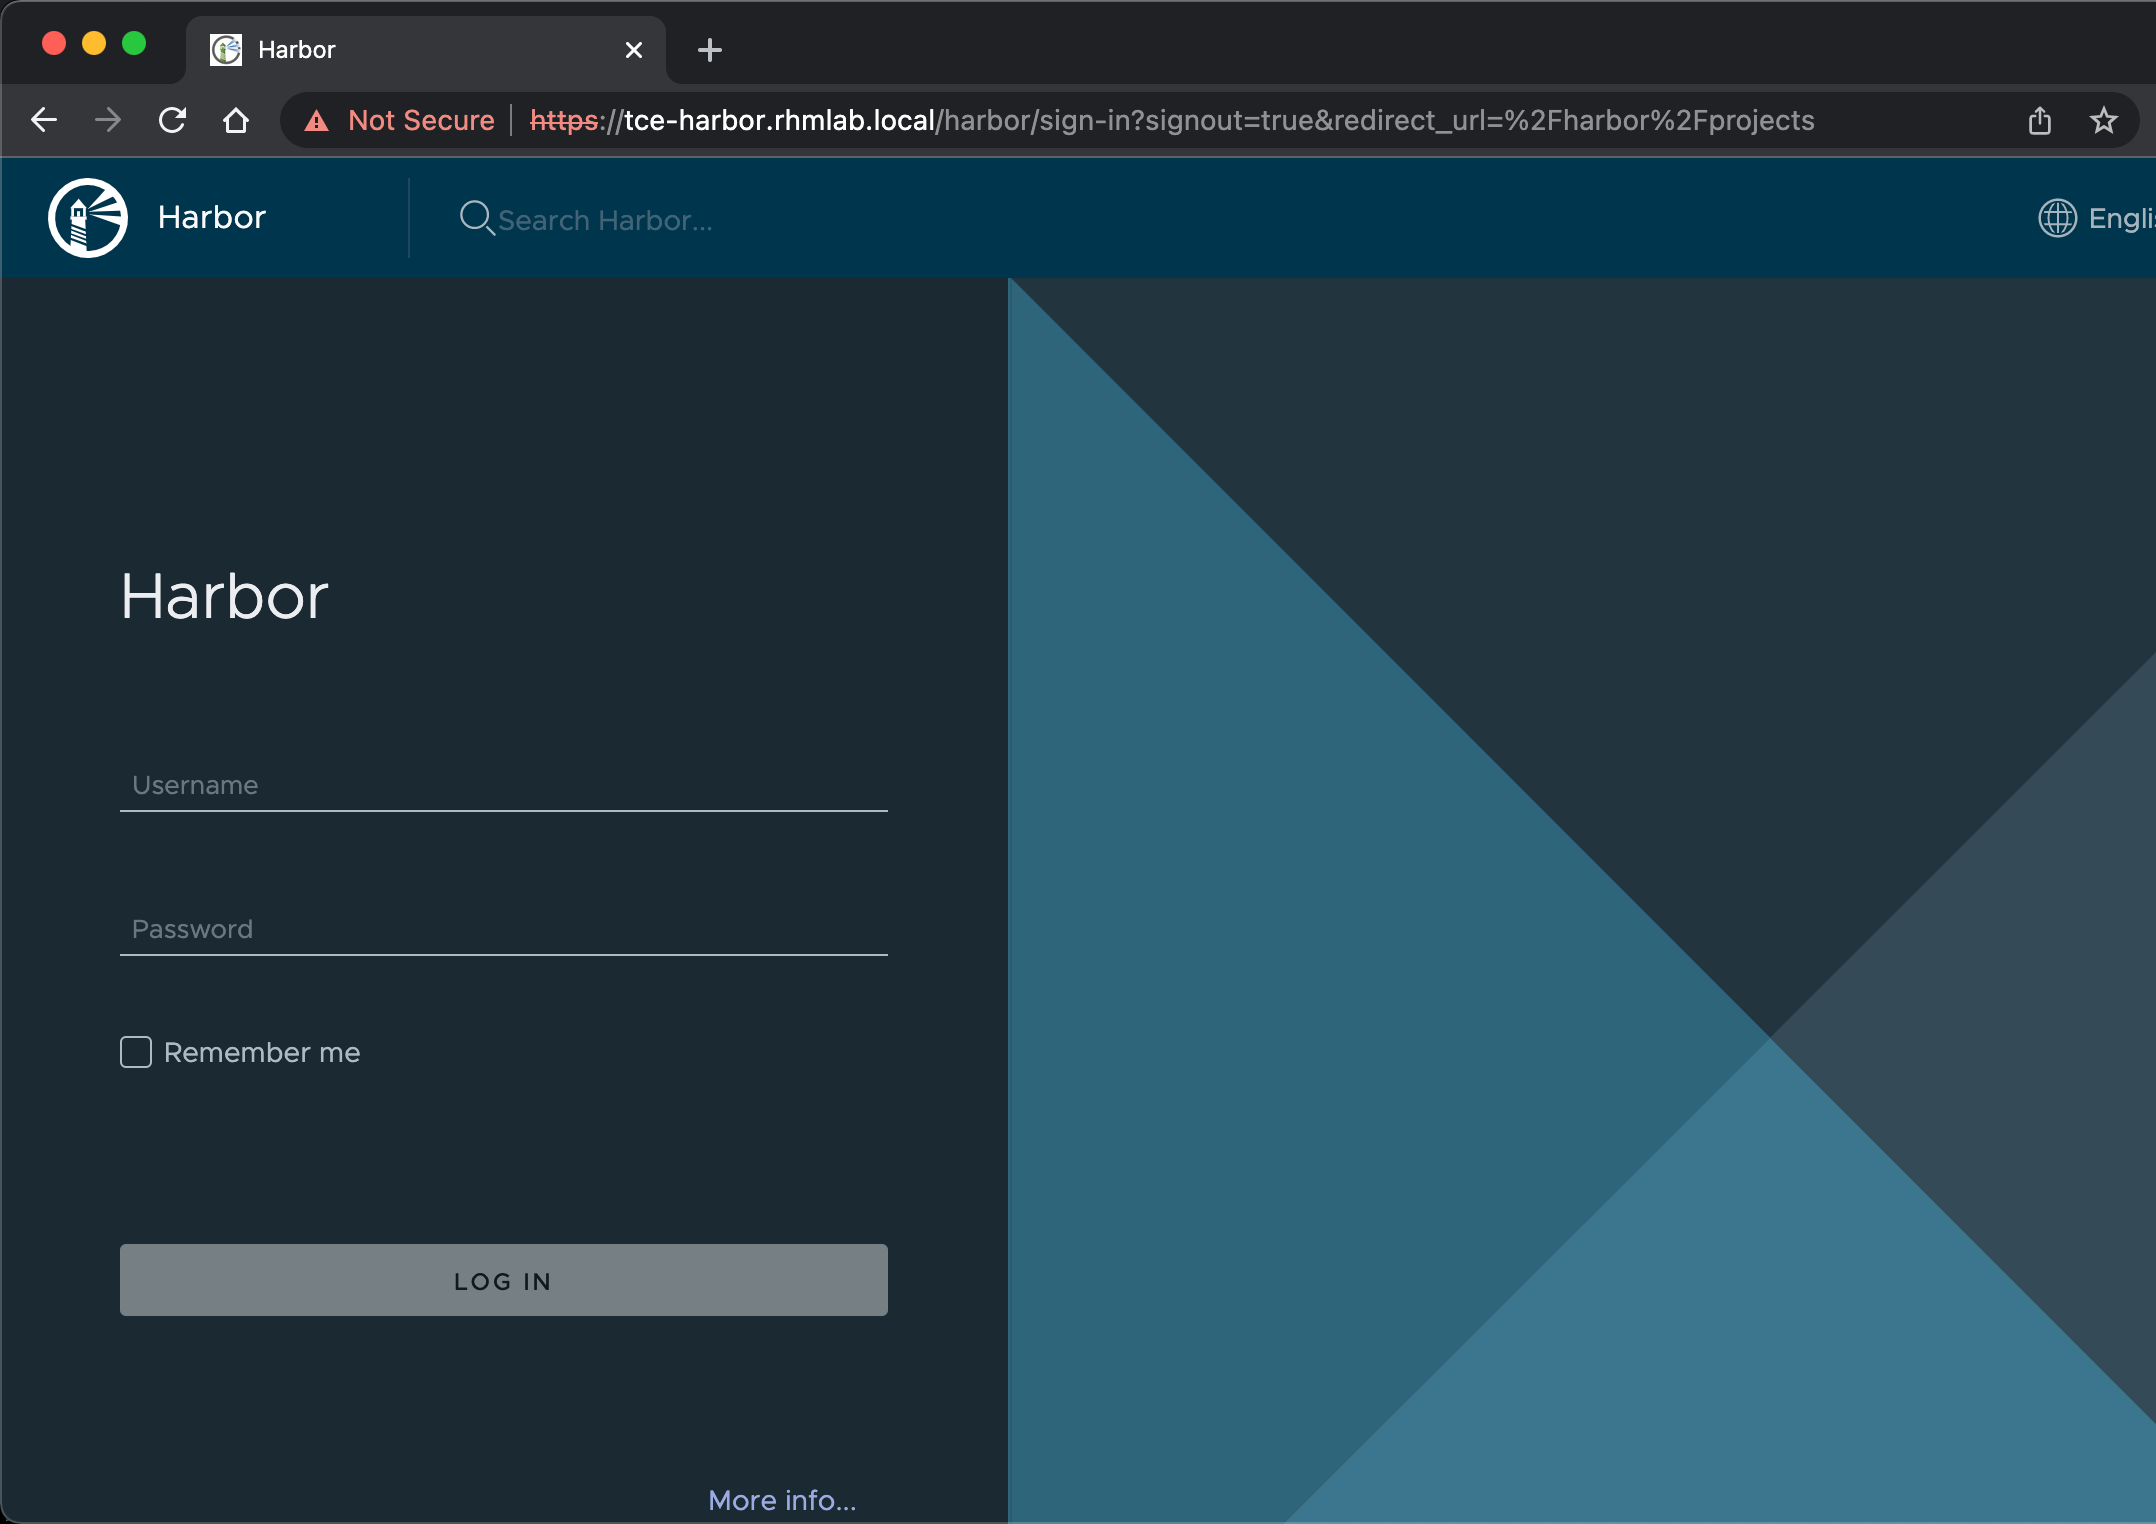
To login we'll use the admin password that we generated earlier
1cat harbor-values.yaml | grep harborAdminPassword
And log in..
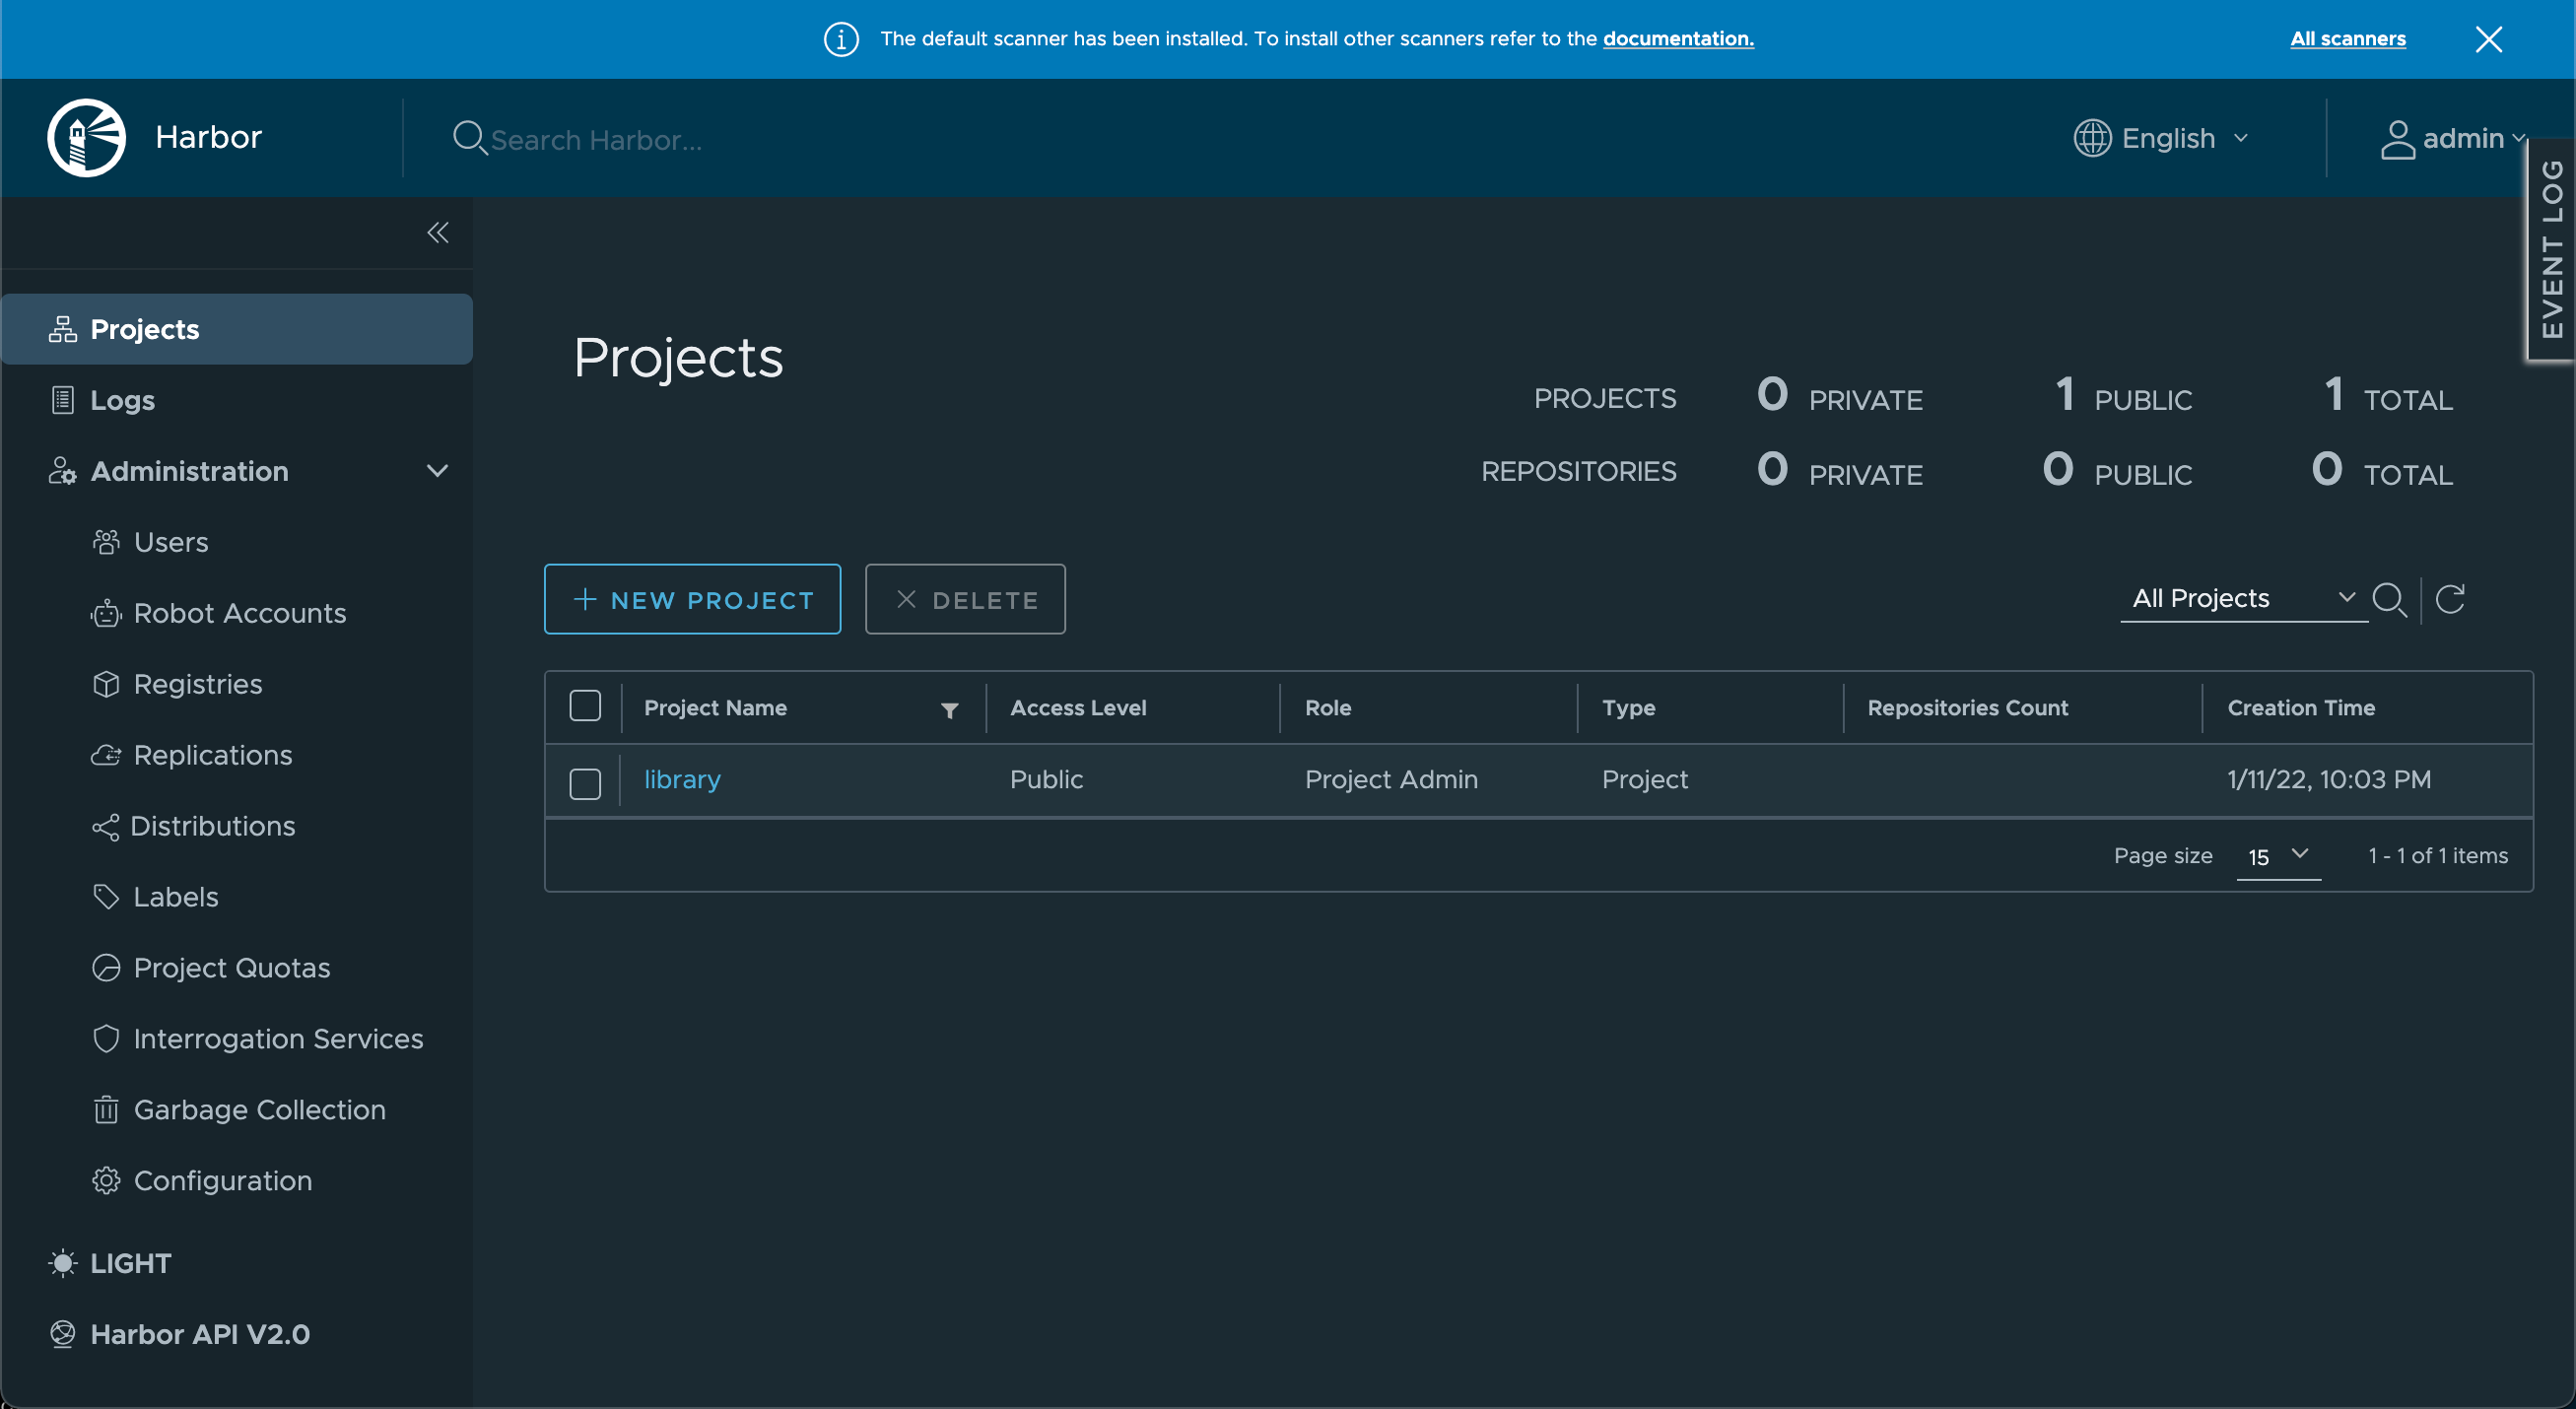
With Harbor up and running and with the login verified let's push an image to Harbor to verify that that's also working. I've created a new project called tce-testing which we'll use.
Before we do that we need to configure our Docker client to trust the certificate that was generated for the Harbor portal.
Configure Docker client
First we'll download the Registry certificate which can be done from the Project page
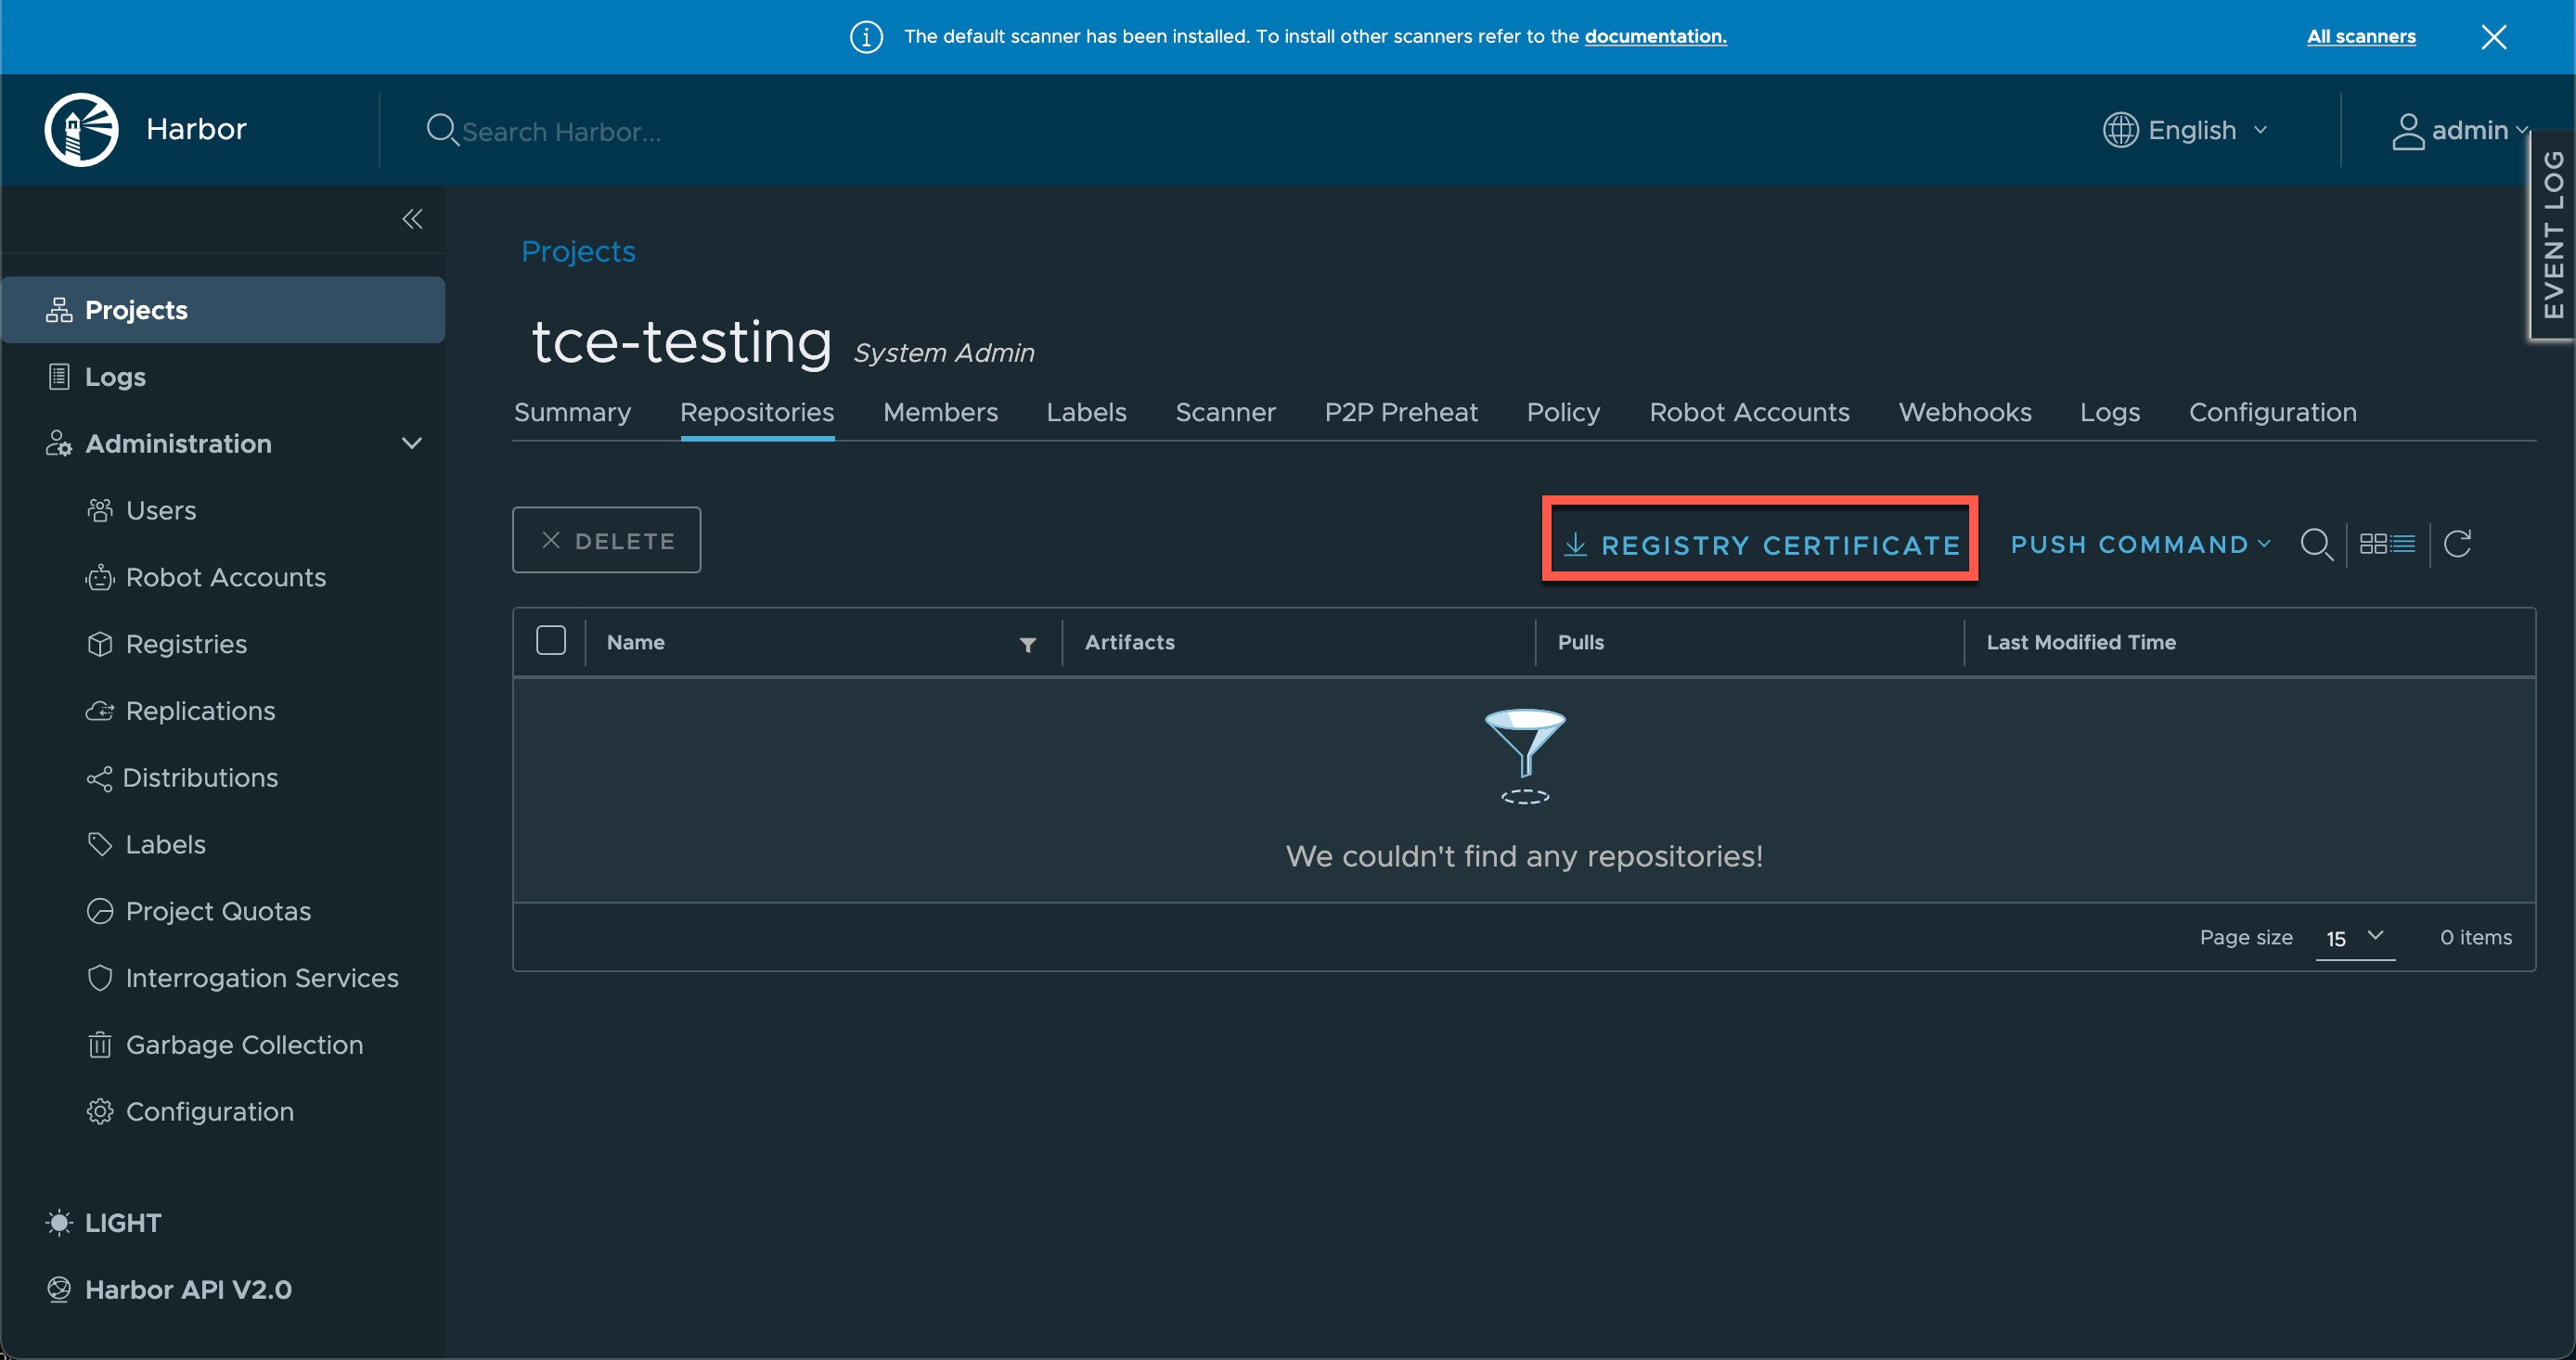
With that downloaded we need to add it to our local client. The procedure for that obviously depend on the OS of the client. The Tanzu package documentation has a guide for it here
After the certificate has been installed and trusted we can login to the Harbor registry
1docker login <harbor-registry> -u admin
When prompted for the password we'll provide the password from our values file (if not changed)
Now we'll push an image that we have locally on our client, an httpd image. Note that we can get the tag and push commands from the Harbor UI which is pretty nice

1docker tag httpd:2.4.52-alpine tce-harbor.rhmlab.local/tce-testing/httpd:2.4.52-alpine
2docker push tce-harbor.rhmlab.local/tce-testing/httpd:2.4.52-alpine
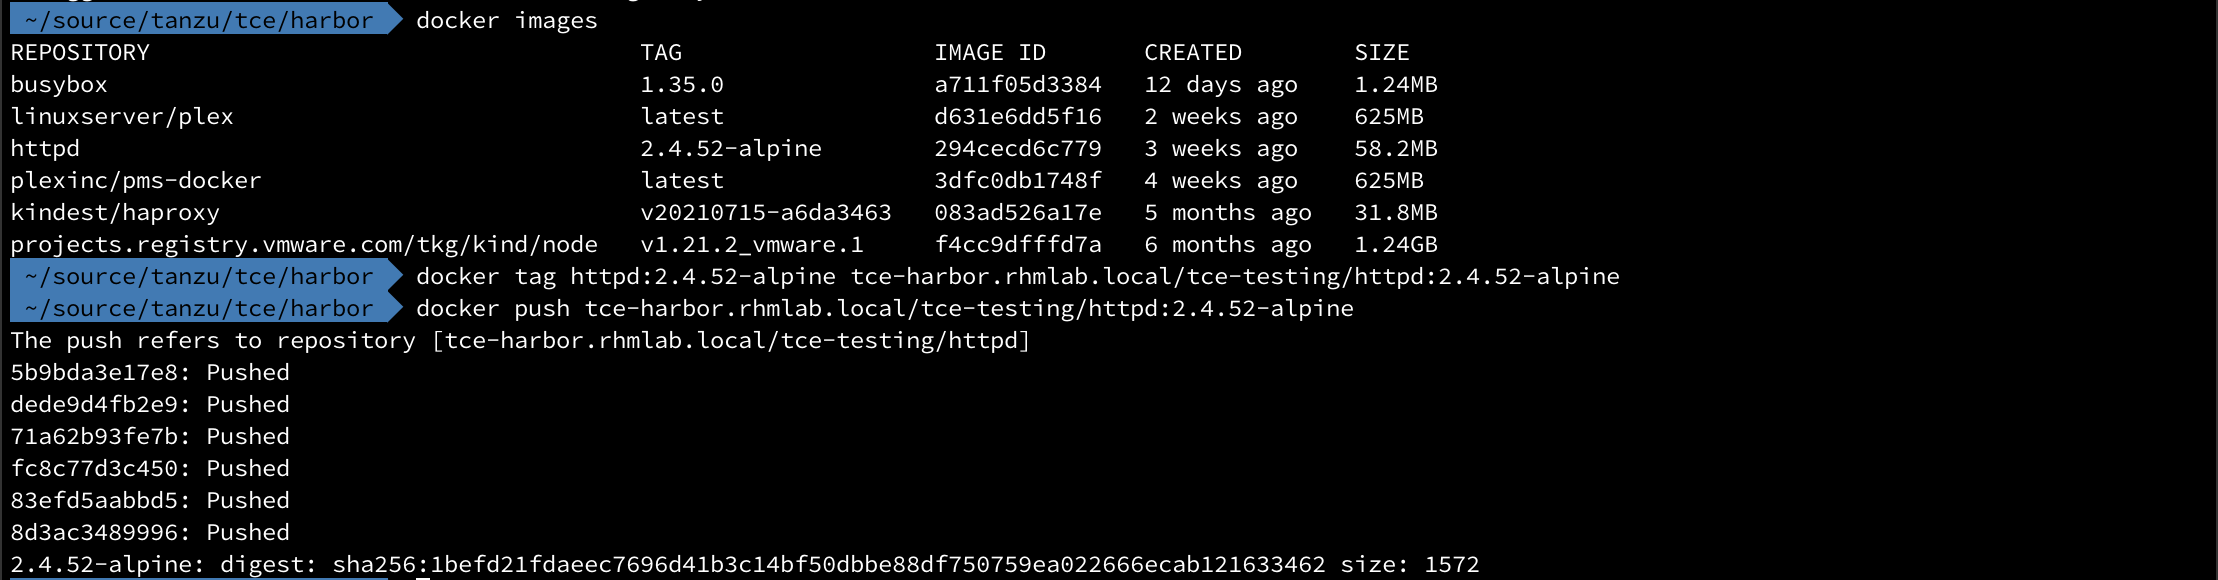
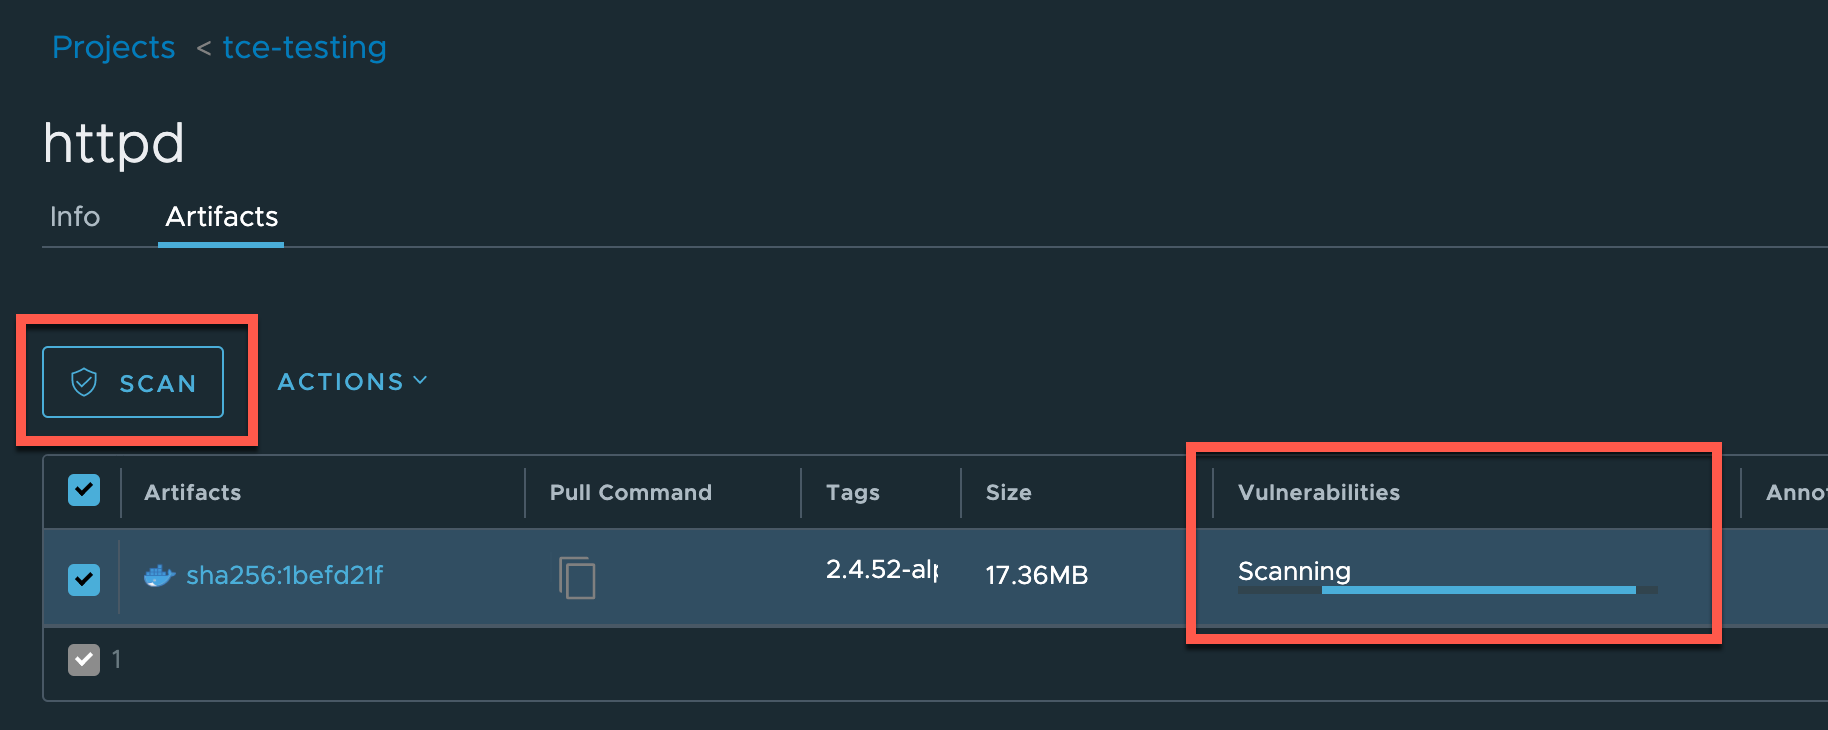
With that we should be able to verify it in our Harbor registry
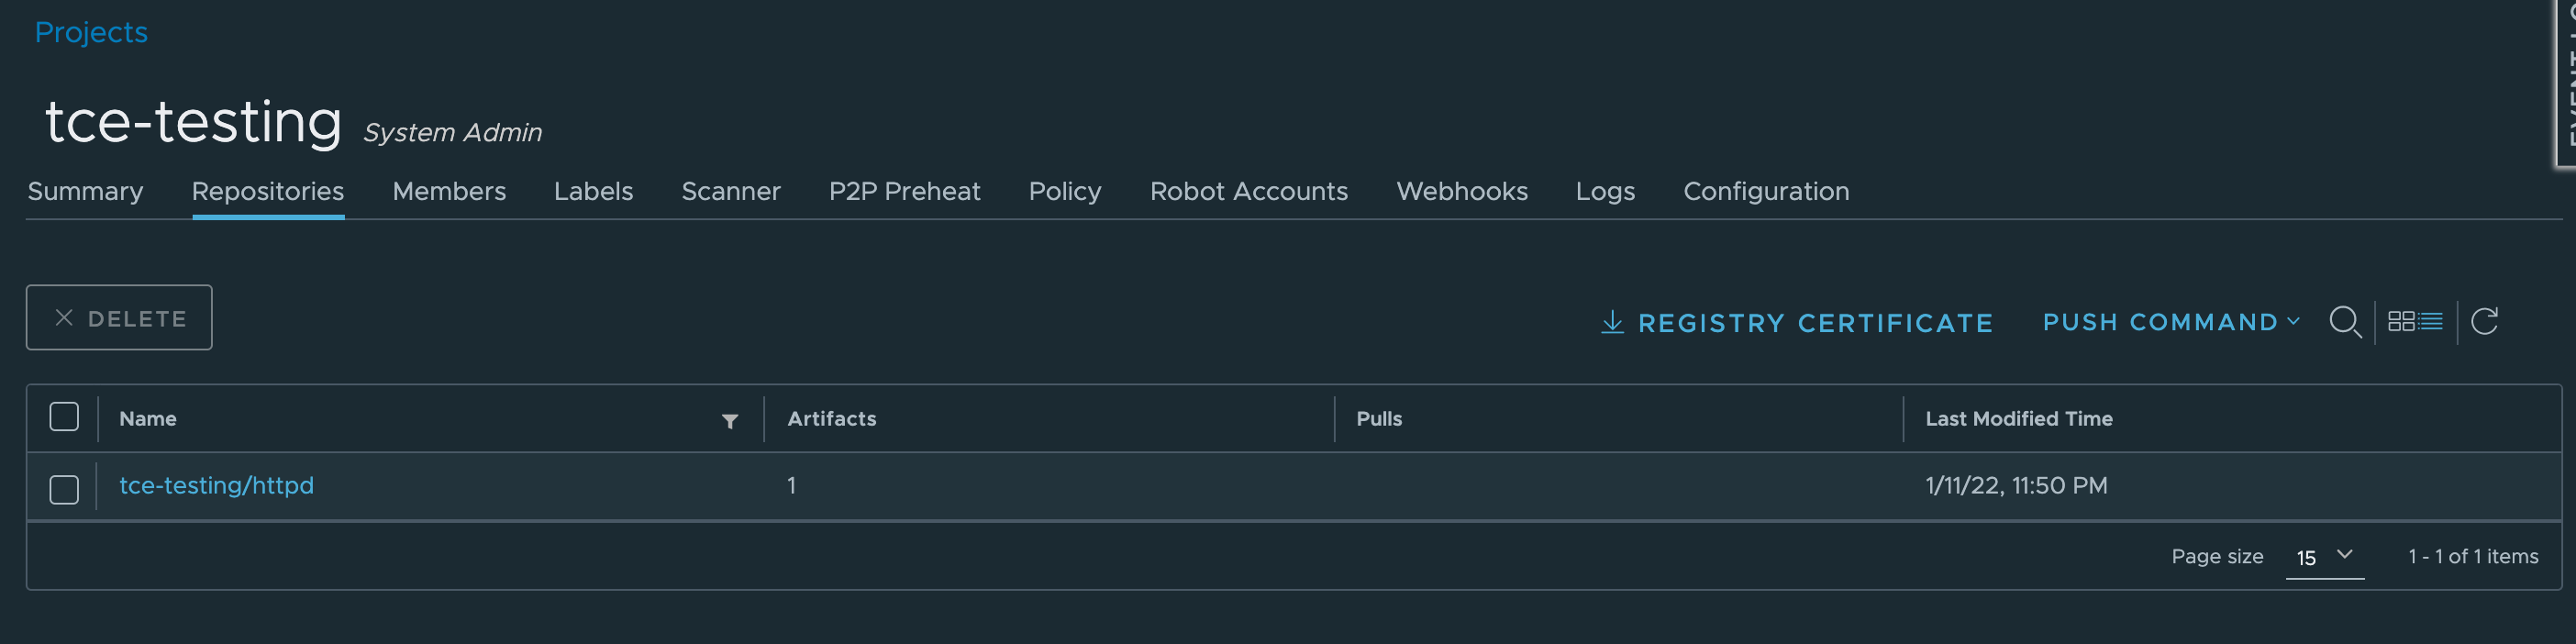
We can even verify the vulnerability scanner by selecting the image and hitting the Scan button
Configure TCE cluster to use Harbor registry
Finally, let's verify that the TCE cluster can make use of the registry
To do this we need to add a Kubernetes secret for the registry.
Since we're already logged in to the Harbor registry on our client we can create the secret based on that. Or you can specify credentials on the command line.
1kubectl create secret docker-registry regcred --docker-server=<your-registry-server> --docker-username=<your-name> --docker-password=<your-pword>
If you want more control over it you can create the secret with a yaml file manifest. Refer to the Kubernetes documentation for more information

Note that entering credentials on the command line is not a best practice
We can actually verify the secret created to see that it points to the correct Harbor registry
1kubectl get secret regcred --output="jsonpath={.data.\.dockerconfigjson}" | base64 --decode

Note that I've also had to manually add the certificate of the Harbor registry to our TCE cluster nodes while testing prior to deploying Harbor. This is something that also needs to be done if using self-signed certs (via cert-manager) for Harbor.
Deploy Pod from image on the Harbor registry
Now let's verify that a Pod can pull the image we've pushed to the Harbor registry
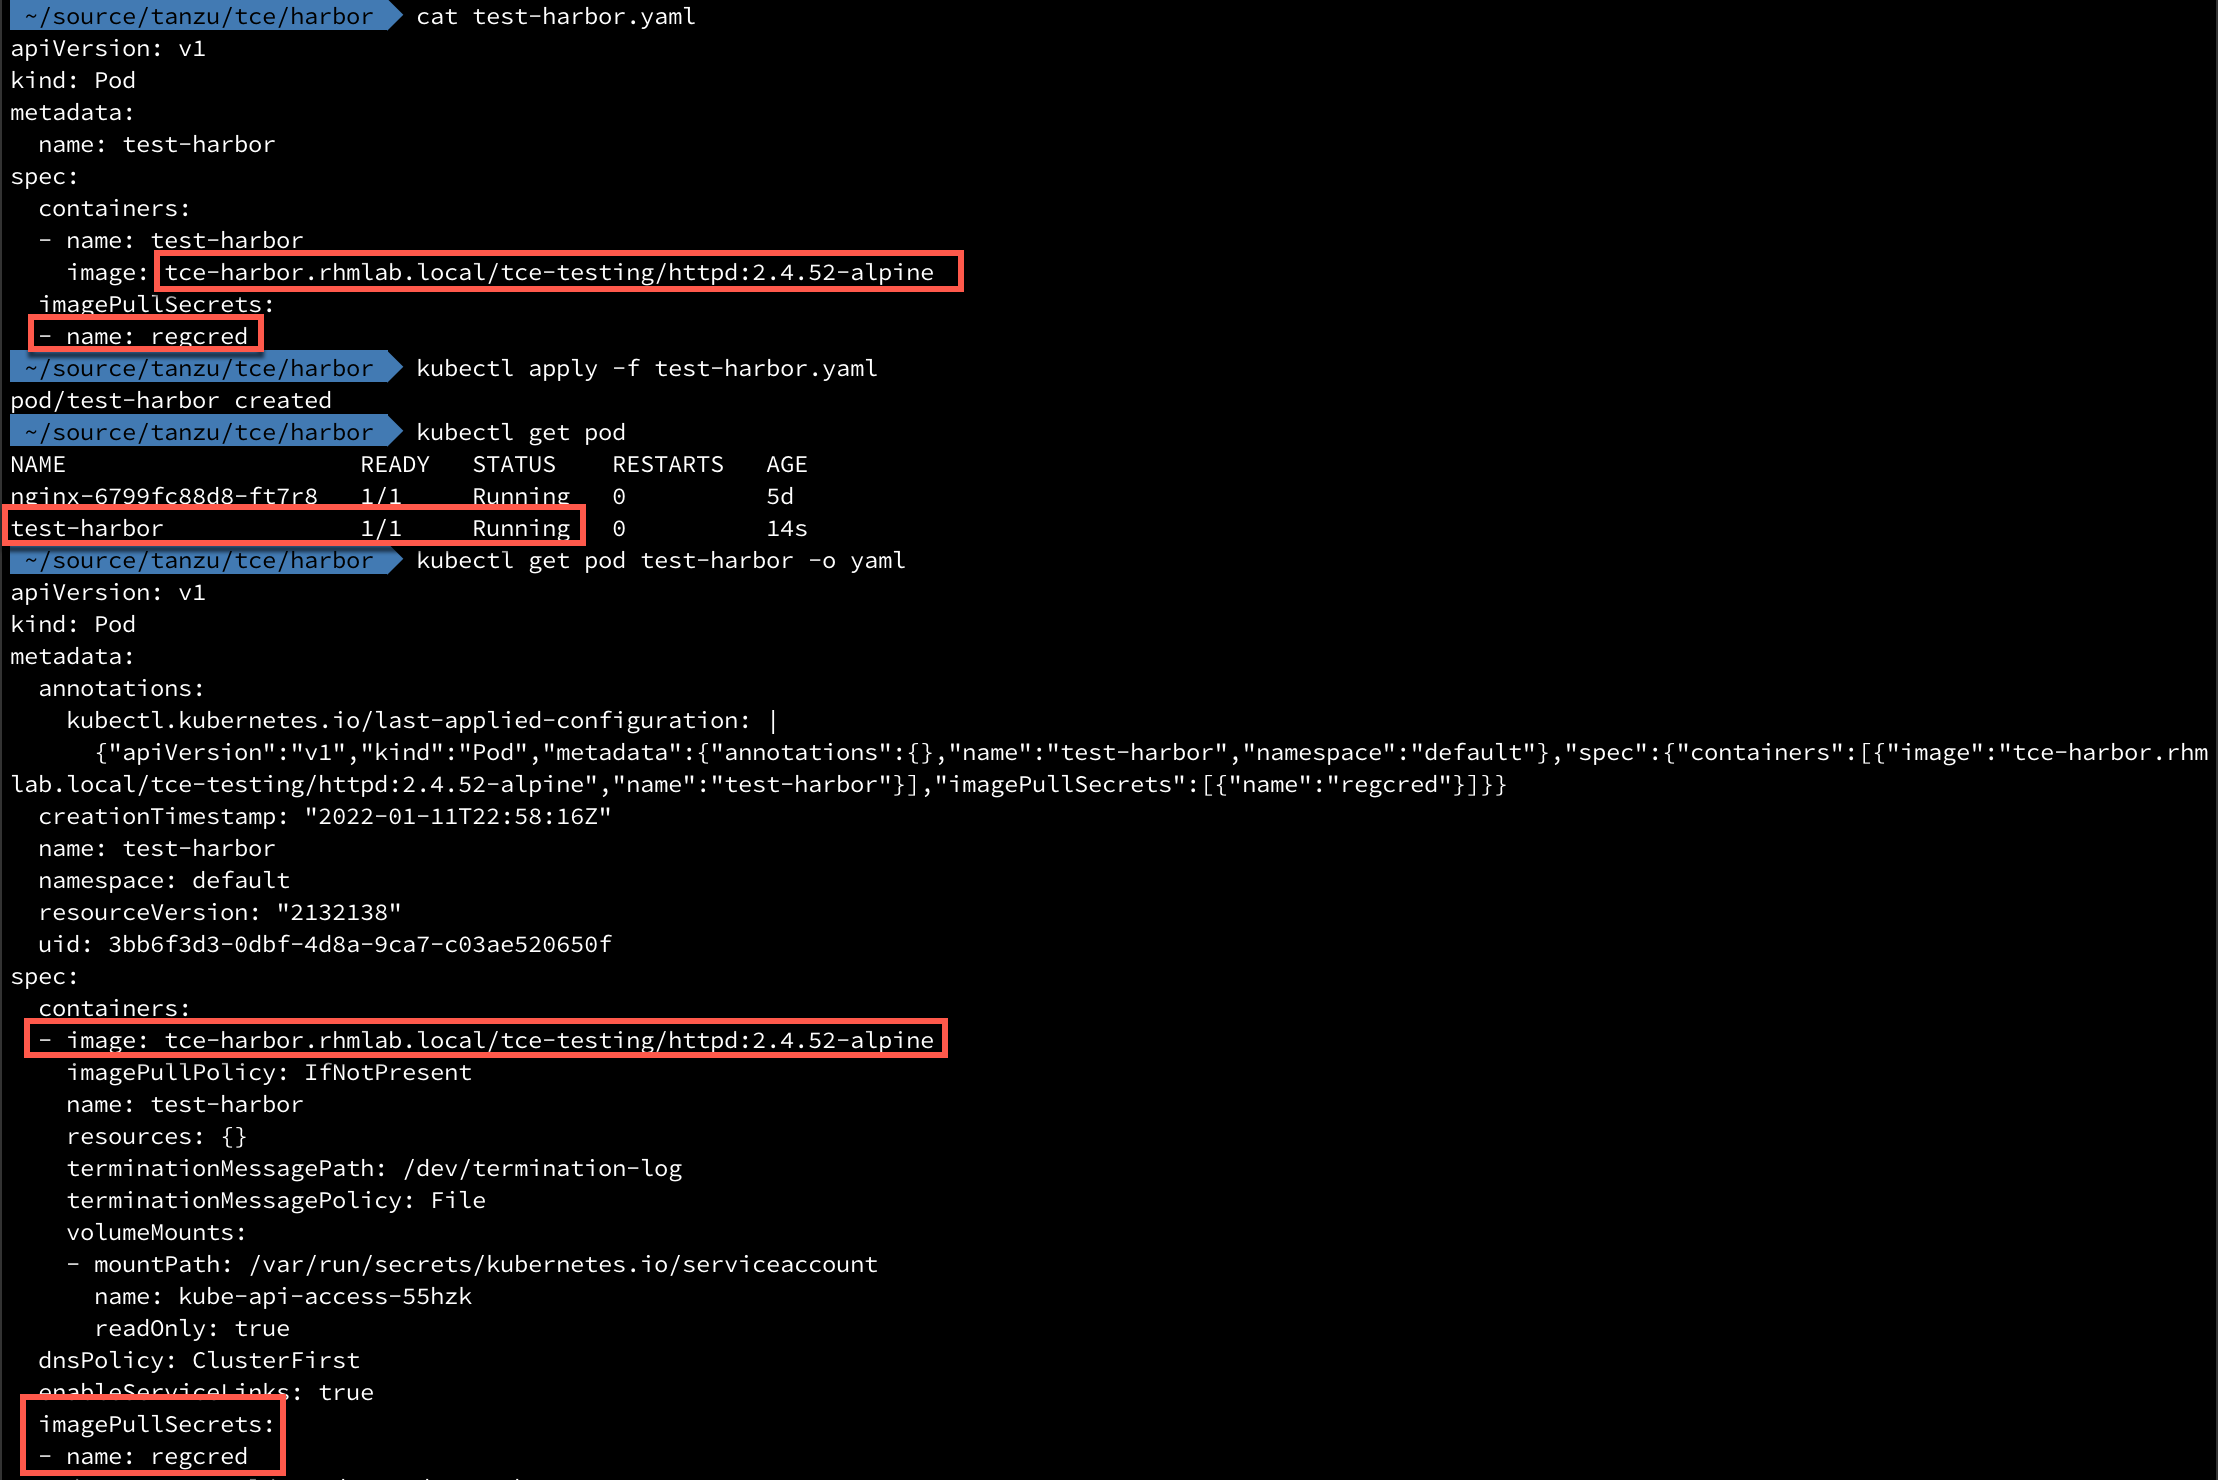
We'll create a yaml file that points to the image, and to the secret we just created
 1apiVersion: v1
 2kind: Pod
 3metadata:
 4  name: test-harbor
 5spec:
 6  containers:
 7  - name: test-harbor
 8    image: tce-harbor.rhmlab.local/tce-testing/httpd:2.4.52-alpine
 9  imagePullSecrets:
10  - name: regcred
Now let's deploy this and verify that it can pull from our new Harbor registry
Summary
With that it's time to wrap up this blog post. As you can see there are quite a few steps to get Harbor up and running and configure your TCE cluster to be able to use it, but a private image registry is an essential tool for organizations and Harbor is one of the best tools for the job.
For more information on why you should check out Harbor, see this guide from the Tanzu Developer Center
Thanks for reading and reach out if you have any questions or comments!