Deploying a Kubernetes Cluster on Virtual Machines - 2024 edition
Overview
Intro
For about three years ago I started studying for the Certified Kubernetes Administrator (CKA) exam and I decided to do a comprehensive write-up of my study notes.
One of the first things was to bring up my own Kubernetes cluster running in my home lab on virtual machines. That blog post is probably my all-time most visited and I've thought of updating it for a while but never gotten around to it. Now the time has come for renewing my CKA (the CKA and CKAD certifications are valid for three years) so I got another reason for refreshing that blog post.
Note that for the CKA exam you won't need your own homelab or your own Kubernetes cluster running on said homelab.
There is a need for a lot of hands-on experience which you will need a Kubernetes cluster for, but you can get around with something like Minikube, kind or other solutions.
As this Cluster will be deployed for the purpose of preparing for the CKA I will do most of the setup in a manual fashion. Although not strictly required for preperaring for the exam I want to keep the requirements for other software (like Ansible, Terraform etc) to a minimum.
A couple of warnings...
This post does not try to detail how to set up a cluster for production purposes. As mentioned this write-up is part of my preparations for the CKA exam.
We'll not go in to lots of detailed around the different Kubernetes components in this post. Use the official Kubernetes documentation for that.
Prereqs
A Kubernetes cluster consists of control plane and worker nodes. Best practice is to have three or more control plane nodes for High availability and a set of worker nodes based on the cluster needs. I will go with three control plane nodes and three worker nodes in my cluster.
The initial part of setting up the cluster will use one control plane and two workers, whereas the remaining nodes will be brought up later on to mimic a scale-out of the cluster (covered in an upcoming post).
I will also install haproxy on a VM to act as a loadbalancer/proxy when we are scaling out the cluster.
If you're constrained on resources you'll be able to get around with less virtual machines, and also a smaller footprint per machine, than I'm using in this setup, and you'll probably be fine with that for the exam as well.
The Linux distro we'll be using is Ubuntu 22.04. Normally it shouldn't matter, but the distros used in the CKA exam may differ so be sure to check this before your test and if it affects how you deploy the cluster and how you work with the operating system.
All the Kubernetes nodes will have 2 vCPUs and 8 GB RAM each. The HAProxy VM will have 2 vCPUs and 4 GB RAM. As mentioned this could probably be scaled down a bit if you're running into resource constrains
My virtual environment is running on VMware vSphere. The cluster consists of four vSphere 8 hosts running vSAN ESA. The underlying infrastructure won't matter much in this case (which is one of the purposes of Kubernetes).
The physical network used is a flat network with no fancy stuff like overlays etc. There's no specific firewalling or routing done besides that the Kubernetes nodes is running on it's own subnet.
Deploy the Virtual Machines
Now let's bring up the VMs used in this cluster. As mentioned we'll have 7 VMs, all running on Ubuntu 22.04
| VM name | Role | IP Address | vCPU | RAM | Storage |
|---|---|---|---|---|---|
| cka-control-1 | Kubernetes control plane | 192.168.199.101 | 2 | 8 GB | 40 GB |
| cka-control-2 | Kubernetes control plane | 192.168.199.102 | 2 | 8 GB | 40 GB |
| cka-control-3 | Kubernetes control plane | 192.168.199.103 | 2 | 8 GB | 40 GB |
| cka-worker-1 | Kubernetes worker | 192.168.199.111 | 2 | 8 GB | 40 GB |
| cka-worker-2 | Kubernetes worker | 192.168.199.112 | 2 | 8 GB | 40 GB |
| cka-worker-3 | Kubernetes worker | 192.168.199.113 | 2 | 8 GB | 40 GB |
| cka-proxy-1 | Proxy | 192.168.199.100 | 2 | 8 GB | 40 GB |
Note that not all machines will be used in this specific post, but we'll make use of them going forward when we extend our cluster
VM preparation
The VMs will need some preparation before we can go ahead and deploy Kubernetes.
I deliberately go through this on each VM in my preparations for the CKA exam, normally you would build an image with this taken care of, or better yet use something like Ansible to automate the process.
We'll set up the cluster with kubeadm. For a full reference of the process take a look at the official documentation
But before we install the Kubernetes packages we'll have to configure the Container Runtime
Container Runtime and prereqs
The Kubernetes nodes needs a Container Runtime. Previously we installed the Docker engine which also brought the Docker runtime, but this is not supported since version 1.24. Now we'll have to chose a container runtime that is supported by the Container Runtime Interface (CRI)
In this setup we'll go with containerd
Before we install containerd we'll need to install and configure a few prereqs on each of the Kubernetes nodes
Iptables and bridged traffic
We'll use iptables in our setup and we need to ensure that it can see bridged traffic
 1cat <<EOF | sudo tee /etc/modules-load.d/k8s.conf
 2overlay
 3br_netfilter
 4EOF
 5
 6sudo modprobe overlay
 7sudo modprobe br_netfilter
 8
 9# sysctl params required by setup, params persist across reboots
10cat <<EOF | sudo tee /etc/sysctl.d/k8s.conf
11net.bridge.bridge-nf-call-iptables  = 1
12net.bridge.bridge-nf-call-ip6tables = 1
13net.ipv4.ip_forward                 = 1
14EOF
15
16# Apply sysctl params without reboot
17sudo sysctl --system
cgroup drivers
We'll also need to configure a control group driver so that the kubelet and the container runtime can interact with the underlying resources.
Although the cgroupfs driver is the default in the kubelet we'll choose the systemd cgroup driver as this is the recommend driver when running on a systemd init system
Install containerd
On the Kubernetes nodes we'll download and install containerd and set it to run with systemd
We're using the latest version of containerd at the time of writing, please update this accordingly
We'll download the containerd binaries and extract them to /usr/local
1wget https://github.com/containerd/containerd/releases/download/v1.7.11/containerd-1.7.11-linux-amd64.tar.gz
2sudo tar Cxzvf /usr/local containerd-1.7.11-linux-amd64.tar.gz
Before configuring the systemd service we'll generate the config file for containerd
1sudo mkdir /etc/containerd
2containerd config default > config.toml
3sudo cp config.toml /etc/containerd
Now let's download the service manifest for containerd and enable the service
1wget https://raw.githubusercontent.com/containerd/containerd/main/containerd.service
2sudo cp containerd.service /etc/systemd/system/
3sudo systemctl daemon-reload
4sudo systemctl enable --now containerd
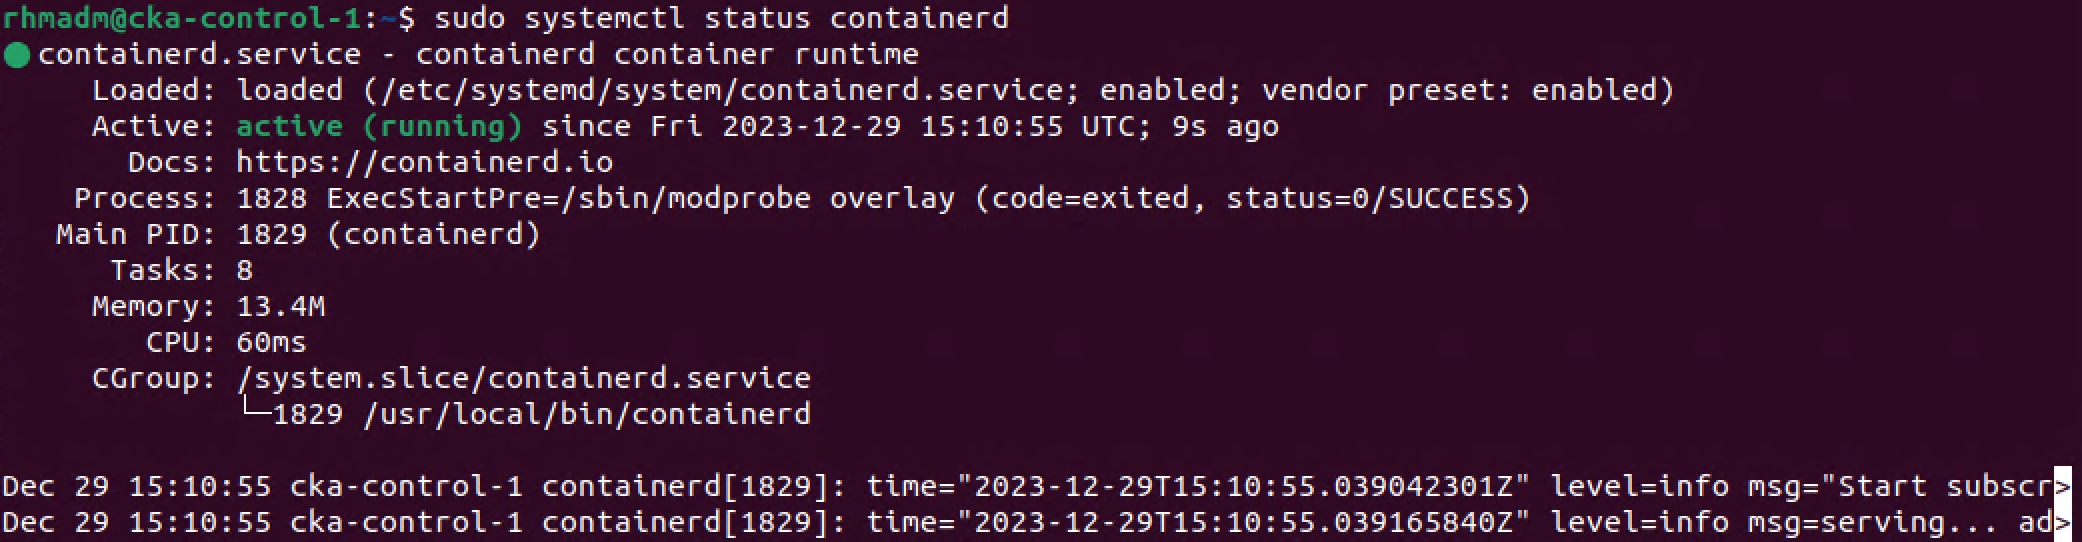
After downloading and enabling the service, containerd should be running.
Install runc
Whereas containerd (and others like cri-o) is a Container Runtime Interface (CRI) they're often also referred to as a Container Runtime. However there's a different component that is the actual runtime. This is called runc so we'll download and install this as well
1wget https://github.com/opencontainers/runc/releases/download/v1.1.10/runc.amd64
2sudo install -m 755 runc.amd64 /usr/local/sbin/runc
Install cni plugin for containerd
containerd needs a cni plugin for interacting with the network
1wget https://github.com/containernetworking/plugins/releases/download/v1.4.0/cni-plugins-linux-amd64-v1.4.0.tgz
2sudo mkdir -p /opt/cni/bin
3sudo tar Cxzvf /opt/cni/bin cni-plugins-linux-amd64-v1.4.0.tgz
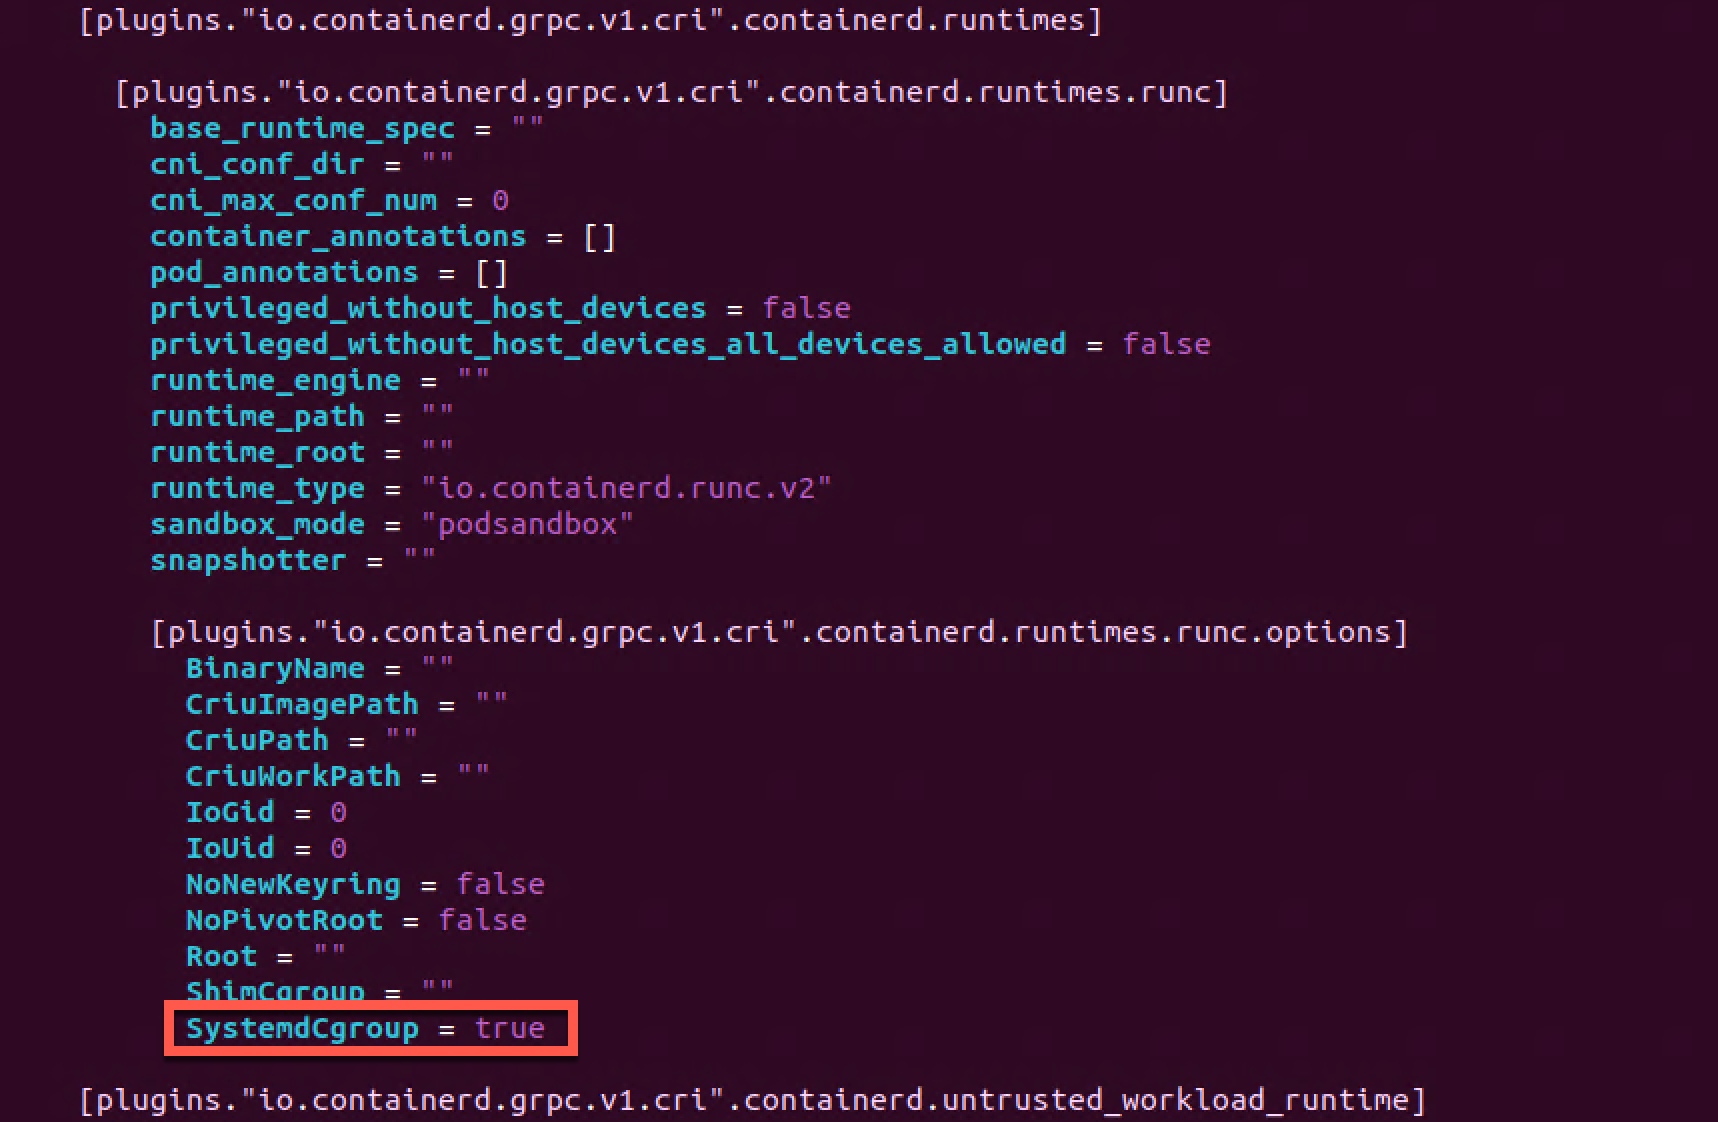
Configure systemd cgroup driver
We'll also need to configure the systemd cgroup driver for containerd which is done in the /etc/containerd/config.toml file. We'll change the SystemdCgroup parameter to true
1[plugins."io.containerd.grpc.v1.cri".containerd.runtimes.runc]
2  ...
3  [plugins."io.containerd.grpc.v1.cri".containerd.runtimes.runc.options]
4    SystemdCgroup = true
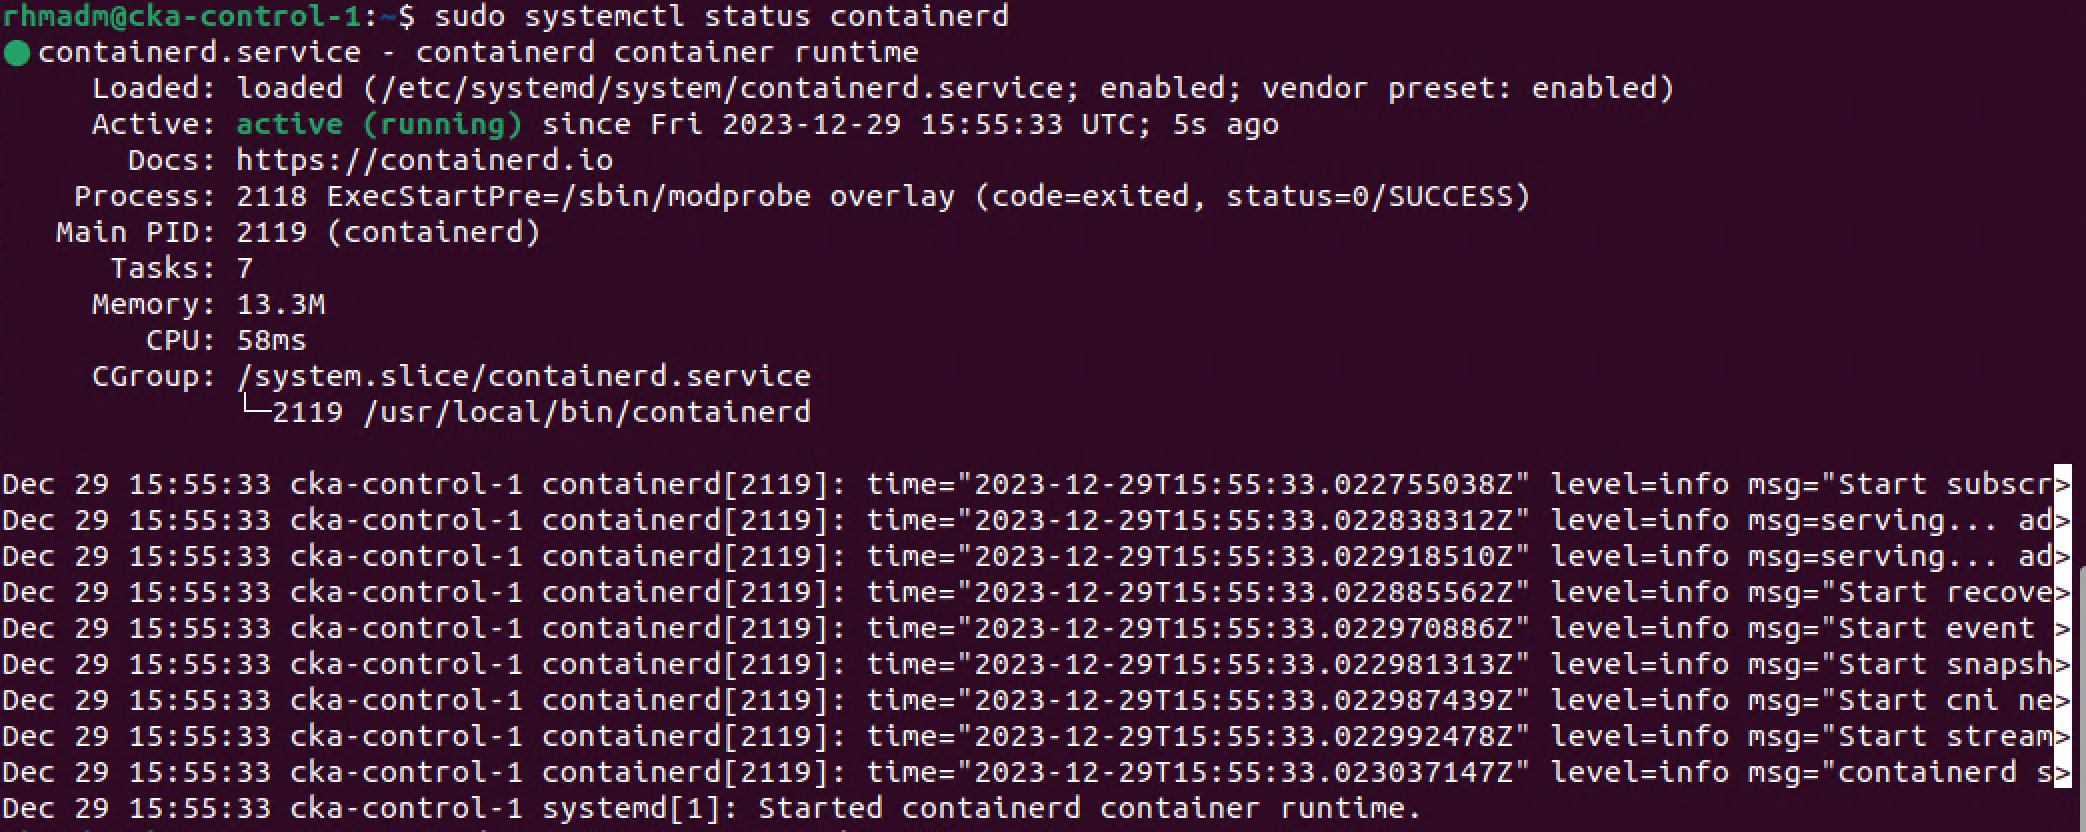
After updating the configuration, we'll restart the containerd service and make sure that it is running
1sudo systemctl restart containerd
2sudo systemctl status containerd
Install Kubernetes packages
Official documentation reference
We'll add a few supporting packages first
1sudo apt-get update
2sudo apt-get install -y apt-transport-https ca-certificates curl gpg
Next, we'll add the public signing key for the Kubernetes package repo
1curl -fsSL https://pkgs.k8s.io/core:/stable:/v1.28/deb/Release.key | sudo gpg --dearmor -o /etc/apt/keyrings/kubernetes-apt-keyring.gpg
And add the Kubernetes apt repository.
1# This overwrites any existing configuration in /etc/apt/sources.list.d/kubernetes.list
2echo 'deb [signed-by=/etc/apt/keyrings/kubernetes-apt-keyring.gpg] https://pkgs.k8s.io/core:/stable:/v1.28/deb/ /' | sudo tee /etc/apt/sources.list.d/kubernetes.list
On the Kubernetes nodes we'll install three Kubernetes packages, kubeadm, kubelet and kubectl
Note that we're installing a specific patch of Kubernetes version 1.28, although version 1.29 has been released. This is because I later plan on upgrading the nodes.
1sudo apt-get update
2sudo apt-get install -y kubelet=1.28.4-1.1 kubeadm=1.28.4-1.1 kubectl=1.28.4-1.1
3sudo apt-mark hold kubelet kubeadm kubectl
Note that we're also pinning the version for the three packages to prevent unplanned upgrades
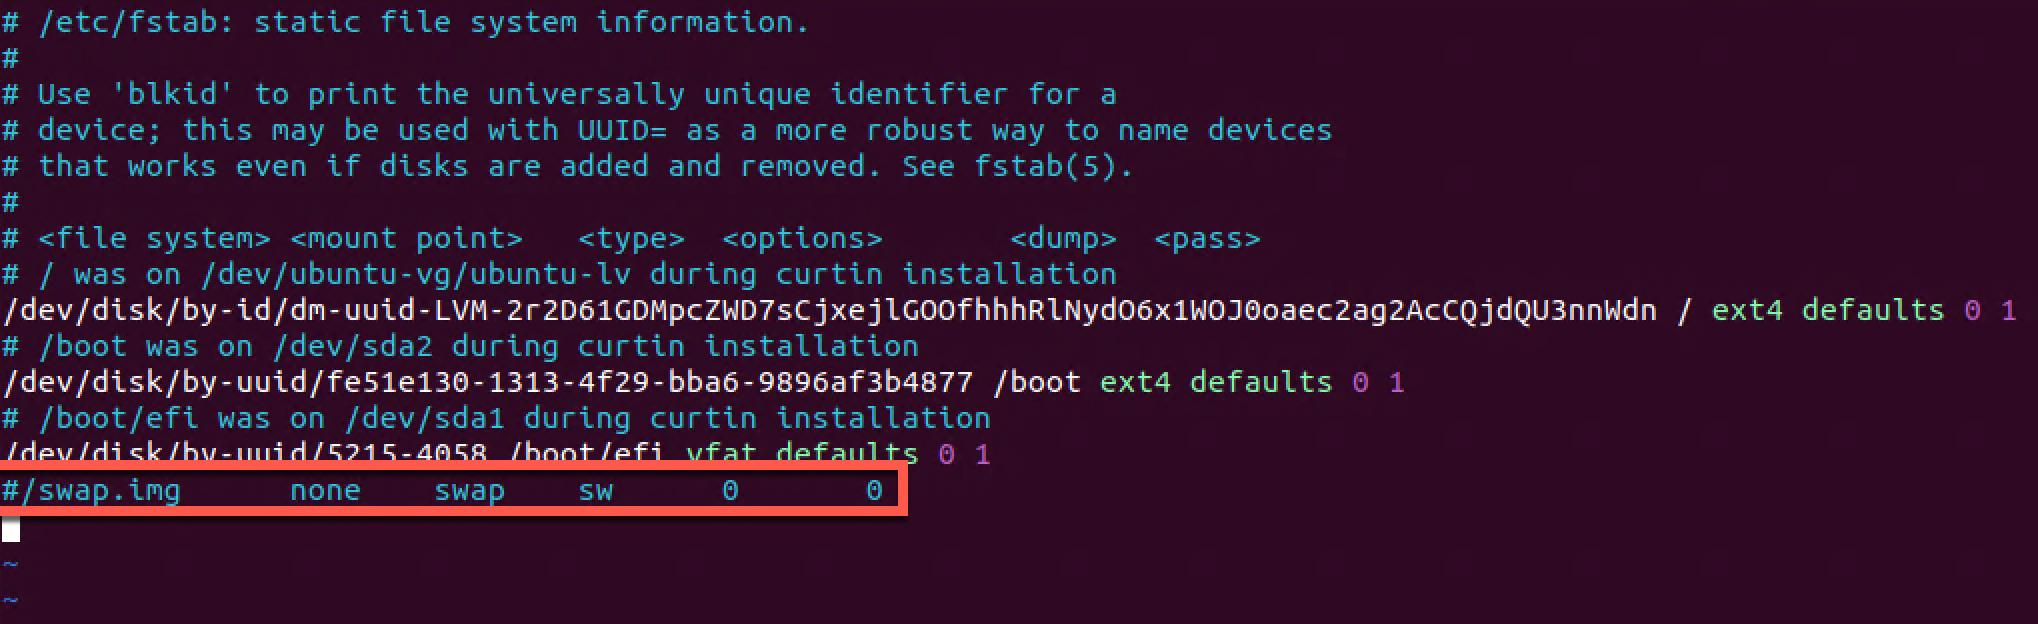
Disable swap
Previously disabling swap was a requirement for the kubelet to run. From version 1.22 swap has been supported, but with some extra configuration needed for the kubelet. I've chosen to disable swap
To temporarily disable swap we can run the following command.
1sudo swapoff -a
To make it persistent however we need to edit the /etc/fstab file and comment the swap line
Cluster endpoint and networking
We're nearly ready for initializing our cluster, but we'll discuss a couple of more things.
Endpoint name
The first is the endpoint address we want to use. We'll want to have a highly available cluster with multiple control plane nodes and for that to work we'll need to proxy the connections to the cluster through an endpoint name with a specific IP address (and/or DNS name). Check the documentation for more considerations around this
We'll keep the actual proxy out of the mix for now, so we'll just manually add a line in the hosts file for each of the nodes telling them that our first control plane node also can be reach through the proxied endpoint name
1#192.168.199.100 cka-cluster
2192.168.199.101 cka-cluster
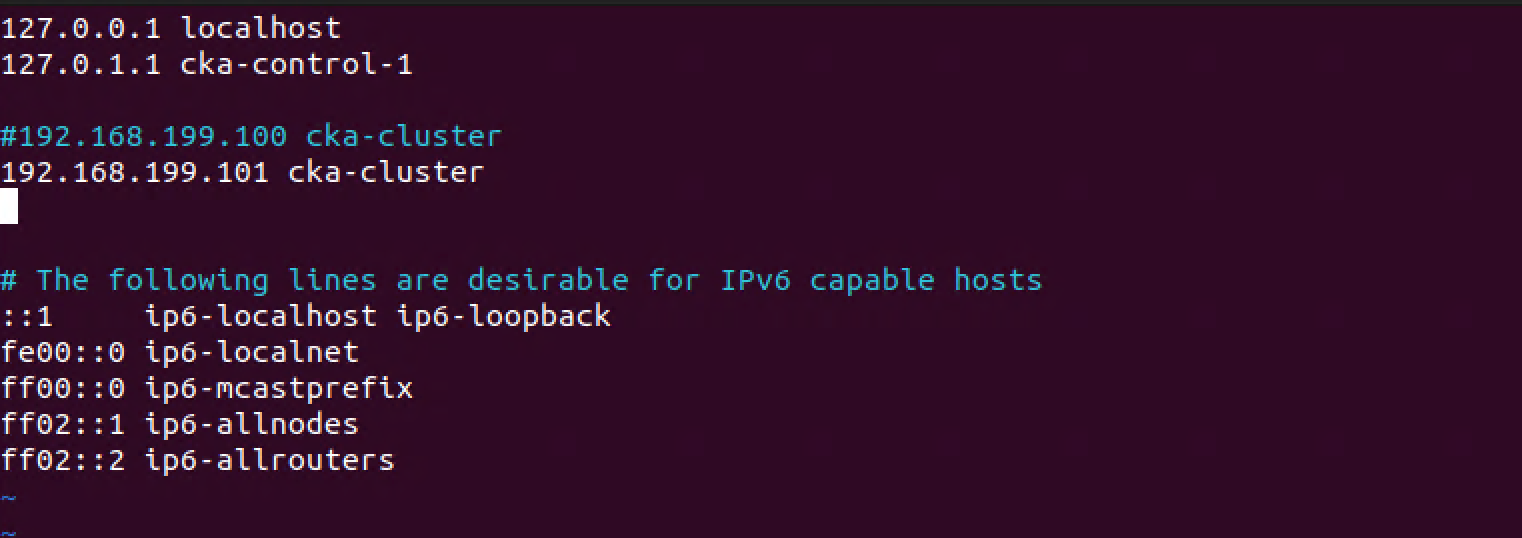
In my setup we'll use cka-cluster as the endpoint name and we point this to the IP of the first control plane node on all nodes temporarily.
Pod network cidr
Although we can reconfigure this later on, we'll specify the Pod networking CIDR at initialization time.
In this setup we'll use 10.1.0.0/22 as the Pod networking range
Update 2024-02-02: I had a discussion with fellow vExpert Fabrizio de Luca who pointed out that with this pod range there wouldn't be enough networks for each node (only 4 out of 6 will get it's "own" Pod network). Different network plugins handles this in their own way so please make sure you check the docs for your preferred network plugin
Although the /22 network setup in my environment won't give each node a specific Pod network the Pods themselves will get IP addresses from the pool even though the node they runs on doesn't have it's "own" network.
In my specific setup a network range of /21 would make sure that all nodes would have had it's own Pod network range
Snapshot VMs
Now might be a good time to snapshot your virtual machines before continuing with initializing the Kubernetes cluster
Intitialize the Kubernetes cluster
Official documentation reference
Finally we can go ahead and initialize our cluster
We'll use kubeadm for initializing the cluster and we'll specify the mentioned endpoint address as well as the Pod network.
1sudo kubeadm init --control-plane-endpoint cka-cluster:6443 --pod-network-cidr 10.1.0.0/22
The initializing takes a little while as kubeadm will pull container images for all of the services that Kubernetes run internally.
Hopefully you'll end up with a successful message stating that your cluster is running and that you can add more nodes to your cluster
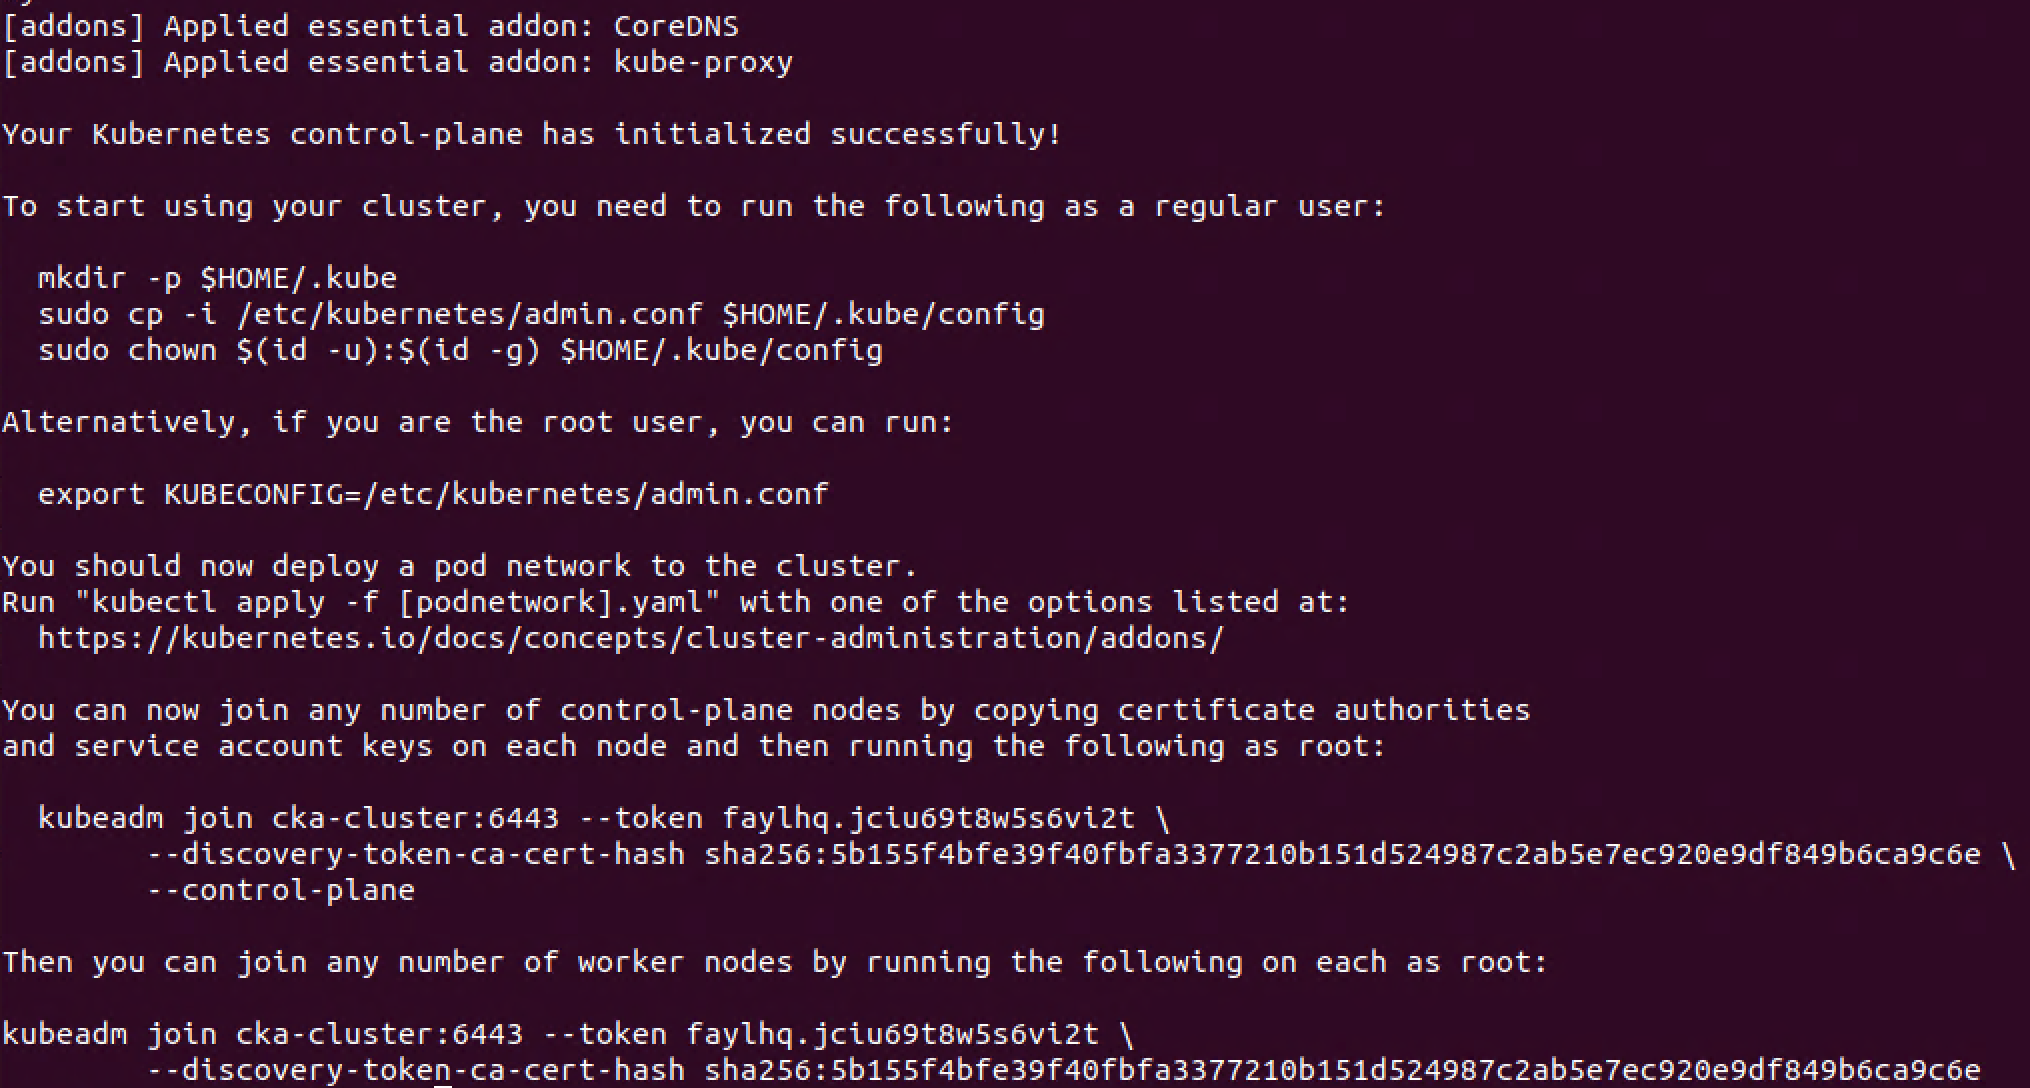
The first thing however is to install a pod network in the cluster so the Pods can communicate. But before that we'll copy/paste the commands mentioned in the output to be able to use the kubectl tool as a regular user
1mkdir -p $HOME/.kube
2sudo cp -i /etc/kubernetes/admin.conf $HOME/.kube/config
3sudo chown $(id -u):$(id -g) $HOME/.kube/config

Shell completion
While we're setting up our kubectl config we'll also enable shell completion
1echo 'source <(kubectl completion bash)' >>~/.bashrc
2source <(kubectl completion bash)
Install Pod network add-on (plugin)
Official documentation reference
Now we'll add our Networking solution to the cluster. As I did in the previous version of this post I've chosen to go with Calico as it is very easy to get started with.
Note that there are some differences since last time, e.g. Calico is now running as an operator in the cluster
We'll start by installing the Tigera Operator. This is done by using kubectl to deploy the Operator in the cluster
1kubectl create -f https://raw.githubusercontent.com/projectcalico/calico/v3.27.0/manifests/tigera-operator.yaml
Note that running yaml files directly from the internet in this fashion obviously is not a best practice
Finally we'll add some configuration for Calico so that we'll use our specified Pod networking CIDR.
I'll start with downloading the default yaml spec
1wget https://raw.githubusercontent.com/projectcalico/calico/v3.27.0/manifests/custom-resources.yaml
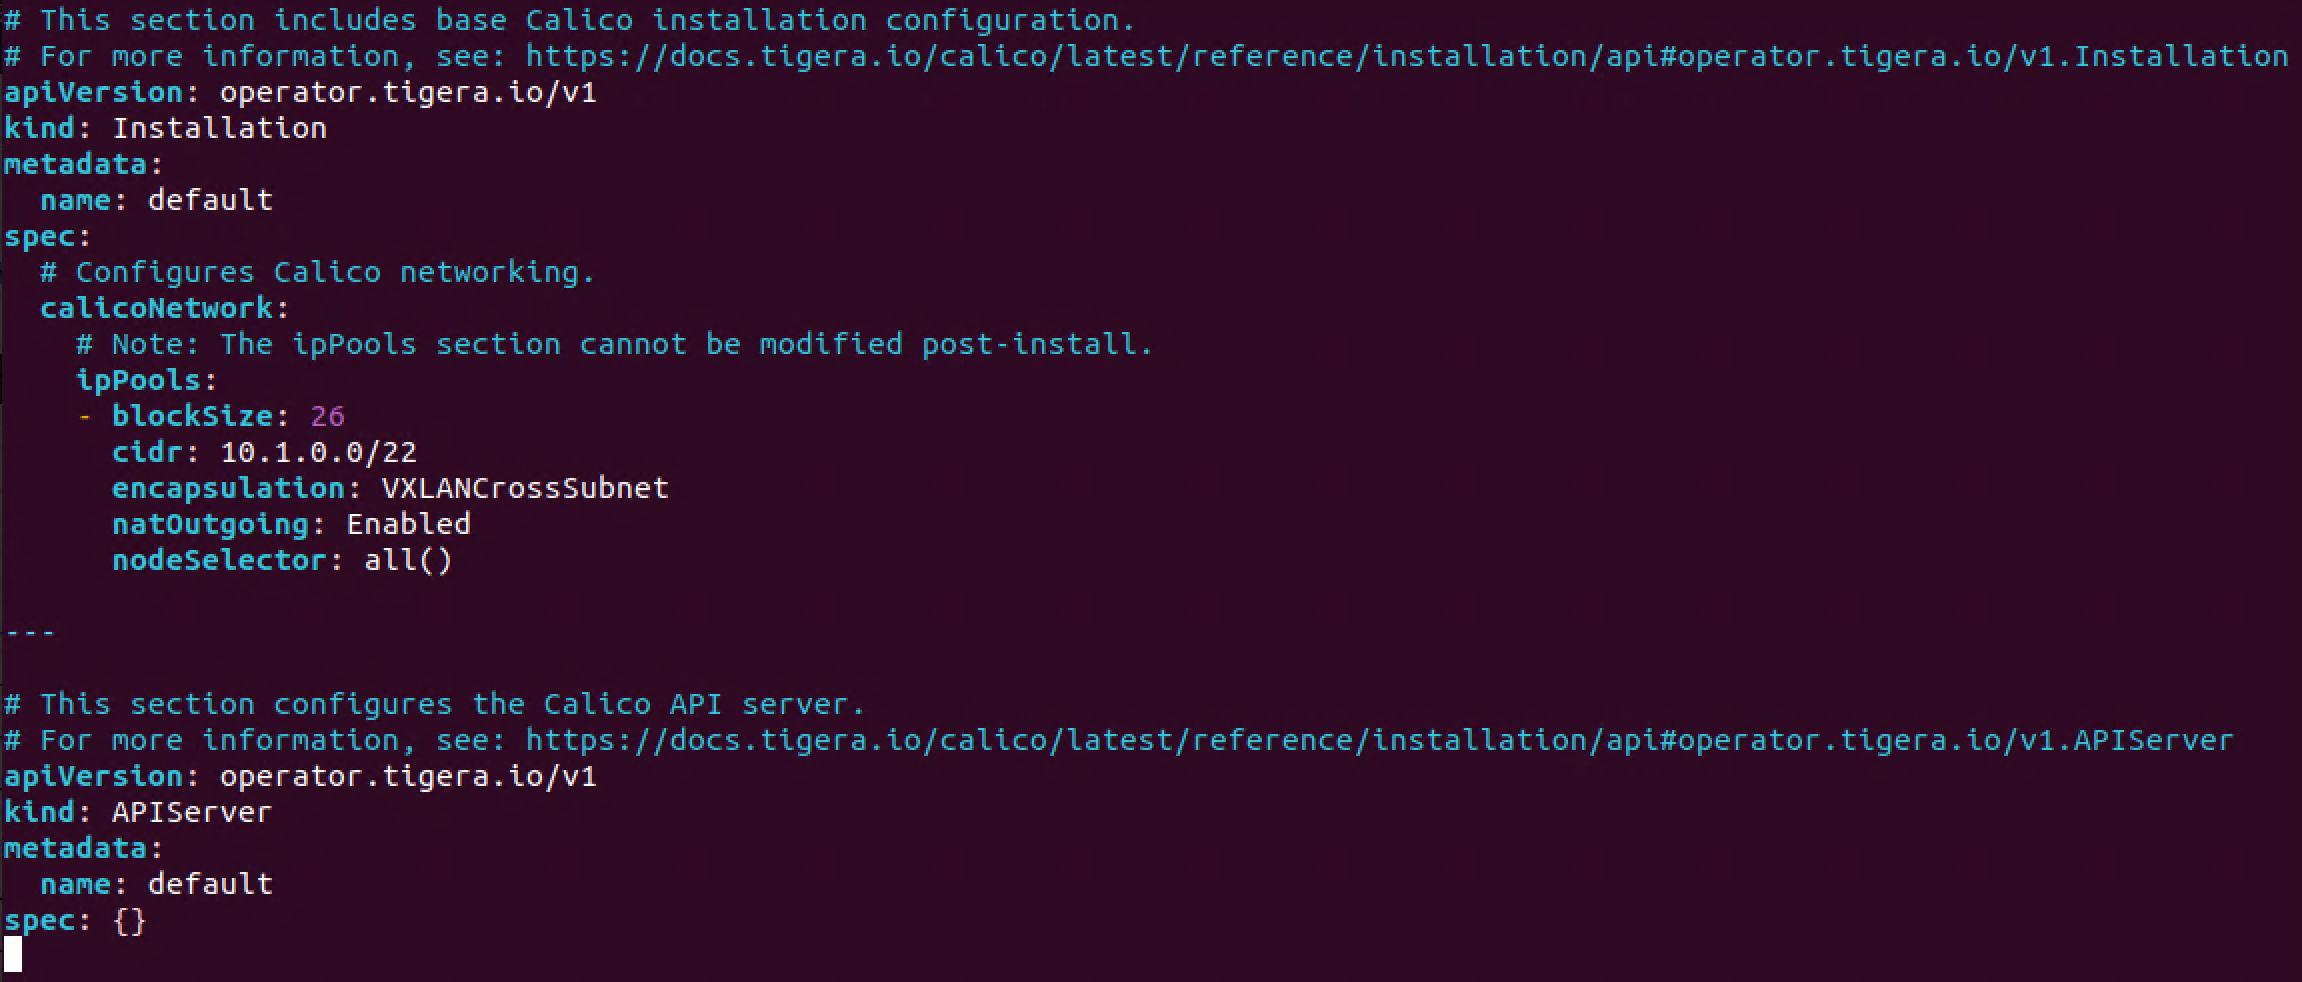
And we'll change spec.calicoNetwork.ipPools.cidr to reflect our correct range
 1apiVersion: operator.tigera.io/v1
 2kind: Installation
 3metadata:
 4  name: default
 5spec:
 6  # Configures Calico networking.
 7  calicoNetwork:
 8    # Note: The ipPools section cannot be modified post-install.
 9    ipPools:
10    - blockSize: 26
11      cidr: 10.1.0.0/22 #This must match the --pod-network-cidr from the kubeadm init command
12      encapsulation: VXLANCrossSubnet
13      natOutgoing: Enabled
14      nodeSelector: all()
15---
16apiVersion: operator.tigera.io/v1
17kind: APIServer
18metadata:
19  name: default
20spec: {}
Now let's apply the configuration
1kubectl apply -f custom-resources.yaml
After a short while the Calico pods should be running
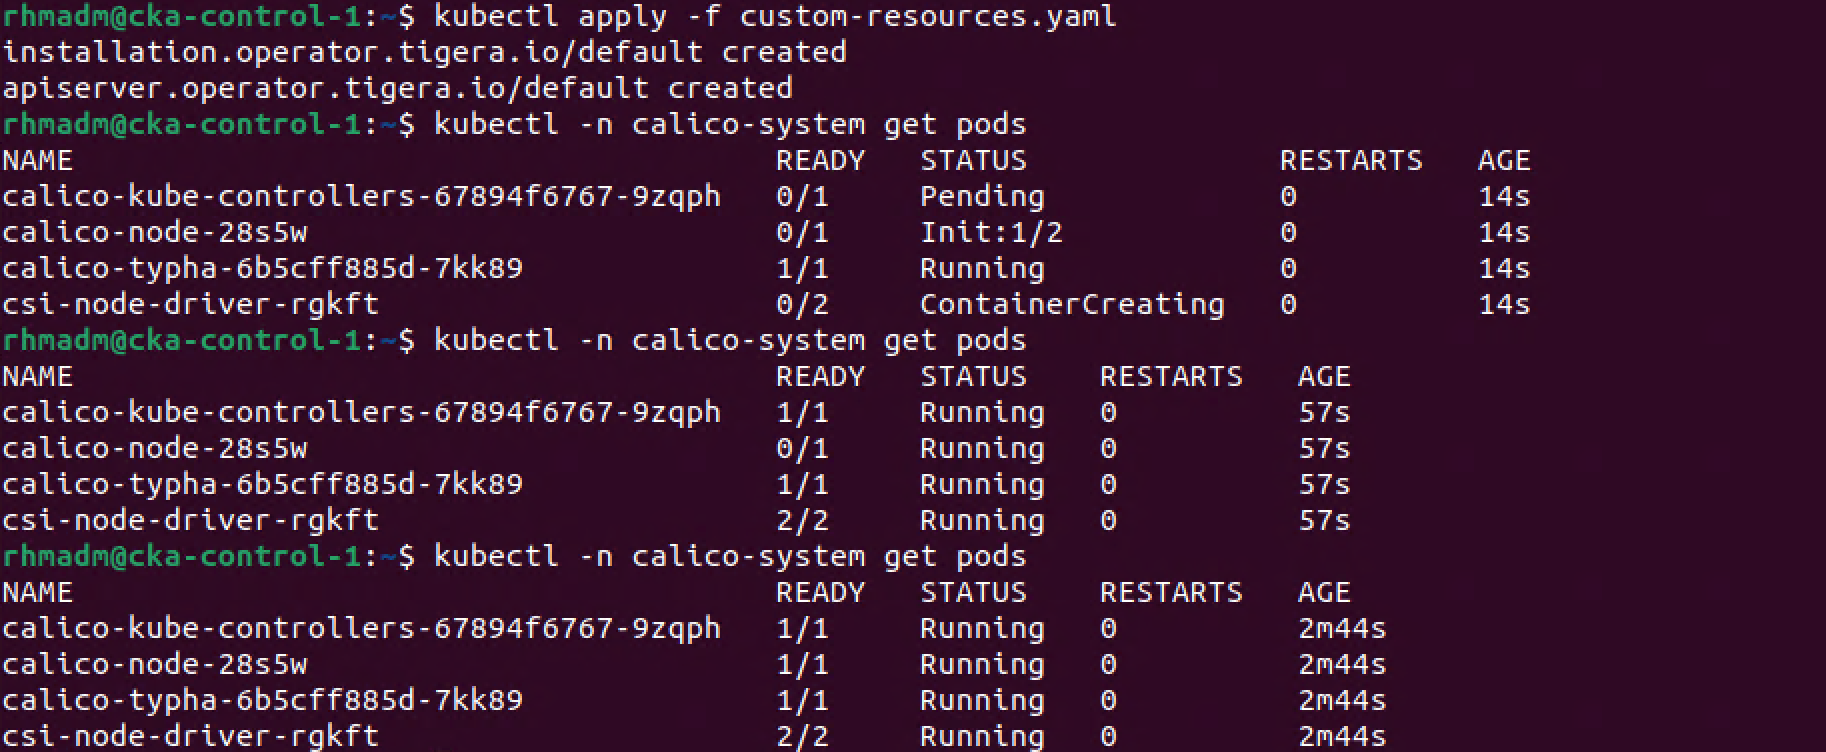
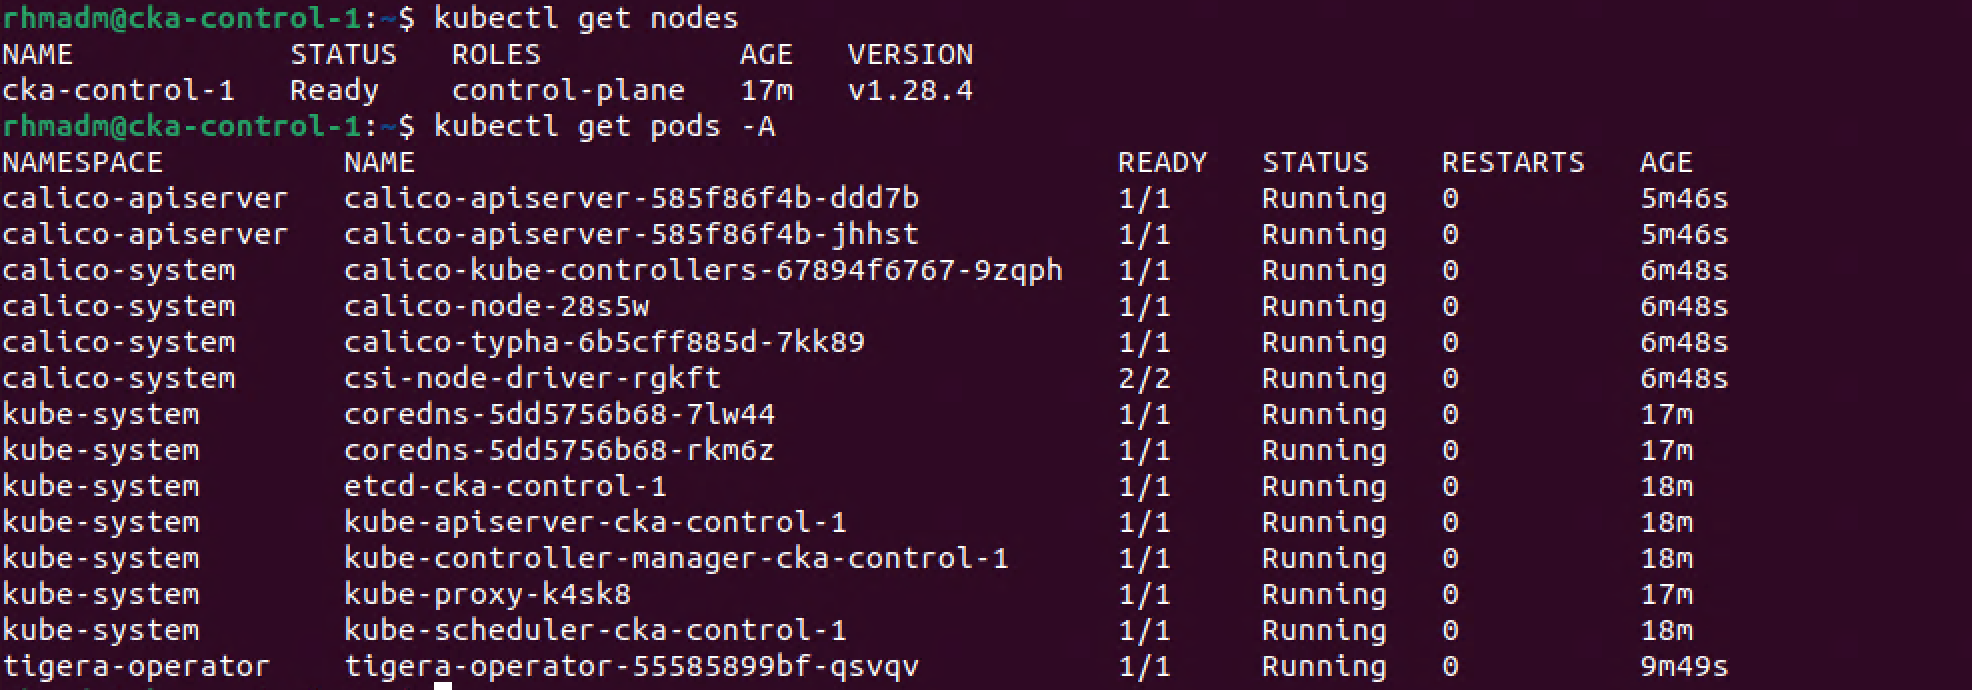
And now our cluster is ready. We can also verify that Pods in the cluster are running
1kubectl get nodes
2kubectl get pods -A
Add worker node to cluster
Now let's use that kubeadm join command to add a worker node to the cluster
Note that the worker node should meet the prereq's we've gone through in the VM Preparation section
1sudo kubeadm join <endpoint-name>:6443 --token <token> --discovery-token-ca-cert-hash <cert-hash>
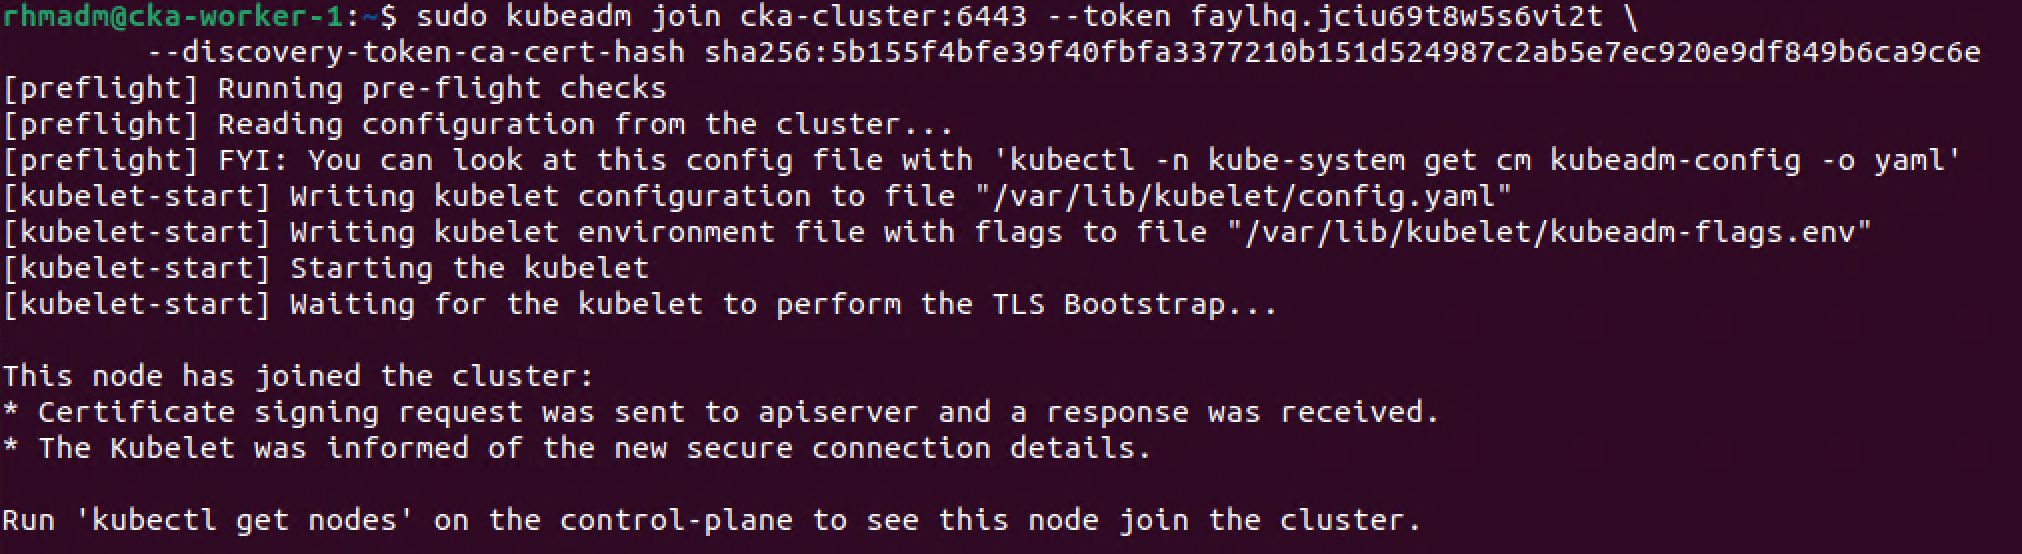
After a few minutes the worker should have a Ready status in the cluster
Regenerate kubeadm join command
To regenerate the kubeadm join command for a worker we could run the following
1sudo kubeadm token generate #We need to generate a new token
2sudo kubeadm token create <TOKEN-FROM-GENERATE-STEP> --ttl 1h --print-join-command
3#This will output the full kubeadm join command for a worker node

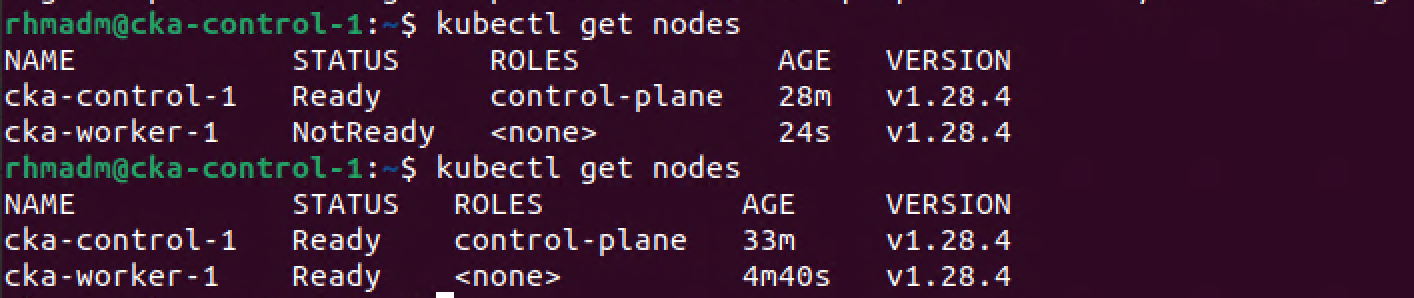
Let's add a second worker to our cluster

And again, after a short while the cluster should have a new node ready

Deploy a test application
Let's try to deploy a test application to check if things are working
We'll start by creating a nginx deployment
1kubectl create deployment nginx-test --image=nginx
After a short while the deployment should have spun up a pod which also has an IP address which we can use to check from the control plane node
1kubectl get deployment
2kubectl get pod -o wide
3curl http://<ip-adress-of-pod>

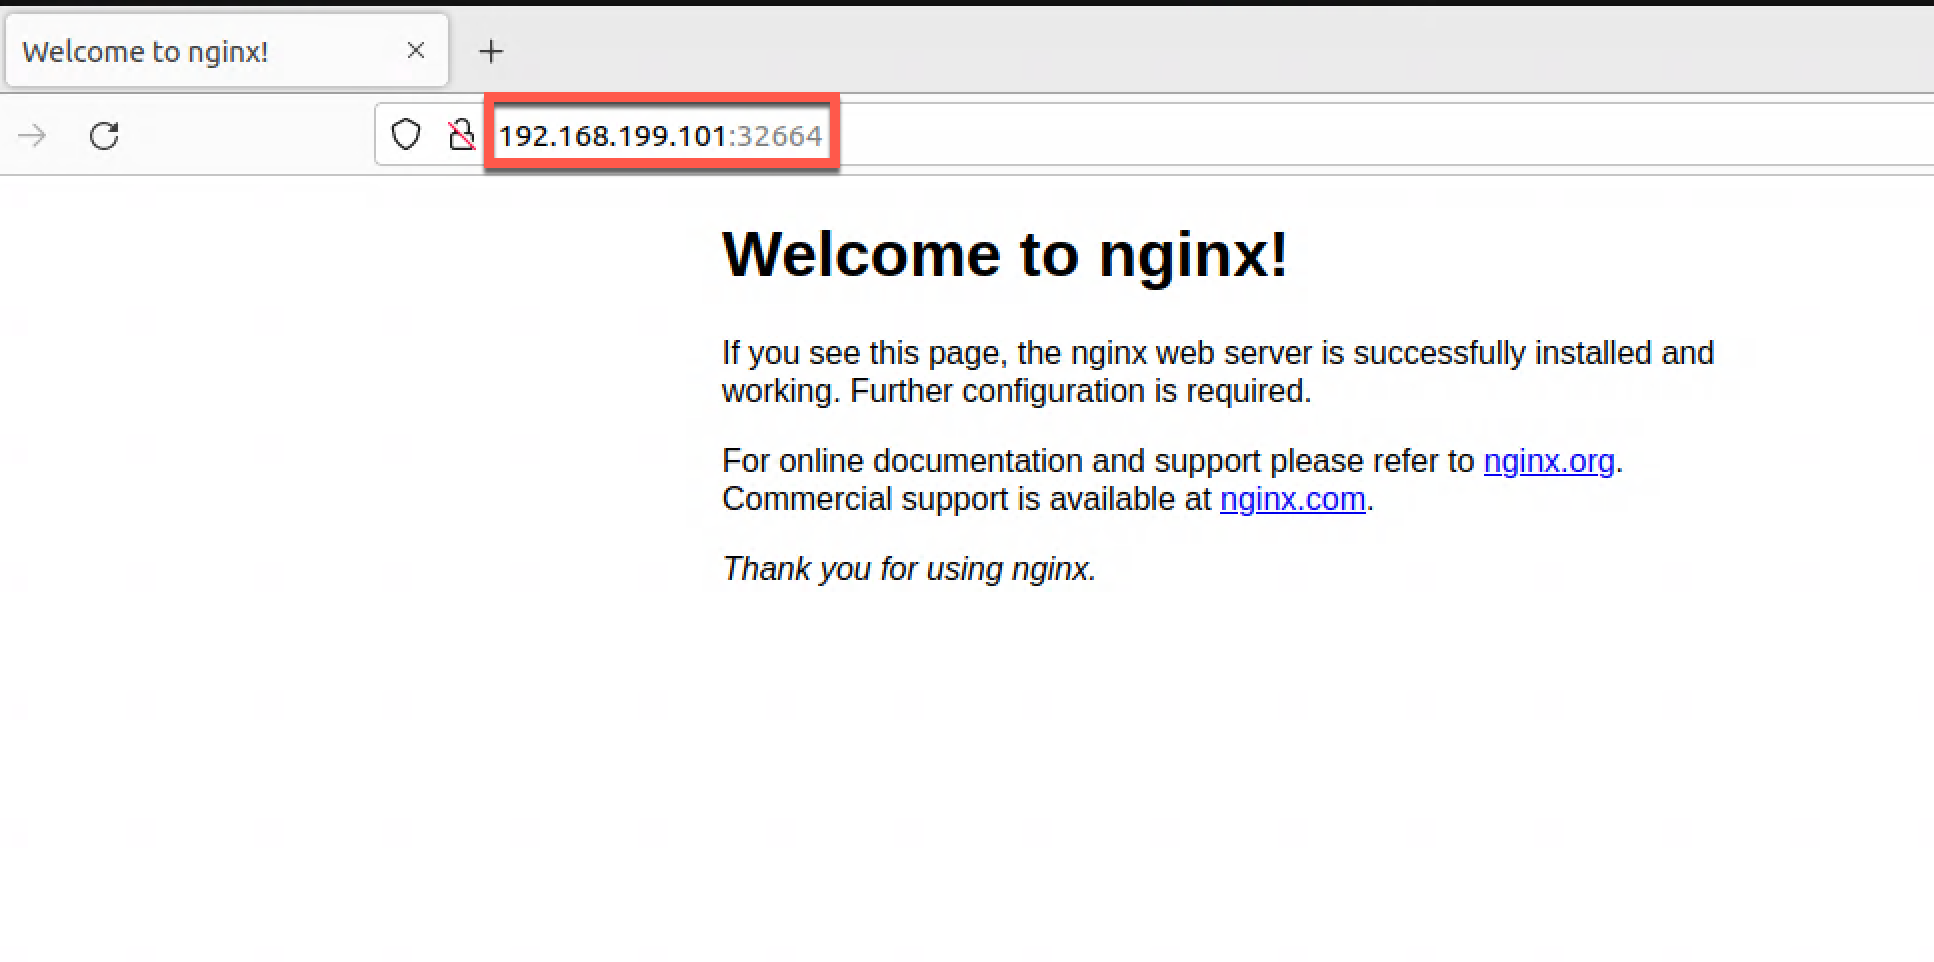
Now let's create a service to check if we can reach the nginx page from outside of the cluster as well
1kubectl expose deployment nginx-test --type=NodePort --port=80
2kubectl get svc
3kubectl get ep
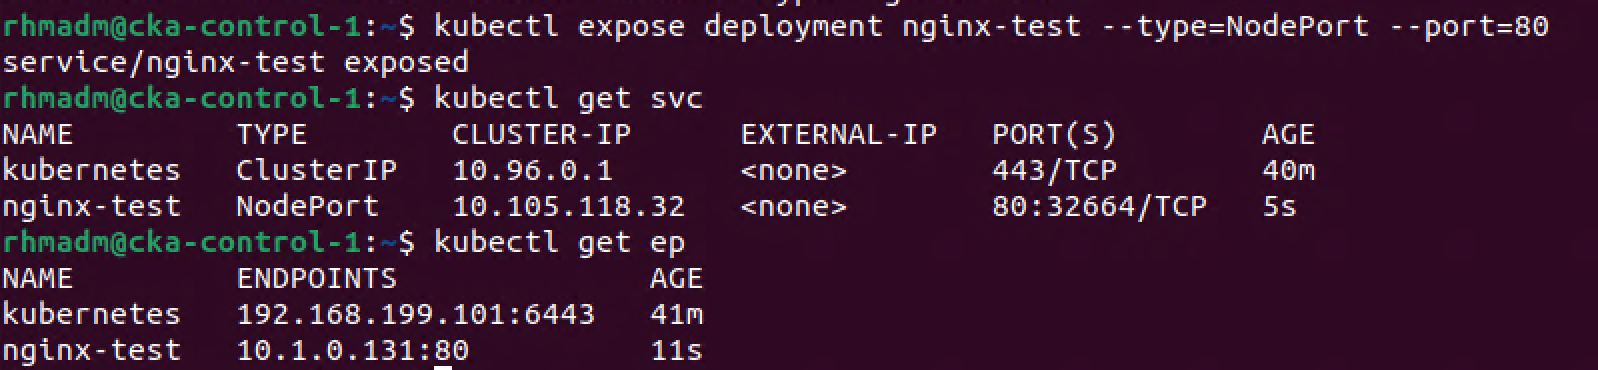
Now we can test the website with the IP of one of the nodes and the NodePort selected
Finally let's scale the deployment to make sure that the app can run on both worker nodes
1kubectl scale deployment nginx-test --replicas 2
2kubectl get pods -o wide

Summary
This very long post has been a write up of how to set up simple Kubernetes cluster on virtual machines. The intention has by no means been to do a comprehensive guide, and absolutely not something you'd do for a production cluster. For more information on Kubernetes and Best practices please visit the official documentation
In an upcoming post we'll extend our cluster with more control plane and worker nodes, as well as introduce a proxy in front of the control plane nodes.
Later we'll also see how to upgrade the cluster to a new version.
Thanks for reading, reach out if you have any questions