vRealize Automation 8 - Grow Cluster
In this blog post we'll take a look at how to extend a single node vRealize Automation 8.1 installation to a cluster of three nodes.
The current vRA 8.1 installation is working and has a few blueprints created for deployment of VMs and a couple of deployments running. vRA was installed with the vRealize Easy Installer which deploys vRealize Suite Lifecycle Manager as well as VMware Identity Manager.
vRealize Suite Lifecycle Manager is what we'll use for growing the existing vRA installation. Lifecycle Manager makes the deployment and lifecycle of the vRealize products easier, but it is essential that you cover the prerequisites and read the Release notes first. If not you might face some issues that Lifecycle Manager can't help you with.
I've had some issues during this process that I could have been without if I'd fixed all prerequisites, more on that later.
Prerequisites
As we'll go from a single node to three we need to also put a load balancer in front of the cluster. And we'll need to update the certificate in use with the new node names. But before we start any of this it's a good idea to use Lifecycle Manager to take a snapshot of the current vRA appliance.
Certificate replacement
Updating the certificate is done first, before growing the cluster so that the new nodes automatically use the new certificate. I'm not detailing the steps for generating a new certificate as this differs based on what kind of Certificate Authority is in use.
The certificate needs to have all the node names, as well as the cluster FQDN, as Subject Alternate Names (SAN) so make sure you get the CSR right.
A new Certificate Request can be created through the Lifecycle Manager Locker, and this is also where we upload the new certificate once it has been issued by the CA. Note that you can use Lifecycle Manager to issue a new certificate, but this will need you to trust LCM as a publisher on all clients if you want certificate validation to pass.
Check the Lifecycle Manager documentation for instructions on how to create a CSR and import a new certificate to the Locker.
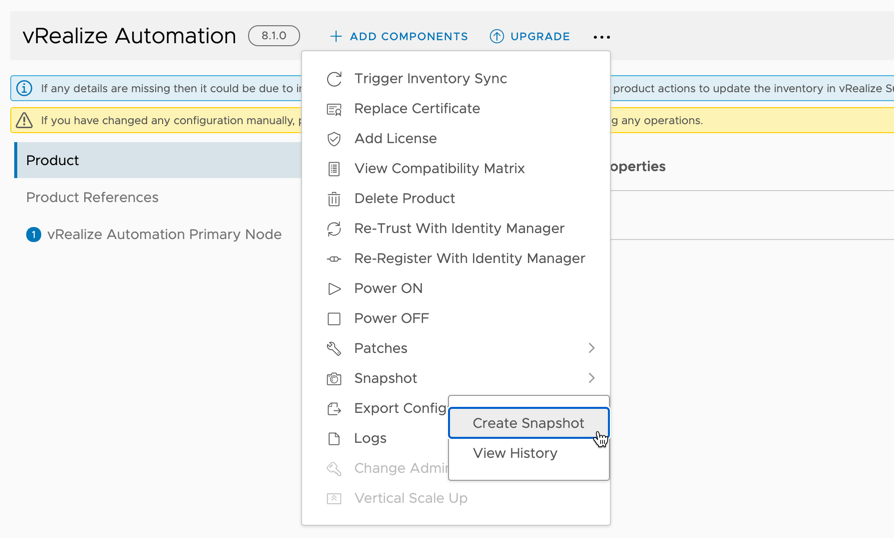
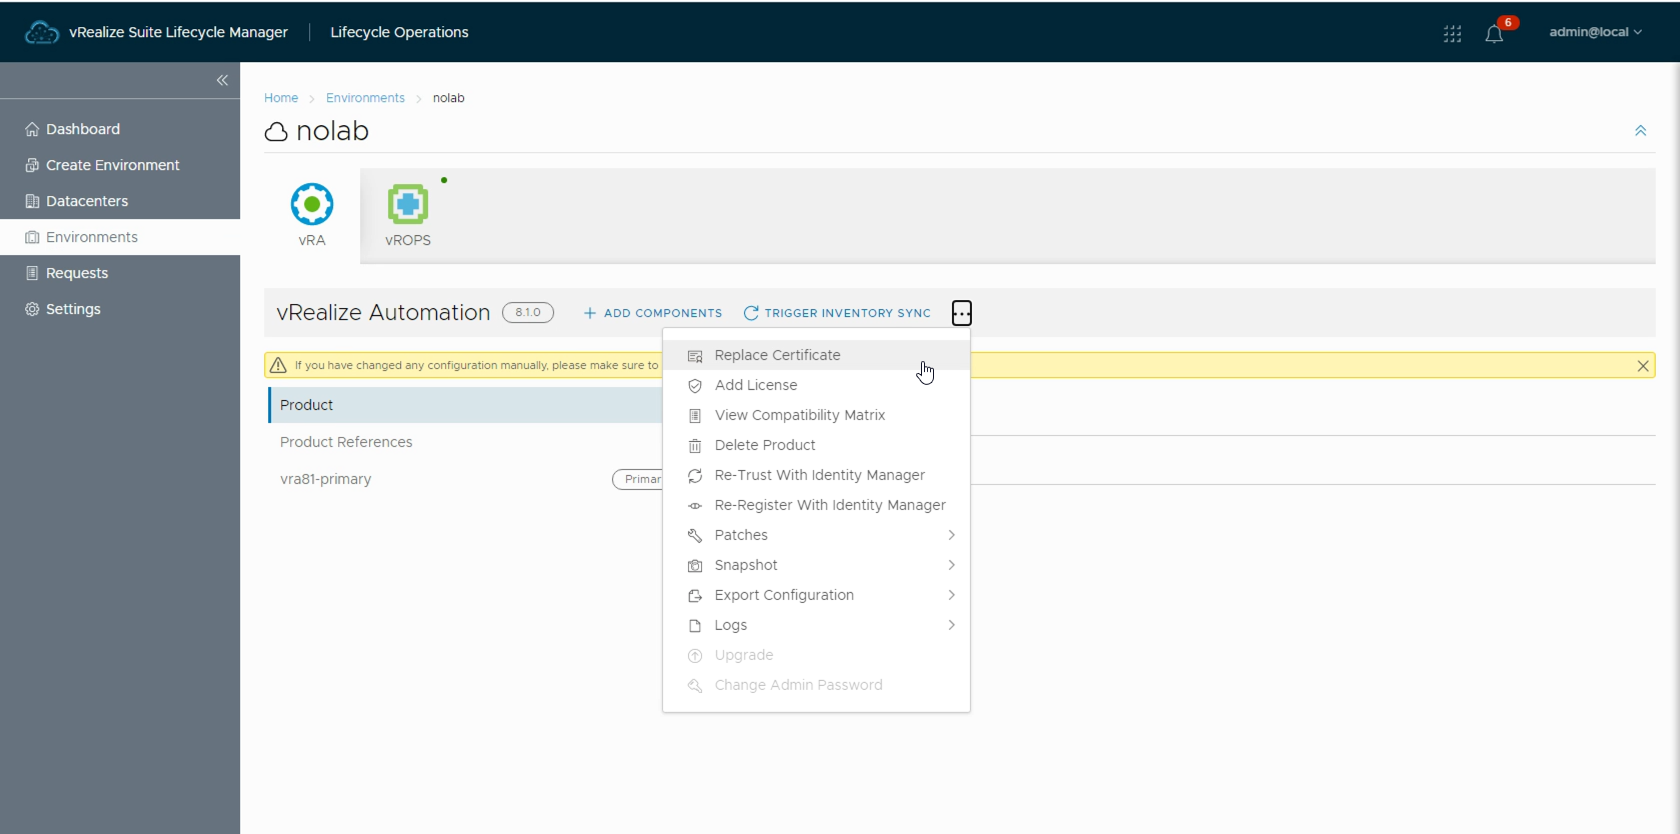
After importing a new certificate we can go over to Lifecycle Operations, open the correct Environment, and select the vRealize Automation product. Hit the three dots / ellipsis and select Replace certificate.
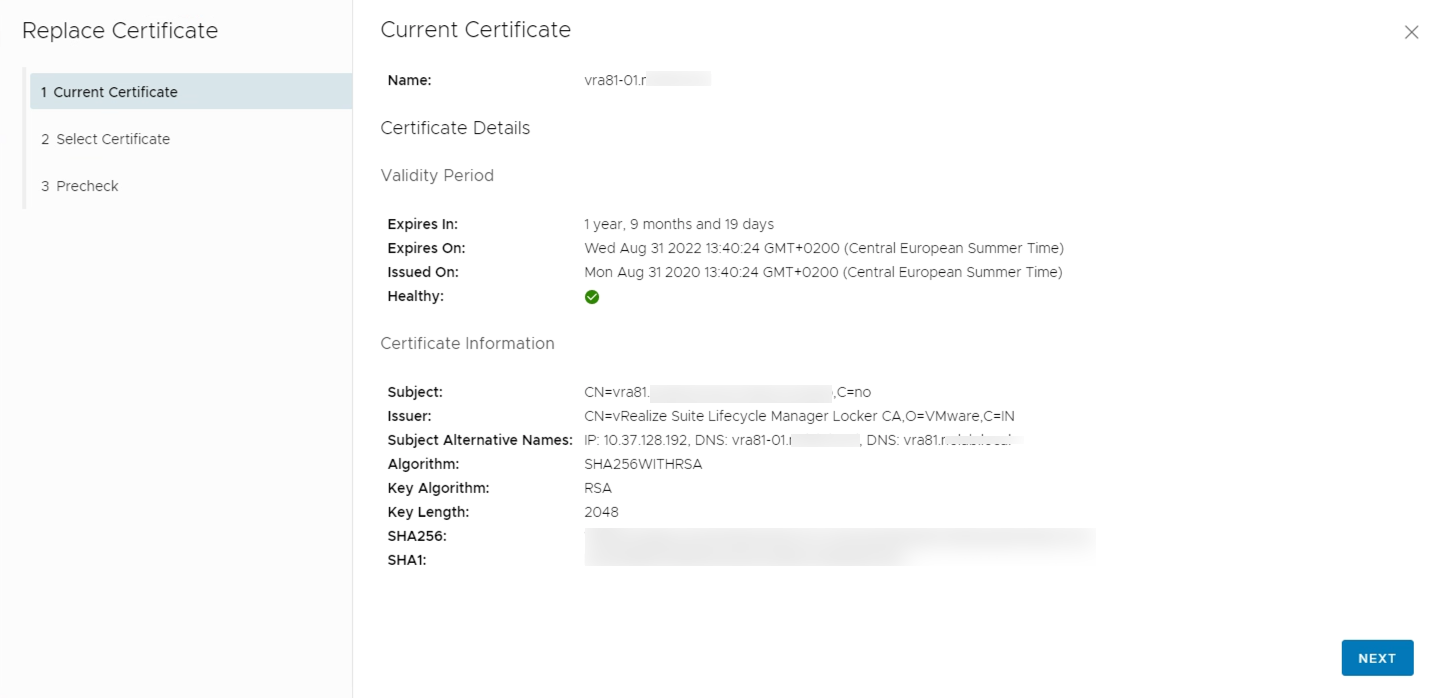
You'll first see the existing certificate
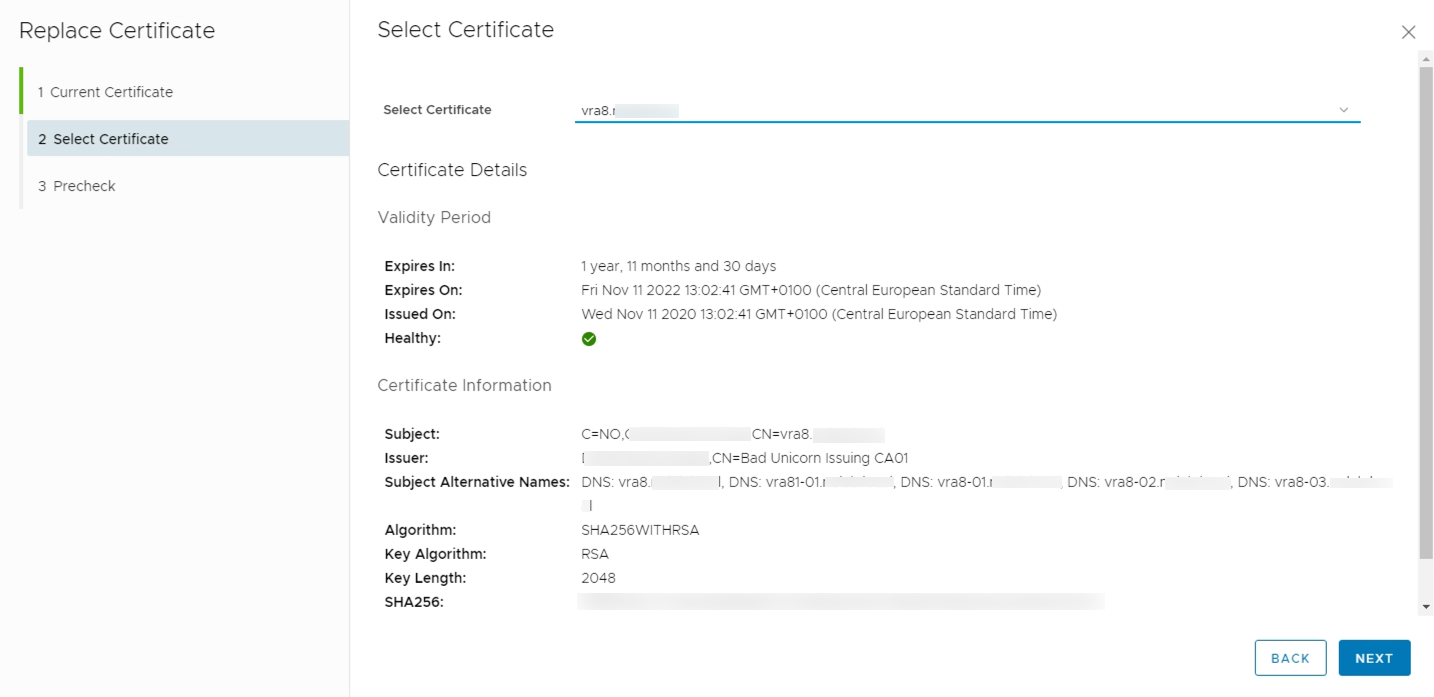
And then you'll get to choose the new certificate
Run the precheck, and if all seems ok, go ahead and run the replacement
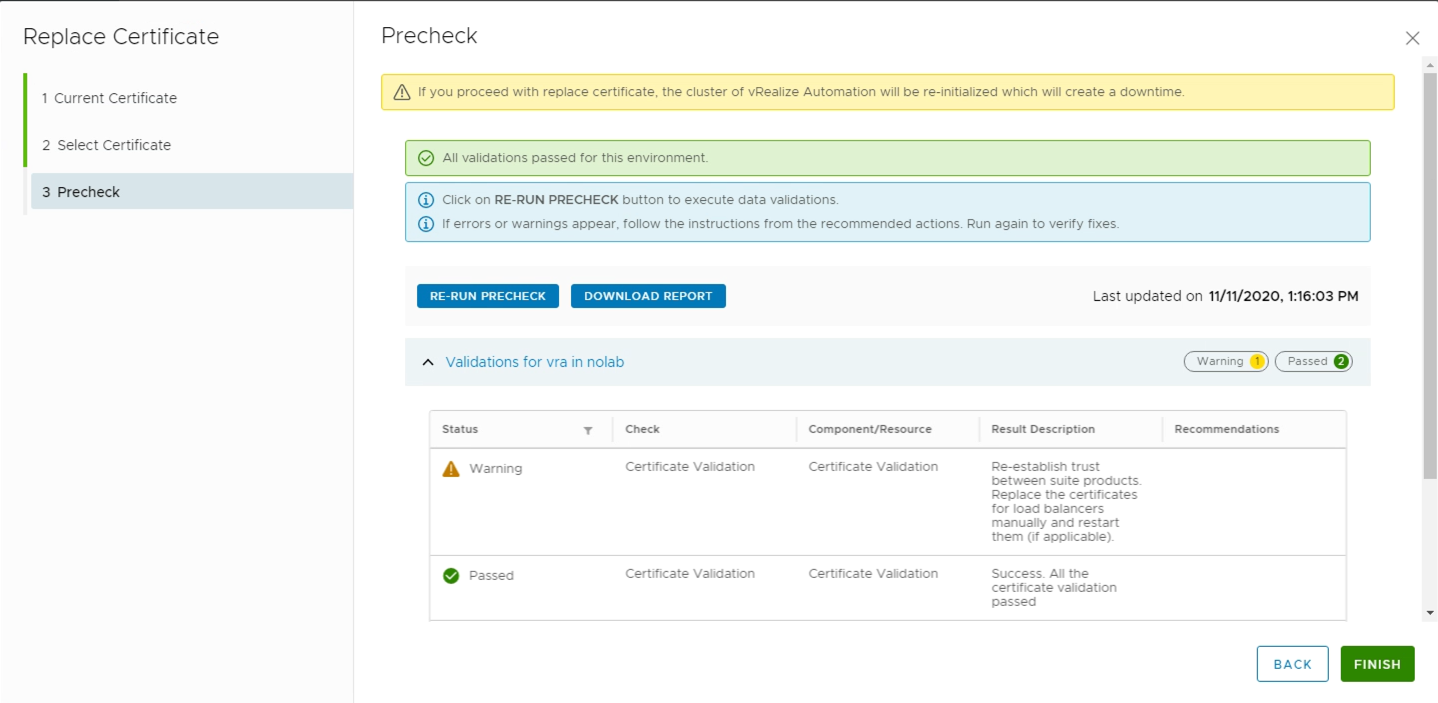
Hopefully the replacement went well
Now with the certificate replaced we continue with configuring our Load Balancer
Load Balancer
Since we're going from a single node instance to a three node cluster we're going to need a Load Balancer for spreading the request to the different nodes.
There's multiple supported load balancers, and you can find guides on how to configuring them in the documentation
In my lab we have NSX-T installed so I'll use that to configure a Load Balancer. The steps needed for configuring a NSX-T load balancer for vRealize Automation is documented here so I'll skip the detailed steps for that.
The Load Balancer I'm using is deployed as a "one-arm" load balancer as opposed to an Inline. It is also running on a standalone (not connected to a T0 gateway/router) T1 gateway/router with a service interface/centralized service port (CSP).
It took me a while to troubleshoot the Load Balancer and I had to get help from one of my colleagues to get it right. Eventually I also found this article that pretty much sums up the steps needed for creating the NSX-T load balancer and the vRA specific stuff.
Be aware that the Load Balancer, as well as other network configurations, is essential to get the cluster to work. I wasted quite sometime on getting the cluster deployment to work when the real issue was on the Load Balancer configuration.
DNS records
Before starting the cluster growth make sure that DNS records for both the cluster and the individual nodes have been created. These should also correspond to the names used for the Certificate.
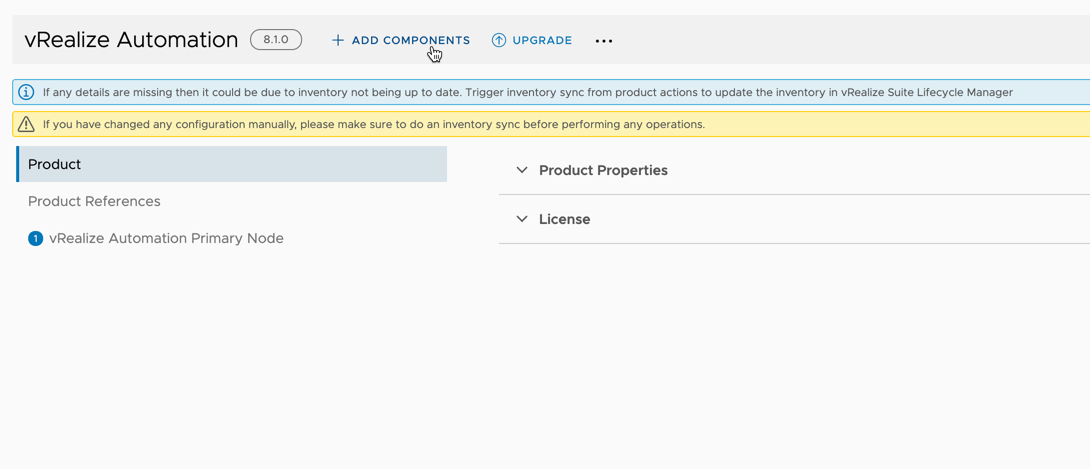
Run the Add component wizard
Now with all prereq's taken care of we are ready for scaling out our vRA installation! Again, be sure to have a VM snapshot before making any changes.
The first step is to start the wizard by clicking Add components on the vRA product in the environment
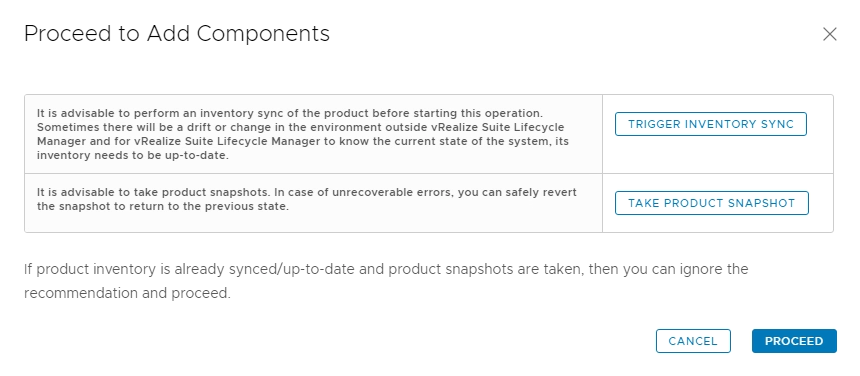
You'll get a dialog box asking you to do an Inventory sync, and that you should have a snapshot of the appliance. If you haven't done this you can use this dialog box to perform these tasks
Next you'll have two tabs/pages that asks for information on your Infrastructure (e.g. vCenter server, cluster, datastore etc) and the Network settings (gateway, DNS and NTP etc). These should be fetched from the already deployed appliance so you hopefully won't have to change anything here.
The next page will be where we add in the new components. I've added in two new secondary nodes which both has to be configured with VM name, FQDN and an IP address, and by adding in secondary nodes we also get to specify the FQDN of the cluster
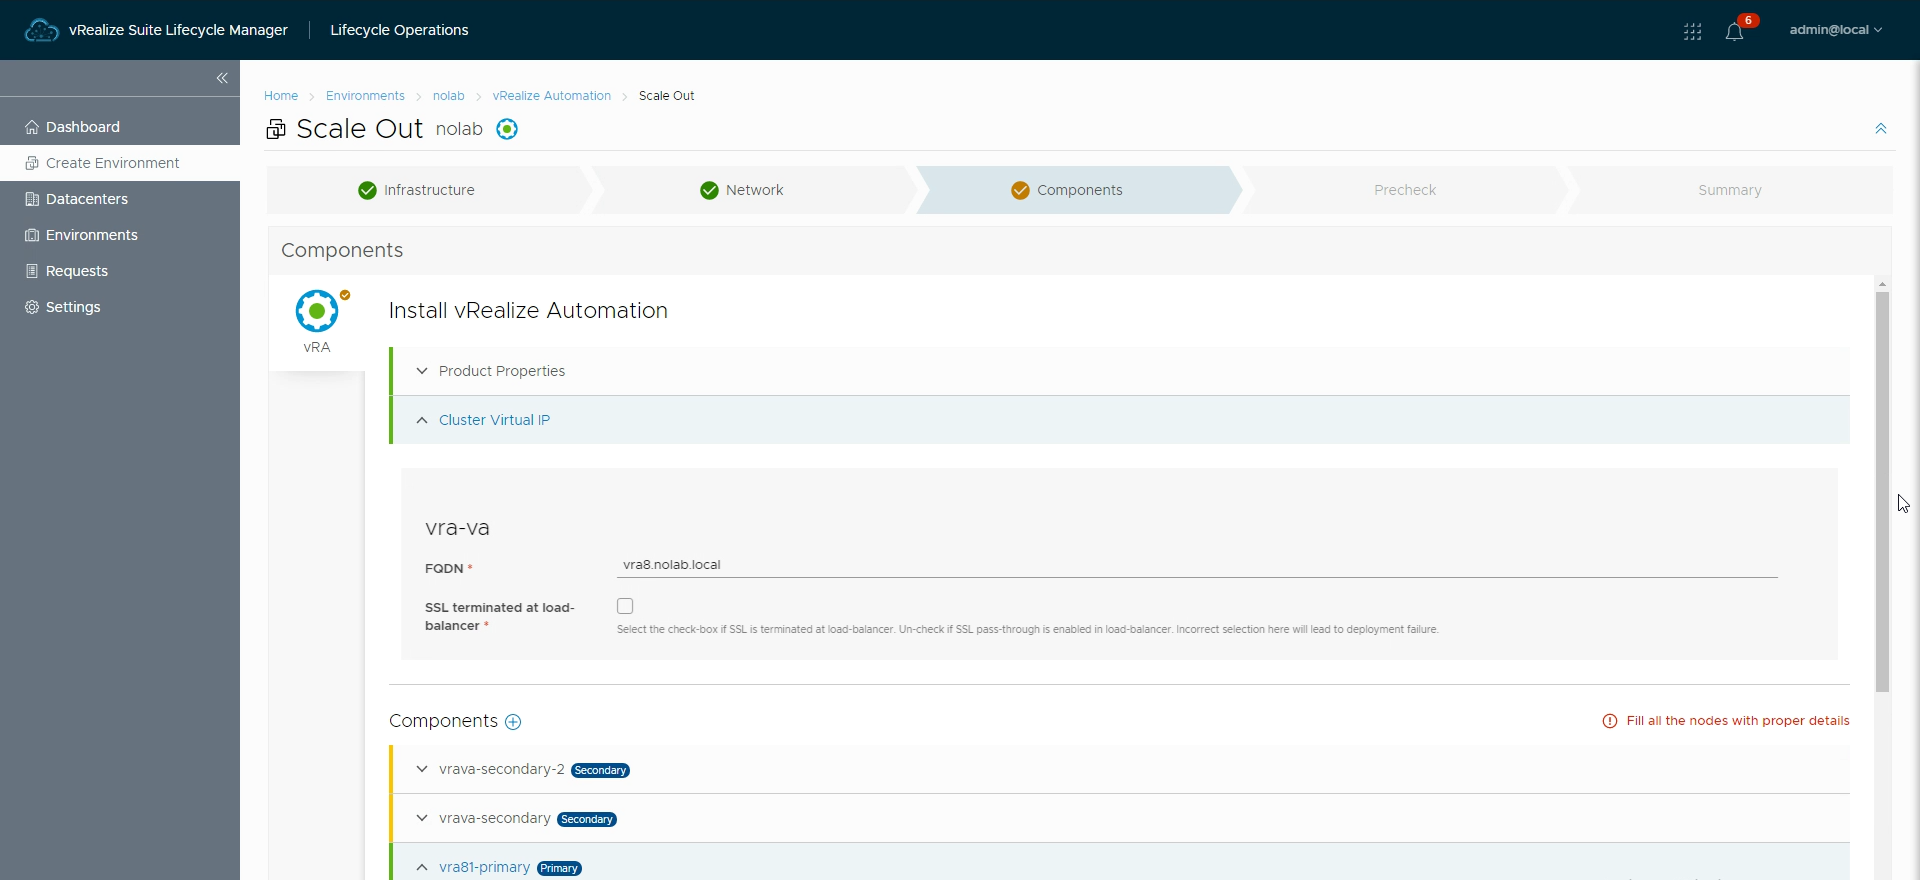
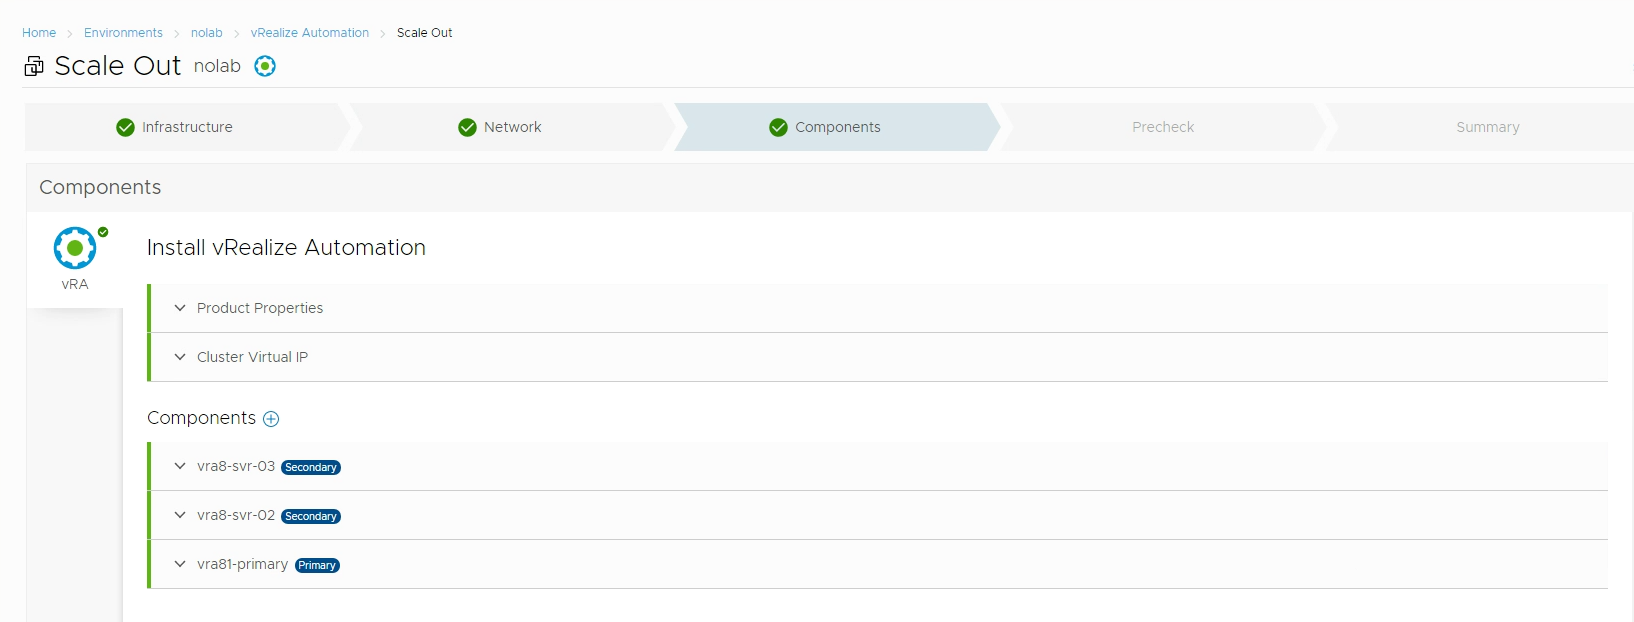
After configuring the new nodes, and the cluster FQDN, we should have a Components page with green marks
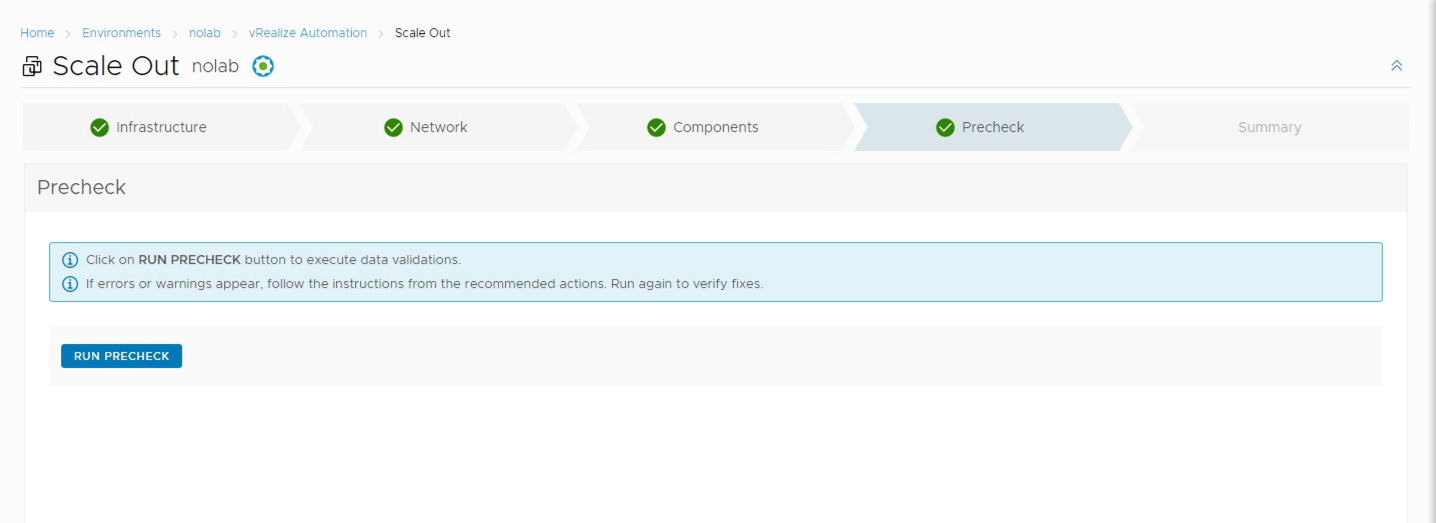
Now the wizard is ready for running the precheck which will verify all FQDN's, IPs, vCenter infrastructure etc
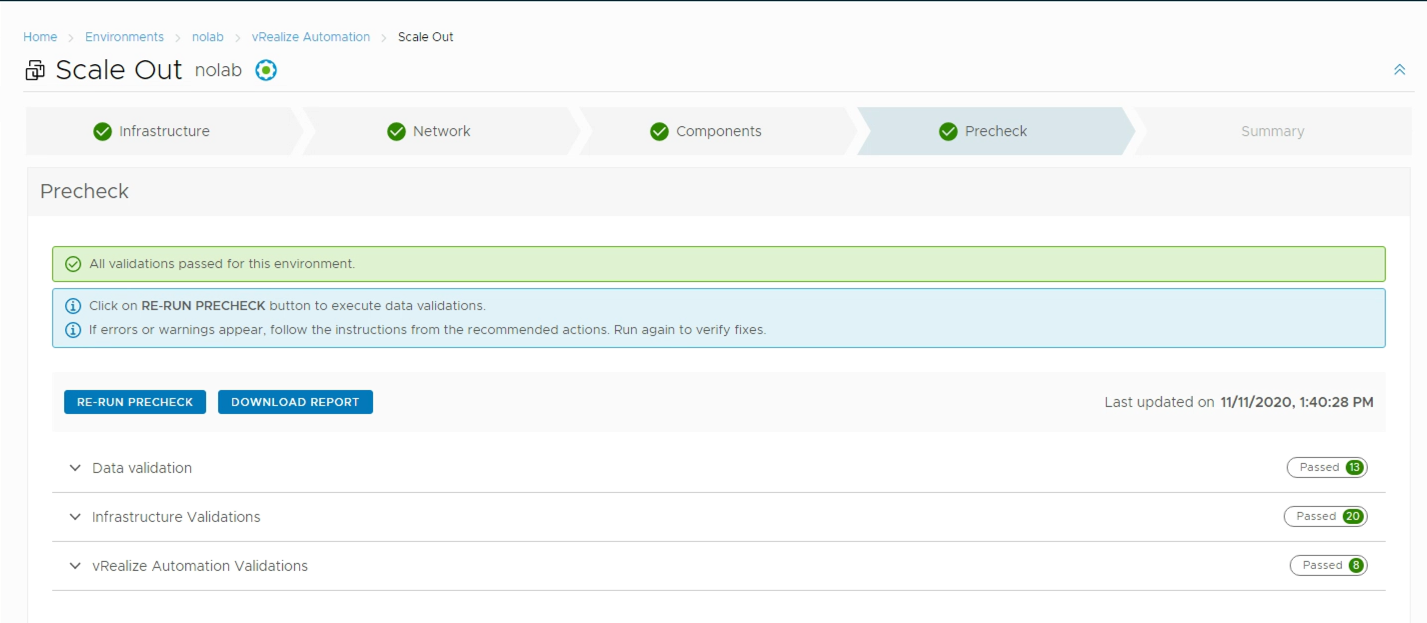
Hopefully all has passed the check, if not go back and fix it
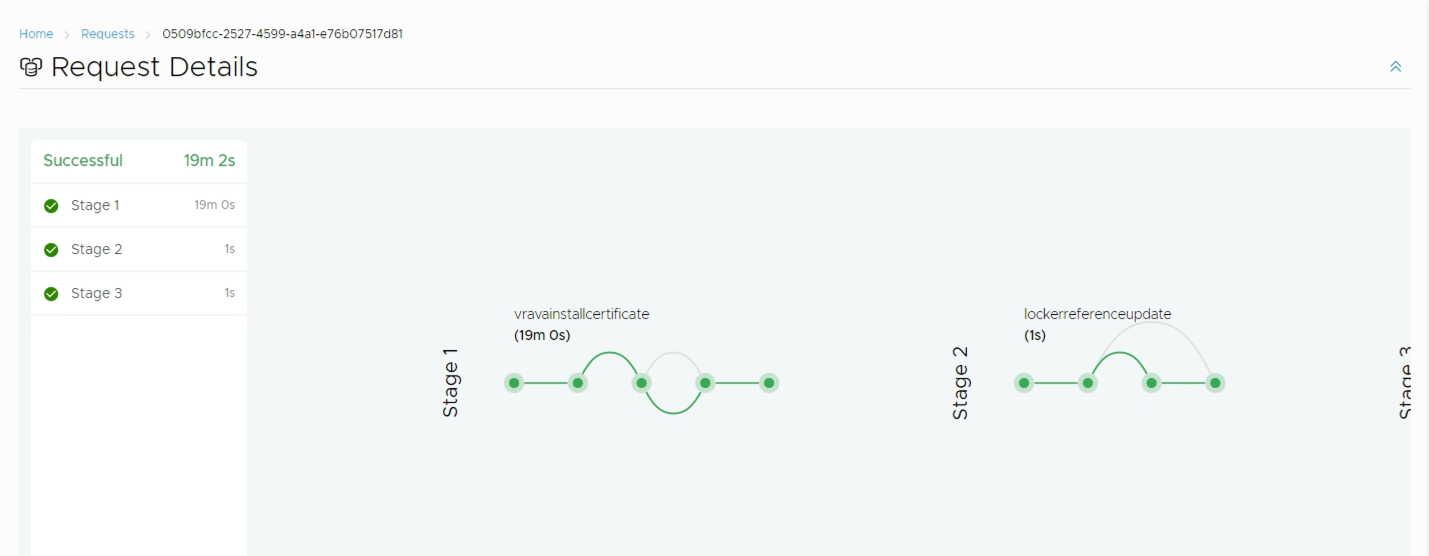
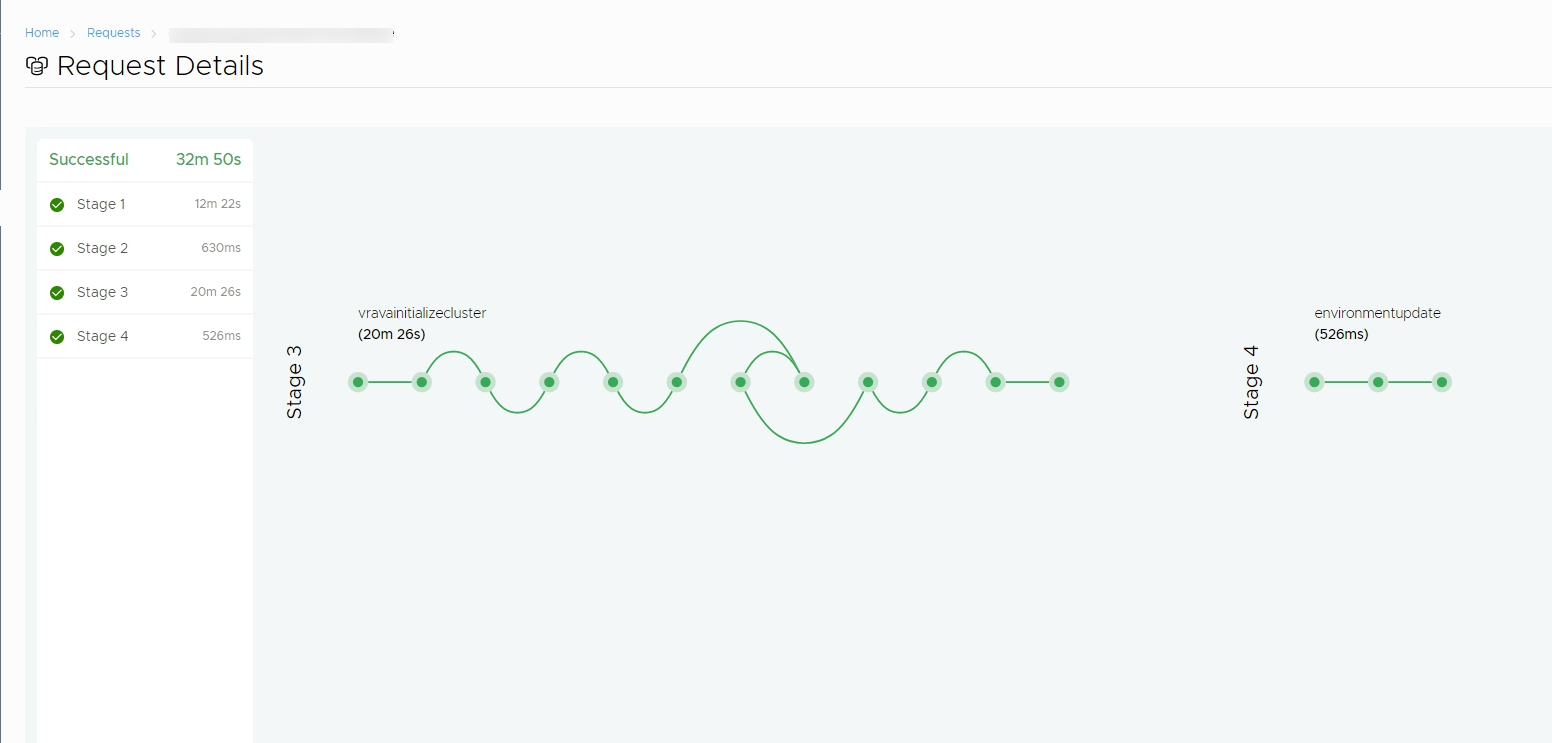
If you're ready for growing your cluster you can proceed which will start deploying nodes, if not you can save your request and finish it later
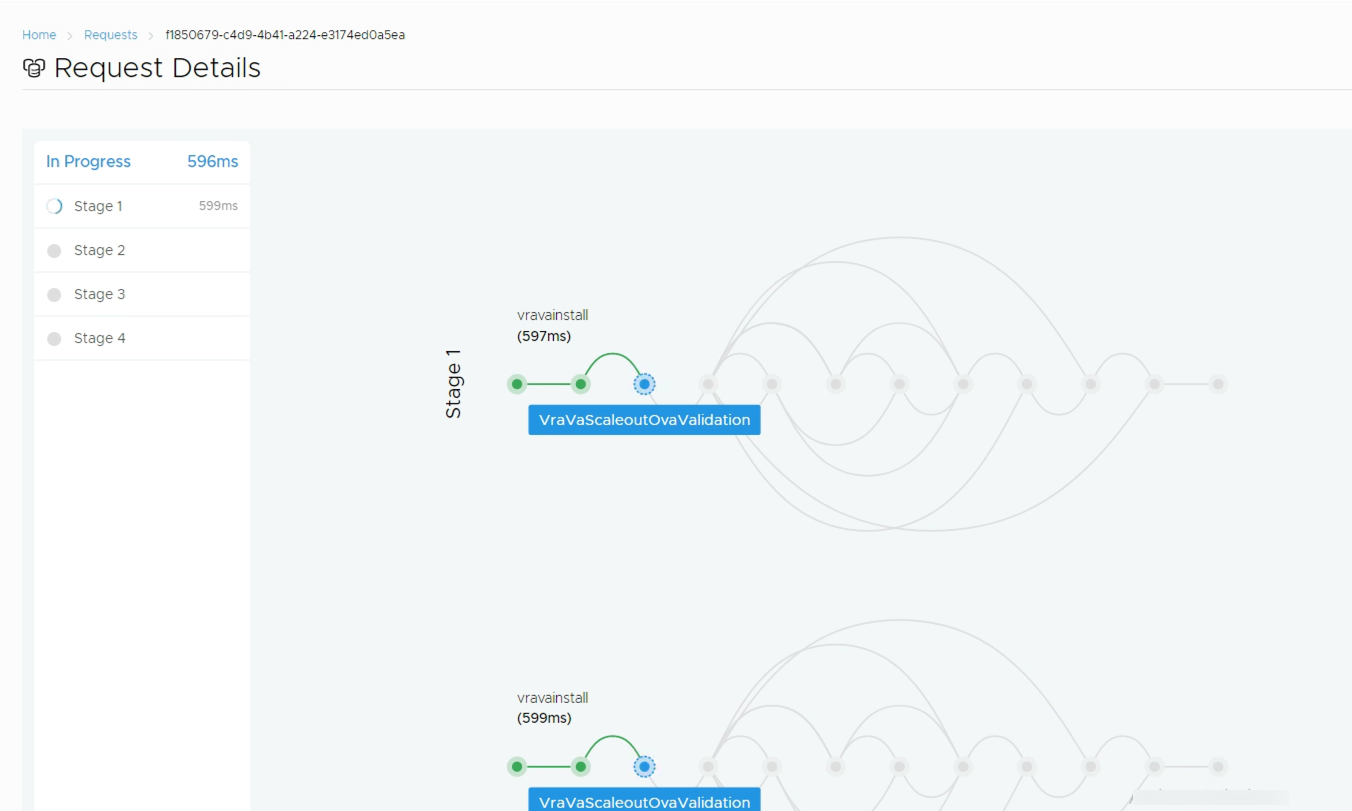
After a while you'll hopefully see the scale out finish with success
A couple of troubleshooting notes
As I mentioned earlier in this post be sure to have your networking configuration working before deploying your new nodes. If not you'll probably end up with the following status
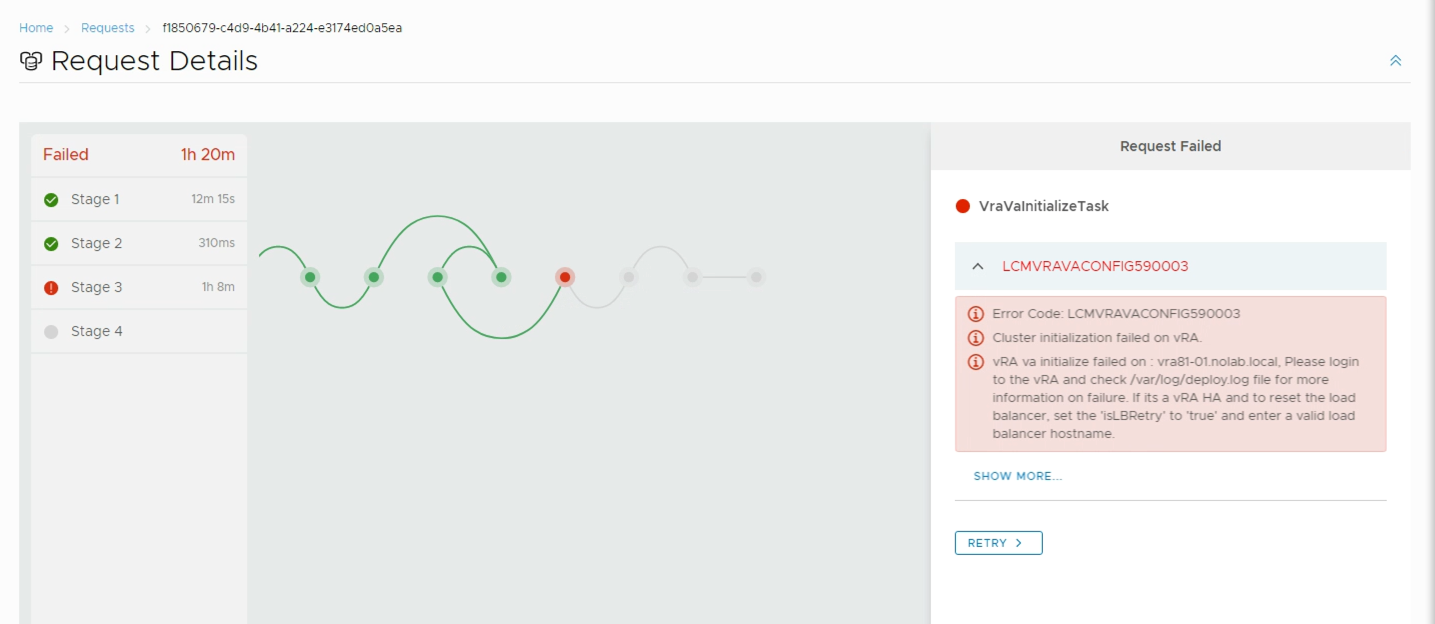
The LCMVRAVACONFIG590003 error code is pretty generic and seems to be used for multiple failure scenarios resulting in an error when initializing the cluster.
In my case it was because of a misconfigured and non-working Load Balancer, others have reported this has been because of misconfigured NTP, and in 8.0 you could also end up with this error if CEIP was enabled!
I check the /var/log/deploy.log file, and found an error indicating a error with the Identity Manager, Identity Service health check failed. If load-balancer is deployed, make sure it is properly configured. Deployment failed.
In my lab this is a single instance so there's no load balancer to configure in front of that. I have seen a similar problem while patching a vRA cluster and tried the fix for that. That error is because of a too short keep-alive on the load balancer and/or a timeout in the vRA deployment script. The fix did not solve the scale-out issue I faced. I also tried to give my vIDM instance more resources without that helping anything.
At last I started fresh by really verifying each step and found that my load balancer wasn't working. After fixing that everything went smoothly.
Summary
This post has been a walkthrough of how I used vRealize Suite Lifecycle Manager to scale out an existing vRA installation from a "standard"/single instance deployment to a three-node cluster with a load balancer in front.
I really love that vRSLCM does most of the heavy-lifting here, but be sure to meet all prereq's before starting!
Thanks for reading.