ESXi on ARM - Running Alpine Linux
Overview
Recently the VMware fling ESXiOnARM was released. The first few days people was doing all sorts of cool things with it.
On the night of the release I had my first RPi up and running, and after getting it in to vCenter I wanted to run a VM on it.
I chose PhotonOS as my first operating system to take for a spin as it was on the list of supported OSes. After getting PhotonOS up and running I turned to Twitter to join the flow of updates from people playing around with the new Fling.
One of the replies to my tweet on setting up my ESXiOnARM was about running Alpine Linux. This was not on the supported OS list, but as @cypou (one of the guys behind the Fling) said, why shouldn't it work?
I don't see why it wouldn't work. Try it :)
— Cypou (@cypou) October 7, 2020
I'm not very familiar with Alpine Linux. At least not on virtual machines. Alpine Linux is one of the most popular base images for containers.
So, can we run Alpine on ESXiOnARM?
Well, of course we can!
Installing Alpine Linux on a Raspberry Pi based ESXi host
This is a step-by-step guide for Alpine newbies (like me). I'm doing this with ESXiOnARM connected to a vCenter, but you should be able to do this on standalone ESXi as well. For details on how to install Alpine Linux, please visit the Alpine Linux documentation
If you want to skip the step-by-step, that's fine. I got this to work by installing the standard aarch Alpine ISO, alpine-standard-3.12.0-aarch64.iso in my case.
One thing to be aware of if you're not familiar with Alpine is that you need to remember to unmount the media before rebooting after the installation.
Download ISO and create a virtual machine
First we need to download the ARM image (aarch64). There's multiple flavors available, I went with the standard one. Once downloaded put it somewhere where you can mount it to VMs. I have a NFS server available for my Pis.
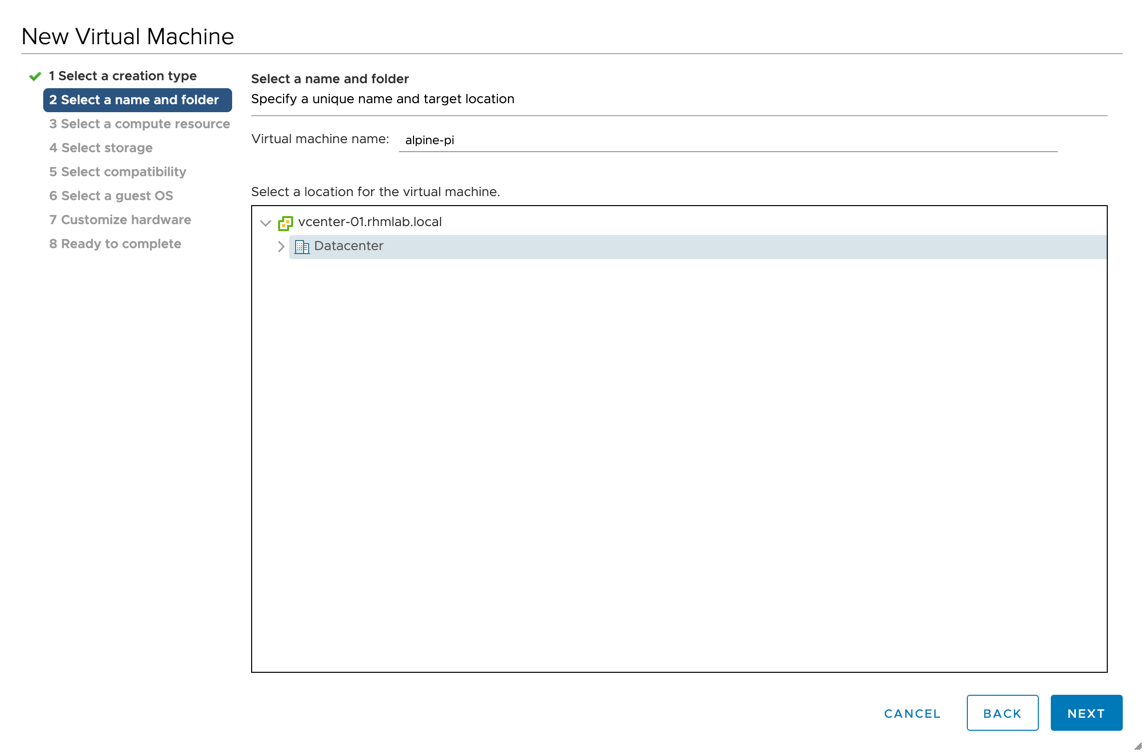
Now, let's create a virtual machine in vCenter.

- Give it a name and place it on your favorite vCenter folder
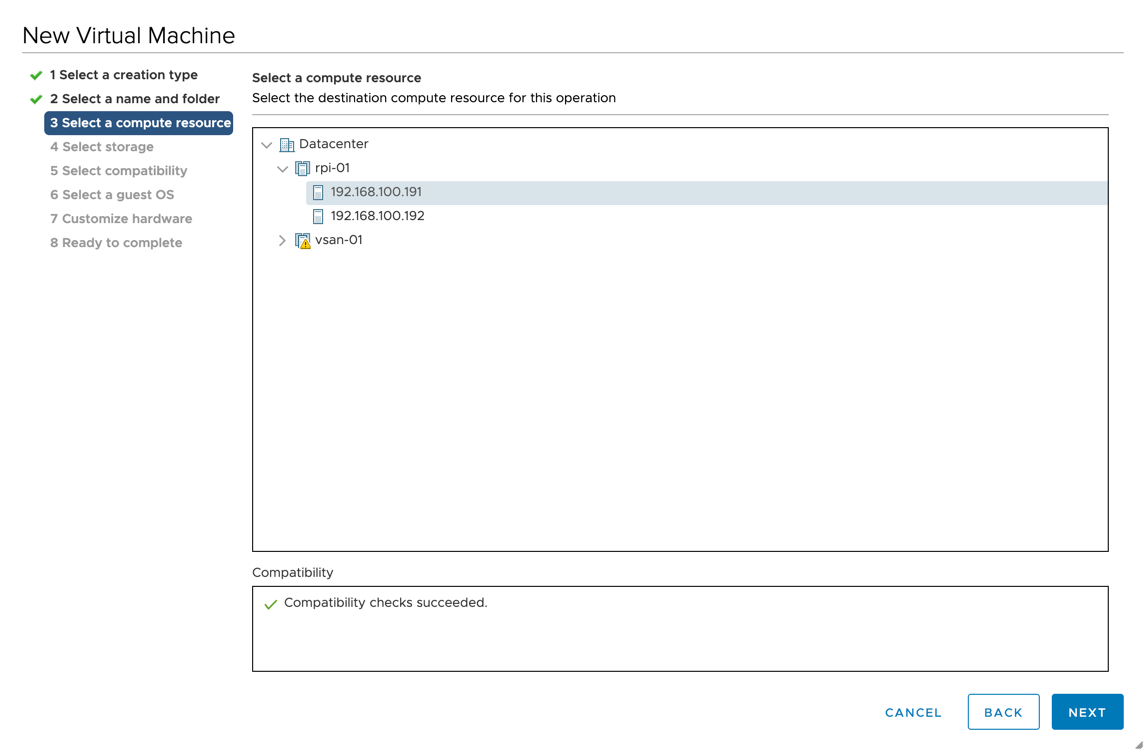
- Now, select your cluster or host
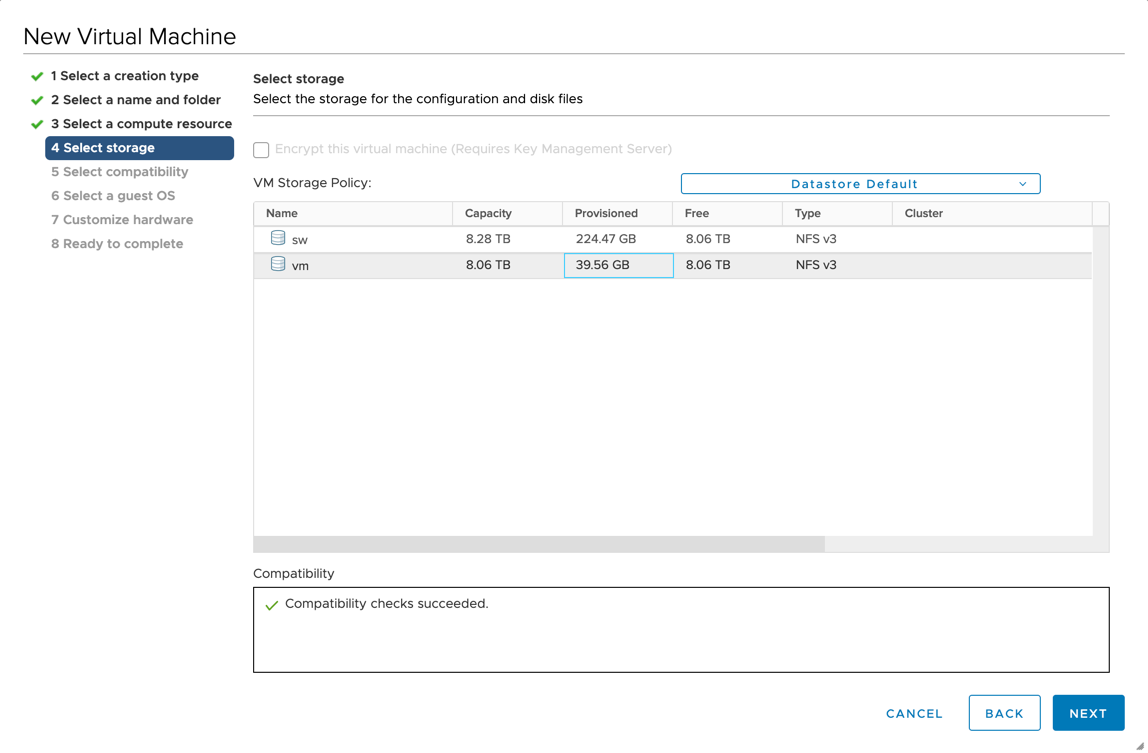
- Select storage placement
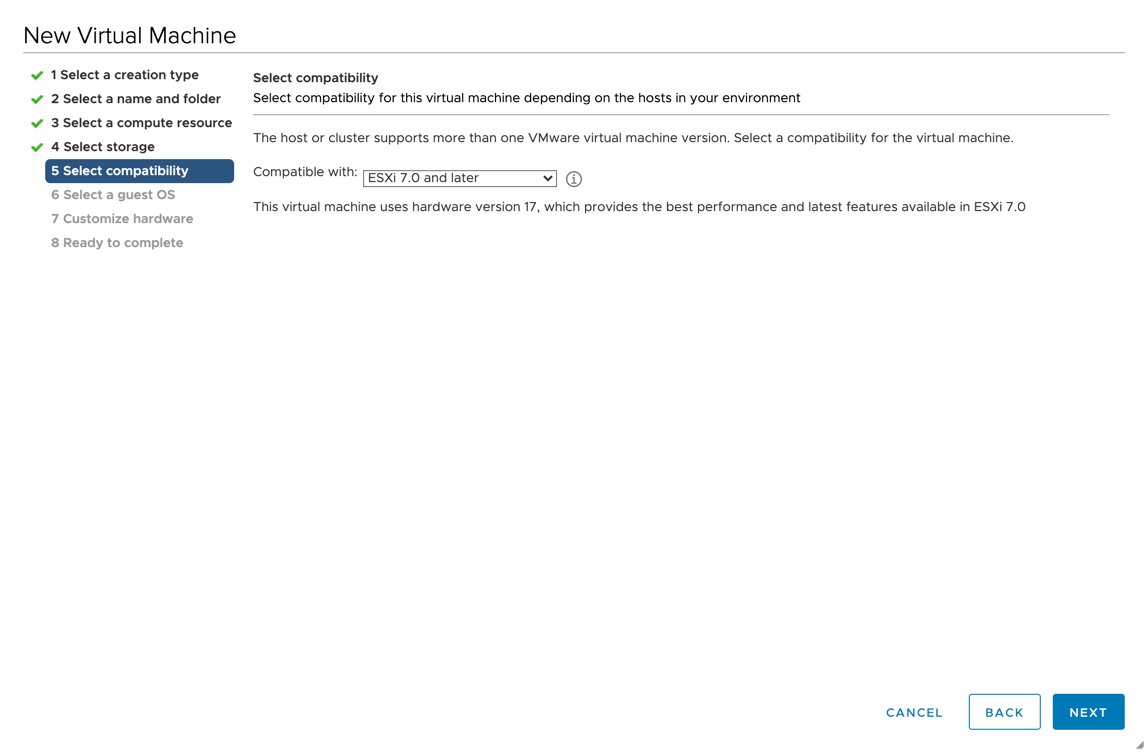
- Select HW compatibility
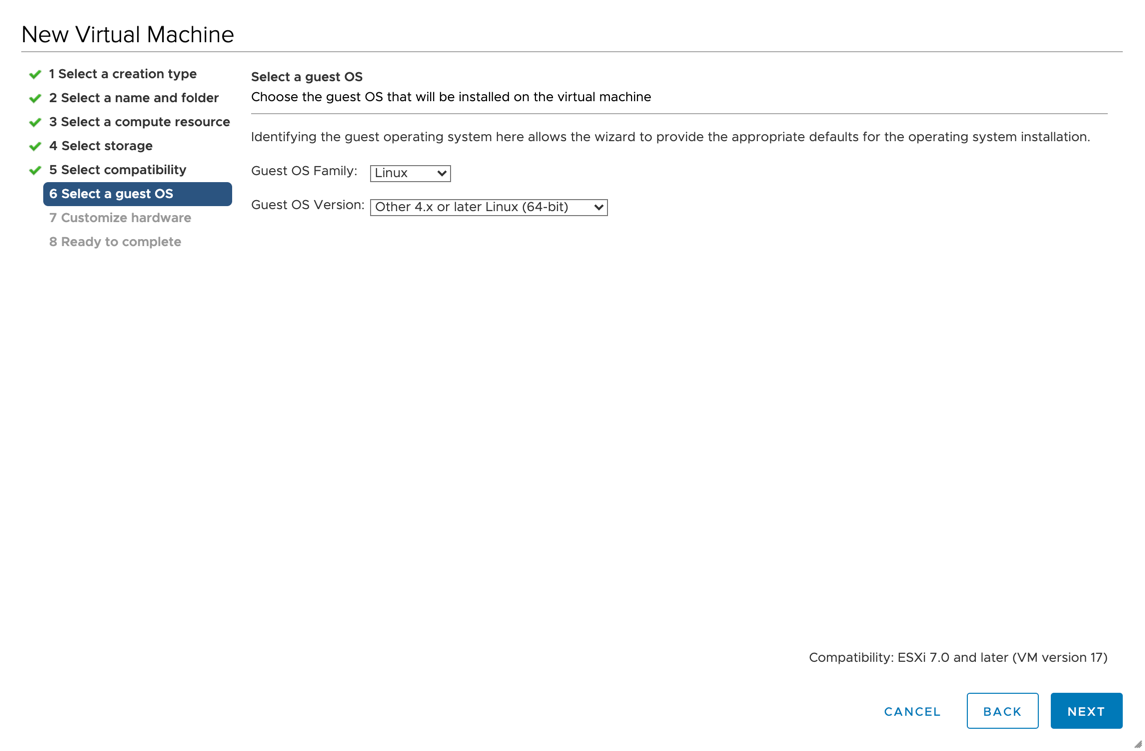
- Select the OS. Alpine Linux isn't available so I'm selecting Other 4.x or later Linux (64-bit)
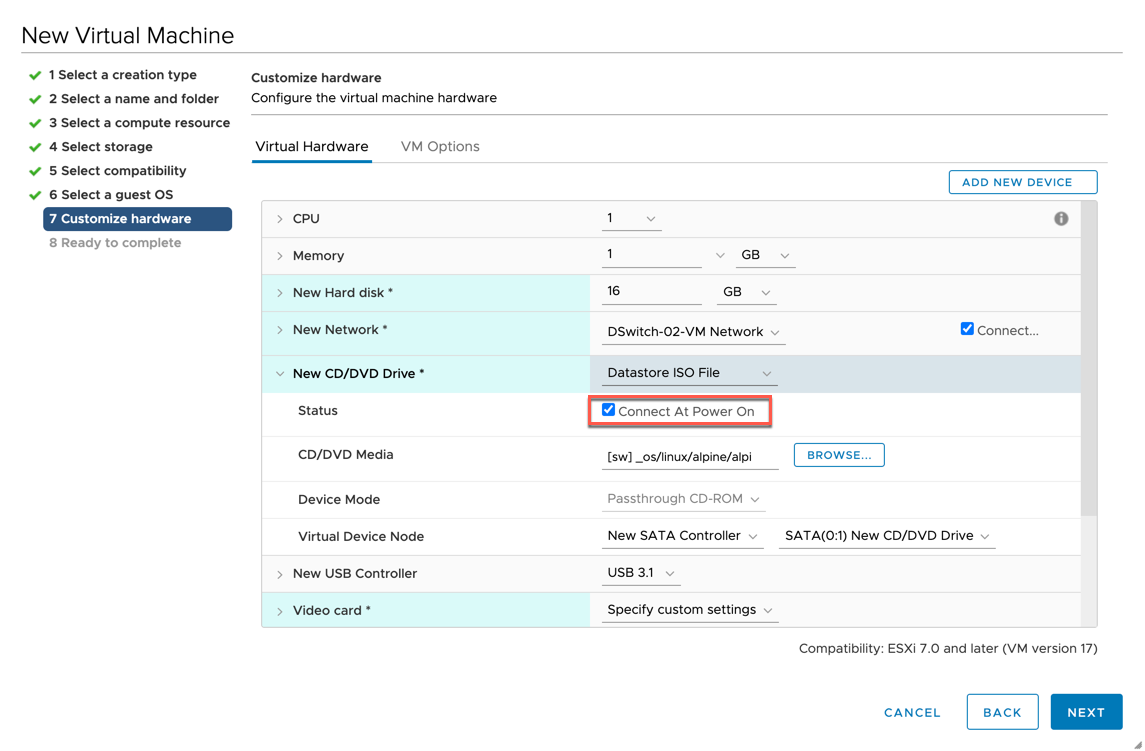
Now customize the hardware
I'm sticking with the defaults of 1 vCPU, 1GB RAM and 16GB hard disk. I'm selecting the correct port group, and the correct ISO from my datastore. Be sure to connect it at power on
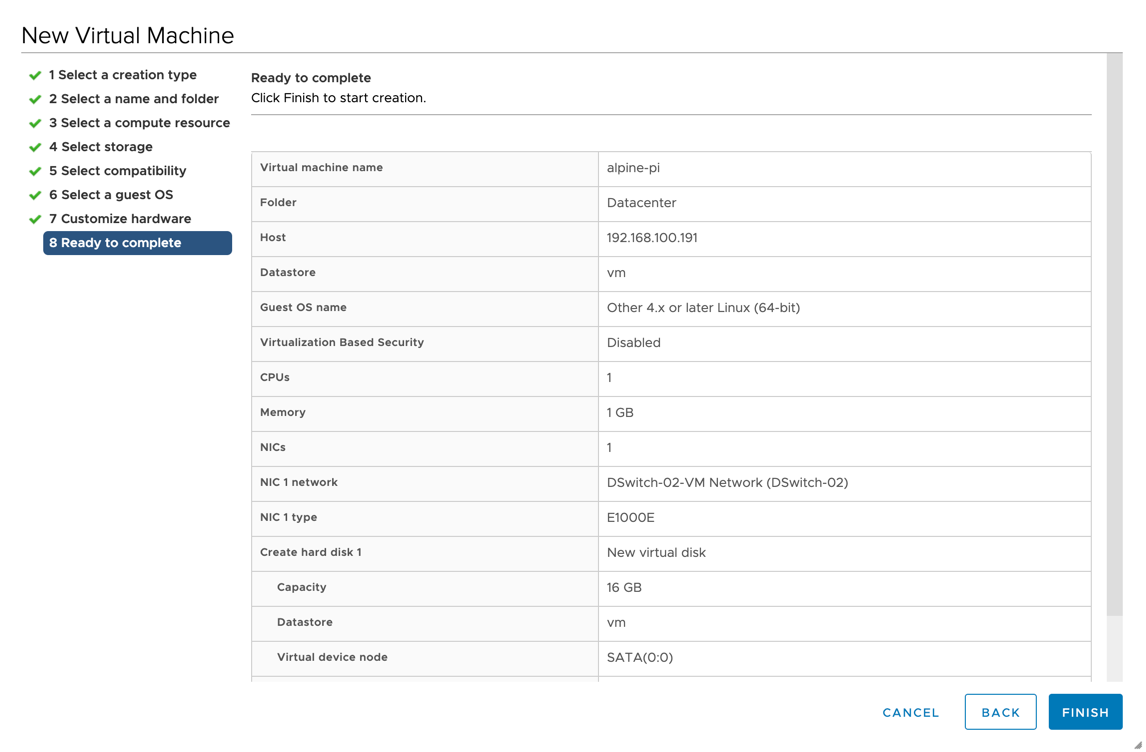
- Finally we're at the summary page and are ready to create that VM
Start VM and install OS
Now, let's power on the VM and start a console to the VM. I'm using the console through Fusion on my macOS
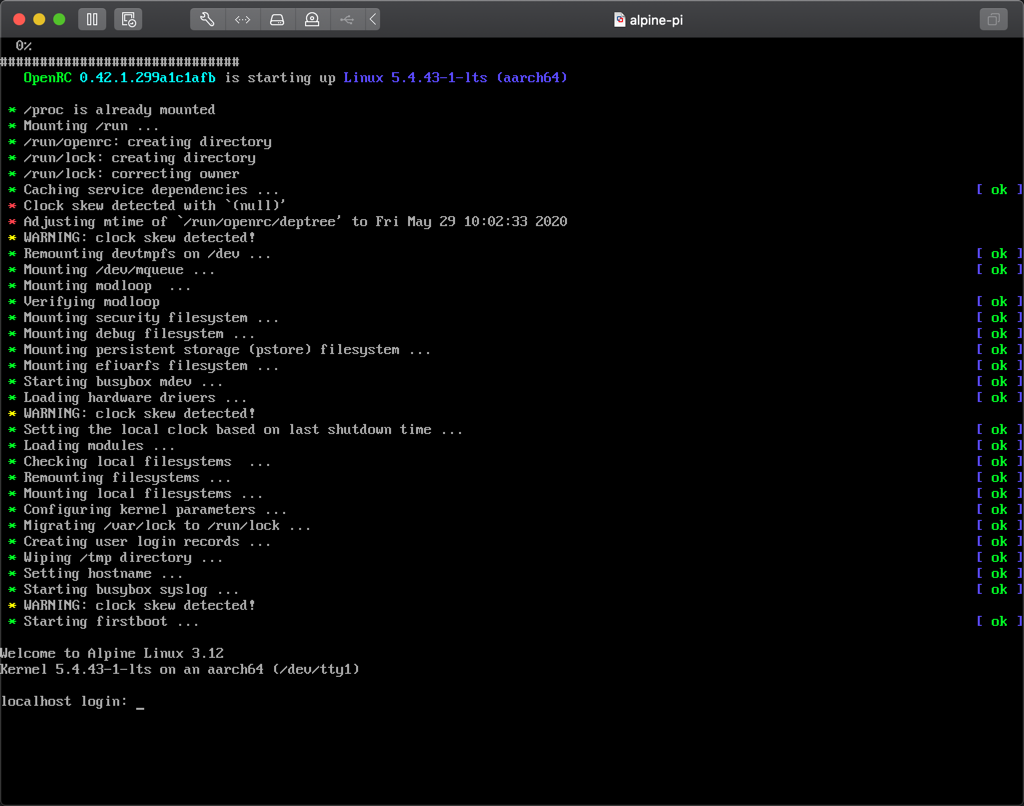
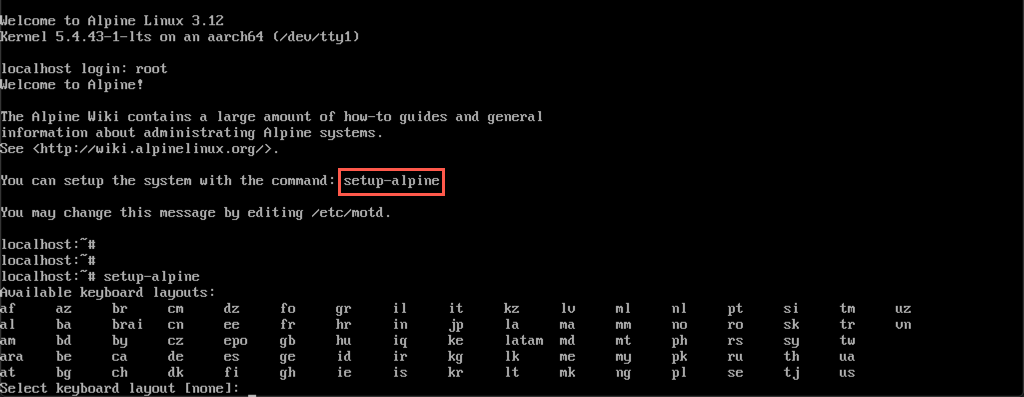
With the console up we can log in to the VM. By default, after first boot, you can log in with root

The login banner tells us that we can run a setup of the system with the command setup-alpine
The first setup is the keyboard layout
Next up is the hostname

Now you can initialize and configure the network interface. In my example I'm accepting the defaults (noted in [ ] brackets) and just hit ENTER three times. If you have a working DHCP server in your network you should hopefully get an IP address assigned like in my example

Next up is setting a password for the root account

Set your timezone

Set a proxy if you need, and then select the ntp client to install. I'm accepting the defaults for both by hitting ENTER twice

Alpine now lists mirror servers, again I'm selecting the default by hitting ENTER. If you want pick one close to your location
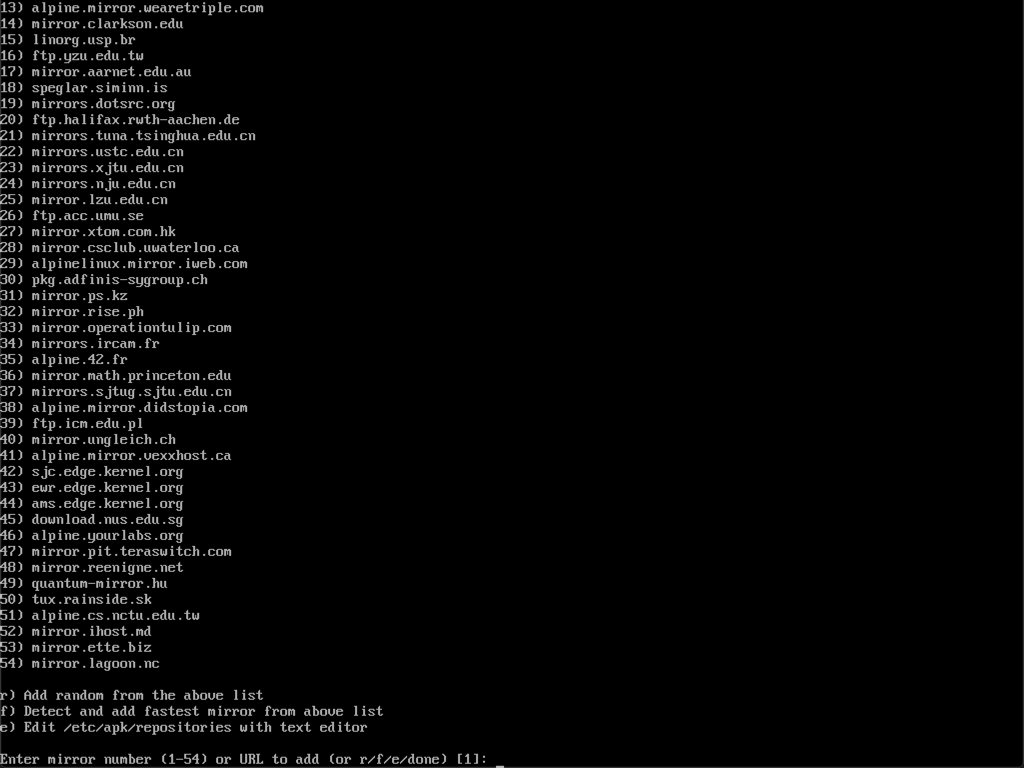
After setting the mirror and updating repository indexes you select which SSH server (if you want one) to use. I'm sticking with openssh, the default. The sshd service will then be created and new host keys generated

Next we will set up the disk if we want to install the OS to disk. I'll specify the sda disk, and for the next question on how to use the disk I'm hitting ? to list some details of the different options
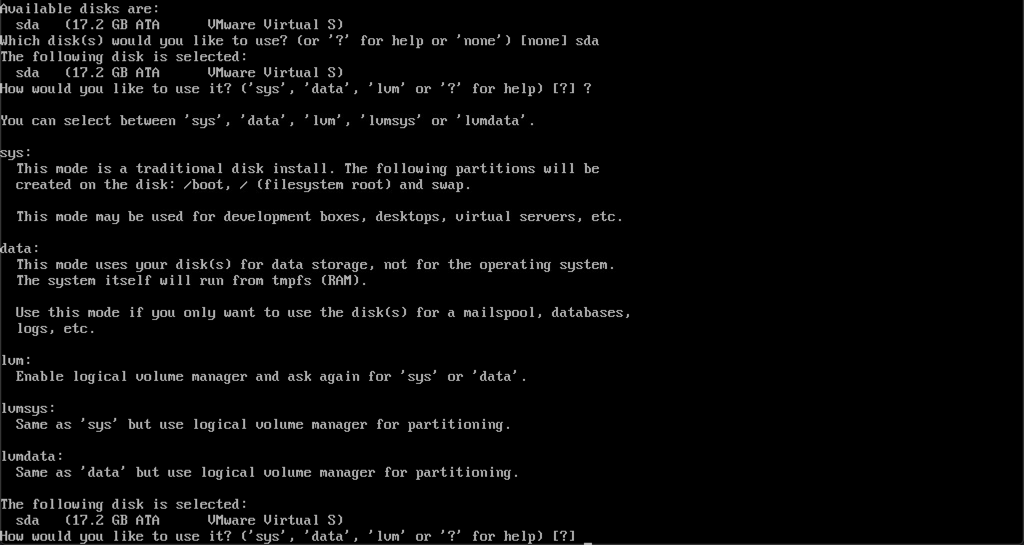
I'm selecting lvm and sys for my disk (I could have done this in one go with 'lvmsys') and accepting to erase the disk

After a short while the installation should be finished and your OS installed. I did get some errors about Unreleased memory pools, but the installation seemed to be ok.

Before rebooting it is important to unmount the installation media! This is something that some operating system installers do for you after install, but not in this case. If you don't unmount the media the VM will boot up ready for a new install and you'd have to start over (yes, I've done that..)
To safely unmount the media I'm using this article that describes the steps needed.
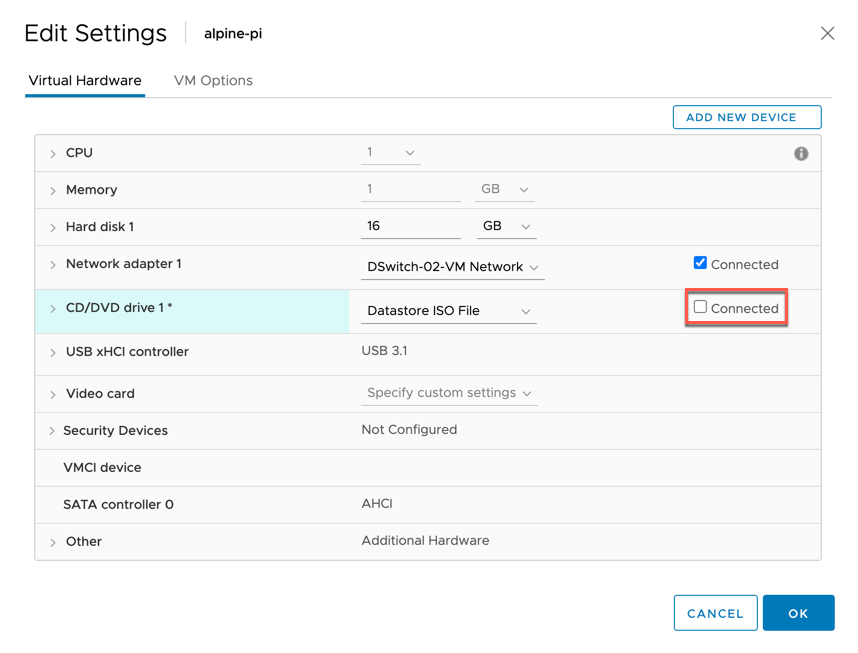
Finally we can disconnect the CD-ROM from the vCenter client.

Note! You can disconnect directly from the vCenter client without unmounting in the guest OS, this will give you a "VM Question" to answer on the VM in vCenter to allow it to be forcefully unmounted. It may work, but it may also kill your VM so be careful.
Finally reboot the OS

Allow root login through ssh
After restart let's login through the console once more. Now we will allow for Root login through ssh, which is disabled by default for security reasons. As this is a lab environment I'm fine with logging in with the root user
To allow root login open the file ssh config file with vim, vi /etc/ssh/sshd_config, and add a line at the end of the file with the text PermitRootLogin yes
Save and quit with :wq!
And restart the sshd service
Let's test a login from my laptop
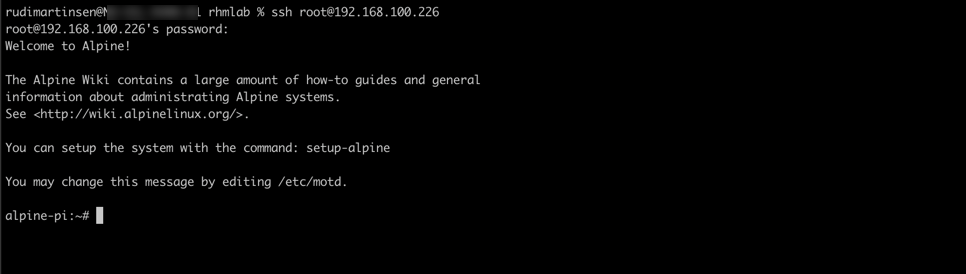
Summary
This blog post has been a step-by-step walkthrough on how I have got Alpine Linux up and running on my RPi ESXi host. I'm sure there's lots of use cases for running Alpine on ARM as it's a very light-weight OS, built for security and efficiency. This fits very well with ARM based hosts.
If you're interested in keeping track of what folks are doing with the fling be sure to follow the ARM blog on vmware.com and follow ESXi-Arm on Twitter and check out the #esxi-arm-fling channel in the VMware code Slack
Thanks for reading!