Building a PXE boot environment for ESXi
In our environment we run ESXi primarily on HPE Proliant servers. We use OneView for managing the hardware it self (i.e. monitoring, firmware), but for provisioning ESXi to the servers we have been doing some of it manually and some of it with HPE Insight Control Server Provisioning (ICsp).
When preparing for deployment of a new batch of servers we found that Proliant Gen10 servers is not supported by ICsp. Furthermore after an unofficial chat with a HPE employee it seems that it won't be anytime soon either. There is a new major version of OneView coming, version 4, which has more features and integrations than before, but from the publicly available FAQs I can't find anything about it supporting OS deployment
With that we decided to look into building a small deployment solution ourselves.
There is tons of blog posts and guides out there on how to install and configuring a PXE server, both for Windows and Linux. There is also lots of articles on building an environment for deploying ESXi. Many of these will probably explain how, what and why better than this post will. They will also be more generic than this one. This post is just to show how we did it (as well as a way for me to look back and check what we did if I need to troubleshoot or redeploy later on).
For inspiration and guidance I've primarily used three sources.
VMware documentation (which is quite good on this topic), virtuallyghetto.com - William Lam's fantastic source of how to automate (almost) all things vSphere, and fdo-workspace.blogspot.com who has a 3-part PXE blog series on how to do pretty much the same as I needed to do.
With that...
Let's get started!
So first of you'll need to build a server for hosting the TFTP service. You will also need a DHCP server which can be installed on the same server hosting TFTP. If you want to use an external DHCP server that should also work fine, you'll only have to specify where the TFTP service is hosted and the configuration file the client should look for. Depending on your use-case you might also need to store some configuration files on a service available over the network. HTTP, NFS and FTP should all work. I will use HTTP in my example and that service is also installed on the same server hosting TFTP and DHCP. The HTTP service will come in play when we talk about kickstart files and stuff for specific configuration.
I will use CentOS 7 for my deployment server but you should be able to port most of it to other distros as well.
Install services
After deploying a CentOS VM I'll start by installing the required services.
sudo yum update
sudo yum install dhcp tftp-server syslinux xinetd httpd
This installs the mentioned DHCP, TFTP and HTTP services as well as syslinux which is required for PXE and xinetd which in turn is required for syslinux.
Configure the DHCP server
After installation of all services proceed to setting up your DHCP server.
Please ensure that you configure the DHCP server only to serve addresses to a subnet where production won't be affected or in such a way that it'll only serve the clients you intend to!
The DHCP configuration in this small PXE environment is quite easy, the configuration file is located at /etc/dhcp/dhcpd.conf. There are many more settings to check out than shown in my example
#
# DHCP Server Configuration file.
#   see /usr/share/doc/dhcp*/dhcpd.conf.example
#   see dhcpd.conf(5) man page
#
default-lease-time 600;
max-lease-time 7200;
ddns-update-style none;
authoritative;
log-facility local7;
allow booting;
allow bootp;
option client-system-arch code 93 = unsigned integer 16;

class "pxeclients" {
   match if substring(option vendor-class-identifier, 0, 9) = "PXEClient";
   # specifies the TFTP Server
   next-server 192.168.100.10;
   if option client-system-arch = 00:07 or option client-system-arch = 00:09 {
      filename = "mboot.efi";
   }
   else {
      filename = "pxelinux.0";
   }
}

subnet 192.168.100.0 netmask 255.255.255.0 {
    option domain-name "mydomain.com";
    option domain-name-servers 192.168.100.1;
    range 192.168.100.240 192.168.100.249;
}
The config to highlight here is the next-server part which is the IP to the TFTP server together with the filename which is the name of the config file the tftp client are directed to. The "pxeclients" class includes a check on the type of boot mode (UEFI / Legacy BIOS) used and gives the filename based on that.
After configuring the DHCP server try to enable the service and start it
sudo systemctl enable dhcpd
sudo systemctl start dhcpd
If any of them gives any warnings check /var/log/messages for clues to what went wrong. One of the first things to check is if your semicolons is in place in the config file.
If the DHCP service started you should now be able to boot up a dhcp client on the same network and it should be able to get a DHCP address from your new server.
To check what addresses has been leased from the server run the following command on your DHCP server
cat /var/lib/dhcpd/dhcpd.leases
Copy ESXi image files
To be able to deploy ESXi to a server you need to have the installation files available on your TFPT server. In order to do this you mount the wanted ESXi image on your server and copy the files to the local disk. You can either mount the image from an iso file connected through your ESXi host (if the TFTP server is running as a VM) or from an ISO file copied to the TFTP server.
In my example I've mounted the image through the host and I will copy it to a folder under the TFTP server's directory
mkdir /mnt/tmp
mount -o loop /dev/cdrom /mnt/tmp

mkdir /var/lib/tftpboot/esxi65u1
cp -rf /mnt/tmp/* /var/lib/tftpboot/esxi65u1

umount /mnt/tmp
The boot.cfg file from the ESXi image is needed, but needs to be modified a bit before use. We need to remove references to the '/' path
sed -i 's/\///g' /var/lib/tftpboot/esxi65u1/boot.cfg
We will also need to copy the boot.cfg and create the mboot.efi (from bootx64.efi, required for UEFI boot only) to the root of the tftpboot (or to the path specified in the DHCP class).
cp /var/lib/tftpboot/esxi65u1/efi/boot/bootx64.efi /var/lib/tftpboot/esxi65u1/mboot.efi

cp /var/lib/tftpboot/esxi65u1/boot.cfg /var/lib/tftpboot/boot.cfg
cp /var/lib/tftpboot/esxi65u1/mboot.efi /var/lib/tftpboot/mboot.efi
You need to do one change in the boot.cfg file copied to the tftpboot root folder, namely specify the prefix option to link it to the folder where your image files reside:
prefix=esxi65u1
Configure TFTP server
The only configuration to be done on the TFPT service is to enable the service. The rest of the PXE config will come from the PXE files which we will fix shortly.
The TFTP config file is located here: /etc/xinetd.d/tftp
# default: off
# description: The tftp server serves files using the trivial file transfer \
#       protocol.  The tftp protocol is often used to boot diskless \
#       workstations, download configuration files to network-aware printers, \
#       and to start the installation process for some operating systems.
service tftp
{
        socket_type             = dgram
        protocol                = udp
        wait                    = yes
        user                    = root
        server                  = /usr/sbin/in.tftpd
        server_args             = -s /var/lib/tftpboot
        disable                 = yes
        per_source              = 11
        cps                     = 100 2
        flags                   = IPv4
}
You will need to edit the "disable = yes" to "disable = no".
After this go ahead with enabling the service in systemctl, start it and if an internal firewall is in use, allow the service through it.
sudo systemctl enable xinetd
sudo systemctl start xinetd

sudo firewall-cmd --zone=public --add-service=tftp --permanent
sudo firewall-cmd --reload
At this point UEFI based PXE boot should work. You can test this with a blank VM (remember to change the boot mode to EFI).
If you want to prepare your PXE server for booting in Legacy PXE mode (syslinux) read on, if not happy provisioning!
Copy PXE files (for legacy pxe boot)
The legacy PXE boot can be somewhat easier to work with, especially if you want a PXE menu with different install options. If you want Legacy PXE boot, we need some additional files in our tftp root for the PXE operation to work.
First create a pxelinux.cfg folder and copy some files from the syslinux installation
mkdir /var/lib/tftpboot/pxelinux.cfg
cp /usr/share/syslinux/pxelinux.0 /var/lib/tftpboot
cp /usr/share/syslinux/menu.c32 /var/lib/tftpboot
Build PXE menu
Now we're ready to create the Legacy PXE boot menu.
In a texteditor create a file with something like the following content and save the file as /var/lib/tftpboot/pxelinux.cfg/default
DEFAULT menu.c32
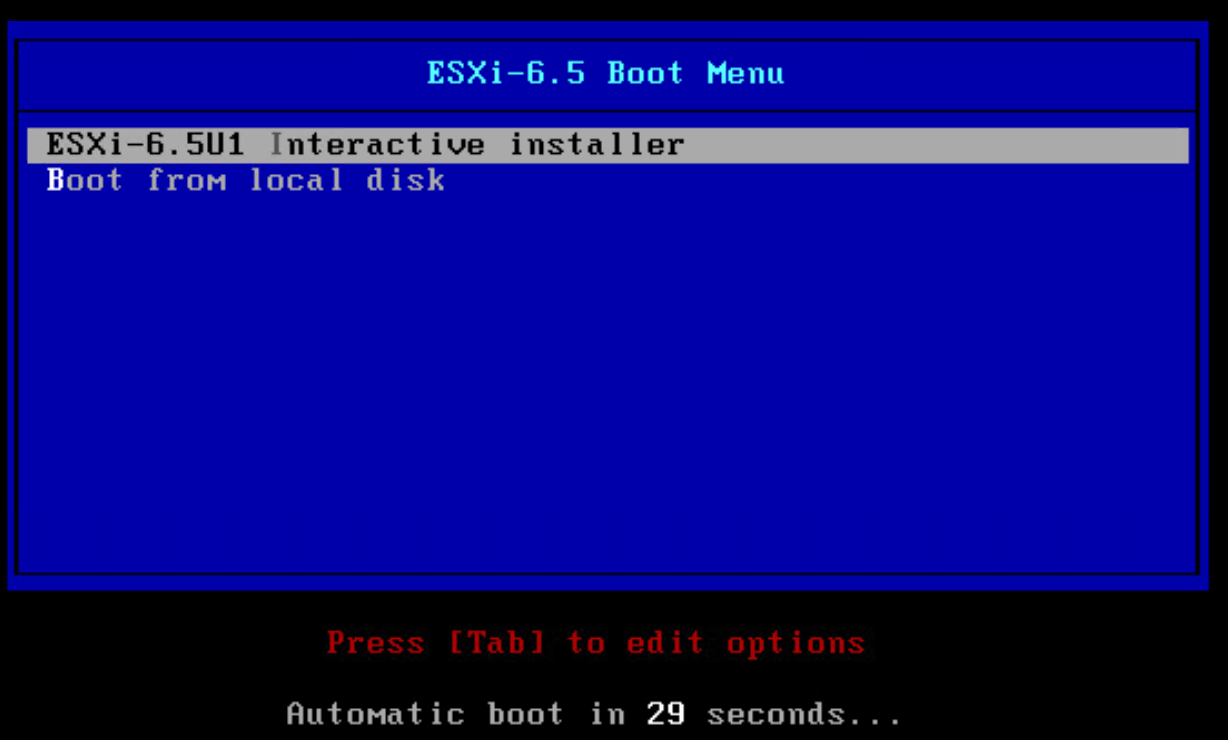
MENU TITLE ESXi-6.5 Boot Menu
NOHALT 1
PROMPT 0
TIMEOUT 300
LABEL esxi65u1-interactive
KERNEL esxi65u1/mboot.c32
APPEND -c esxi65u1/boot.cfg
MENU LABEL ESXi-6.5U1 ^Interactive installer
LABEL hddboot
LOCALBOOT 0x80
MENU LABEL ^Boot from local disk
At this time you can boot up a blank VM on the dhcp network and PXE boot it. You should hit the newly created PXE boot menu, select the Interactive install option (or wait for the timer) and you should see the ESXi installer start.
Later on I will create a post on further customize this so that we can PXE boot with a kickstart file and also with specific settings for a given server. We struggled a lot with getting the network stuff on the servers right as they are connected on trunk ports and the network for the DHCP server is not on the default VLAN.