Grafana authentication with Keycloak
In this post we'll have a quick look at how to integrate Keycloak with Grafana for providing authentication and authorization
Keycloak is an open-source identity provider which is capable of integrating with lots of different applications. It provides support for standard protocols like OpenID Connect, Oauth 2 and SAML. It can federate users from sources like Active Directory, LDAP and databases.
This post will not be a guide on how to install and configure Keycloak, nor is it on installing Grafana, we're focusing on integrating the two.
Keycloak
Our Keycloak instance is running in Kubernetes and for installing and configuring a great place to start is with the setup guide from keycloak.org
In Keycloak we've set up a Realm called rhmlab. This is where we'll add our users and clients (applications)
We've configured a LDAP federation to an Active Directory instance for the rhmlab.local domain

The LDAP users has been imported to Keycloak and there's also a test user created directly in Keycloak, kctest, which has a password set. At the moment this user has no roles or other bindings.
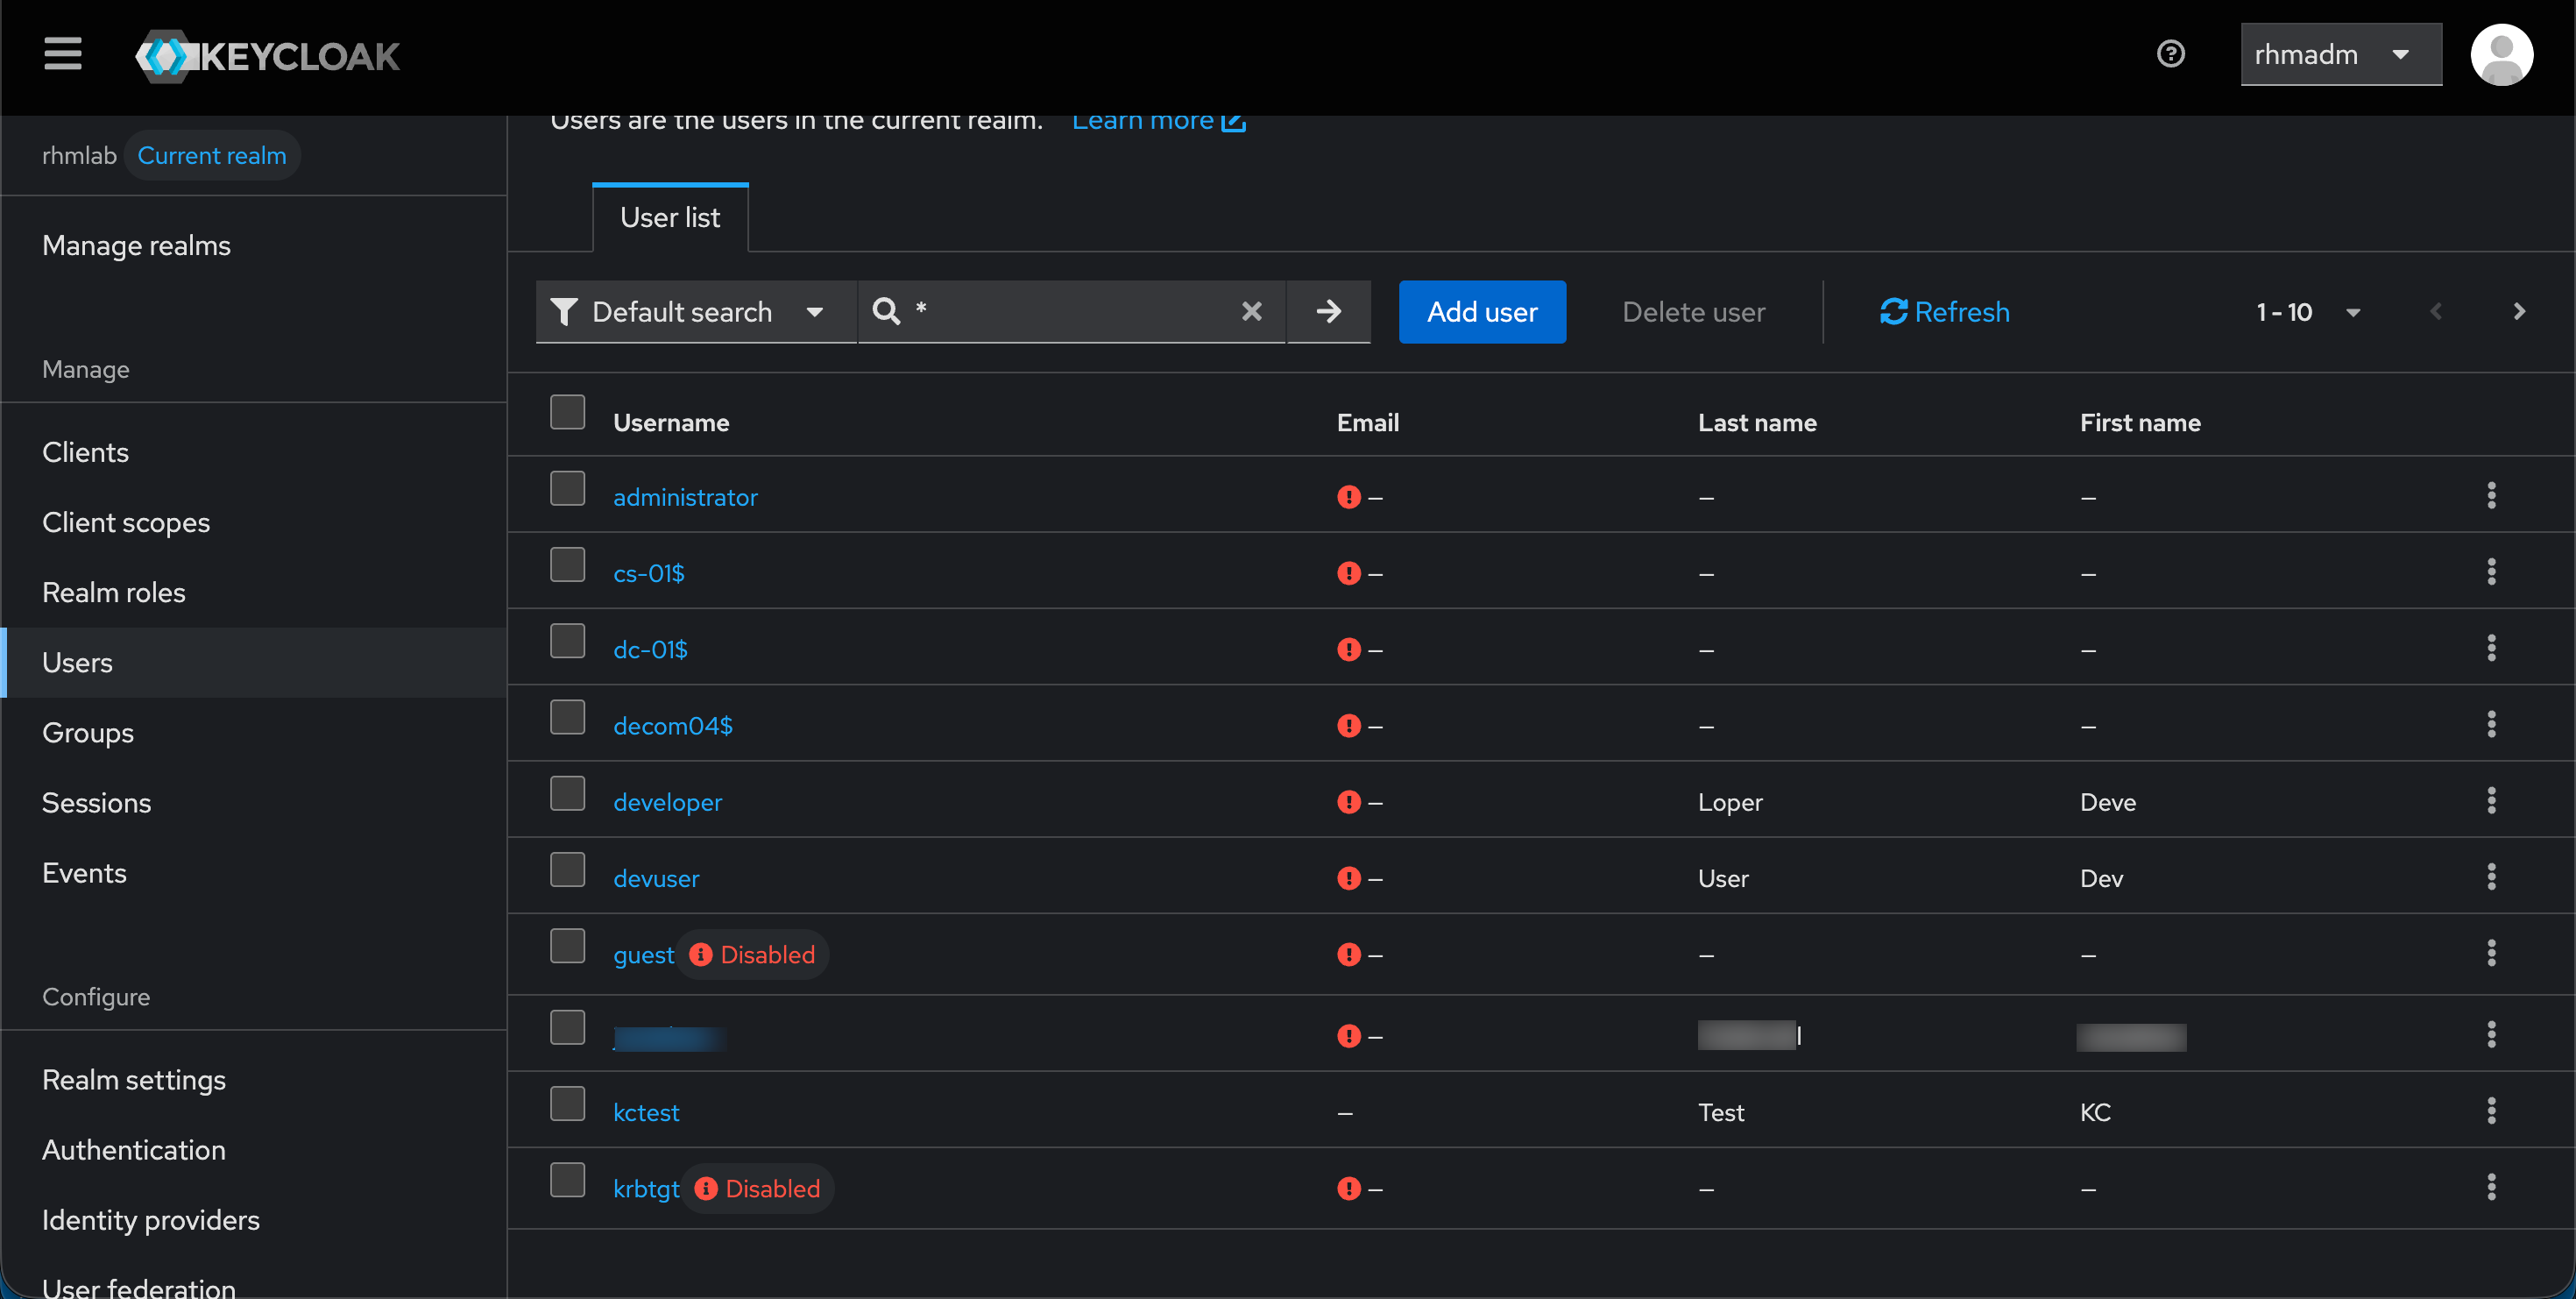
Note that after configuring LDAP your user list might appear empty. To view users we have to do a search, e.g. with a wildcard "*"
Grafana
With users added we'll leave Keycloak for a while and head over to the Grafana setup before configuring the specifics for the integration in Keycloak.
For integrating Keycloak (or other Oauth providers) we'll follow the official configuration guide
There is a specific section for Keycloak, however it's using the Generic Oauth authentication method [auth.generic_oauth] in the config file
So the Keycloak specifics to add is
- Client ID
- Client secret
- Scopes
- Auth, token and API urls
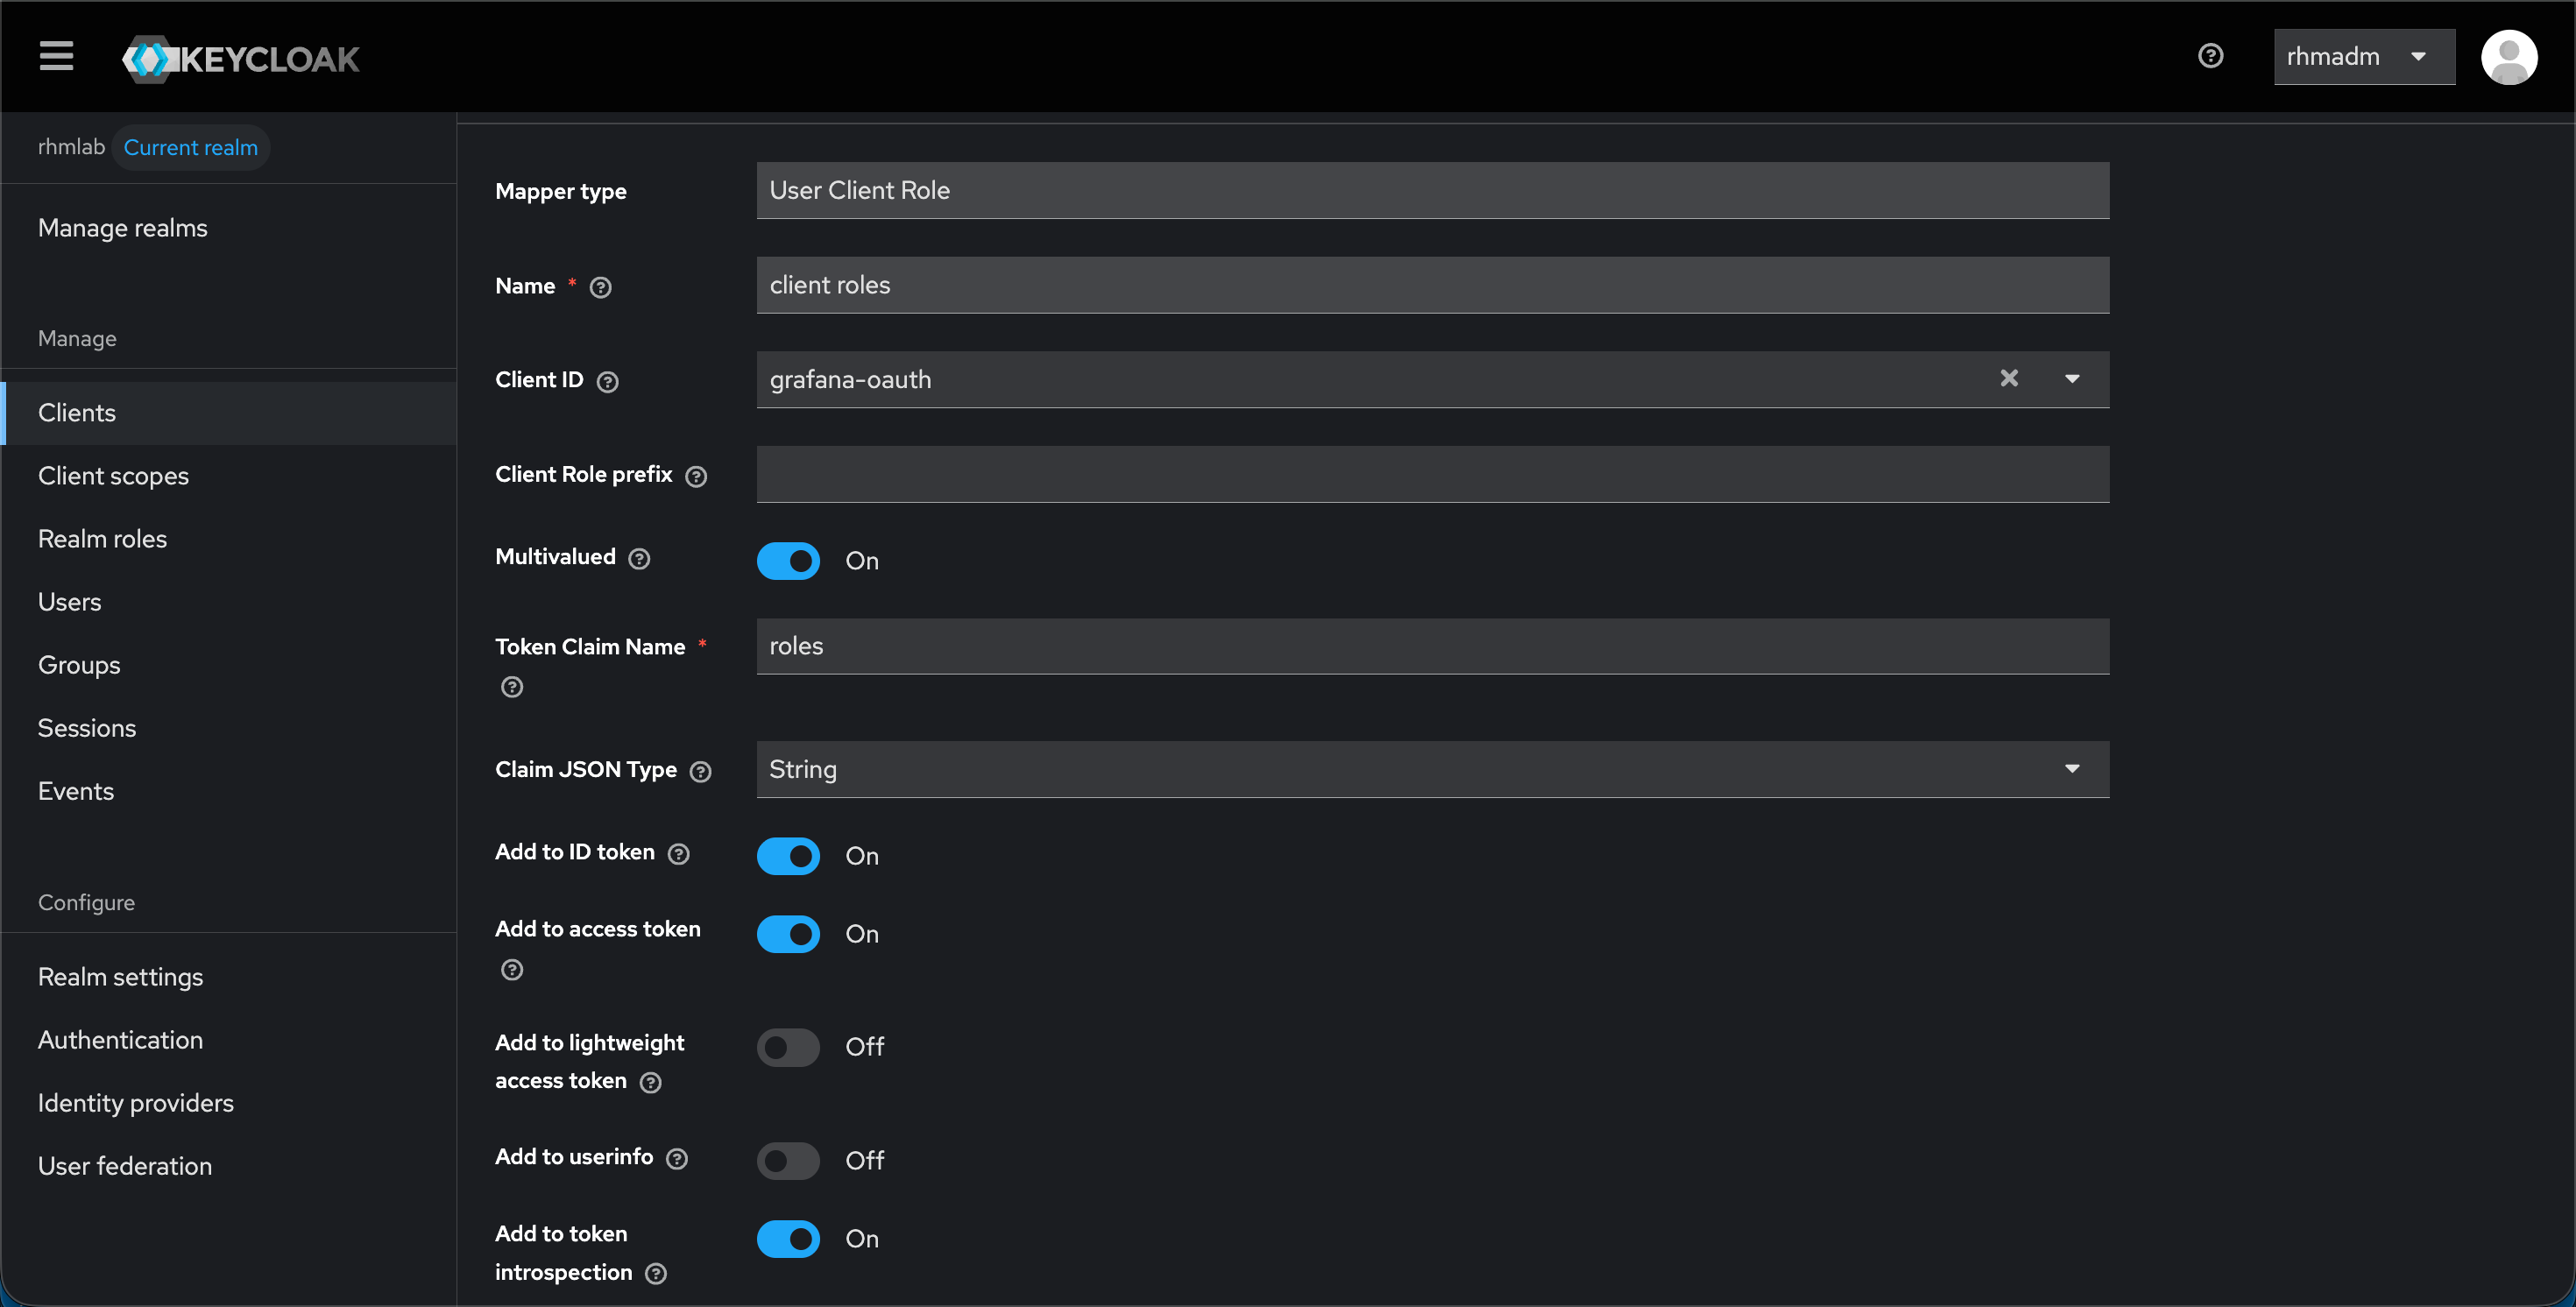
We'll also add a mapping to some attributes, as well as a mapping to Roles so that we can control that from Keycloak.
To get the details needed we'll head back to Keycloak and create a client
Keycloak client
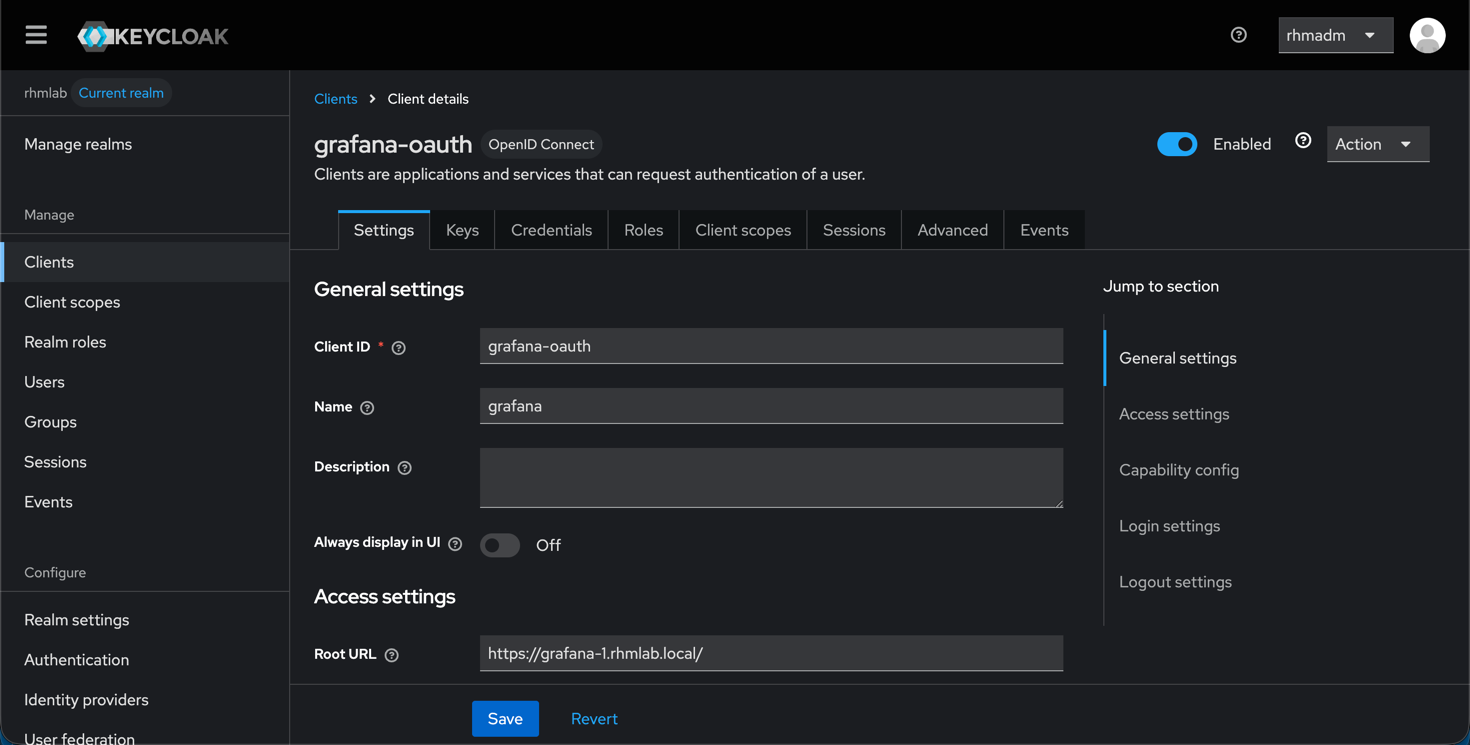
First we'll give the client an ID, grafana-oauth
We'll add the root URL for the Grafana server, https://grafana.kubemon.rhmlab.local/, as well as a redirect URI, https://grafana.kubemon.rhmlab.local/login/generic_oauth
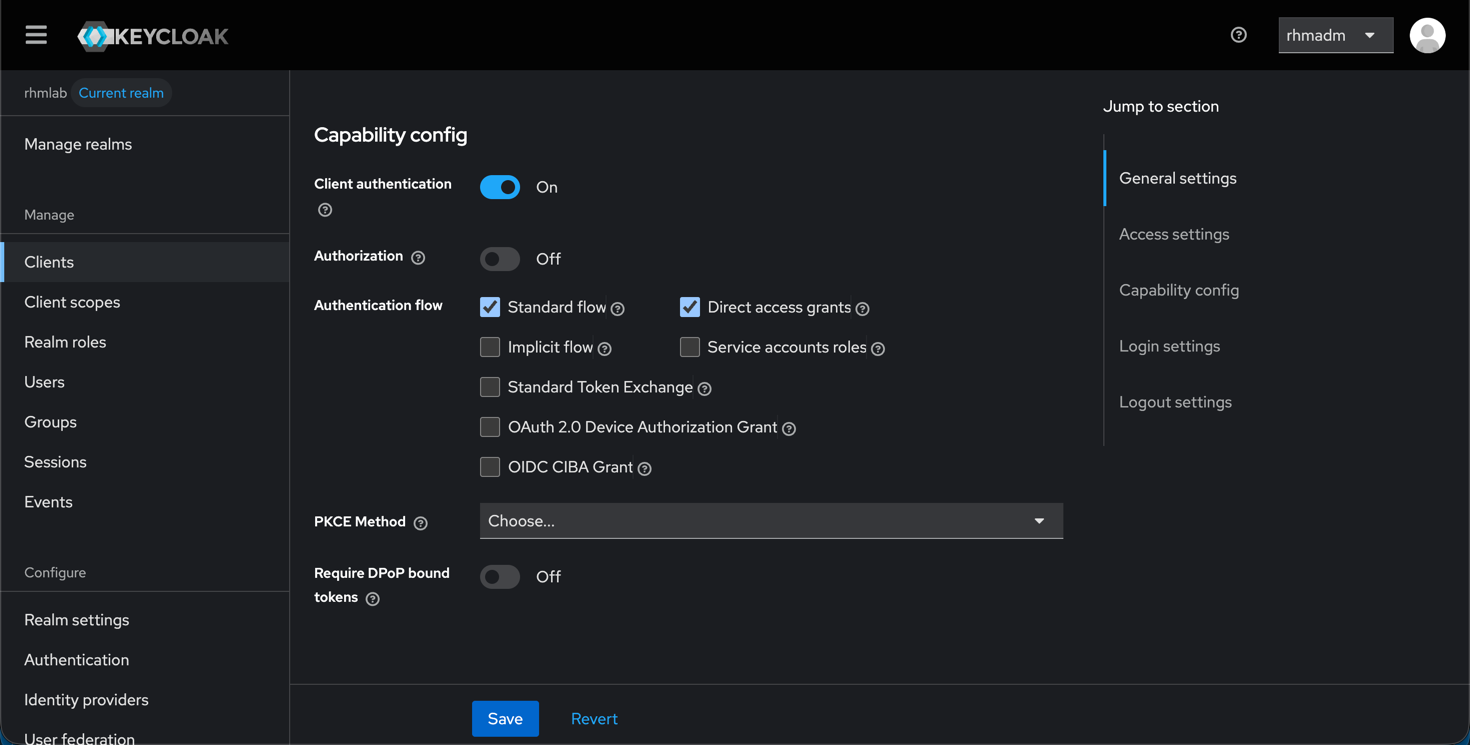
The client capabilities is set to Client Authentication, and for flows we'll select Standard and Direct access grants
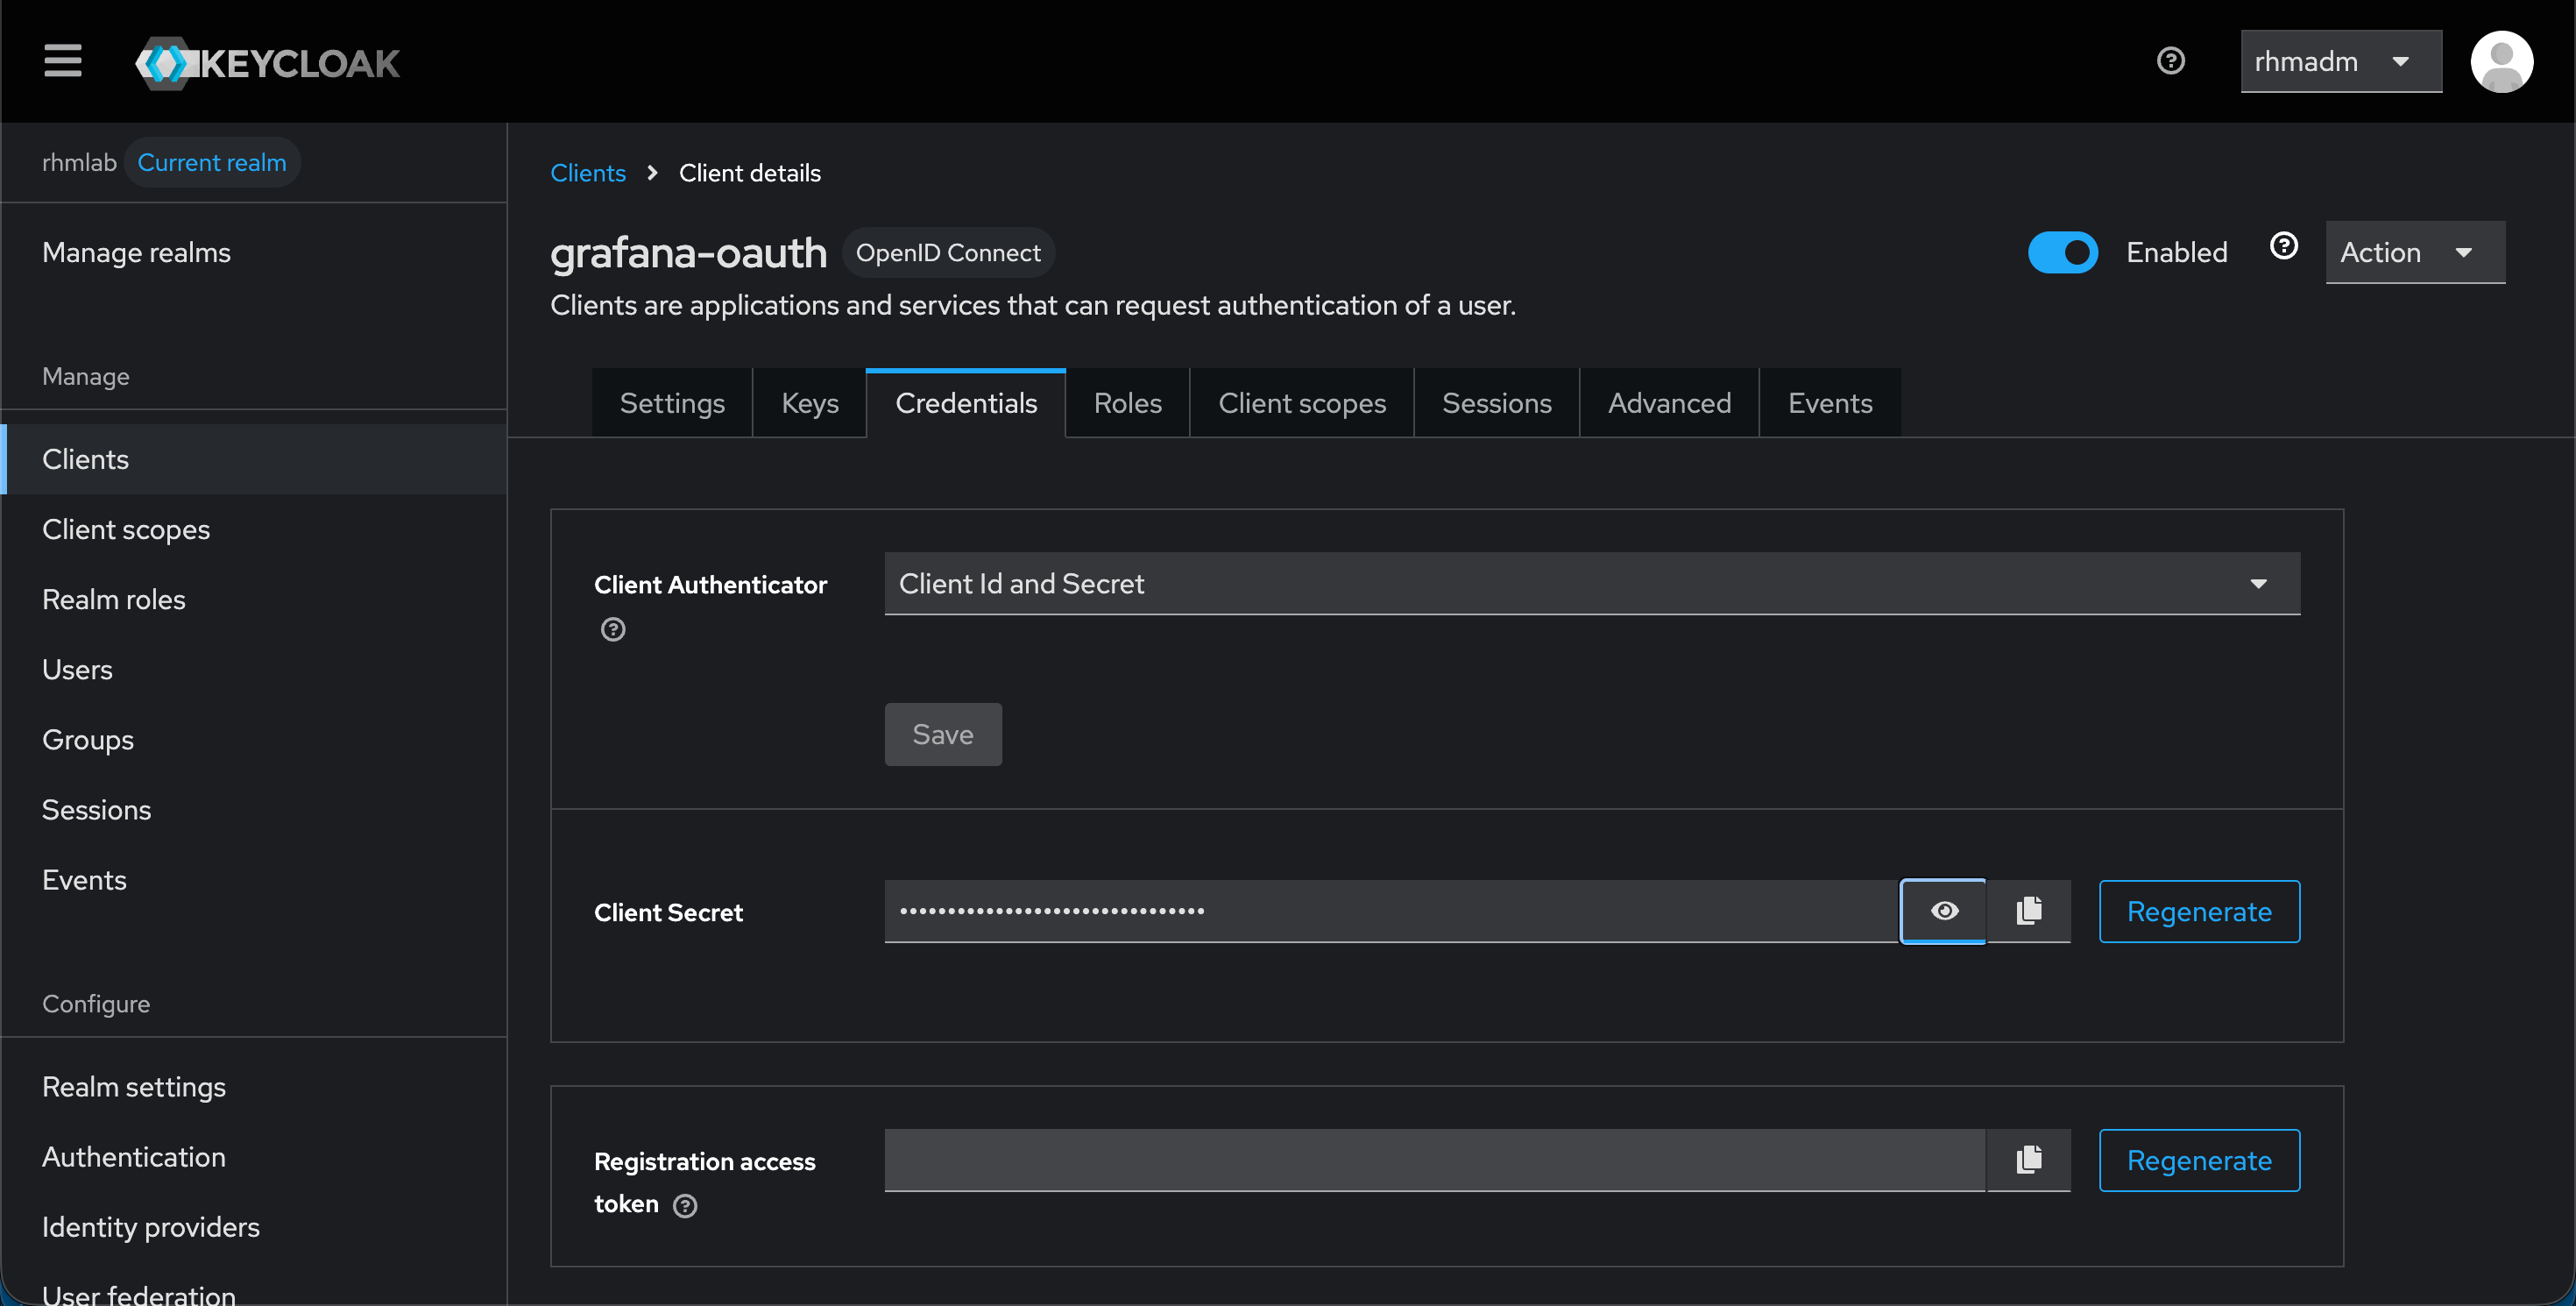
Over in the Credentials tab we should have Client Id and Secret set. Note the client secret which we need shortly
For scopes we've chosen to create a custom scope for Grafana
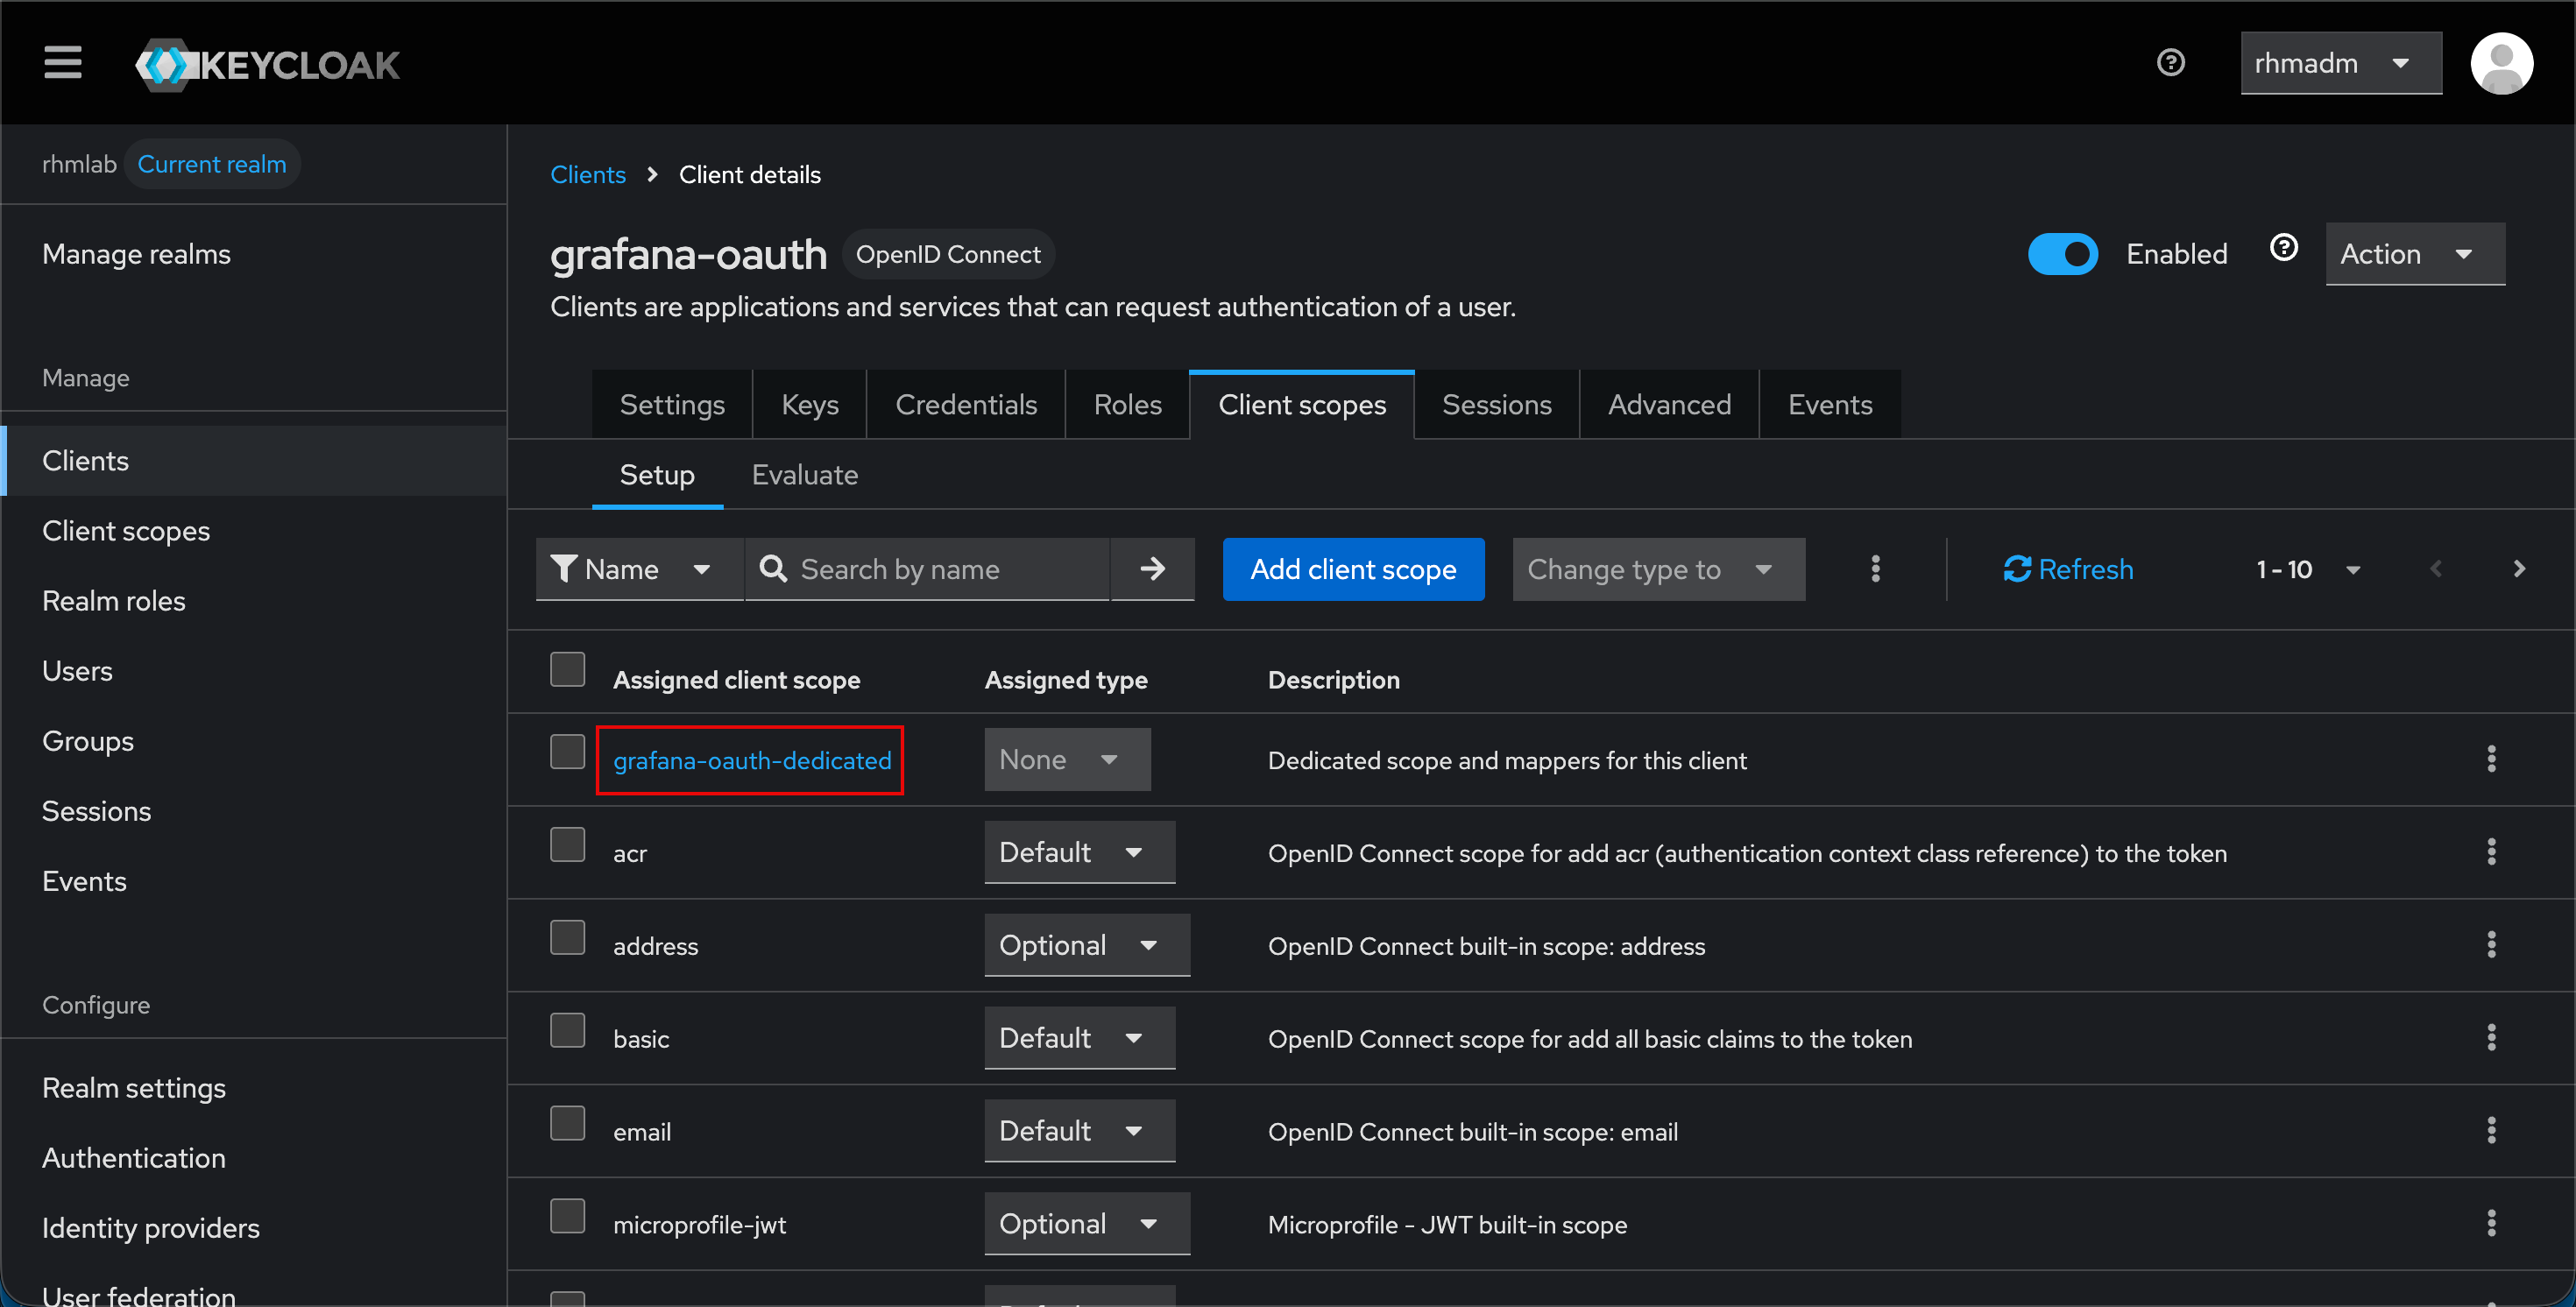
The setings for the scope
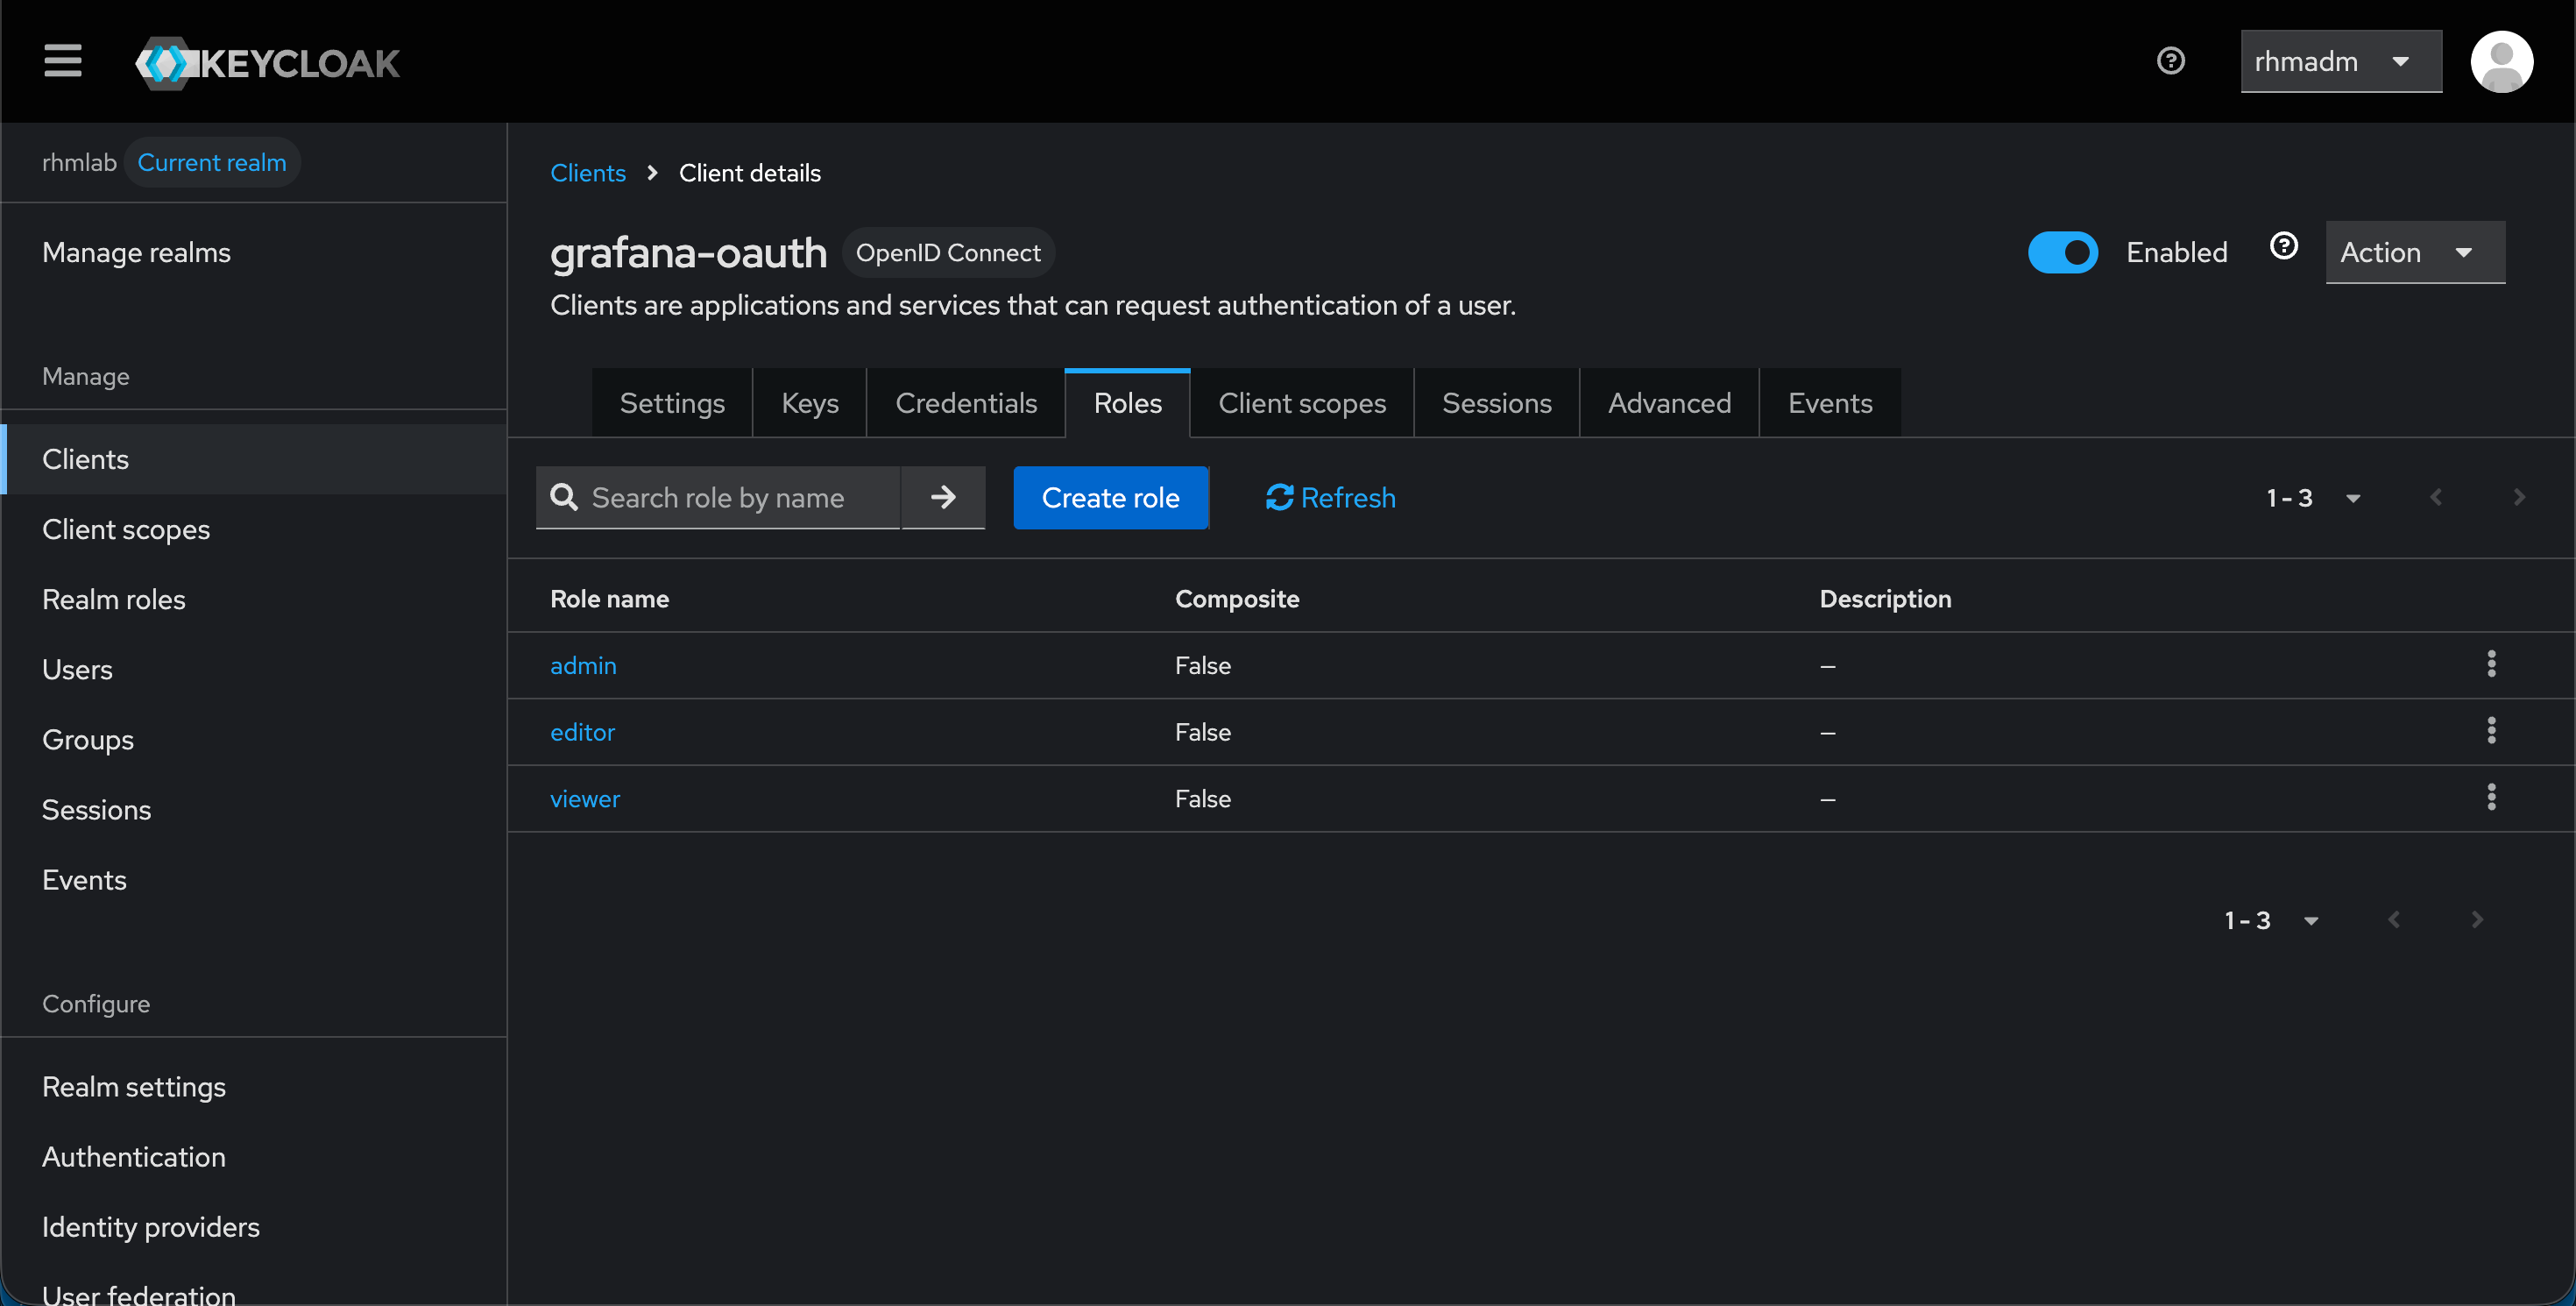
With this in place we'll have the basics for configuring the integration. The final thing is to create the roles which will map to the built in Grafana roles
Now, from the Actions menu at the top right we can take a look at (and download) the adaptor config for the client
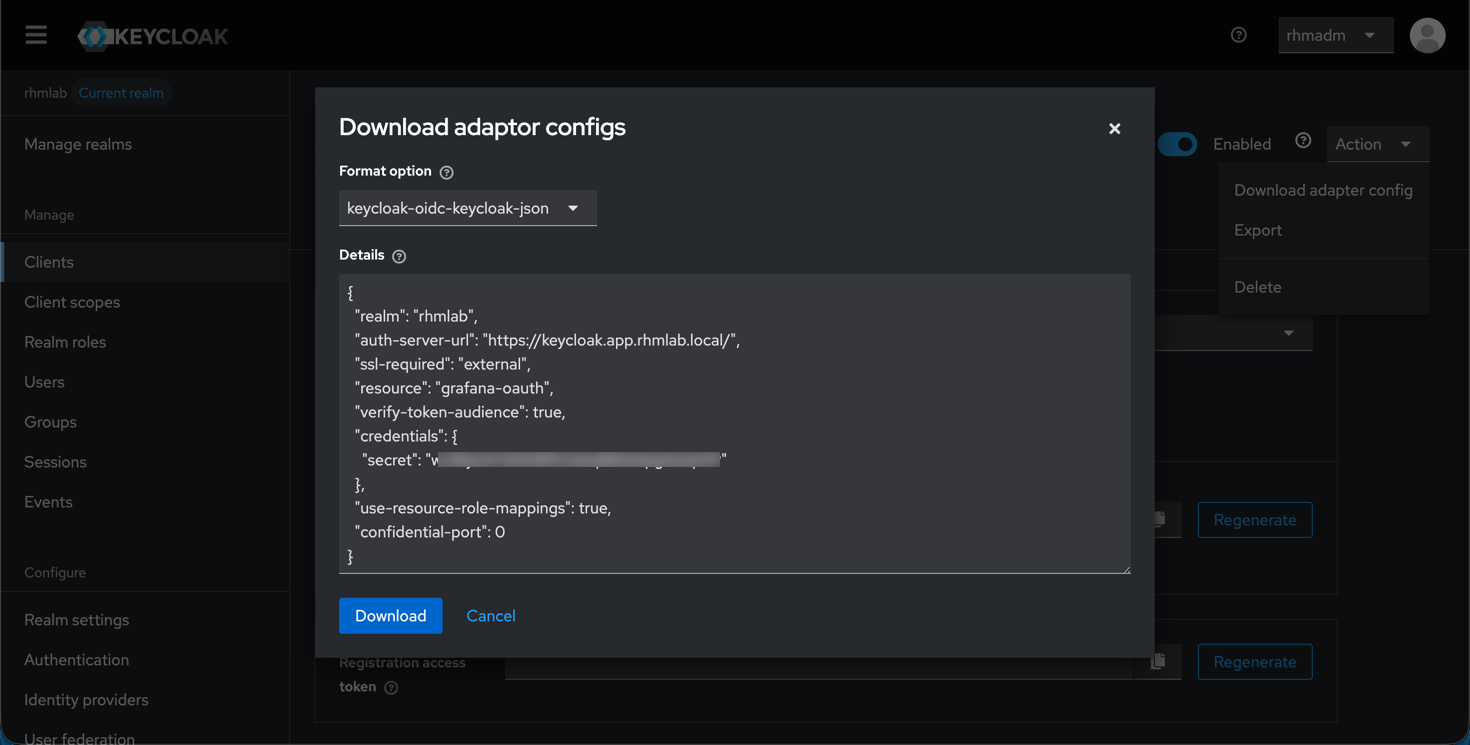
This includes the ID and secret which we'll need for configuring Grafana, as well as the auth-server-url
Note that there are a few additions we need for the URLs wanted by the Grafana config
From the Grafana config guide we find these
1auth_url = https://<PROVIDER_DOMAIN>/realms/<REALM_NAME>/protocol/openid-connect/auth
2token_url = https://<PROVIDER_DOMAIN>/realms/<REALM_NAME>/protocol/openid-connect/token
3api_url = https://<PROVIDER_DOMAIN>/realms/<REALM_NAME>/protocol/openid-connect/userinfo
So with that we can tailor the config options for our client integration. Our final config looks like the following
 1[auth.generic_oauth]
 2enabled = true
 3name = Keycloak-OAuth
 4allow_sign_up = true
 5client_id = grafana-oauth
 6client_secret = <redacted>
 7scopes = openid profile email offline_access roles
 8email_attribute_path = email
 9login_attribute_path = username
10name_attribute_path = full_name
11auth_url = http://keycloak.app.rhmlab.local/realms/rhmlab/protocol/openid-connect/auth
12token_url = http://keycloak.app.rhmlab.local/realms/rhmlab/protocol/openid-connect/token
13api_url = http://keycloak.app.rhmlab.local/realms/rhmlab/protocol/openid-connect/userinfo
14role_attribute_path = contains(roles[*], 'admin') && 'Admin' || contains(roles[*], 'editor') && 'Editor' || 'Viewer'
Test Grafana
After adding this section to our Grafana config file and restarted the Grafana server we're ready to test!
Our login screen should now show an option for logging in with Keycloak
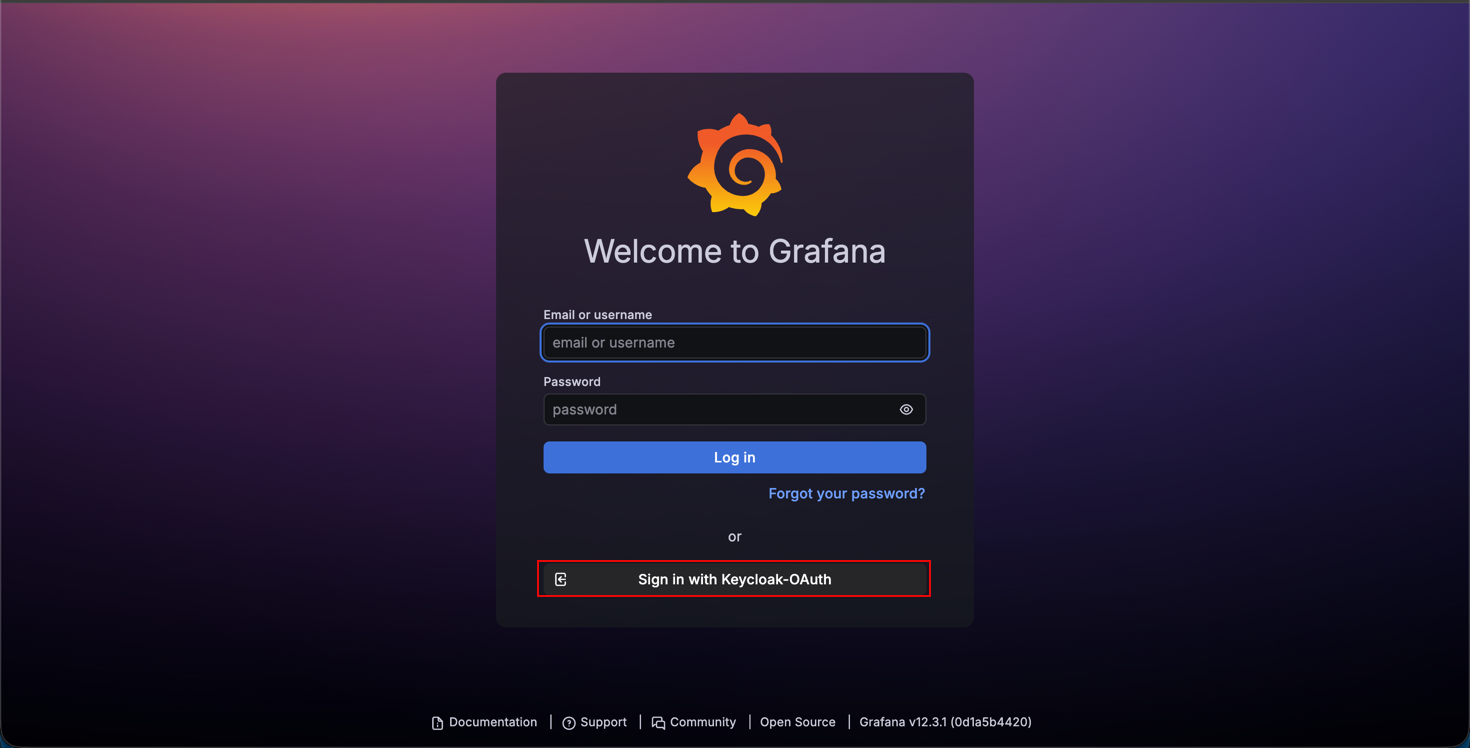
Clicking the Keycloak client will redirect to a Keycloak login
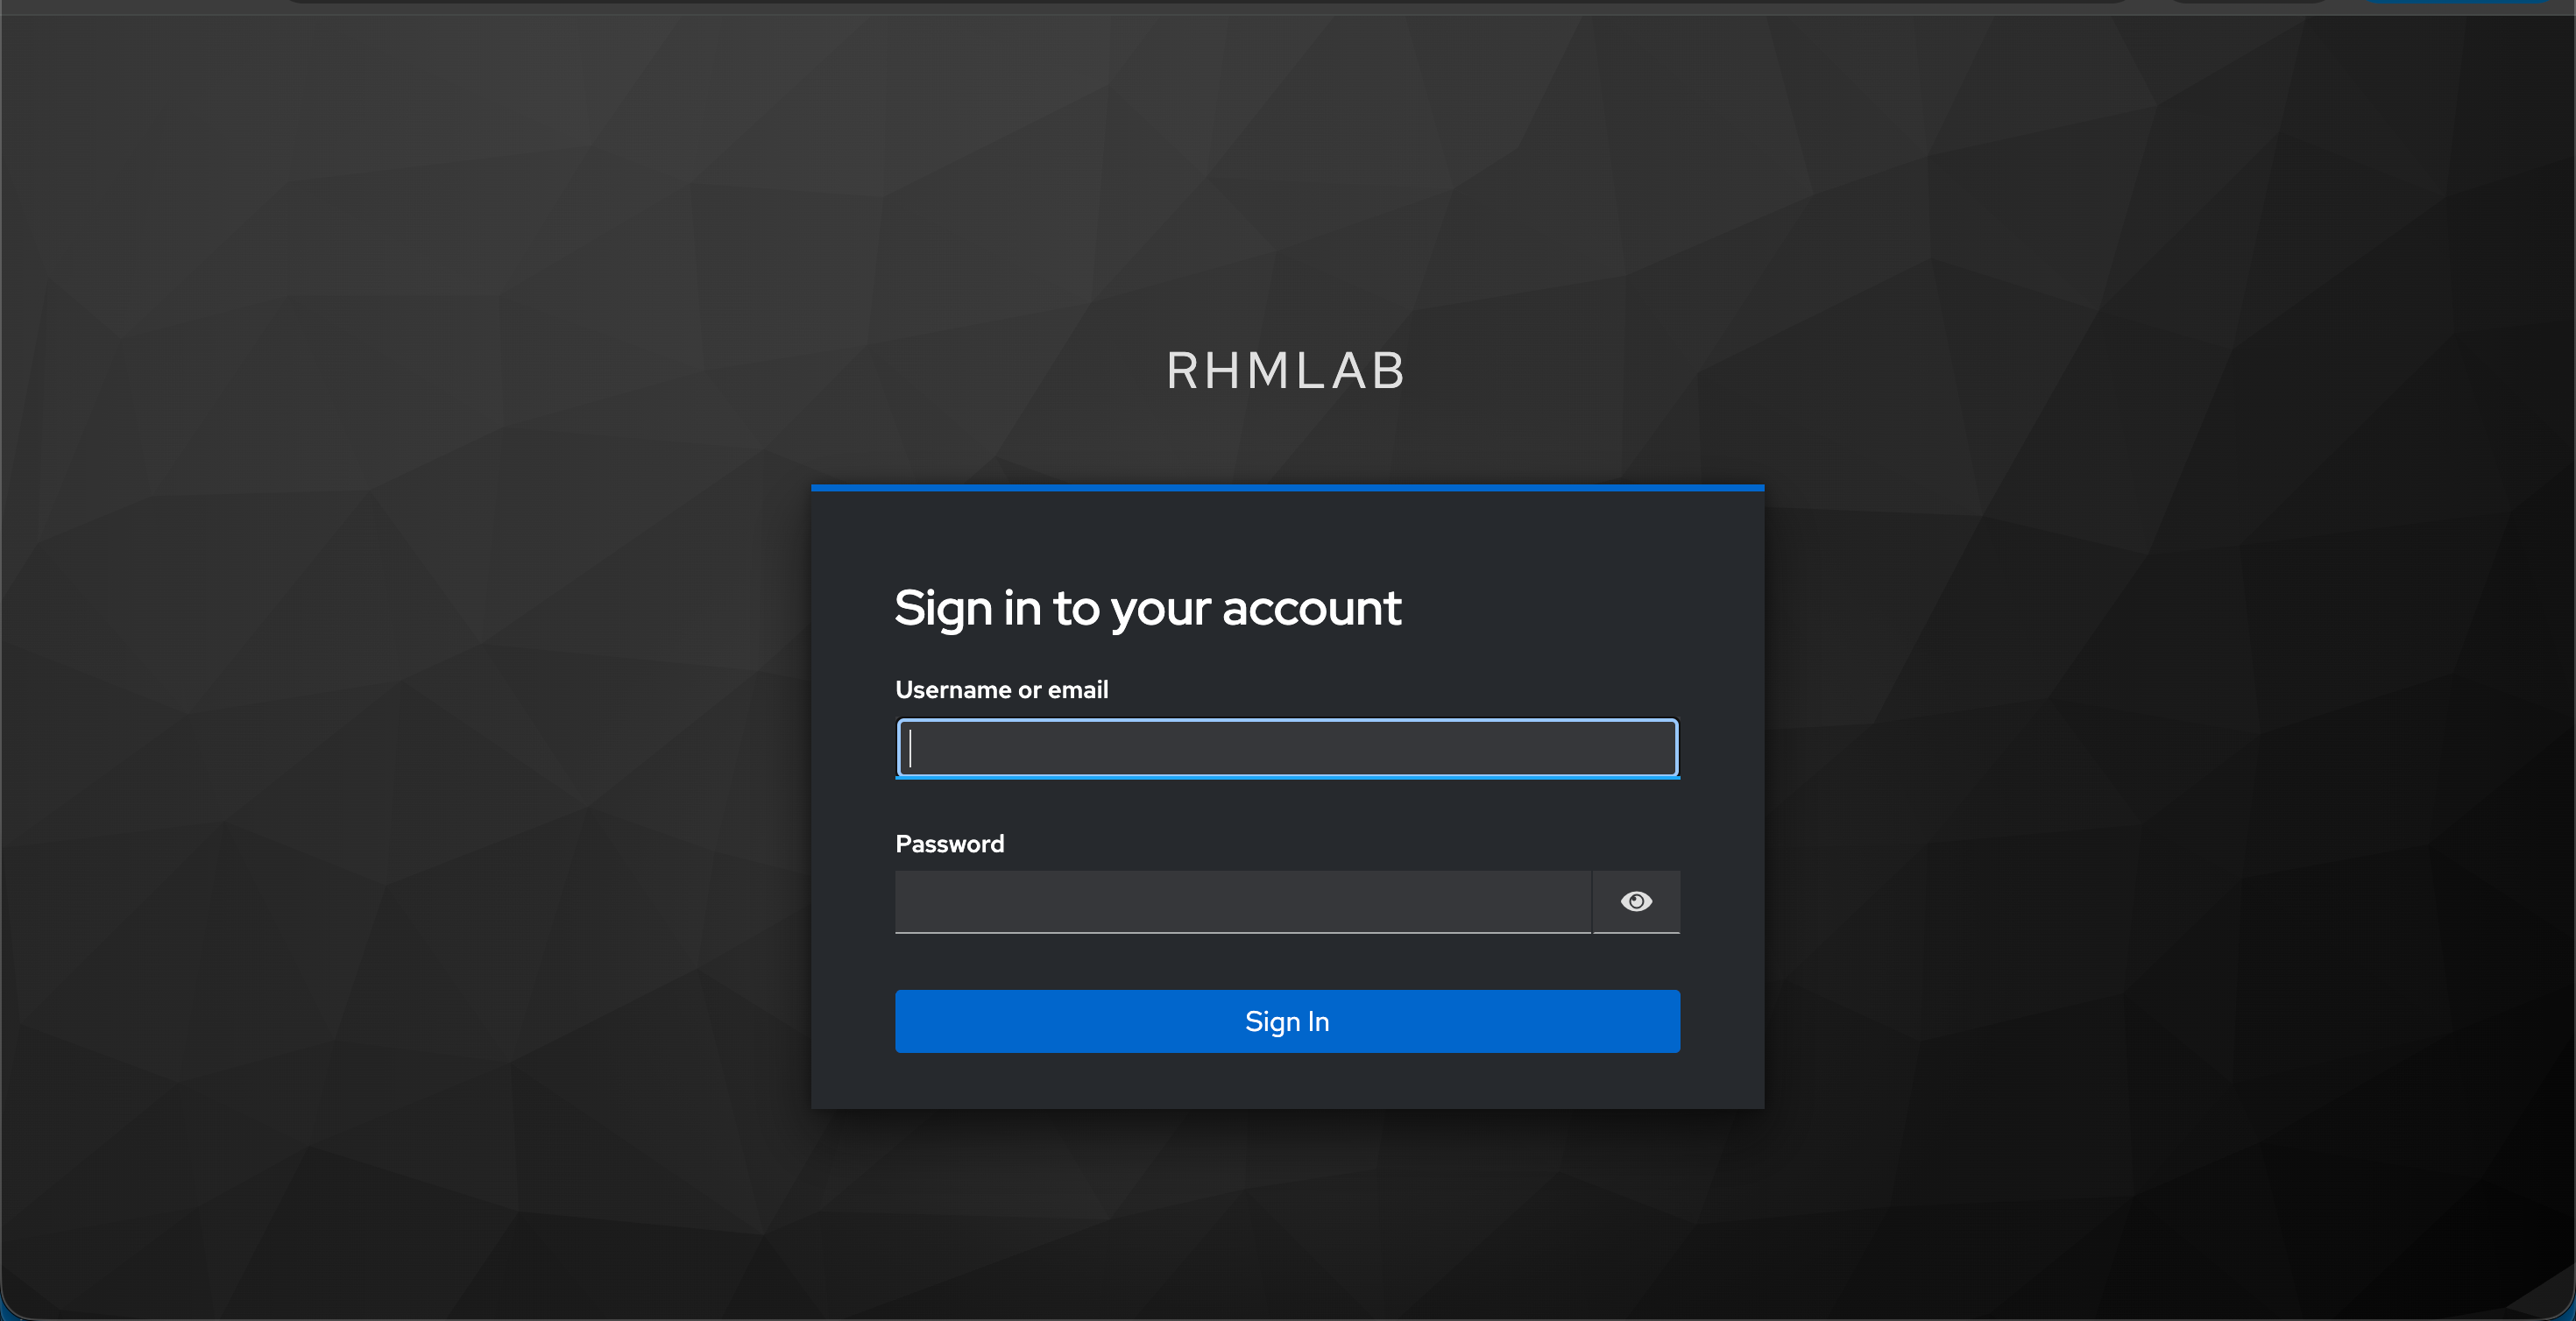
And after logging in, we should be authenticated to Grafana

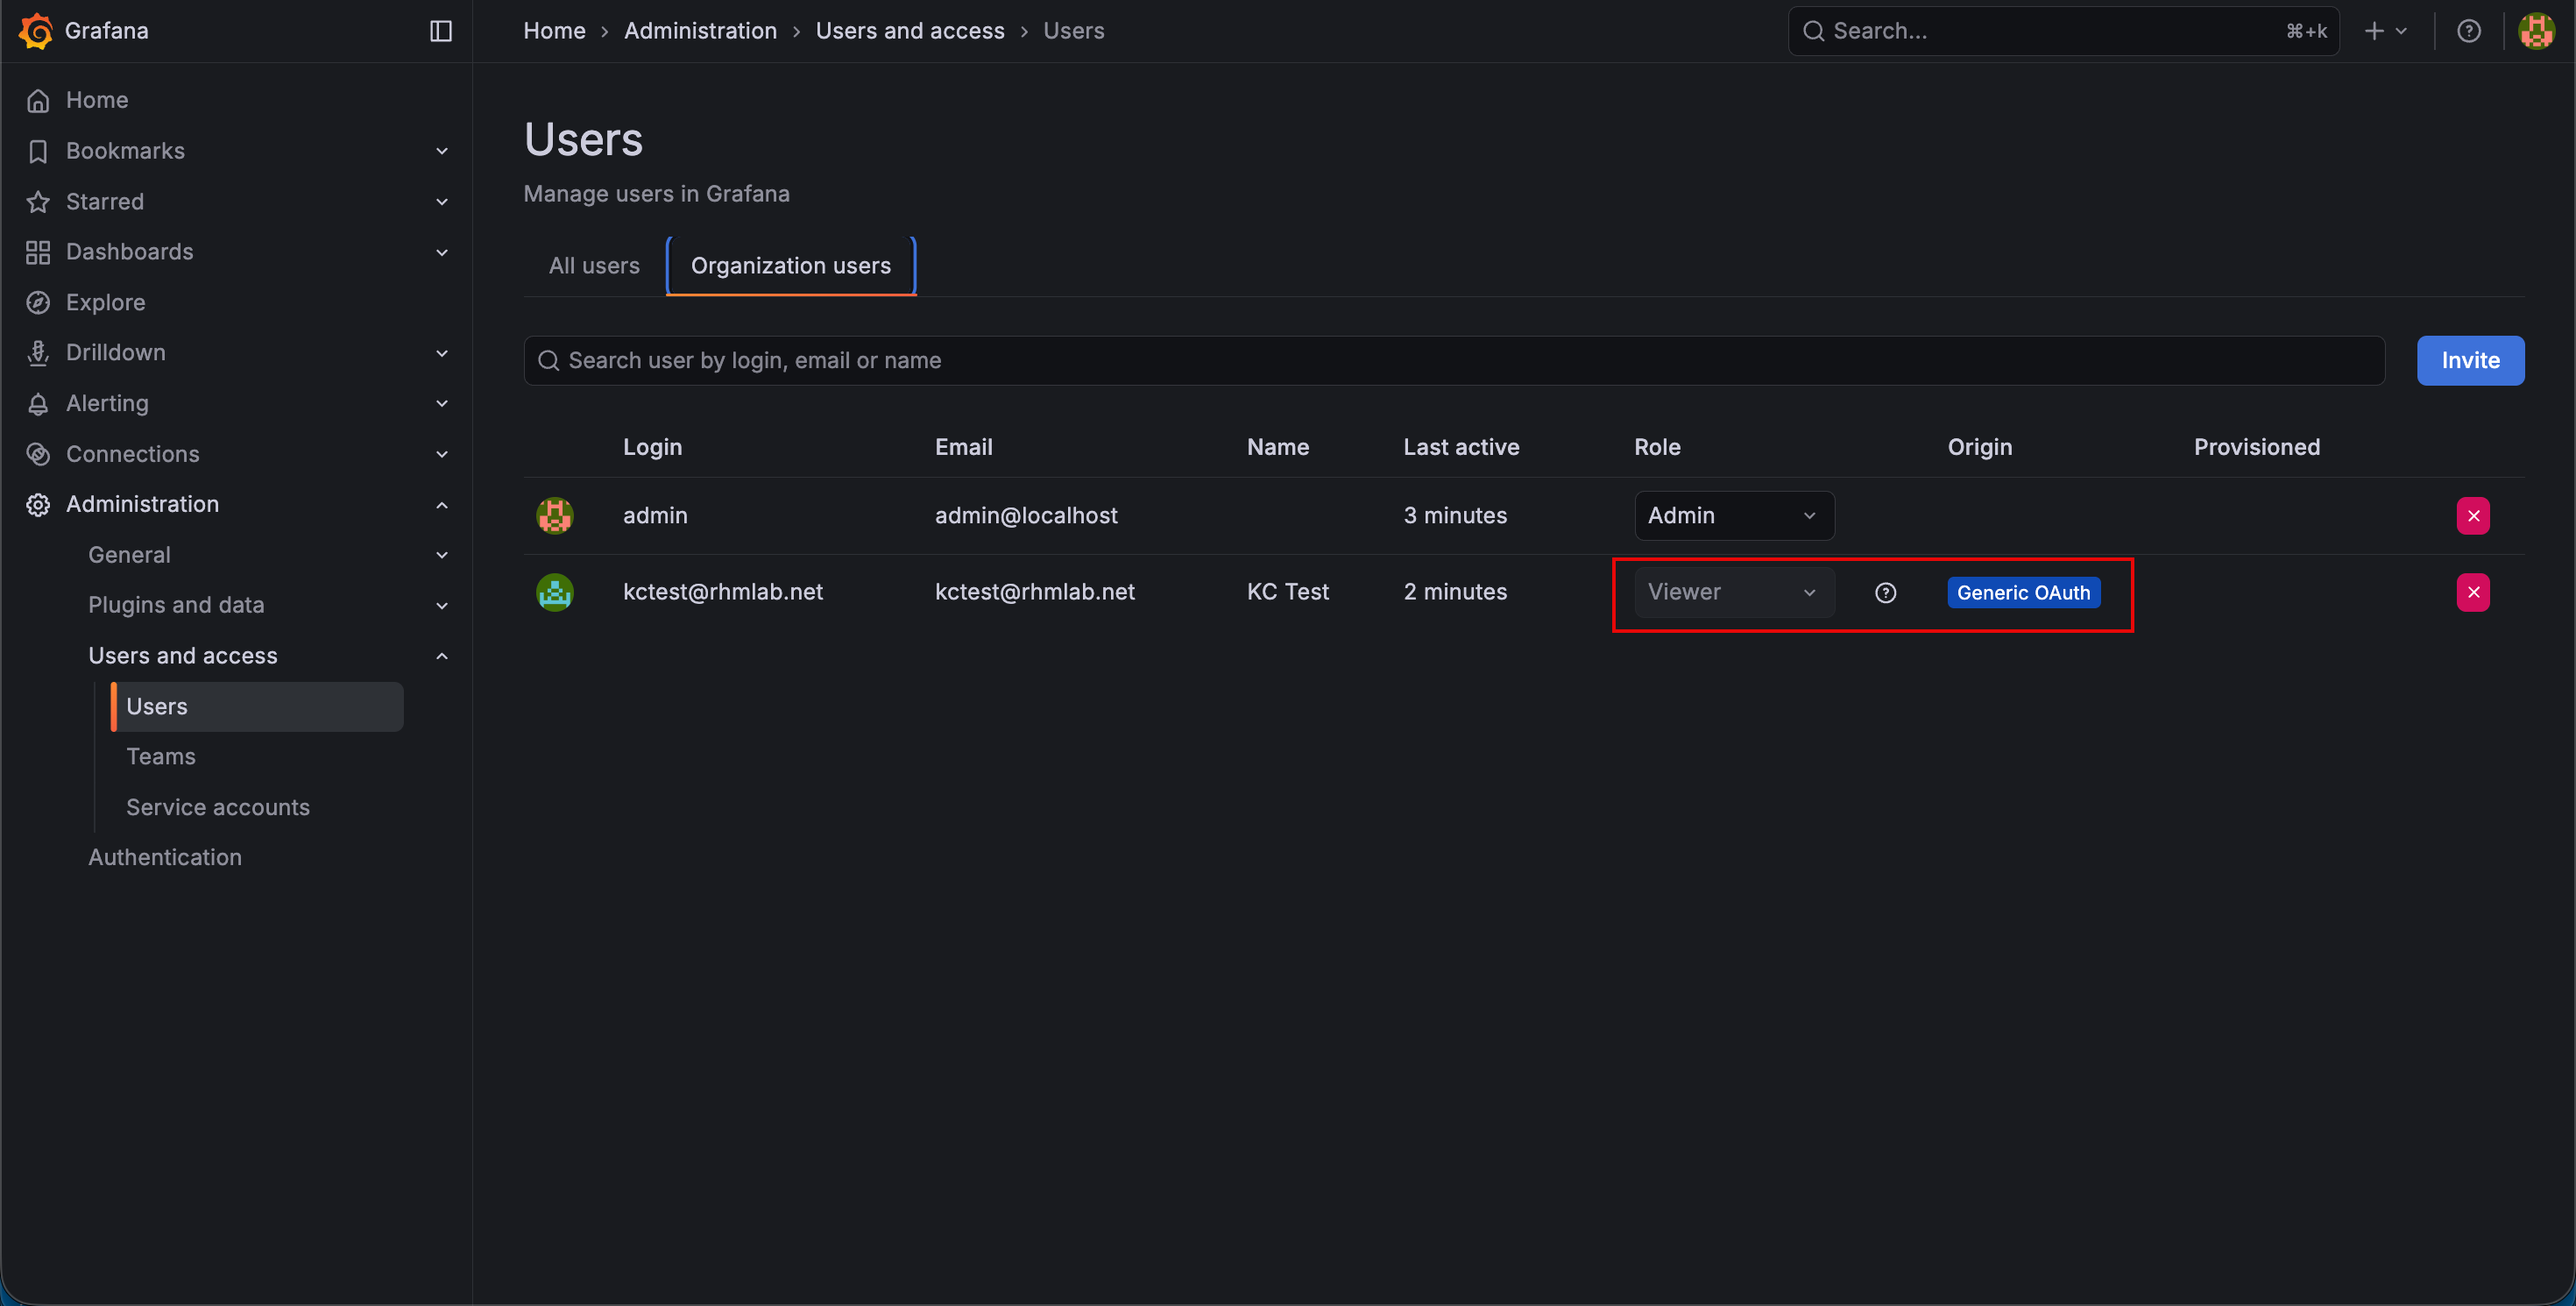
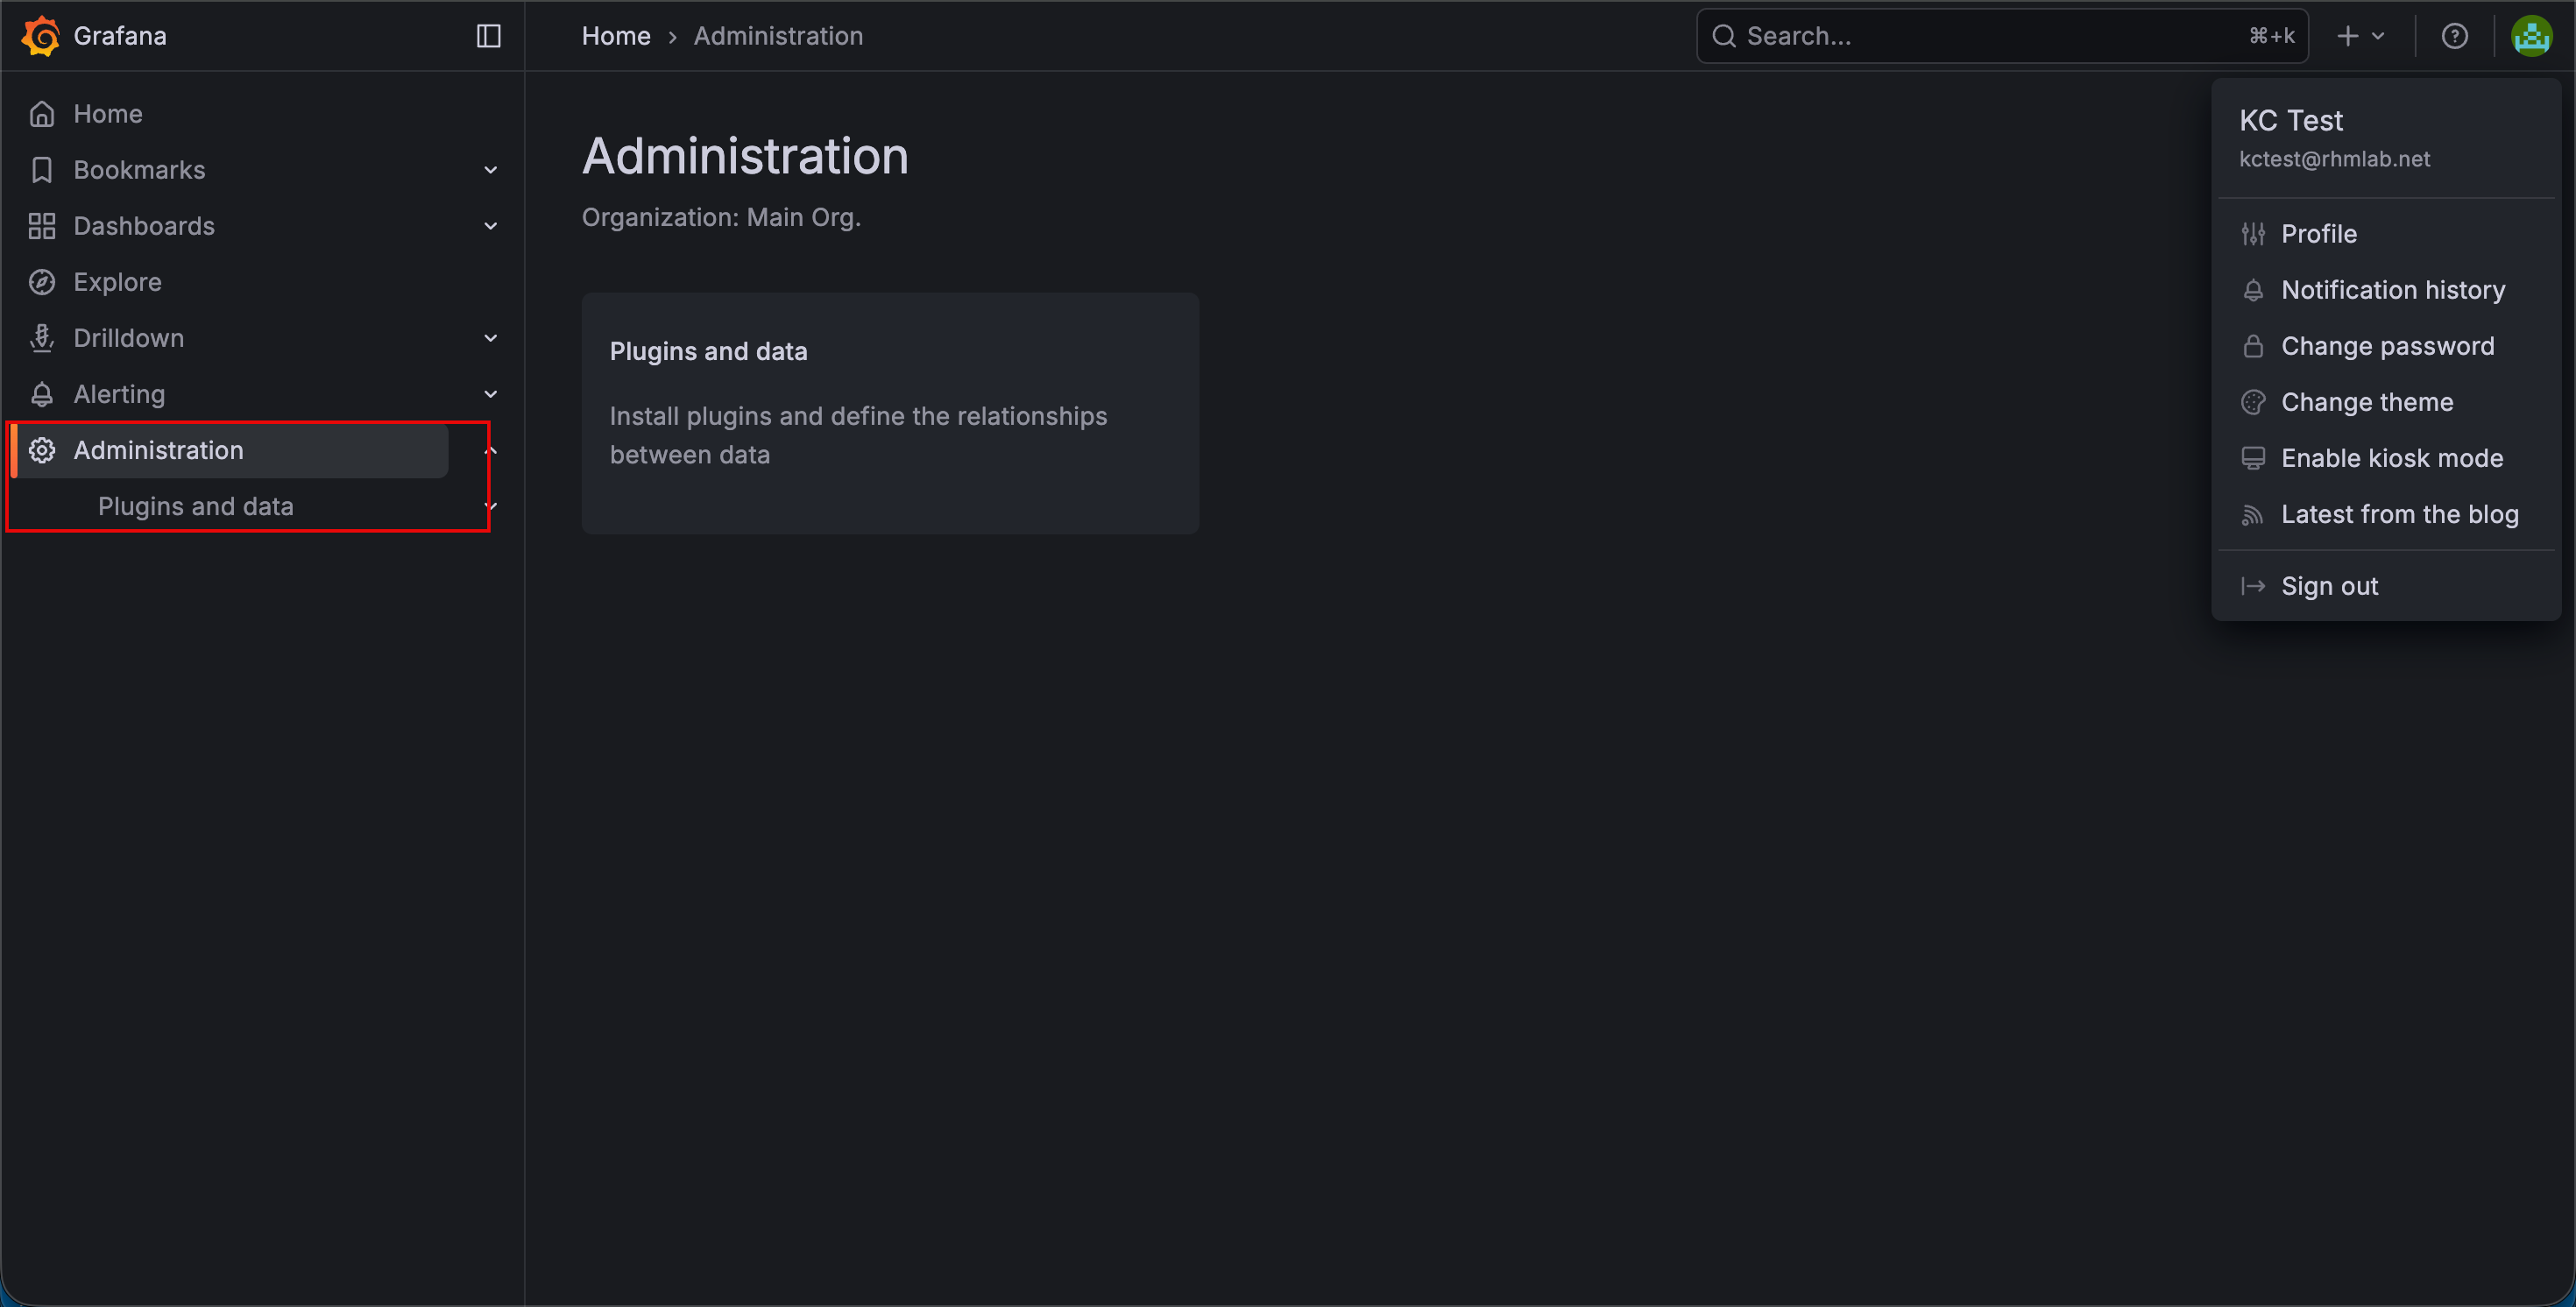
The trained Grafana eye can spot that options like Alerting, Connections and Administration is missing from the left menu indicating that this is a user with Viewer permissions
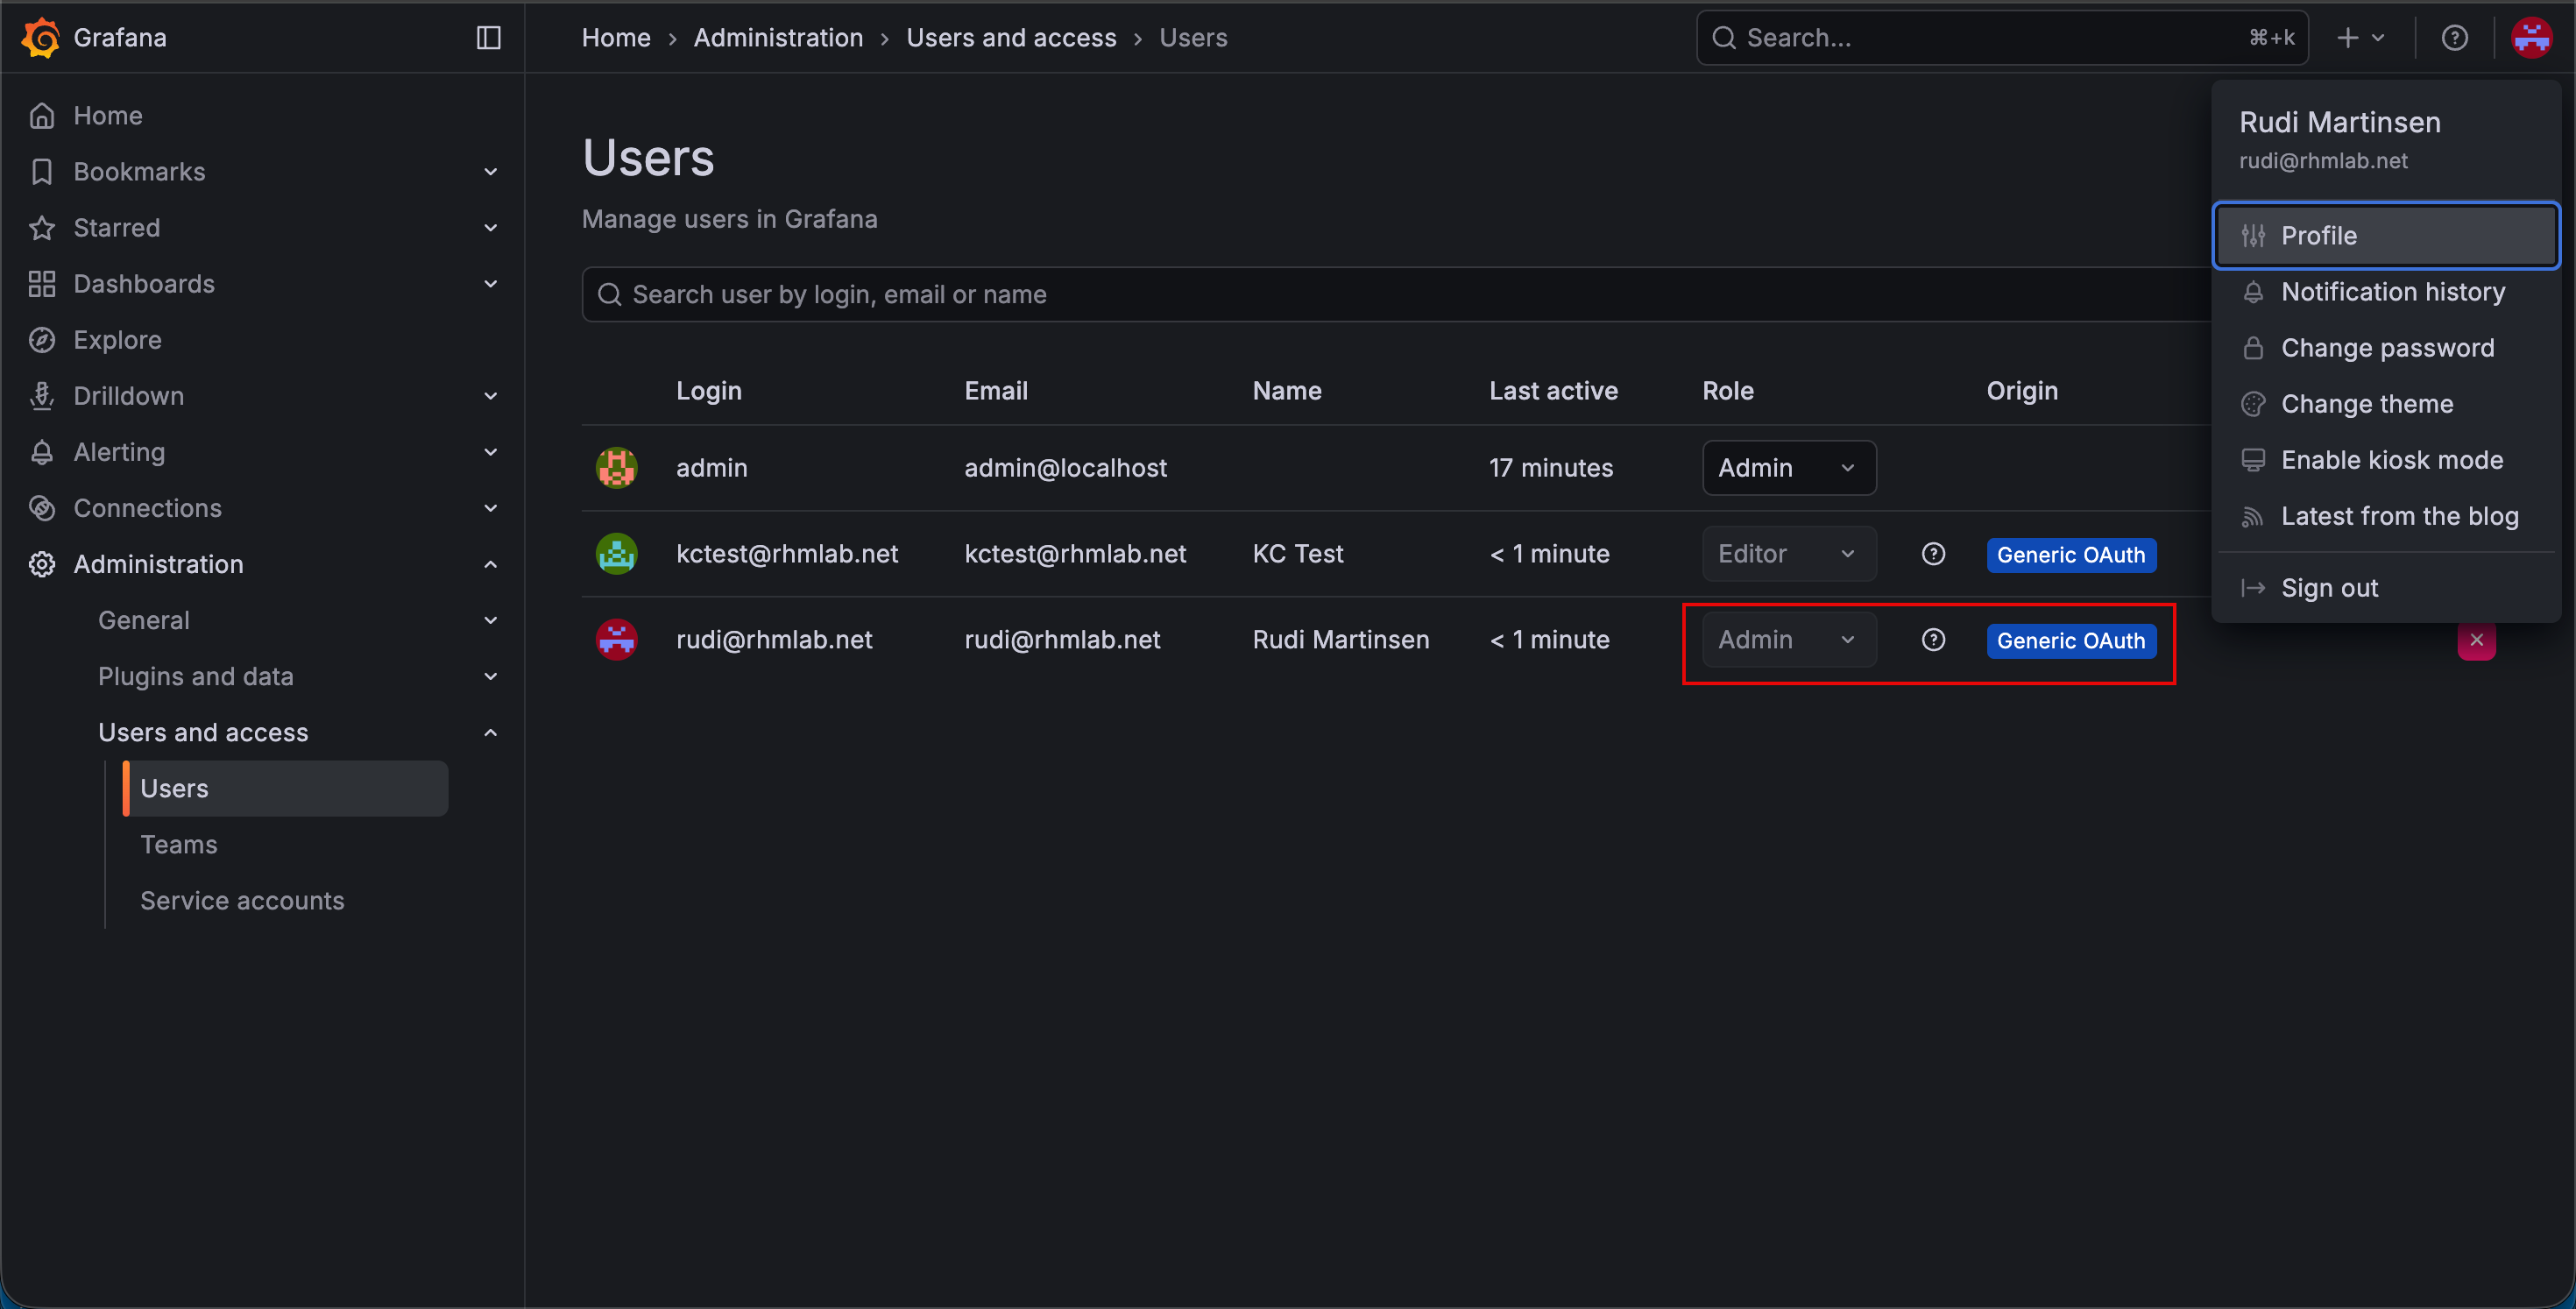
If we log in with the Admin user and go to Administration->Users and access->Users and select the Organization users tab we can verify that our test user has the Viewer role and that it comes from the Generic OAuth origin
Roles
Now, let's add a role to our test user, as well as try to log in with a user from my LDAP provider that has a role membership to verify how we can map roles from Keycloak to roles in Grafana.
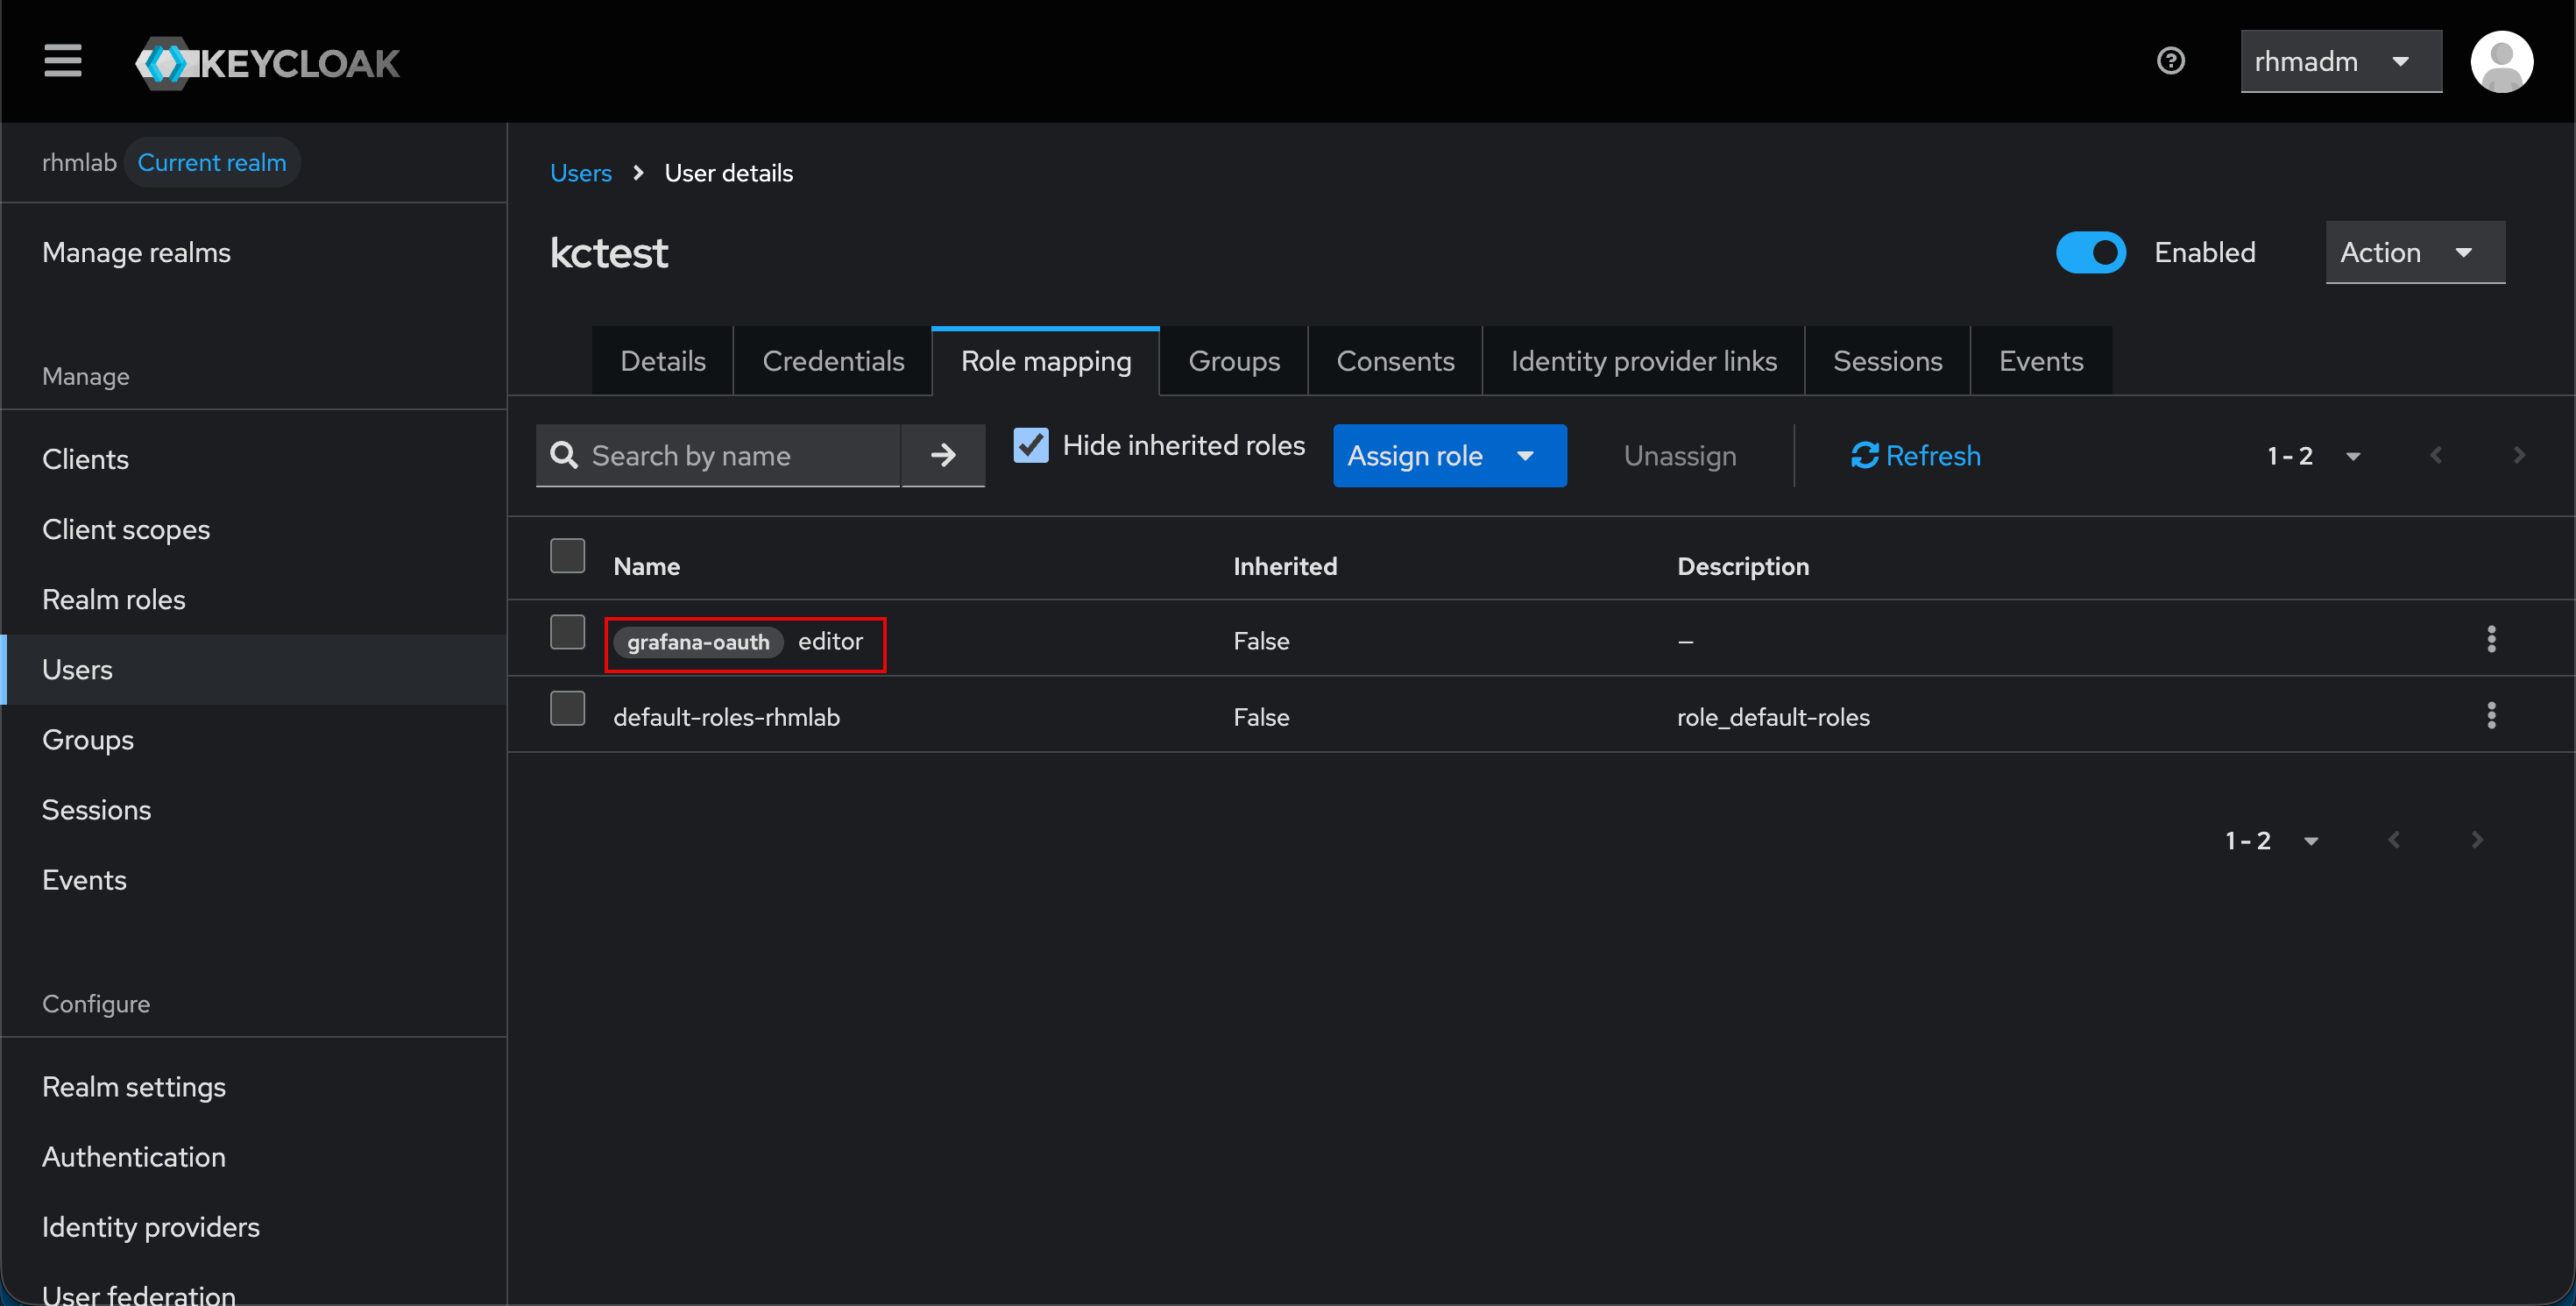
We'll add the editor role in Keycloak to our test user
After logging in we should see that we have the Alerting and Administration option
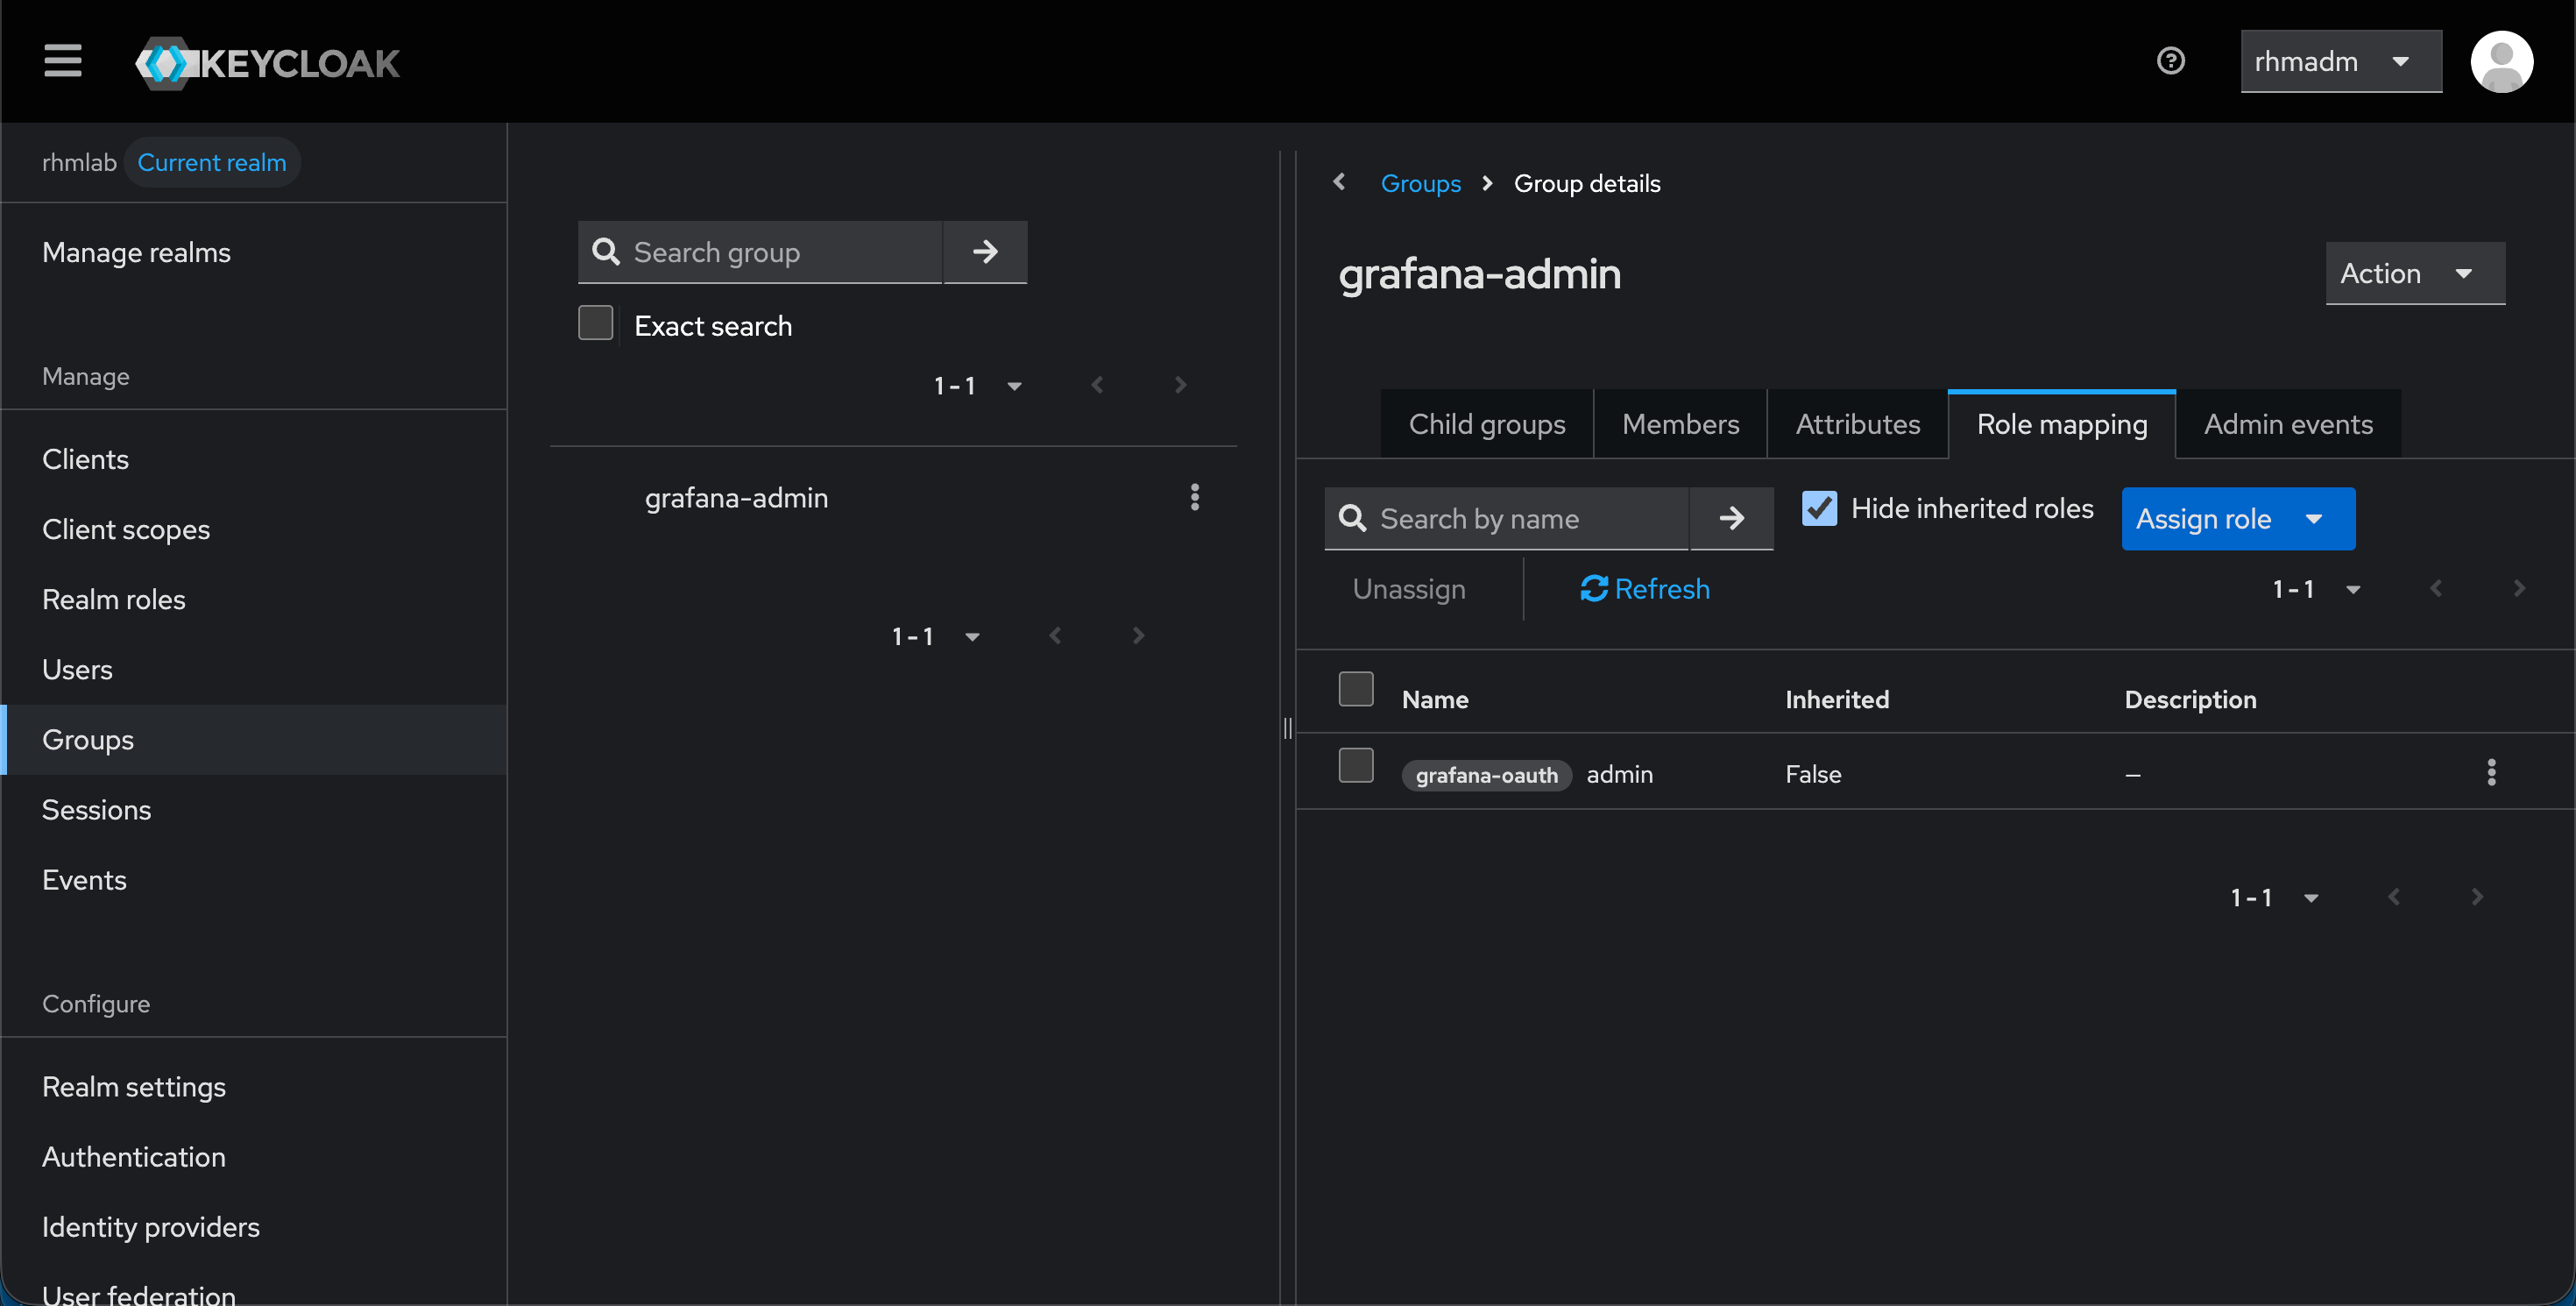
Now, let's check a federated user
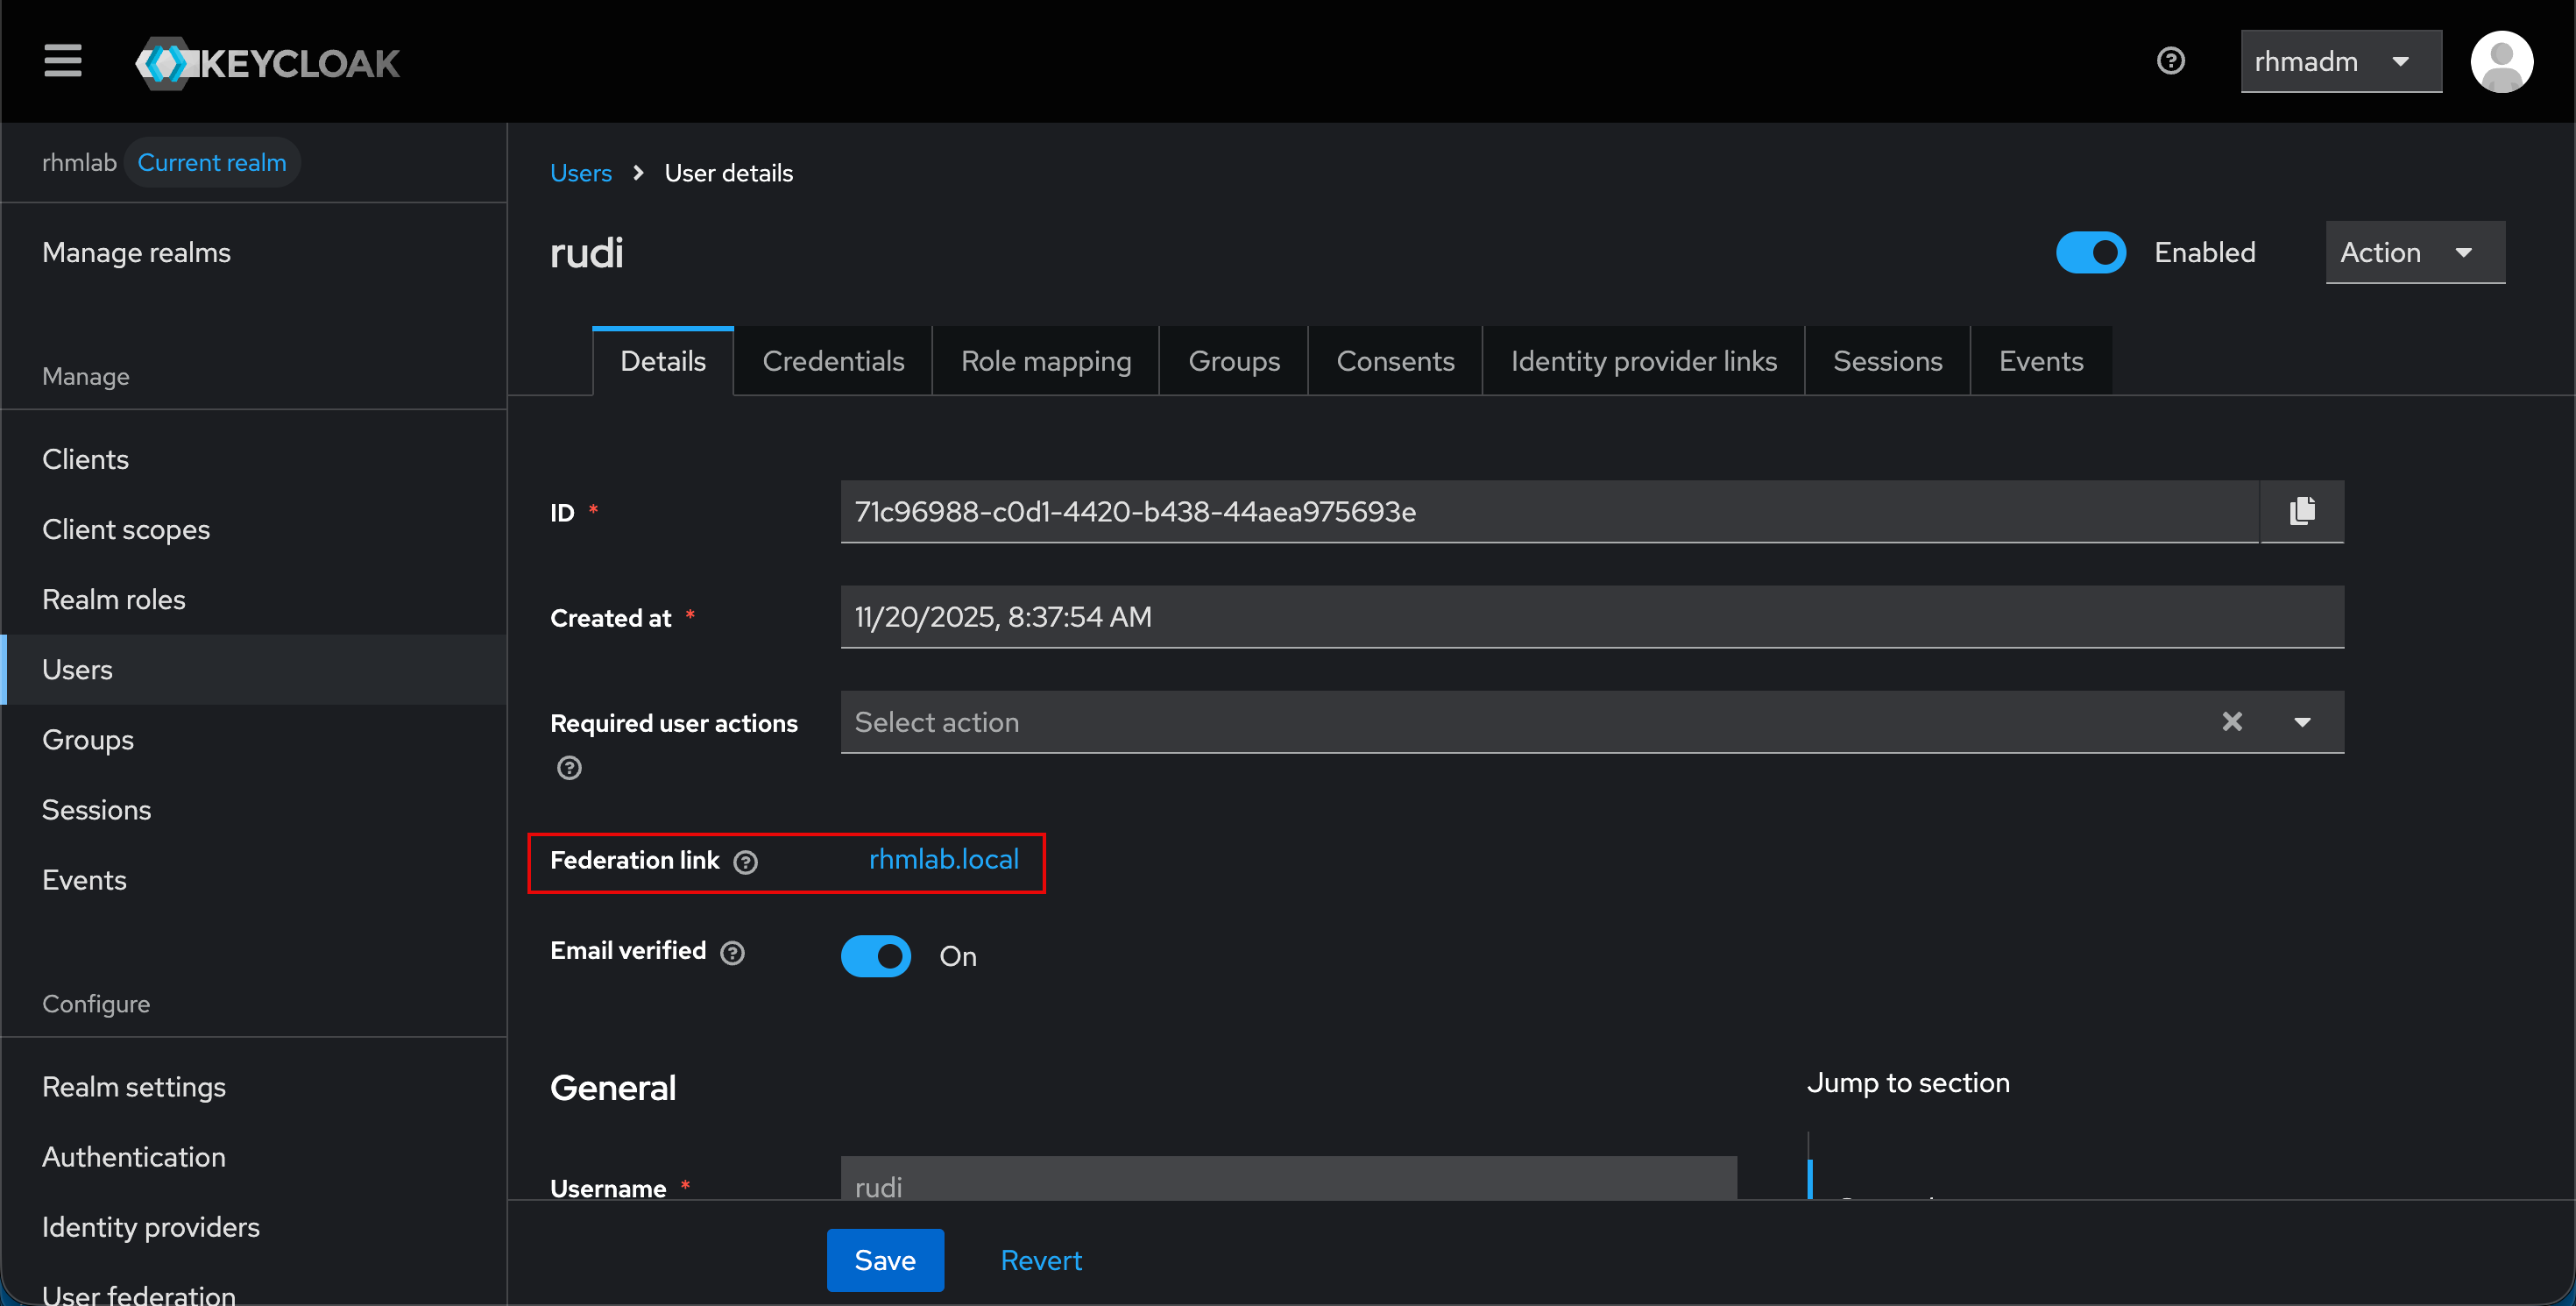
This user is member of a group that is mapped to a role
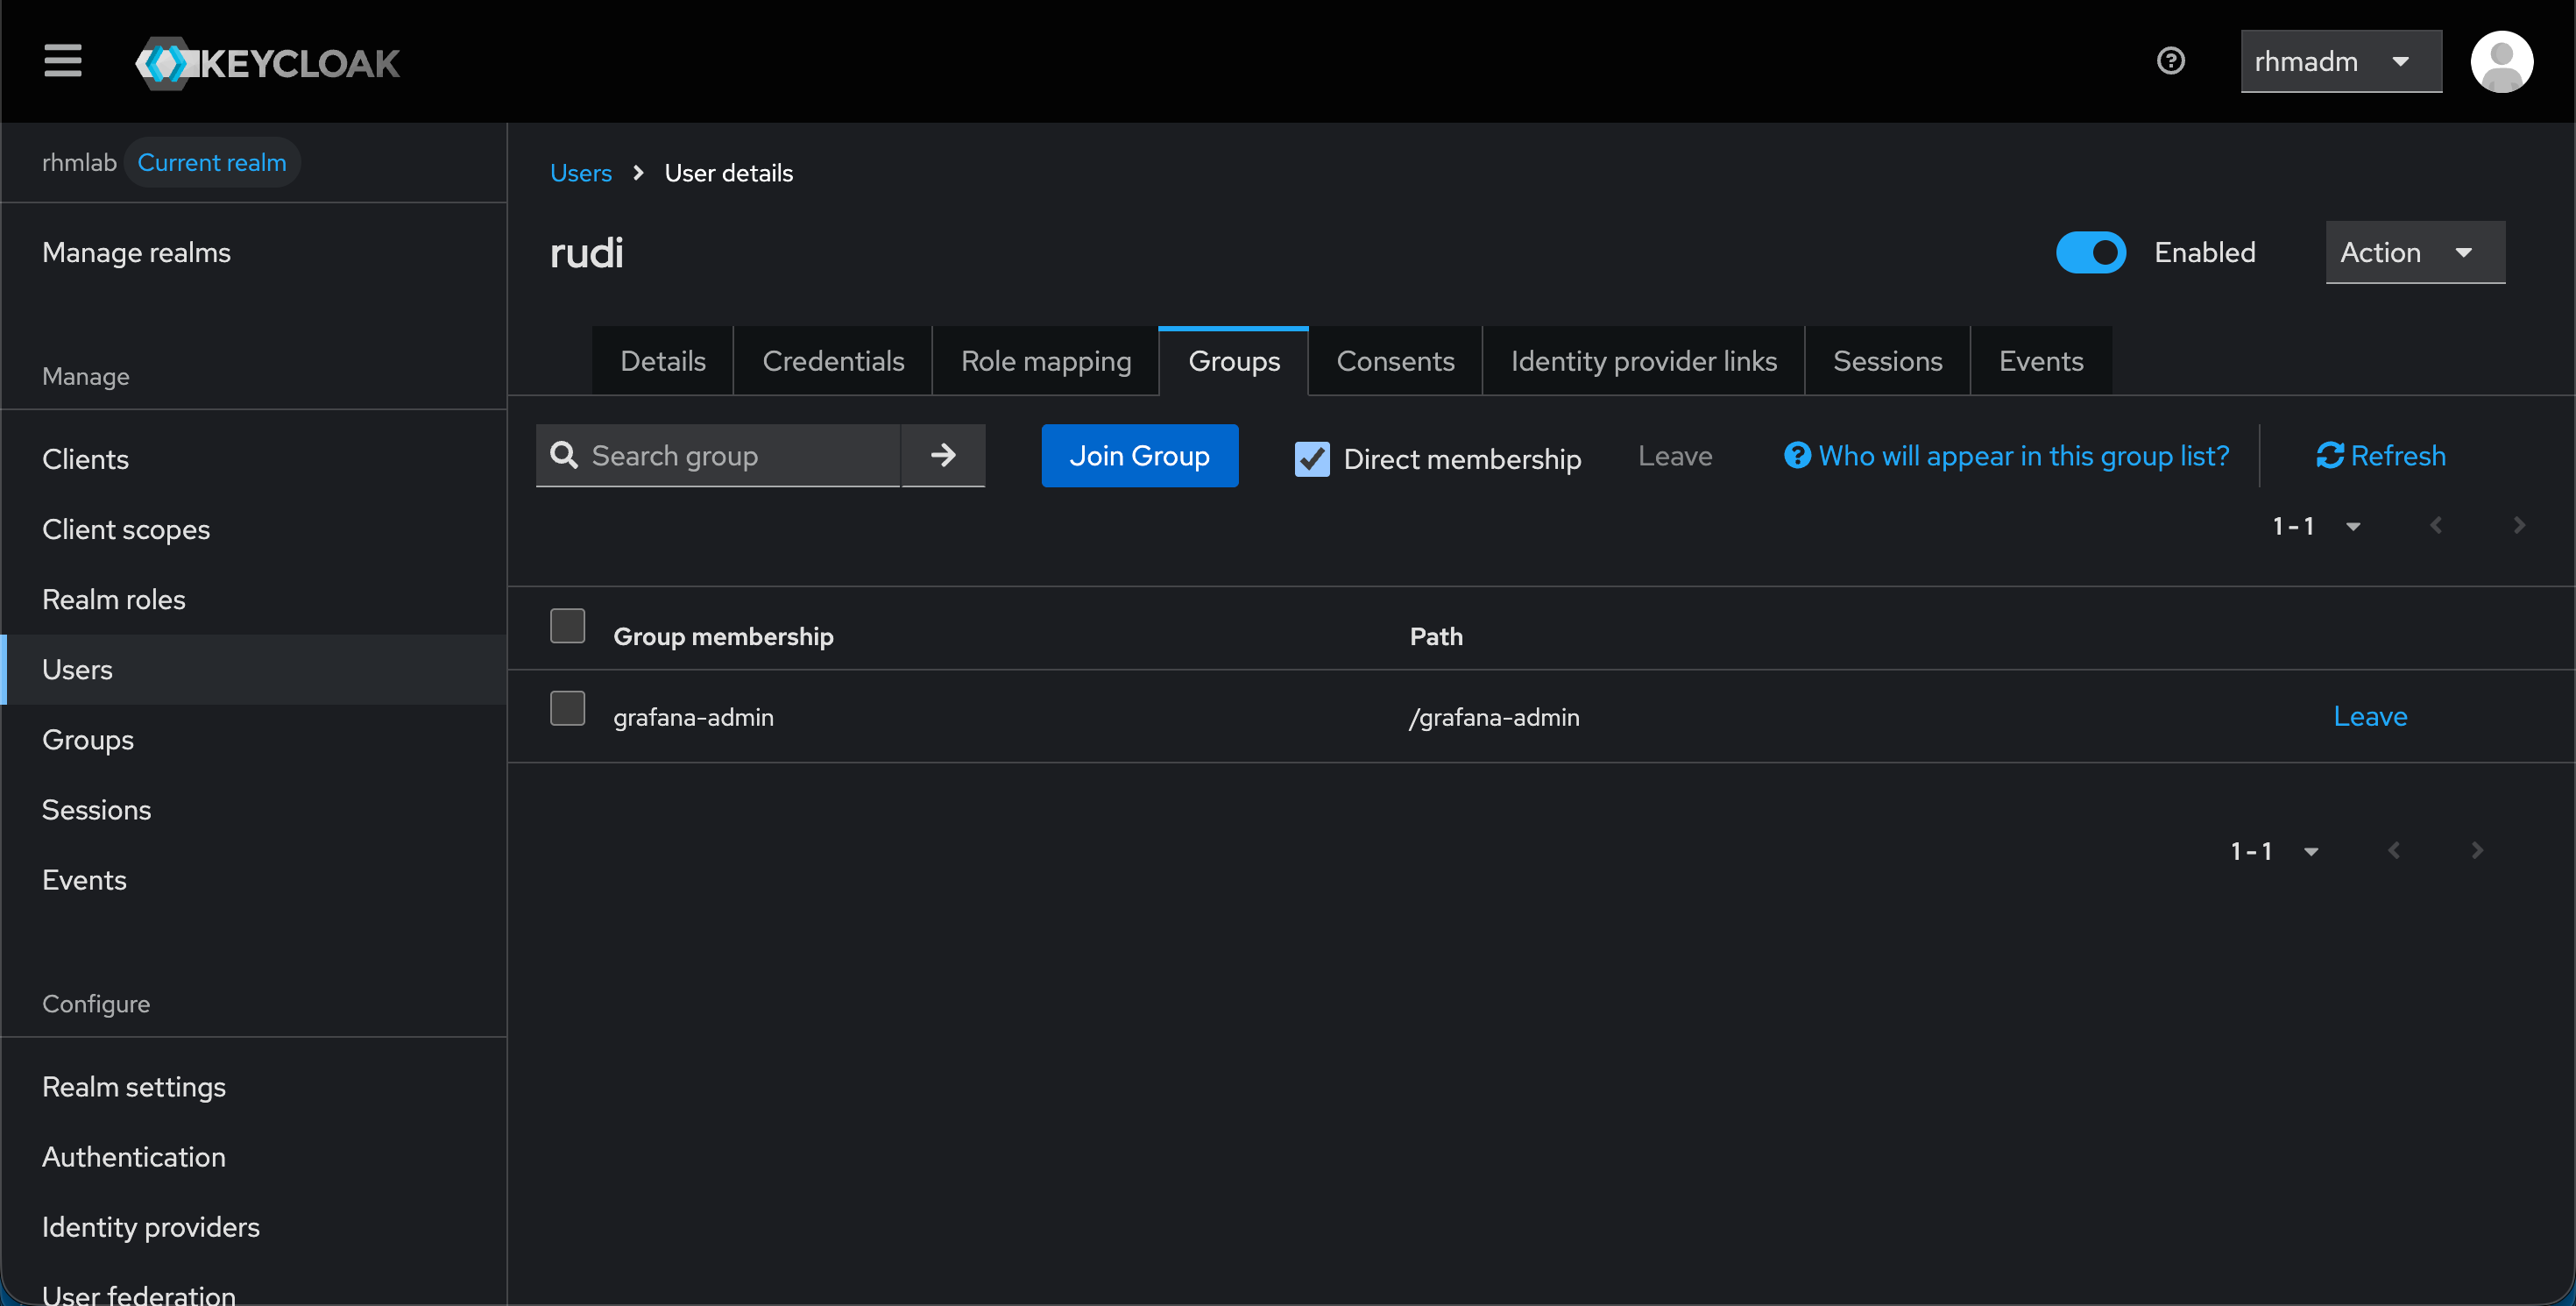
With that we can log in with that user and verify
Summary
This blog post has showed how to integrate Keycloak with Grafana for providing user federation, authentication and authorization.
Thanks for reading and feel free to reach out if you have any comments or questions!