Veeam File level restore with Proxmox
In a previous post we saw how to configure Veeam Backup and Replication to perform backup and restore of Proxmox VE virtual machines.
In that post we did some changes to a file in a VM and restored the VM from backup to demonstrate the backup and restore functionality.
An interesting thing with the Proxmox plugin for Veeam is that it actually lets us use the existing File-level Restore (FLR) functionality also for Proxmox VE.
Note that there is a need for a VMware vSphere environment for running the FLR appliance if you want to restore file from something other than a Windows backup. See the Guest OS File Restore section of the Veeam documentation for more information about this feature
The FLR (for Linux os) works by mounting the disks to a either a helper host or a helper appliance. From a browser we can select the file(s) we want to restore, and the option to either overwrite or keep both versions.
Note that there's a requirement on the QEMU agent to be installed in the VM prior to doing backups. This cannot be added during the FLR.
Let's see how it works.
First we'll examine the contents of a file on a Linux machine
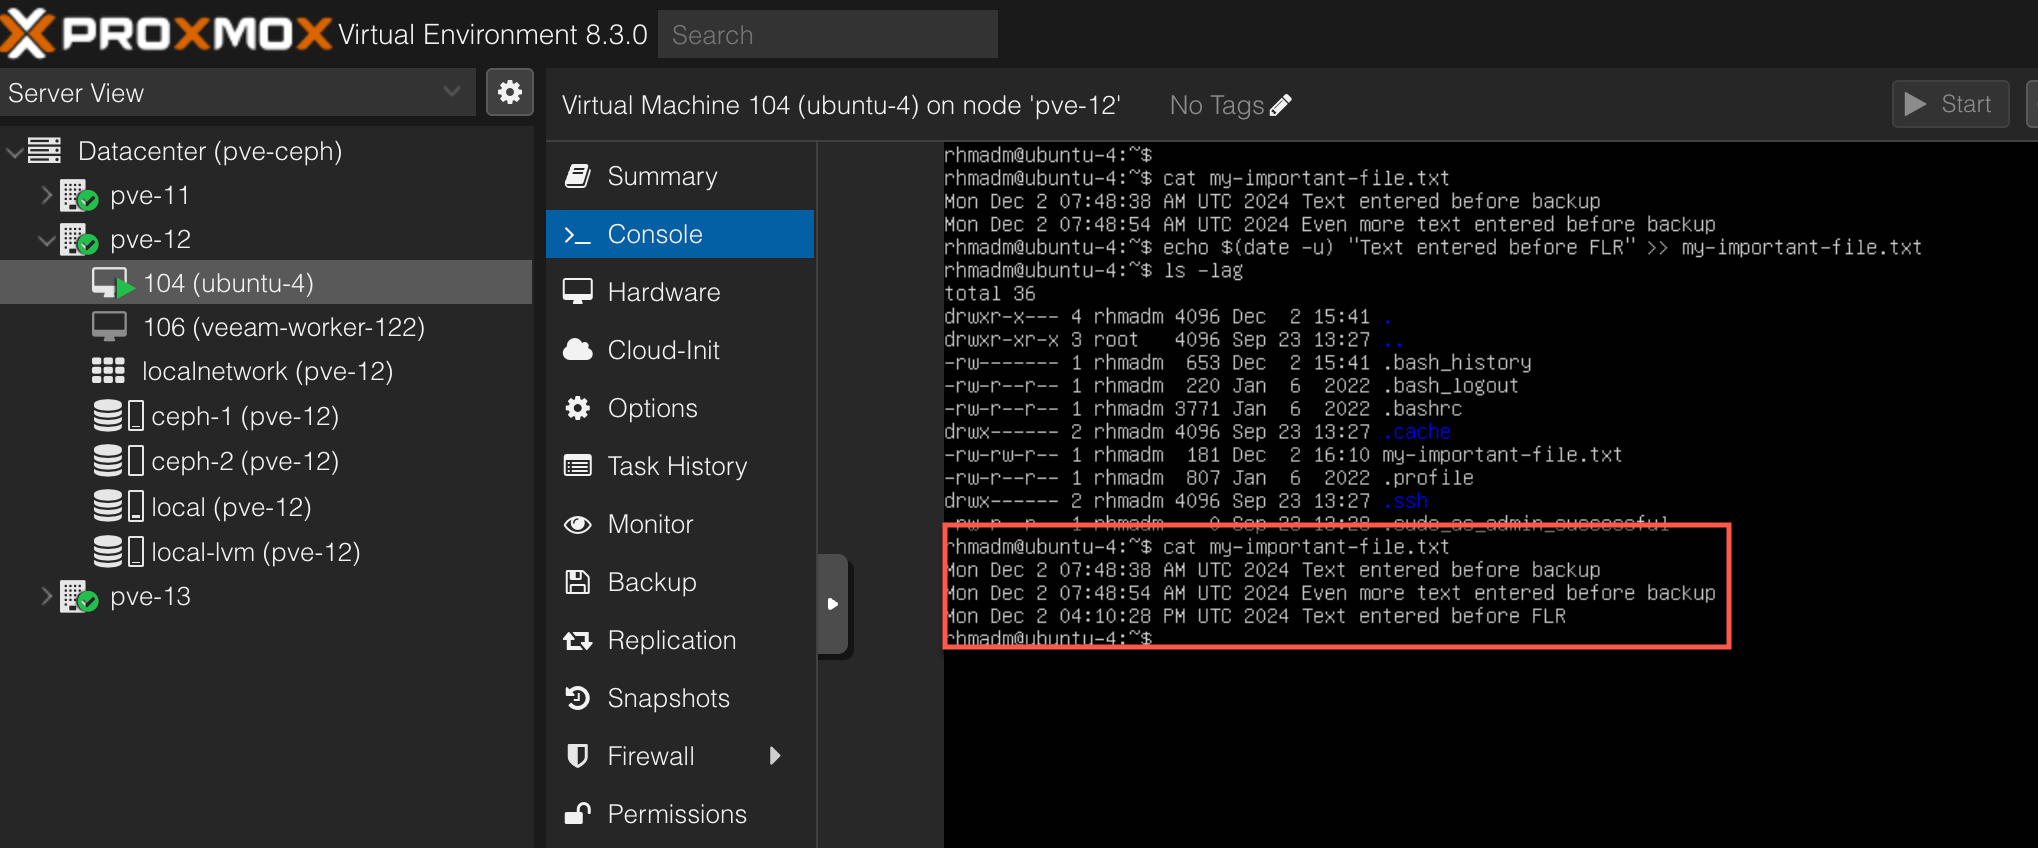
As we can see there's a few lines of text in the file. We'll add one line of text with the current timestamp.
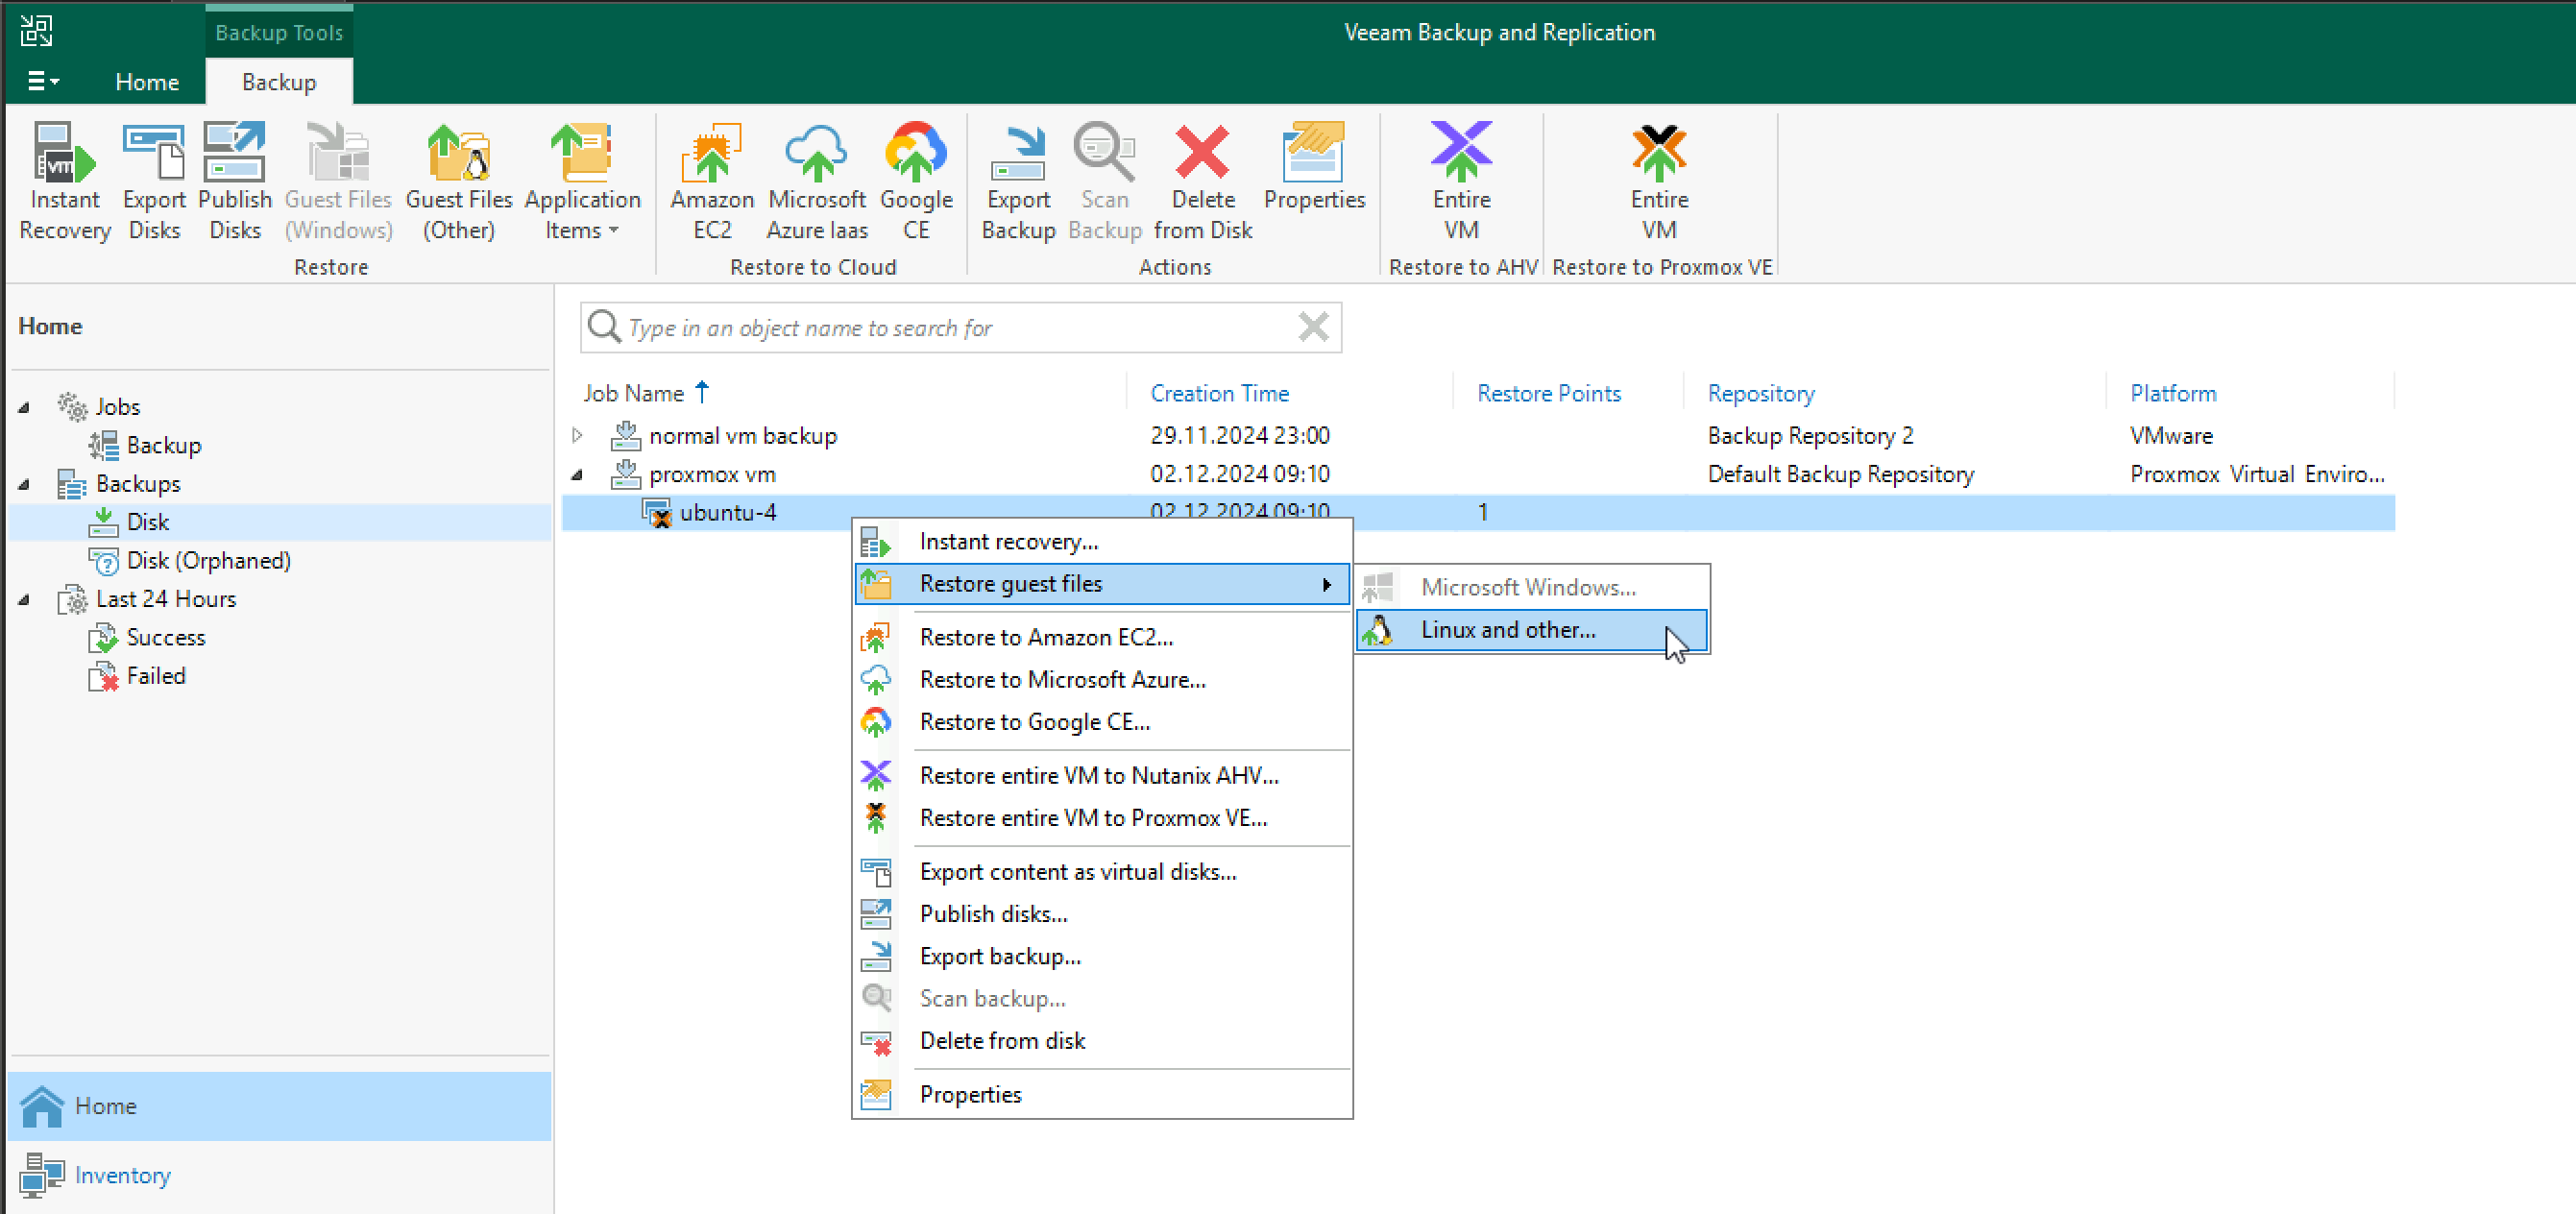
Over in Veeam we'll find our backup job and initiate our File-level restore
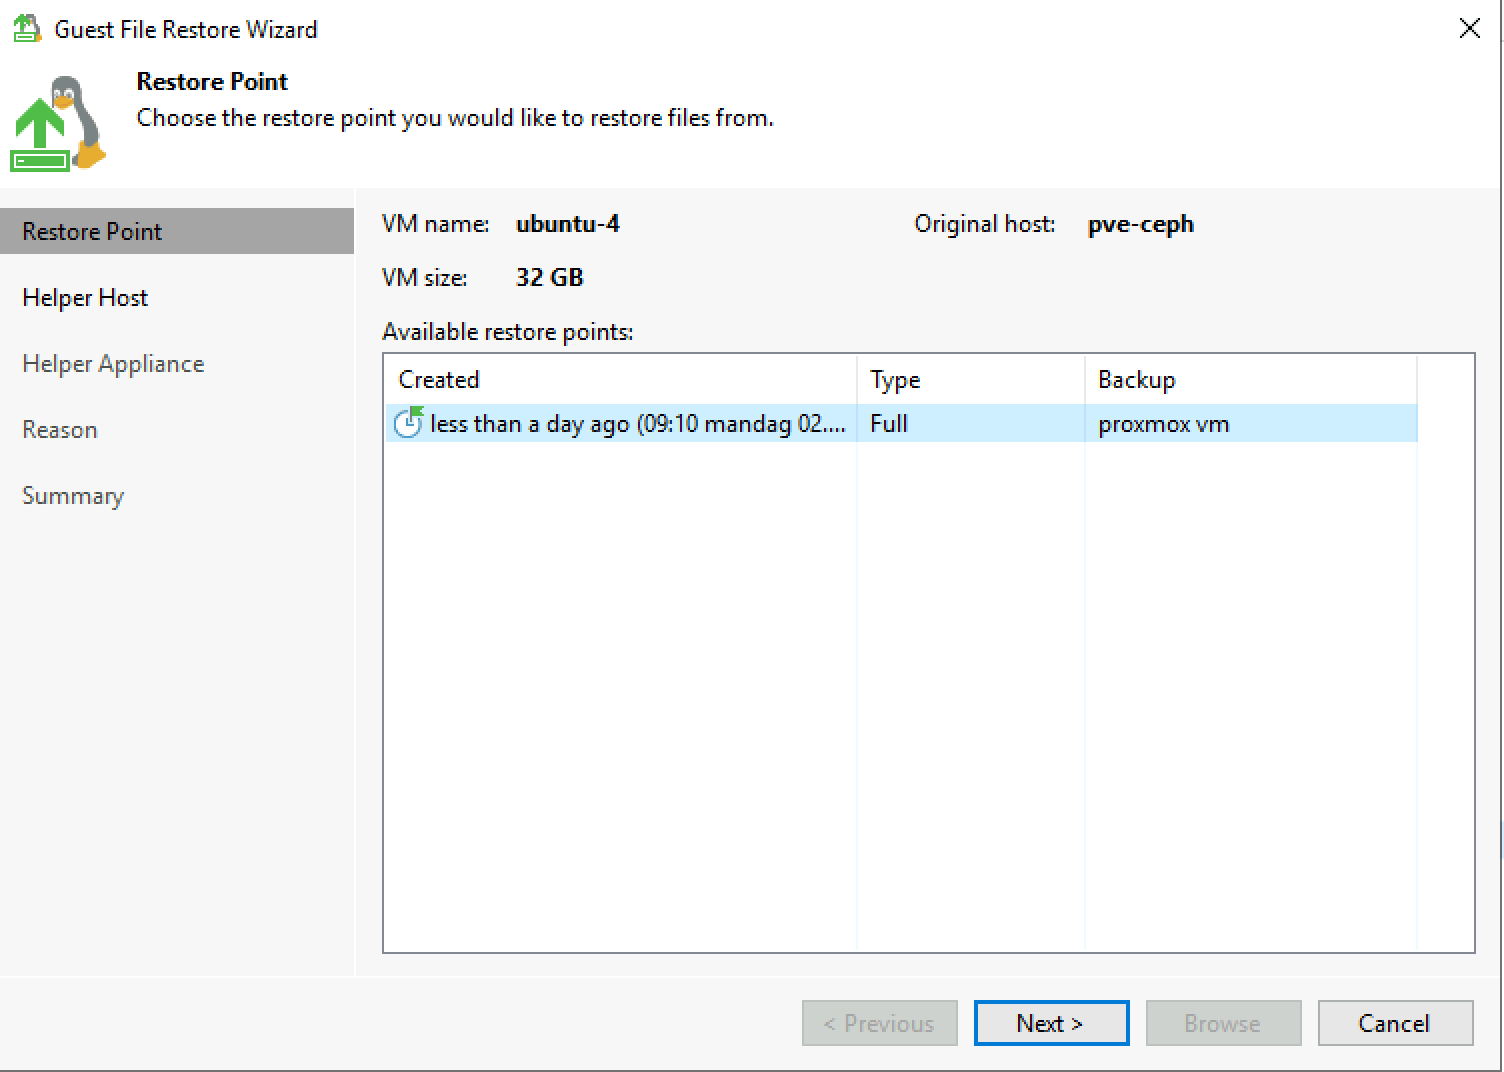
Next we'll select the Restore point to get files from. We have only one restore point in our example
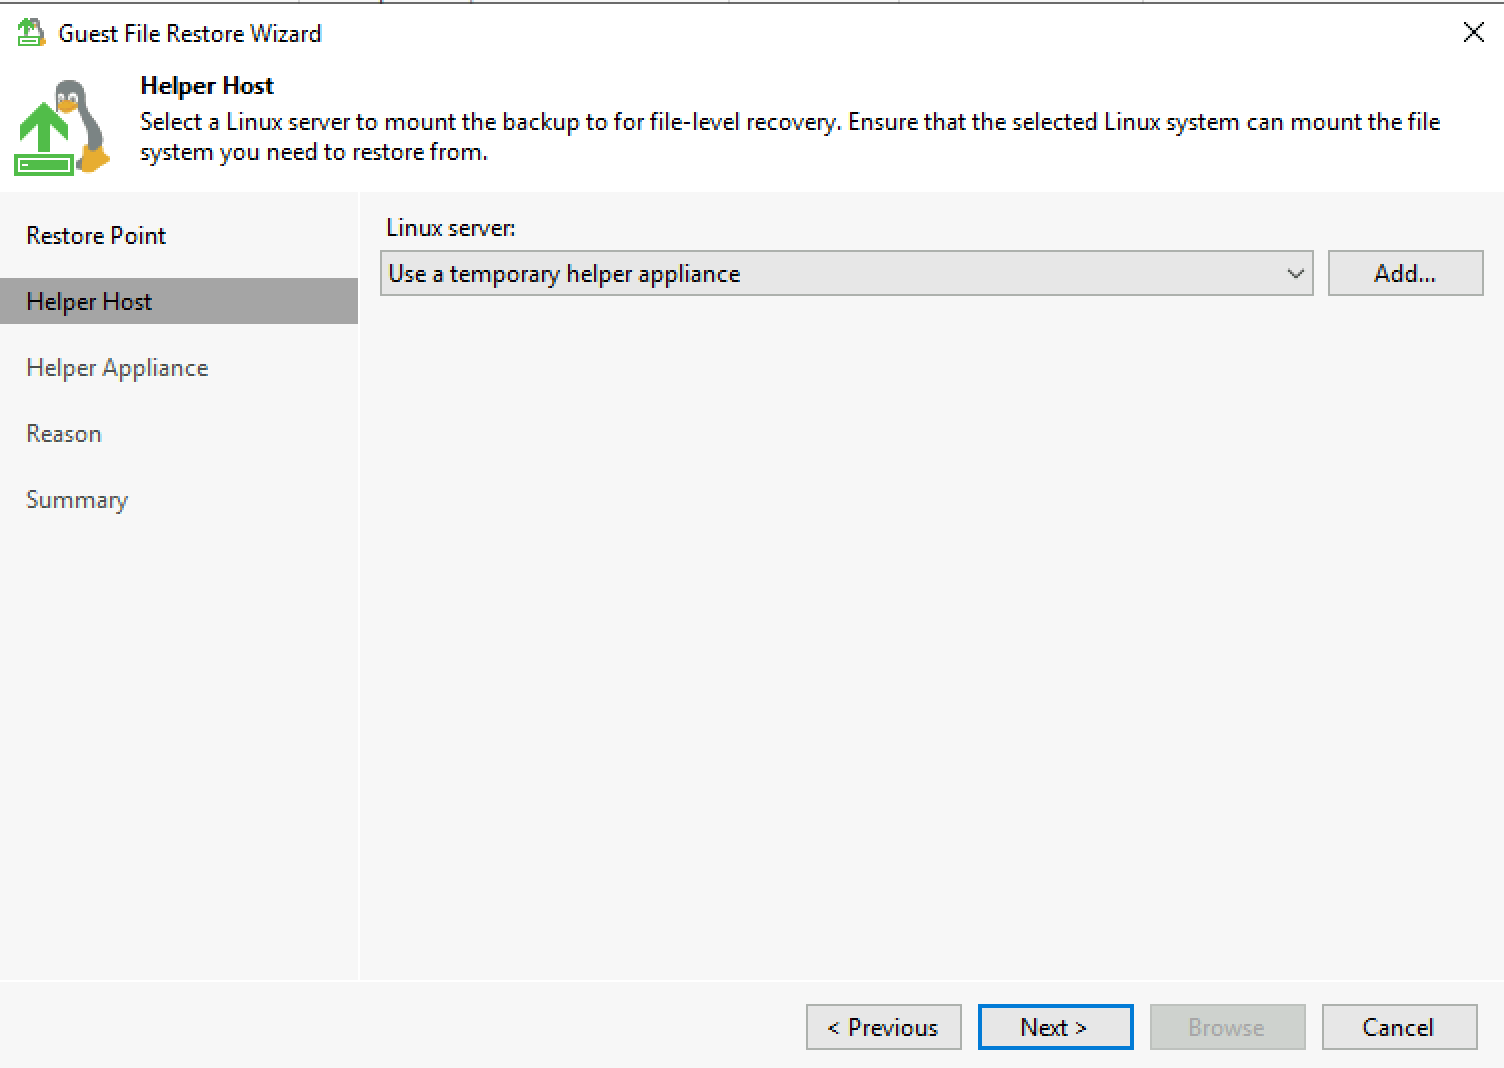
Next we'll choose the Helper appliance option
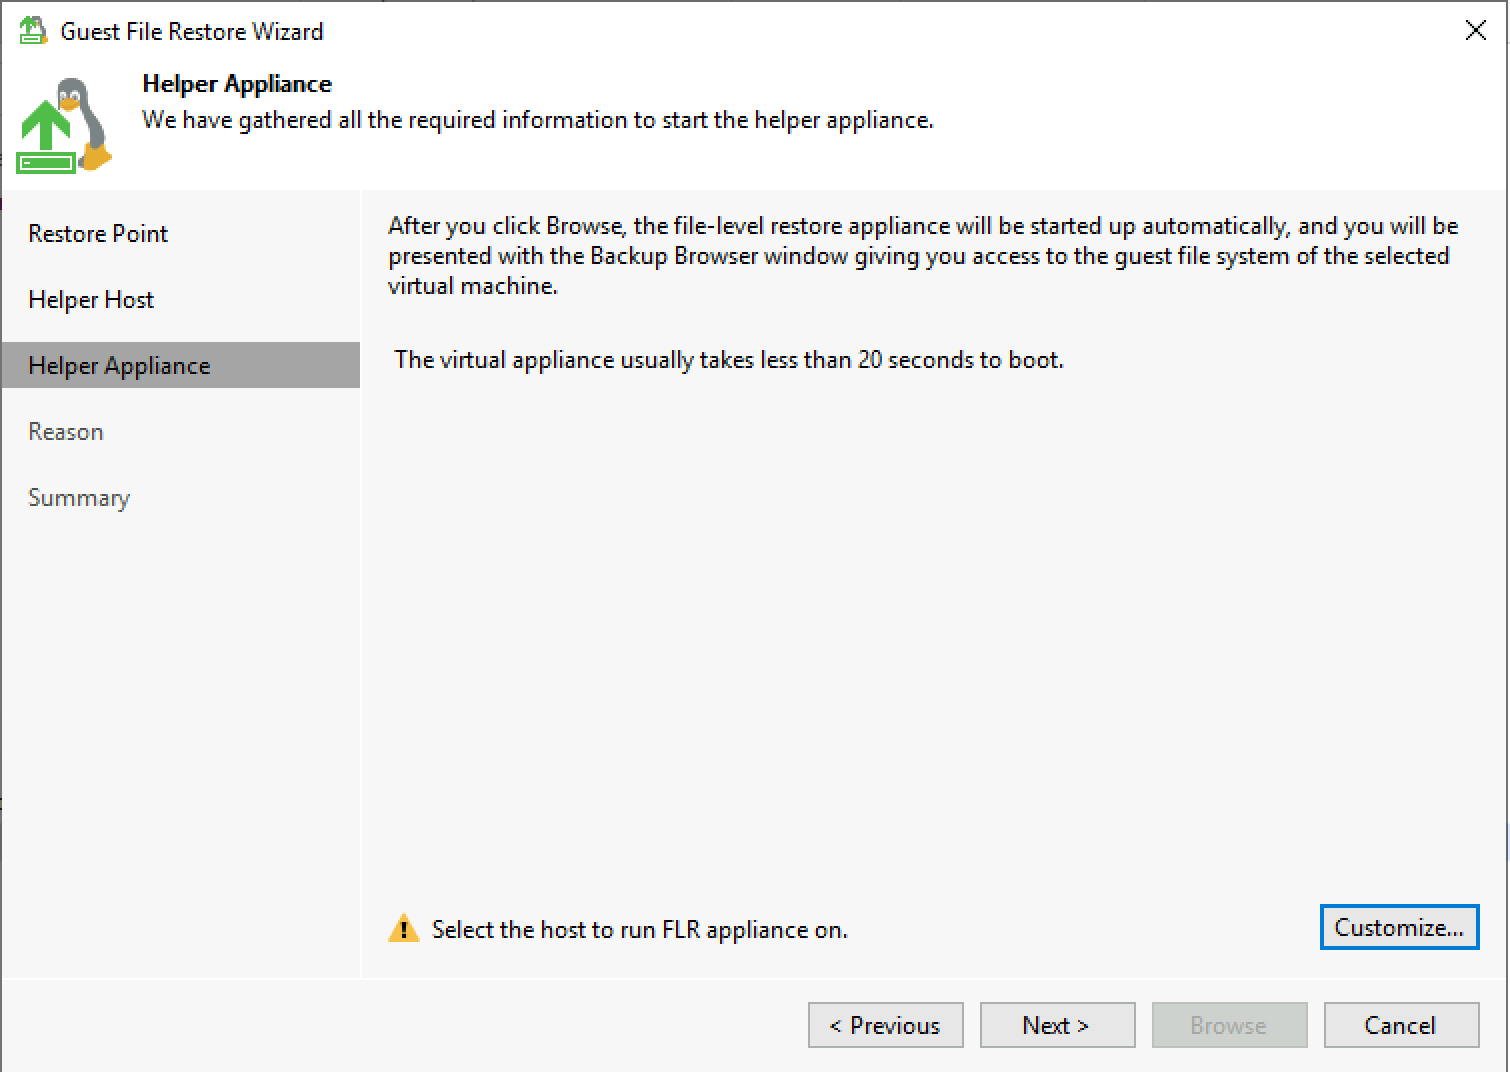
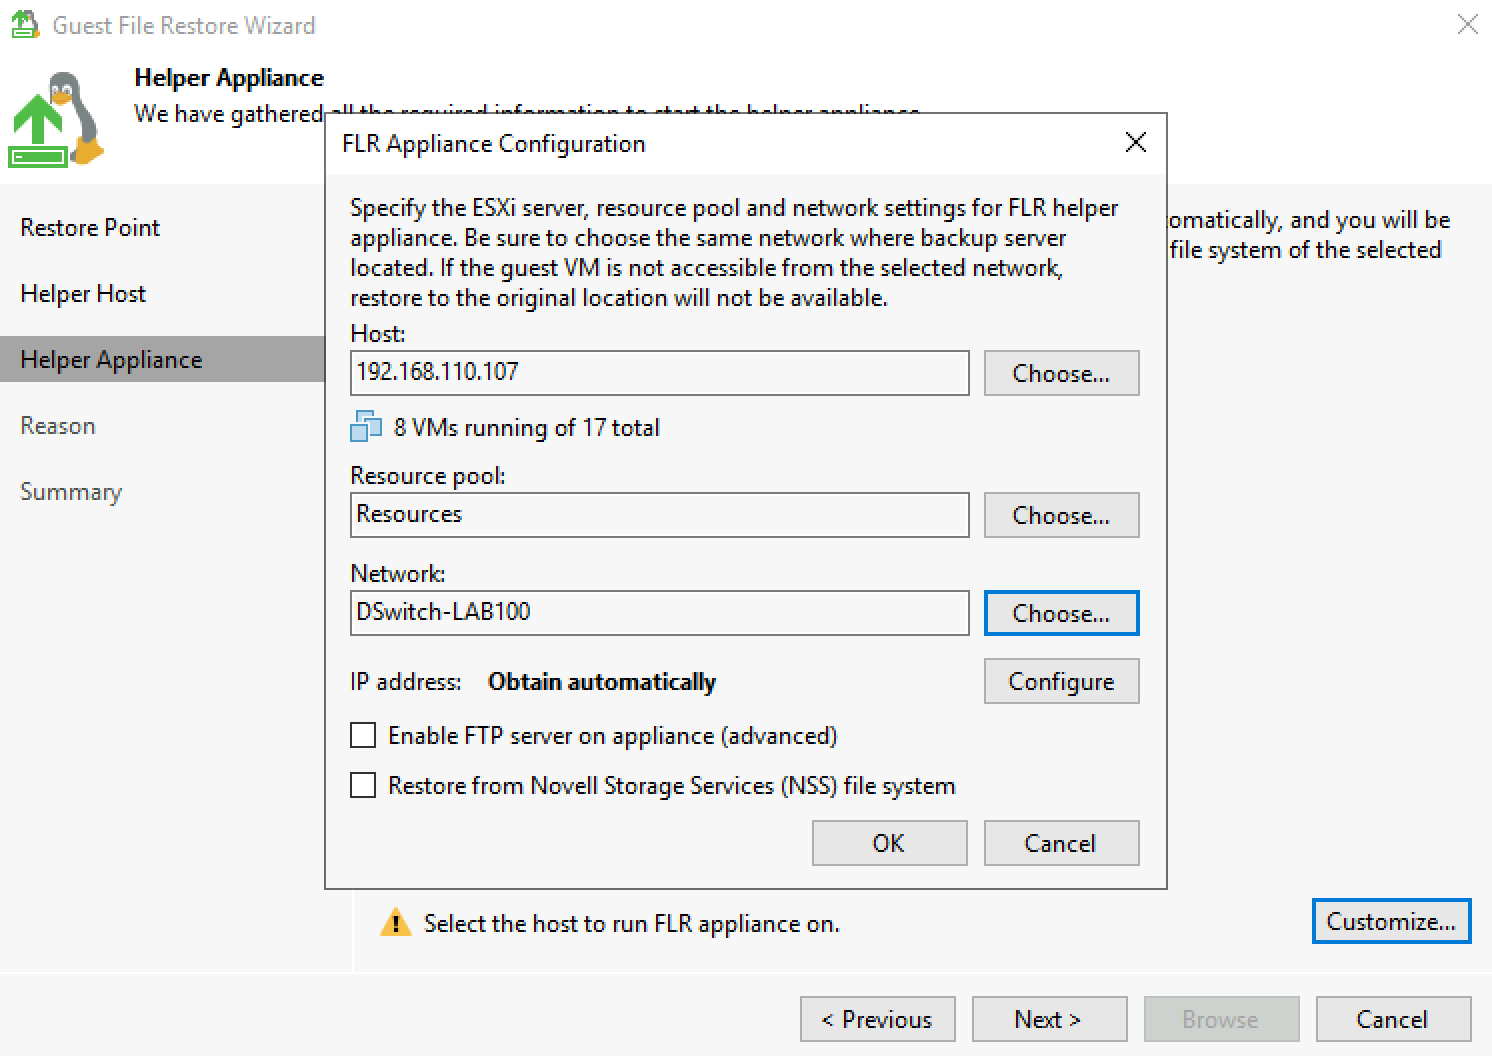
The first time we're utilizing the feature we'll have to specify some details for the appliance
Here we've specified the ESXi host, resource pool and the network settings
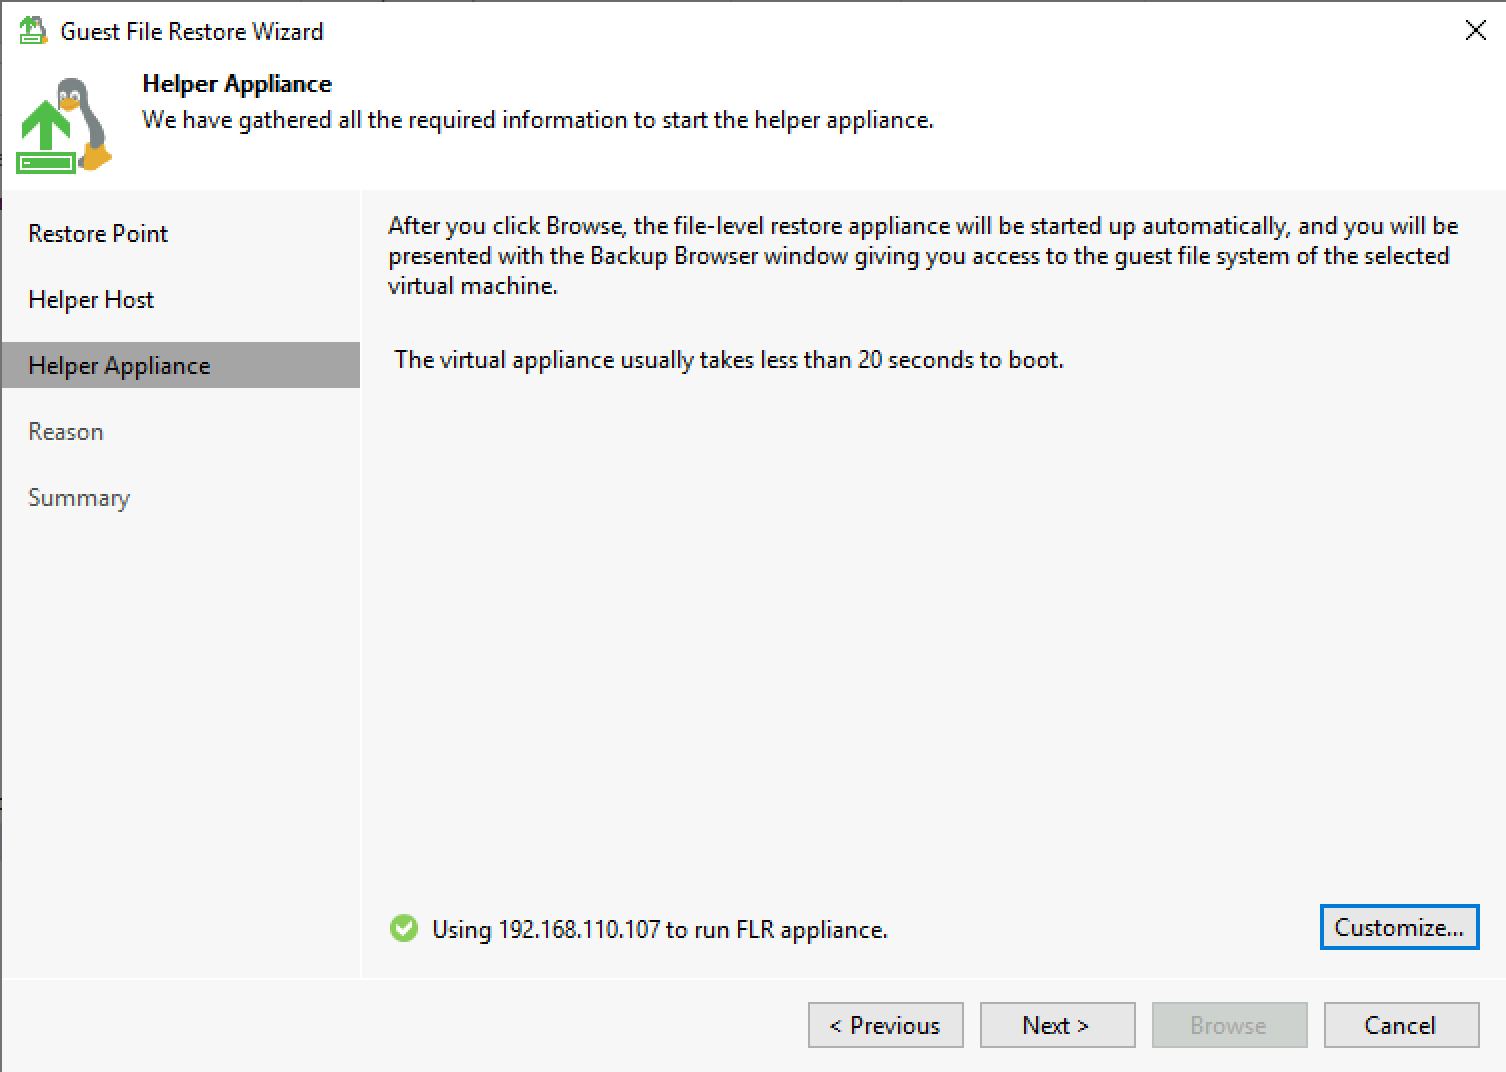
Now we can go ahead and continue with the FLR
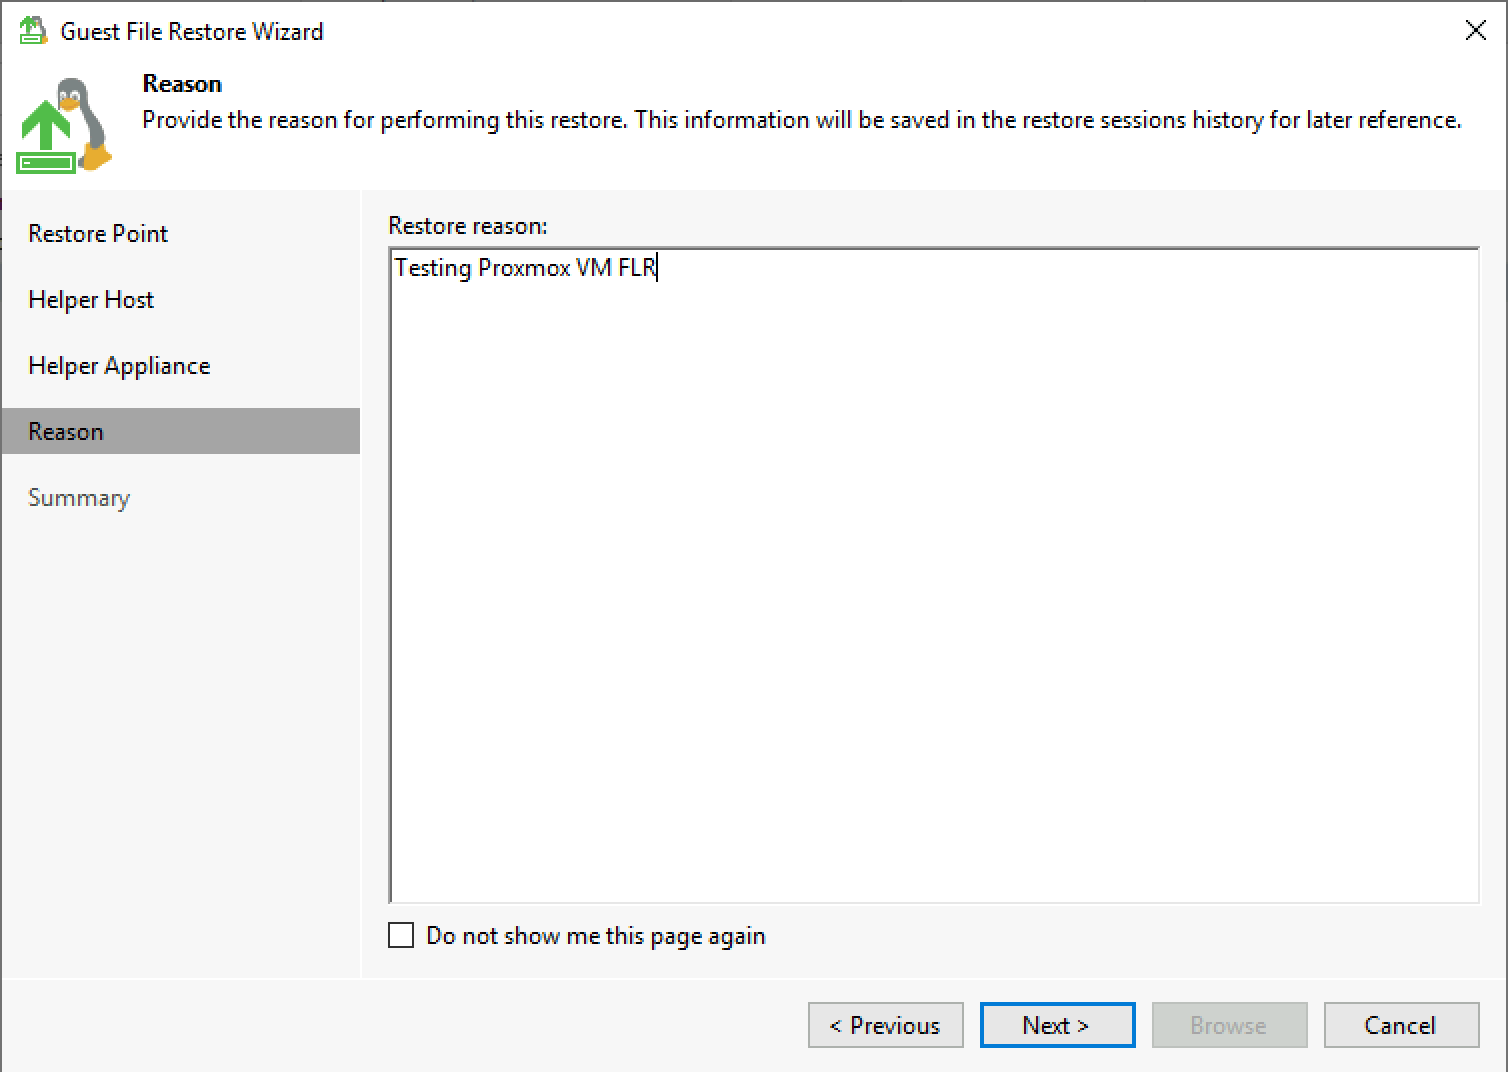
By clicking Browse the FLR appliance gets deployed

Eventually the file browser will appear and we can select our file
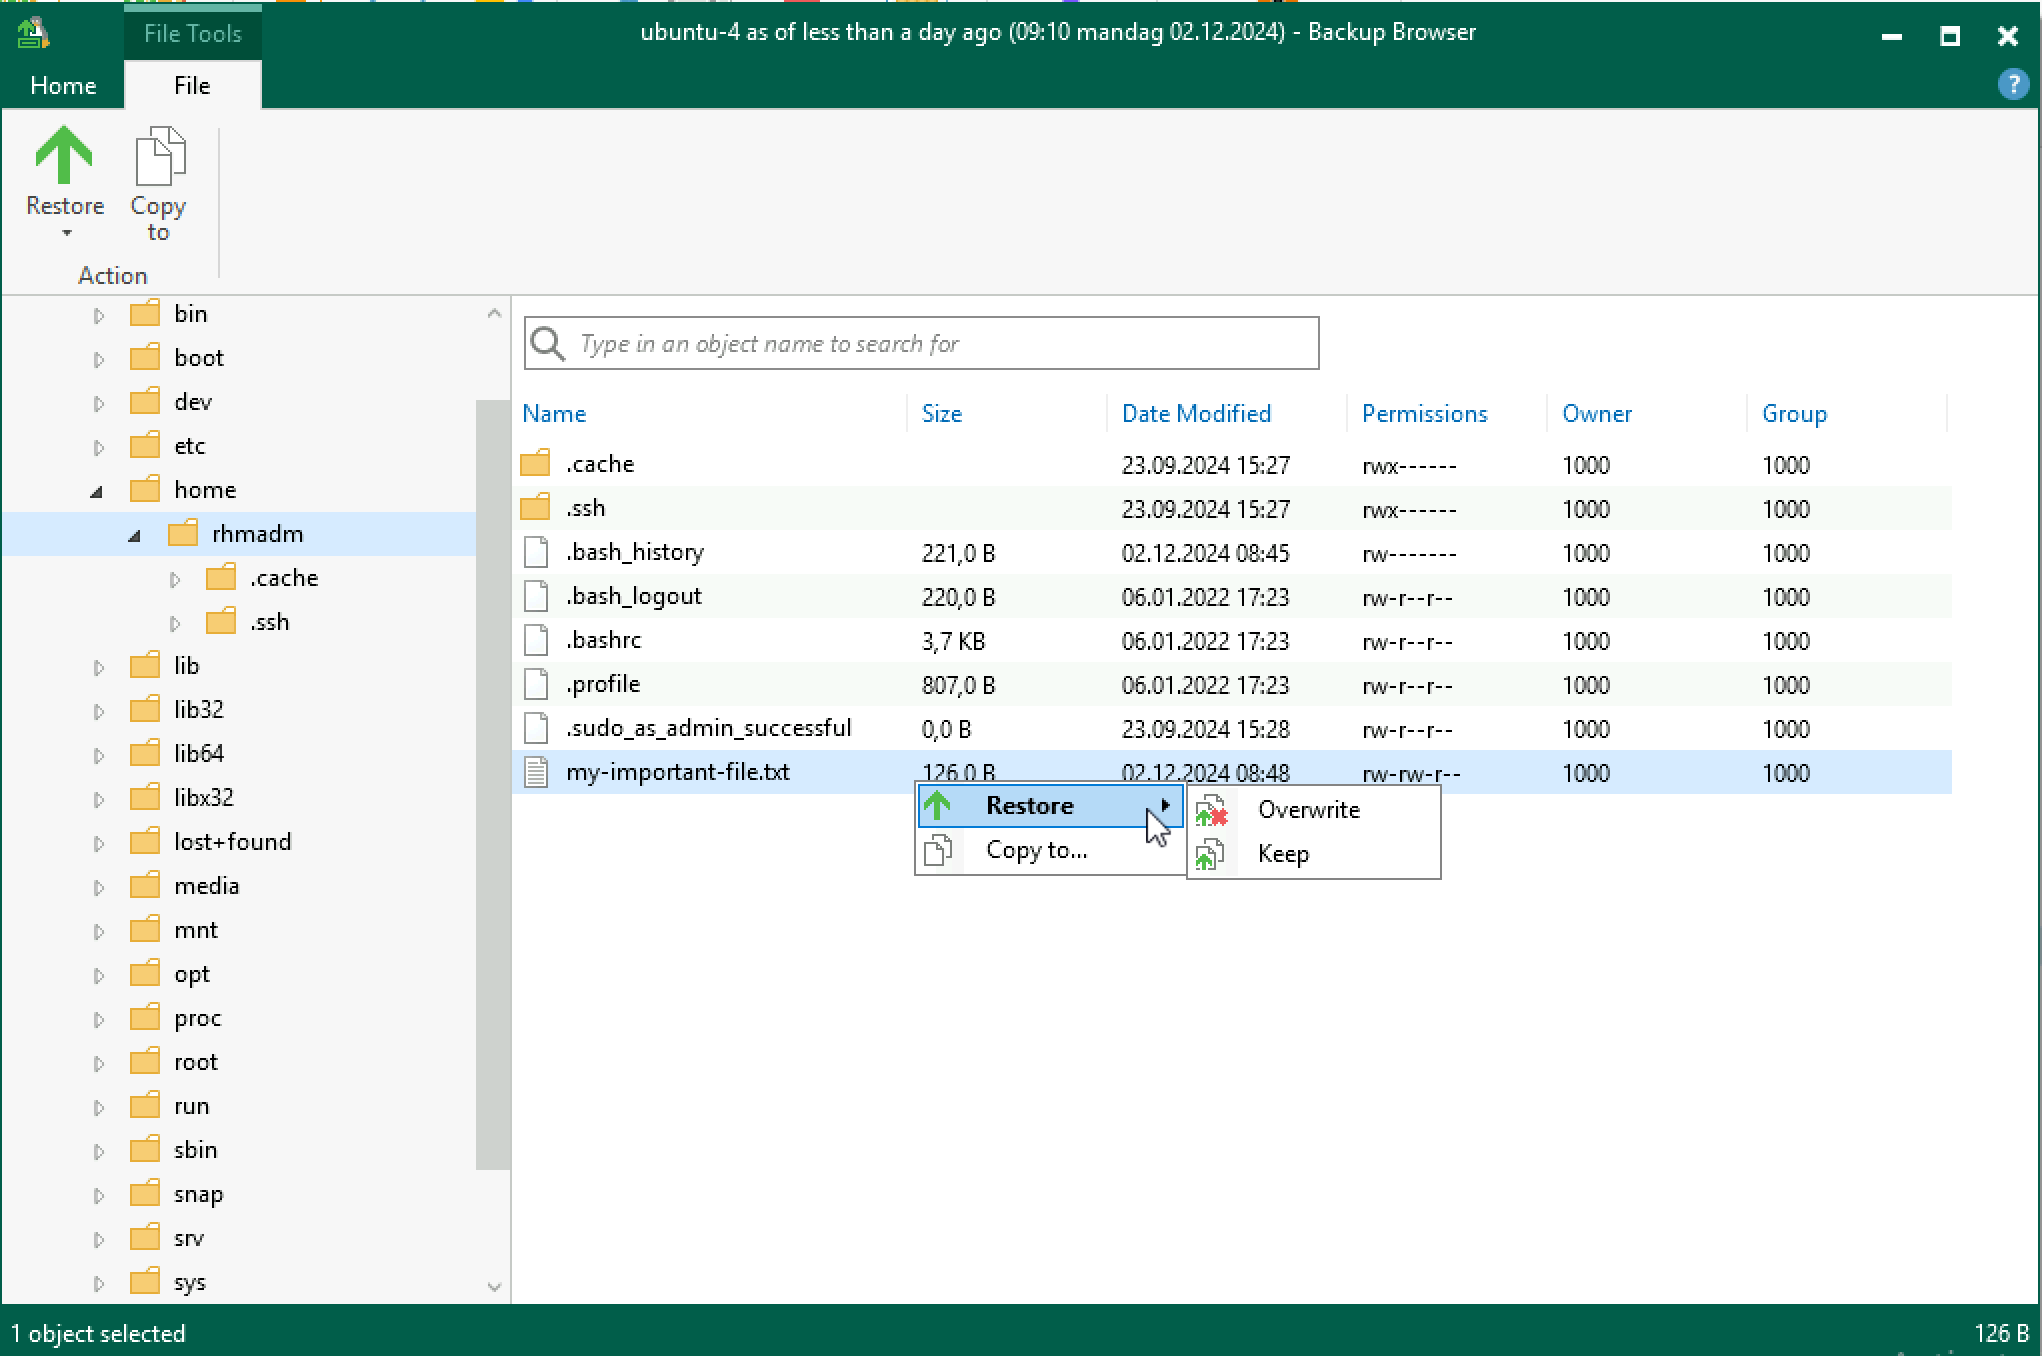
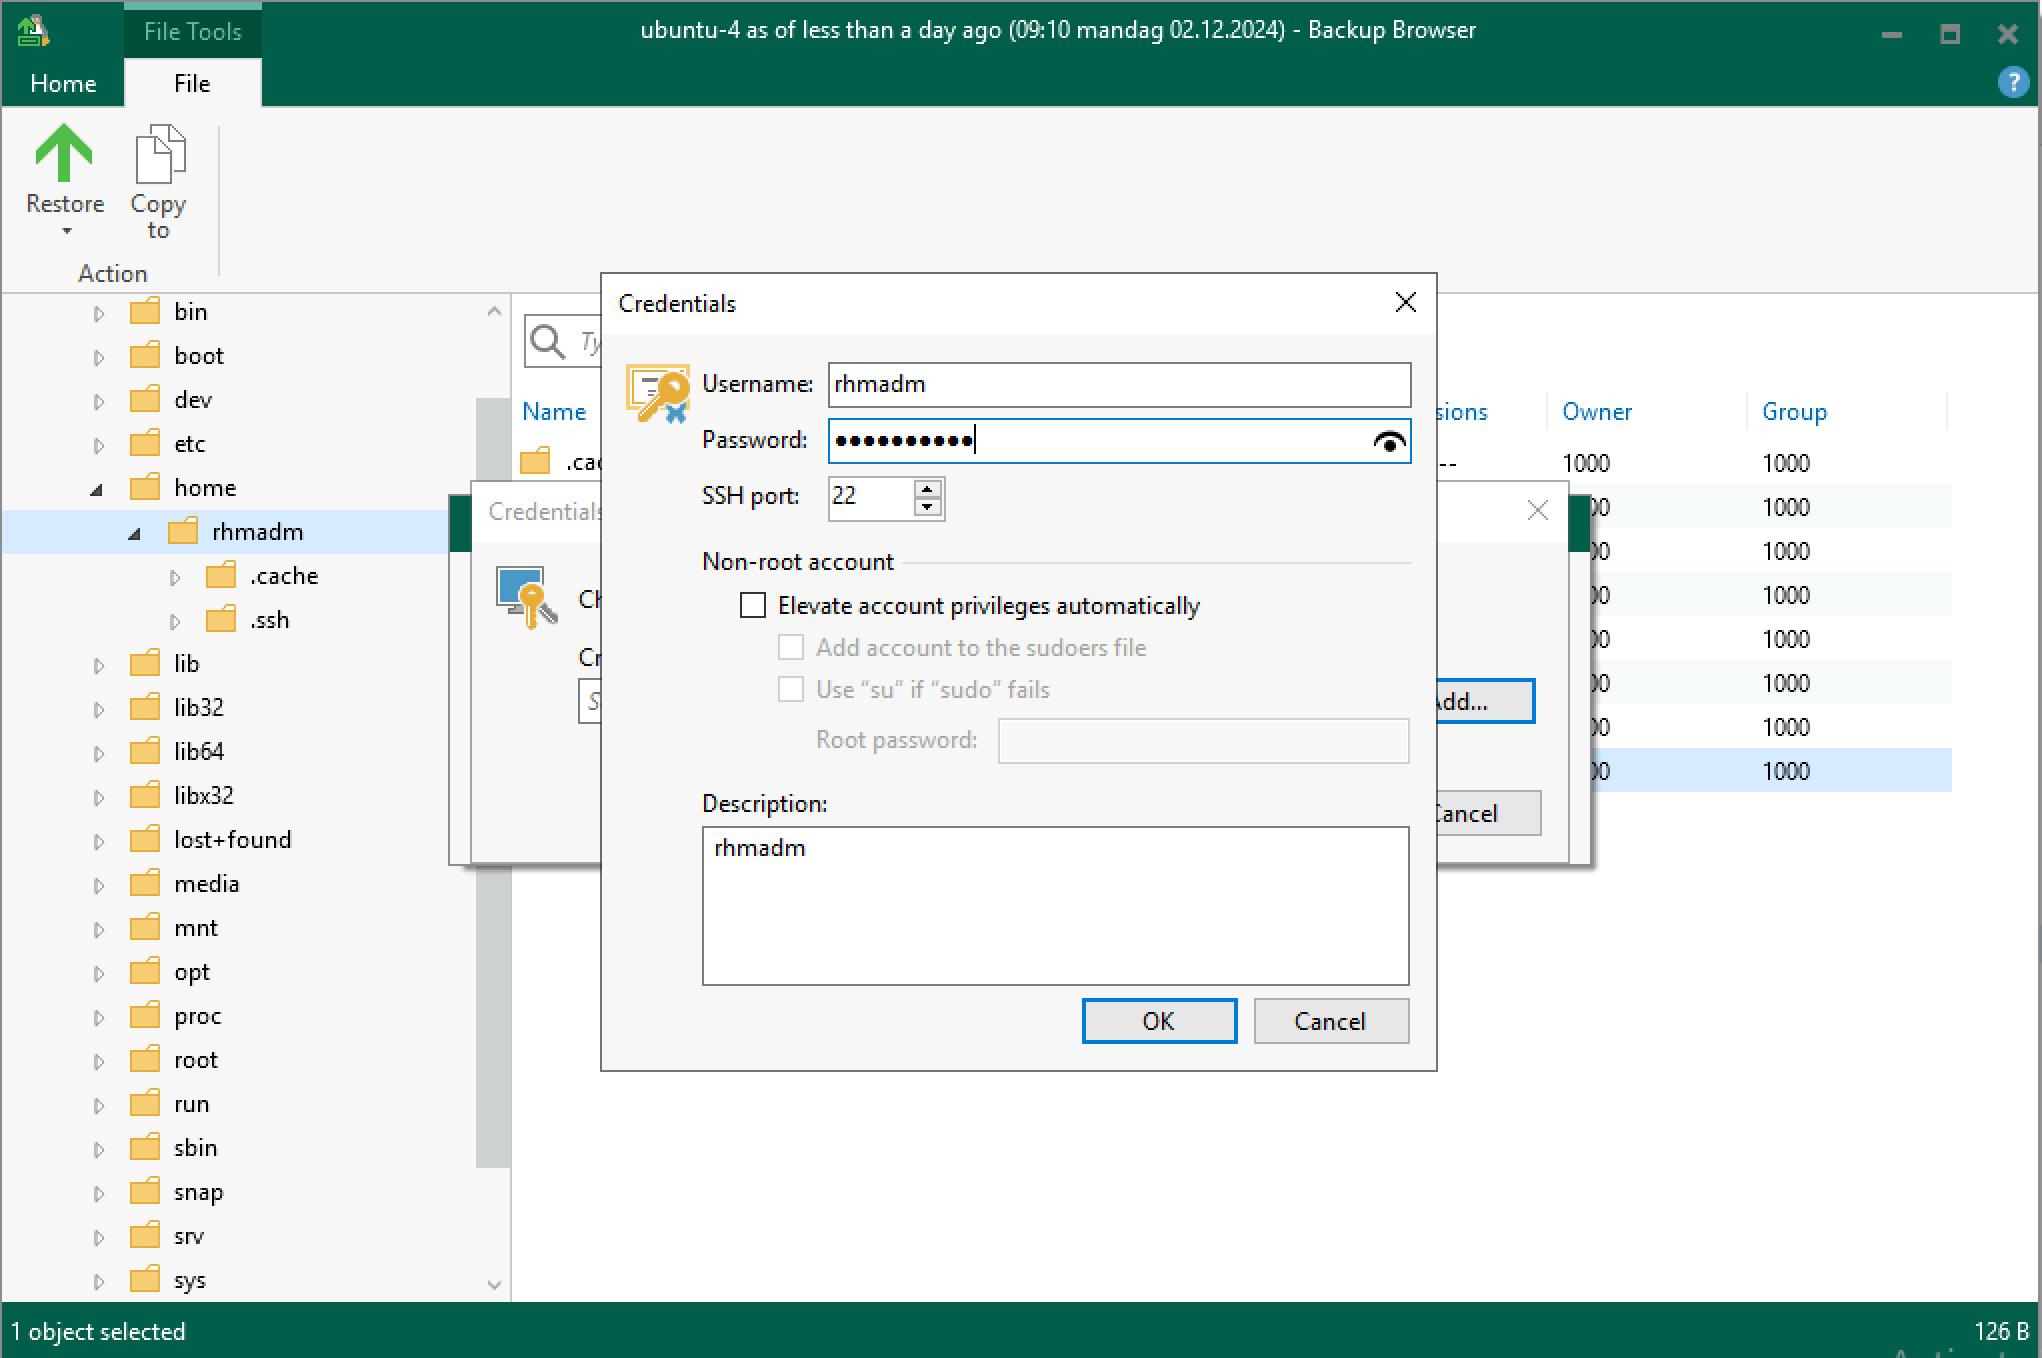
Specify the credentials for the VM
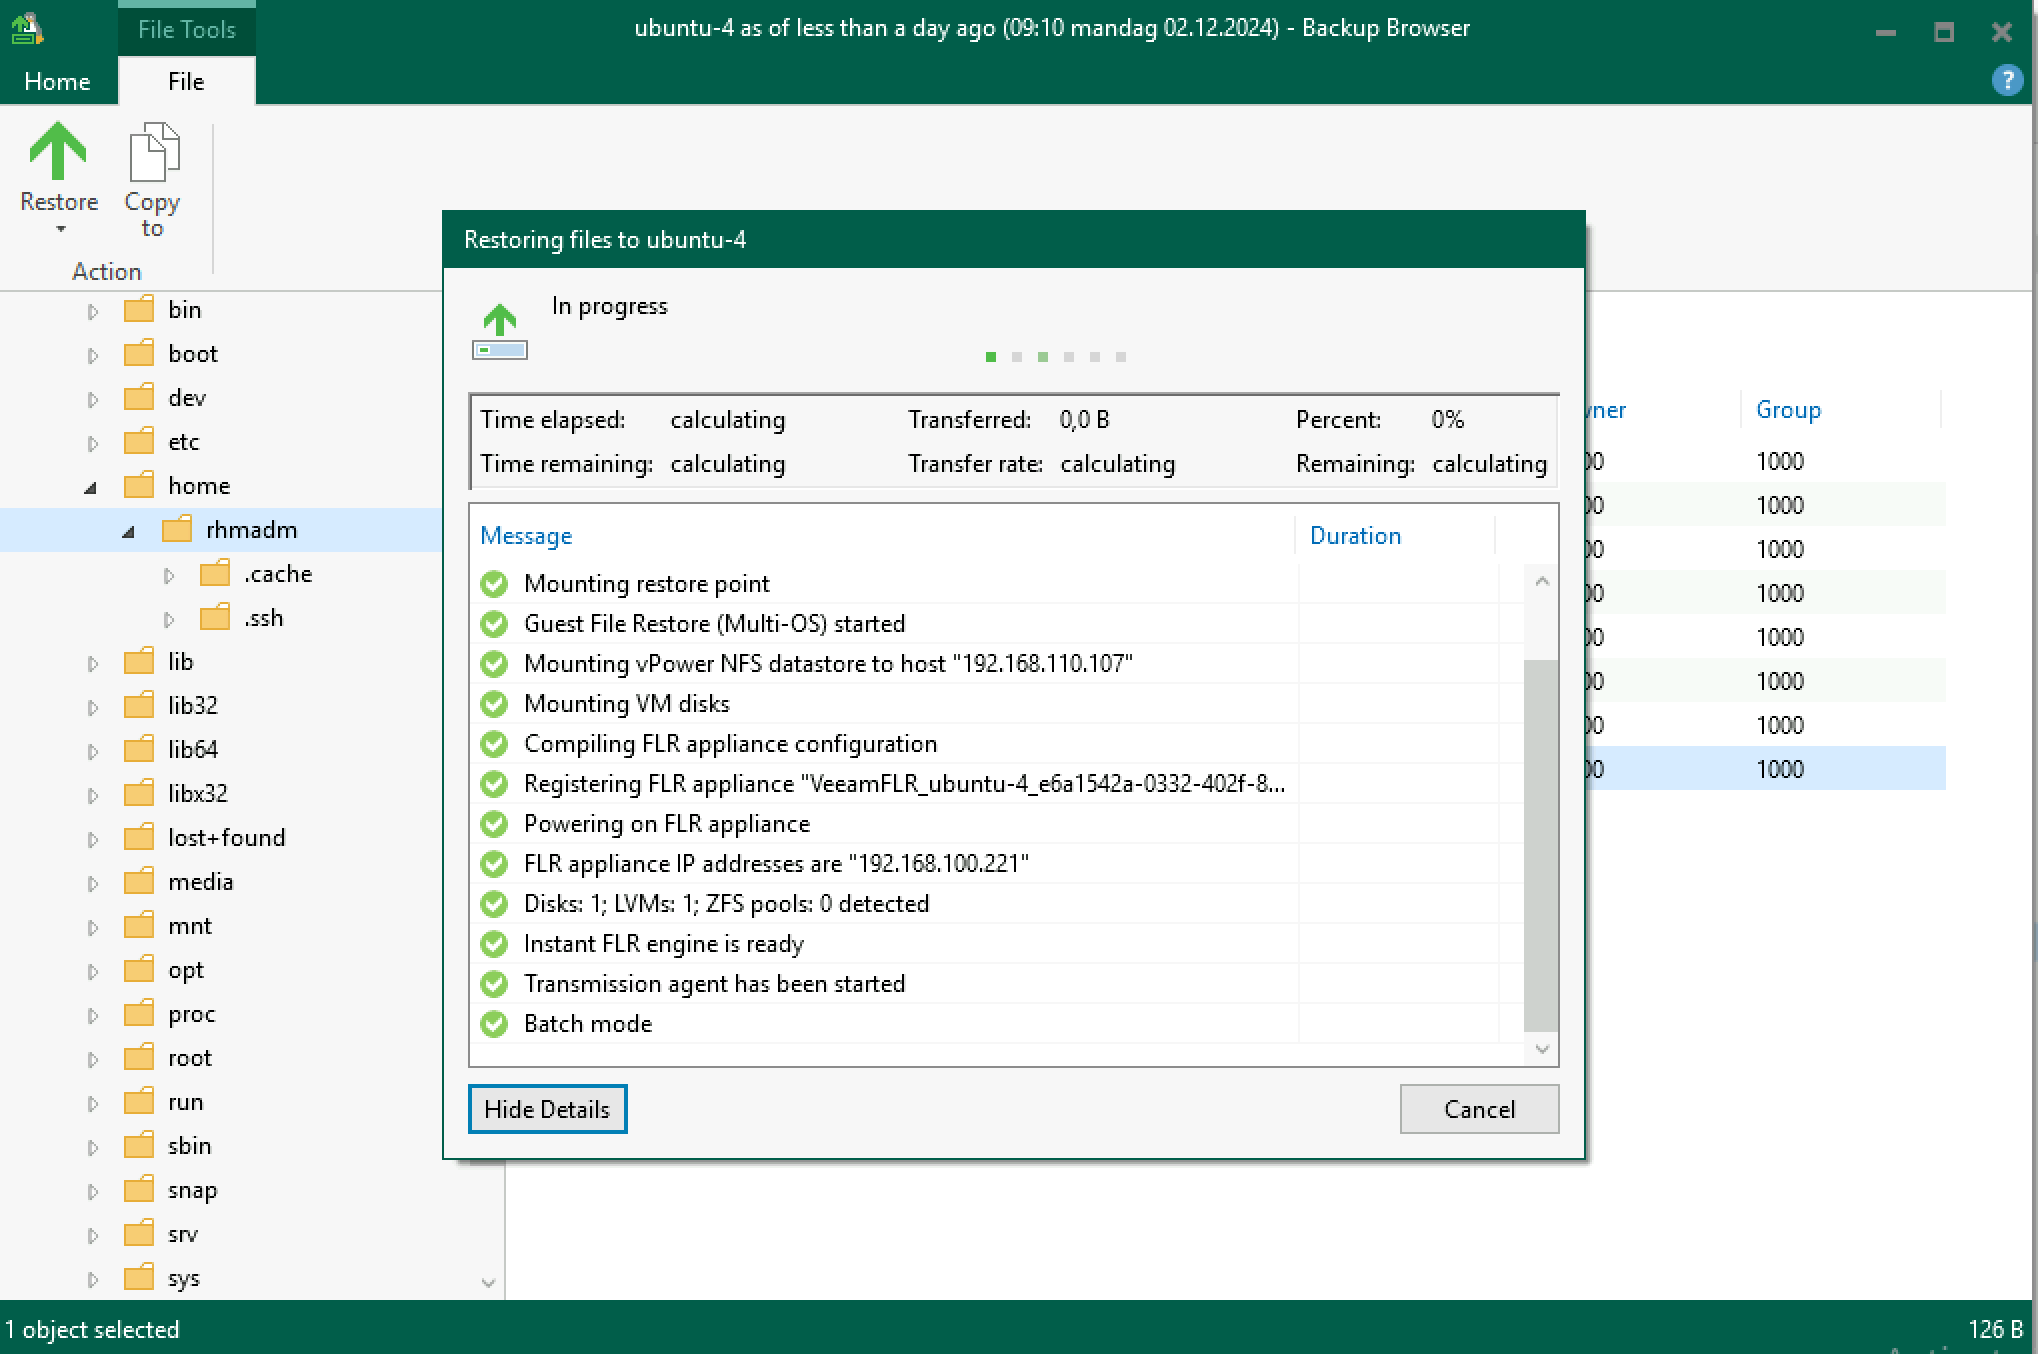
Now the FLR process is starting
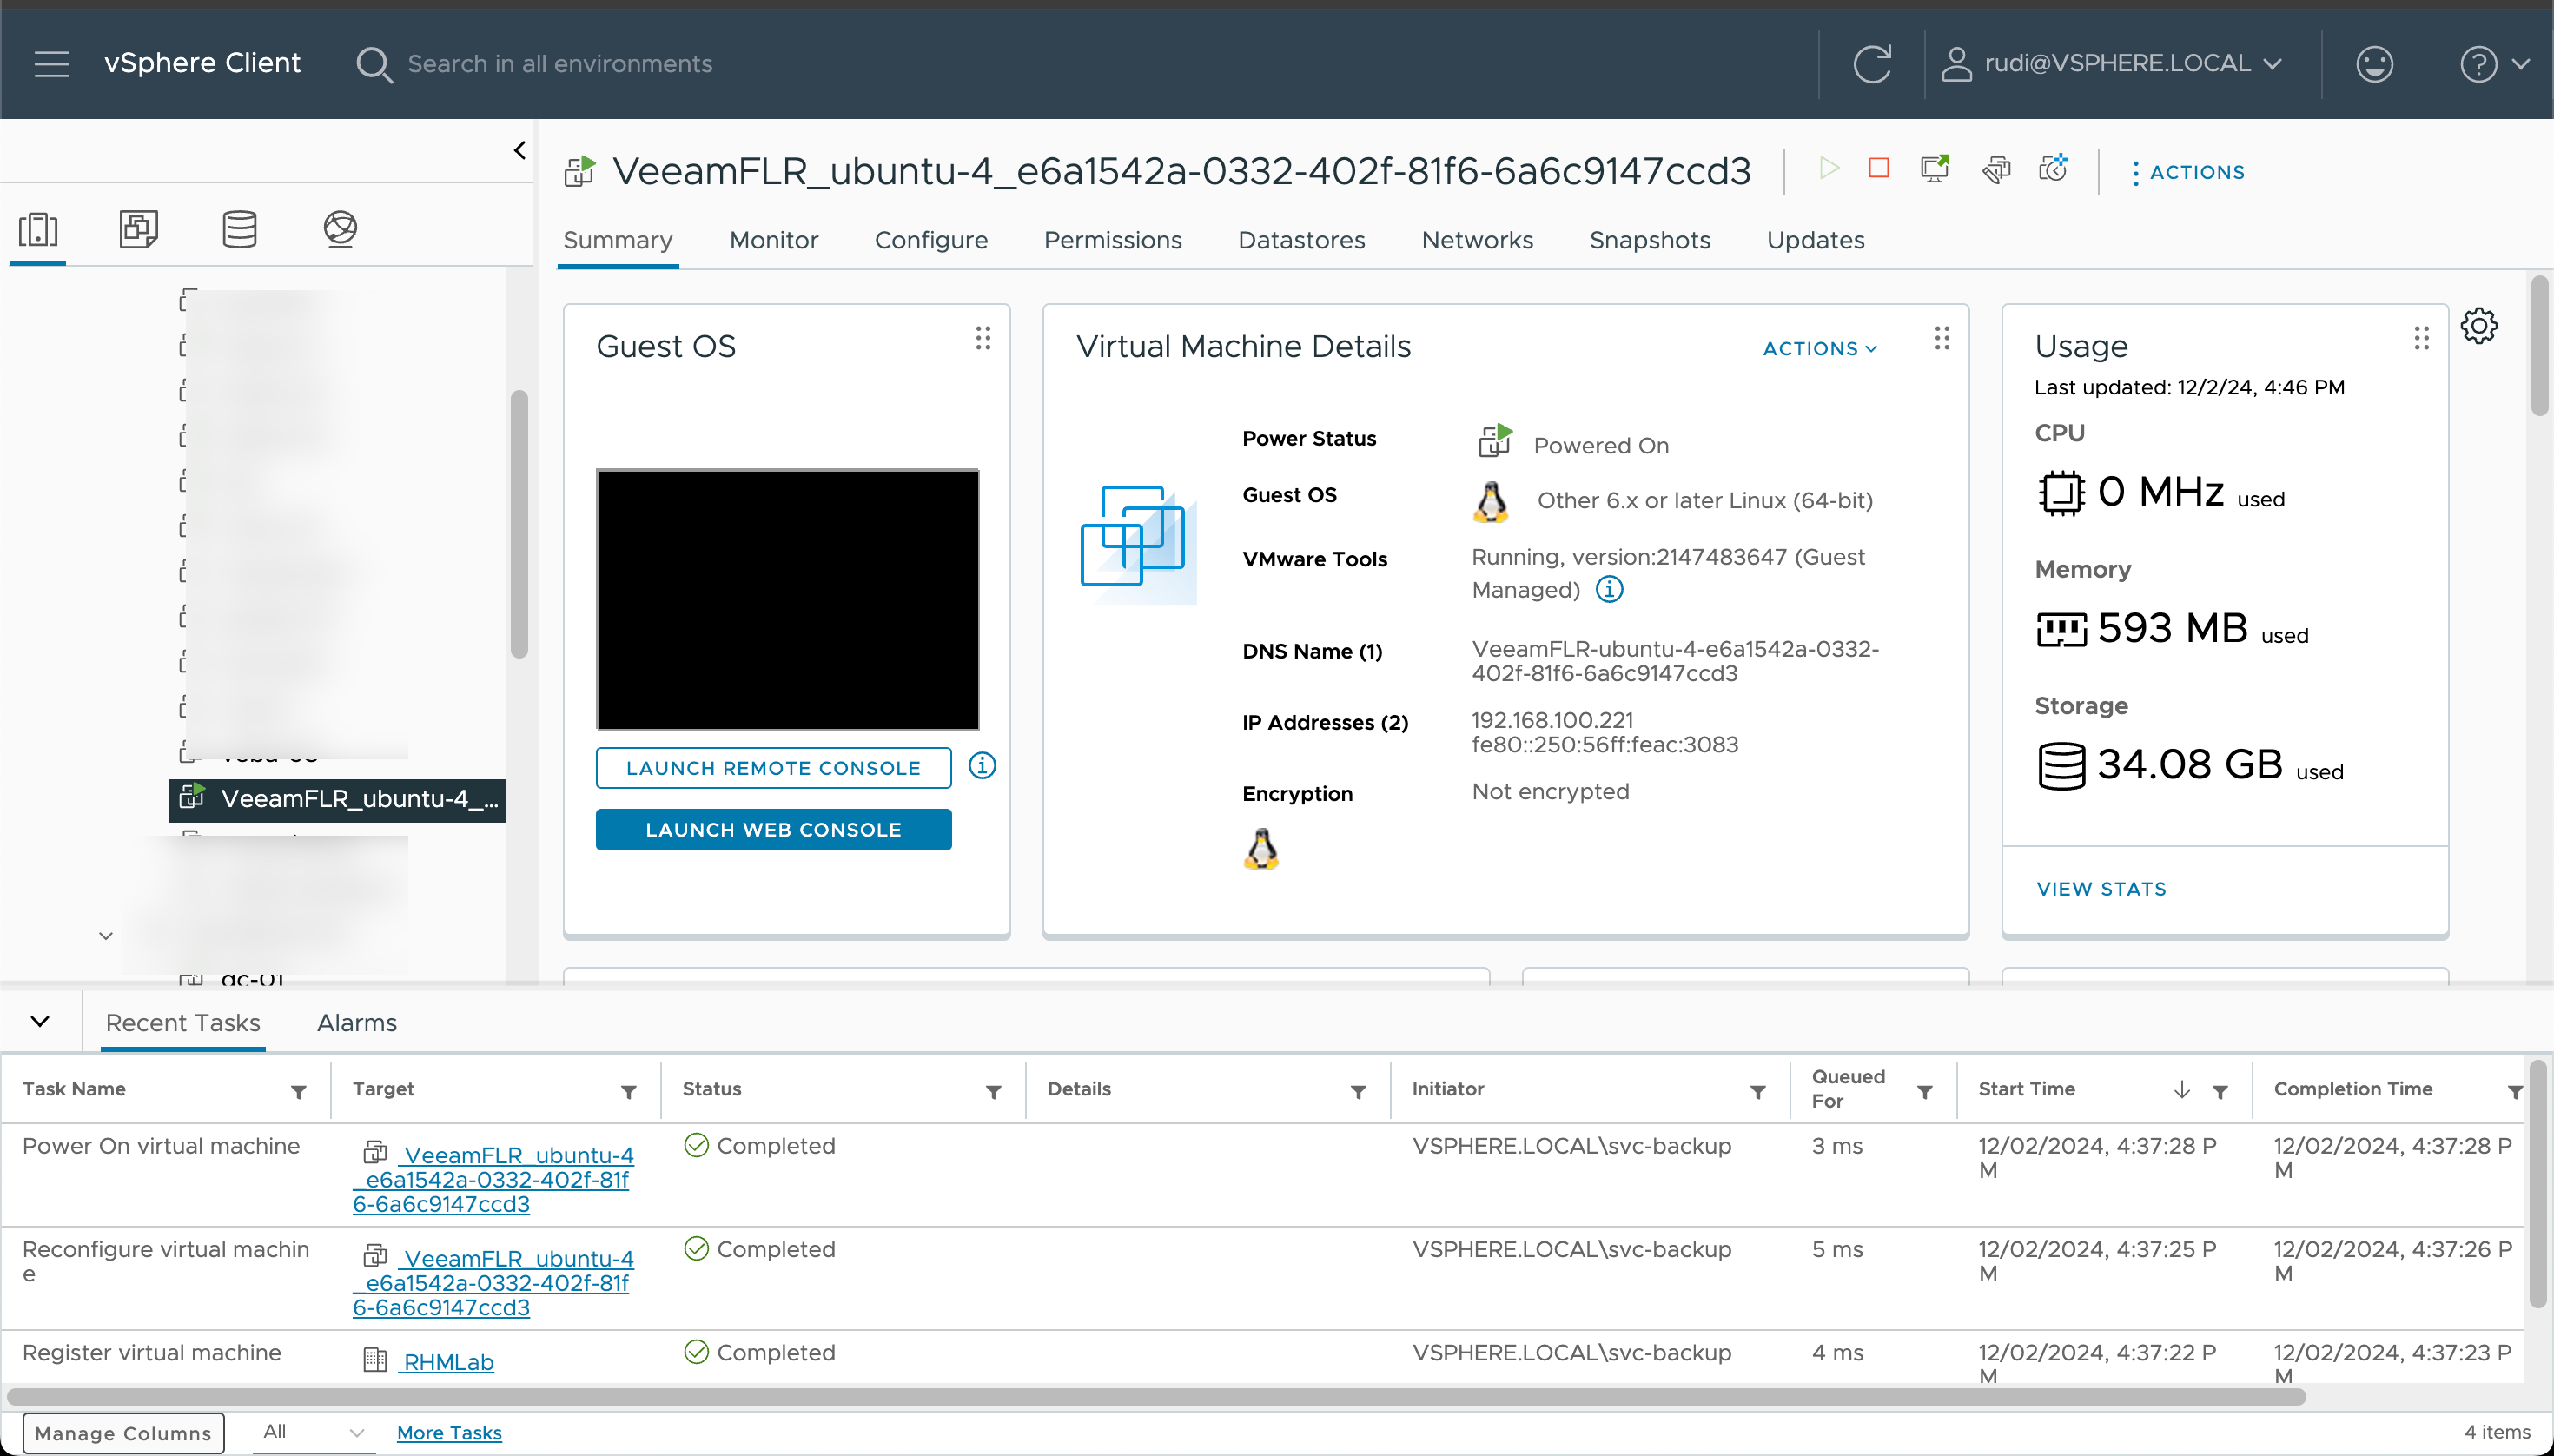
We can also verify in our vSphere environment that an appliance is running
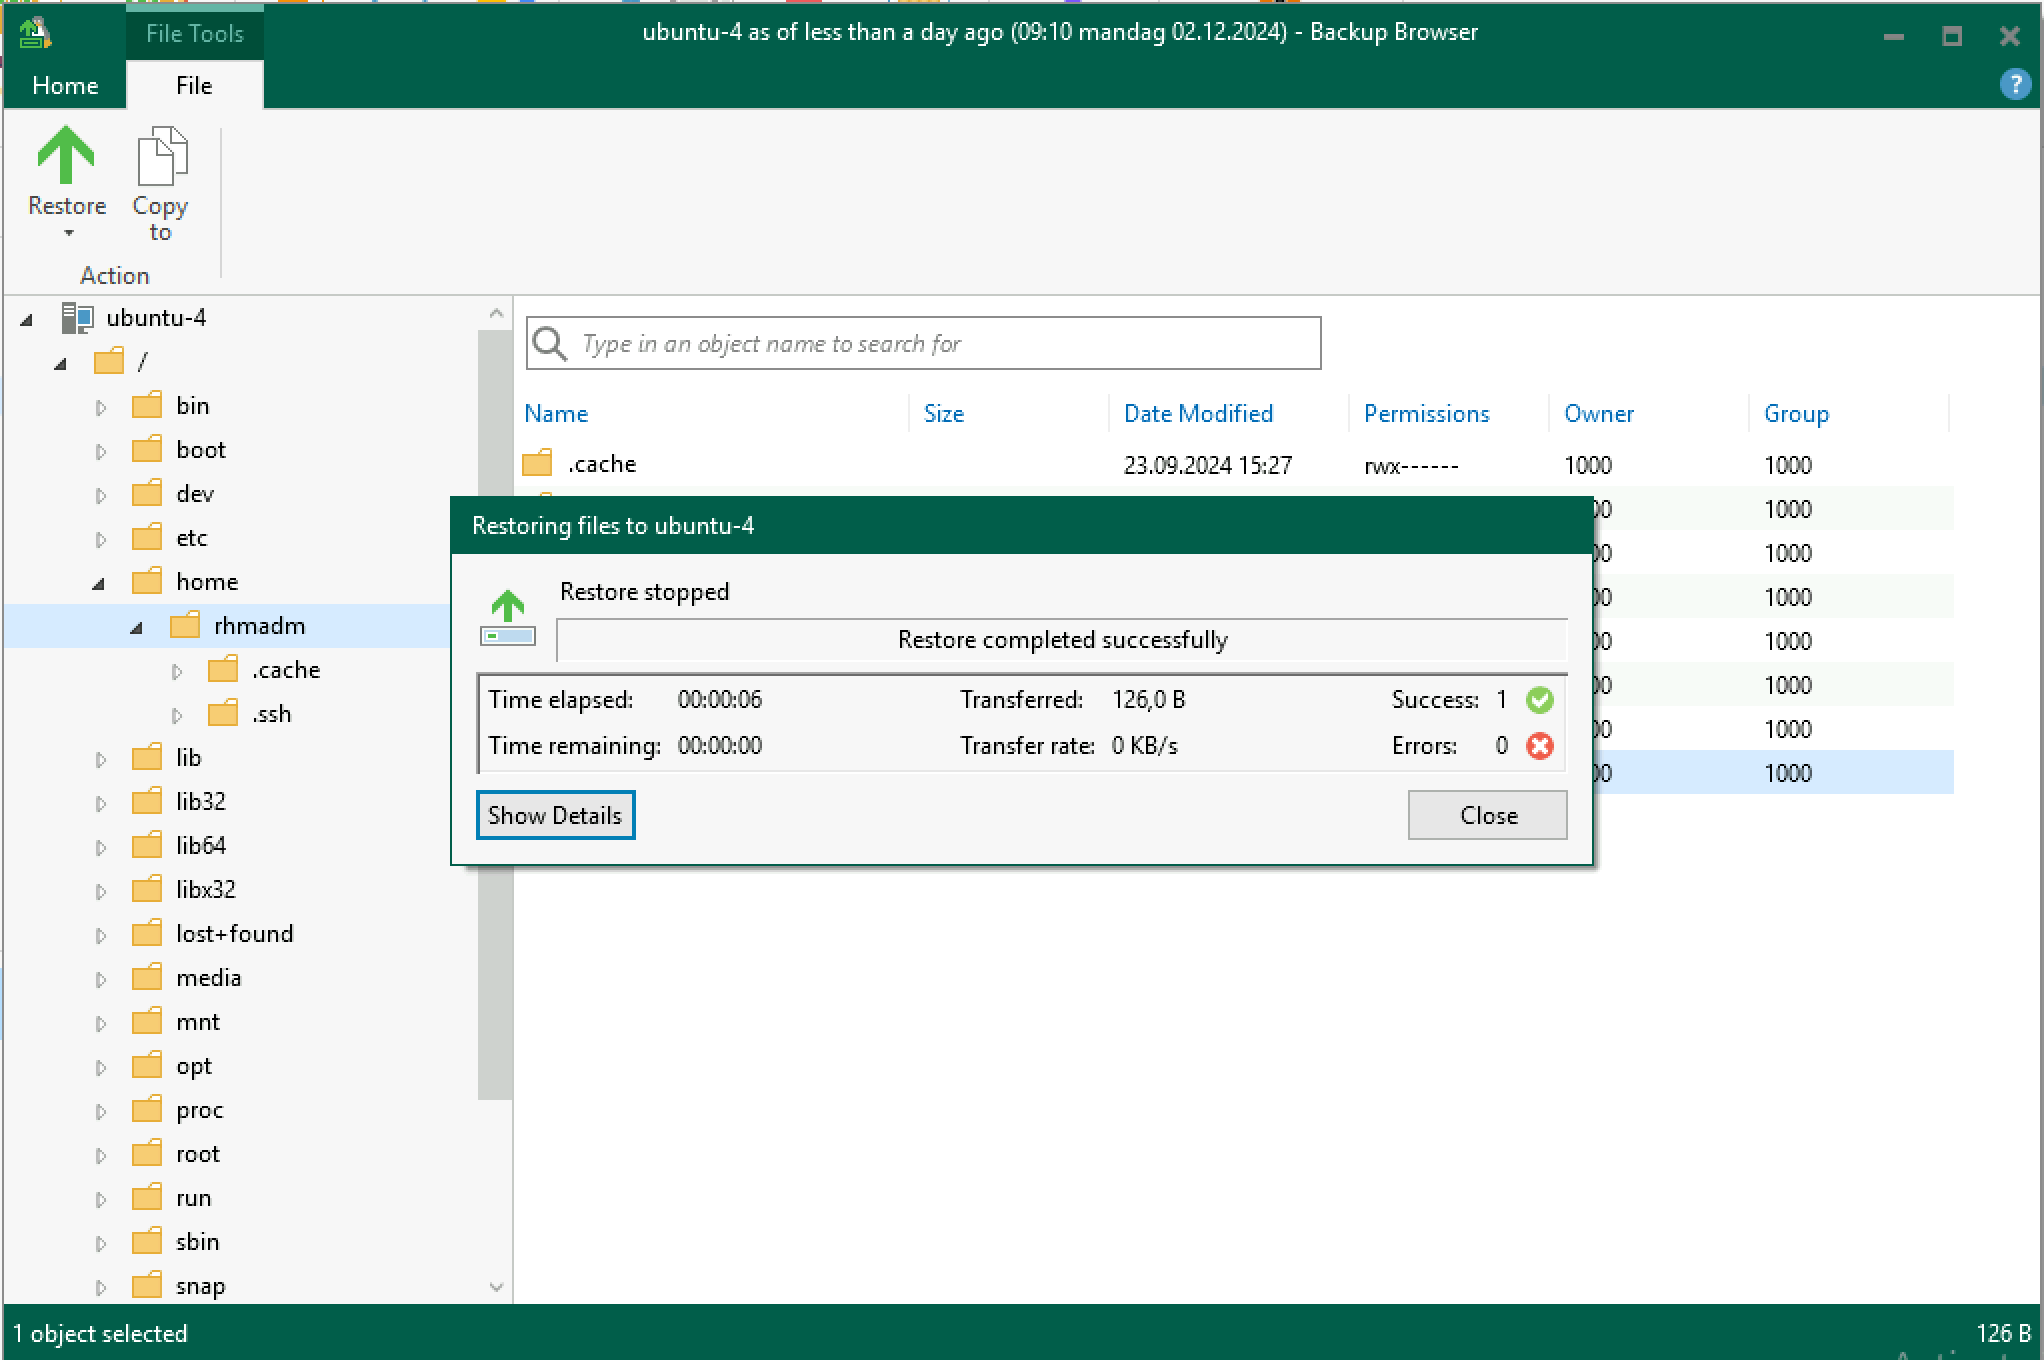
After a short while the FLR finishes
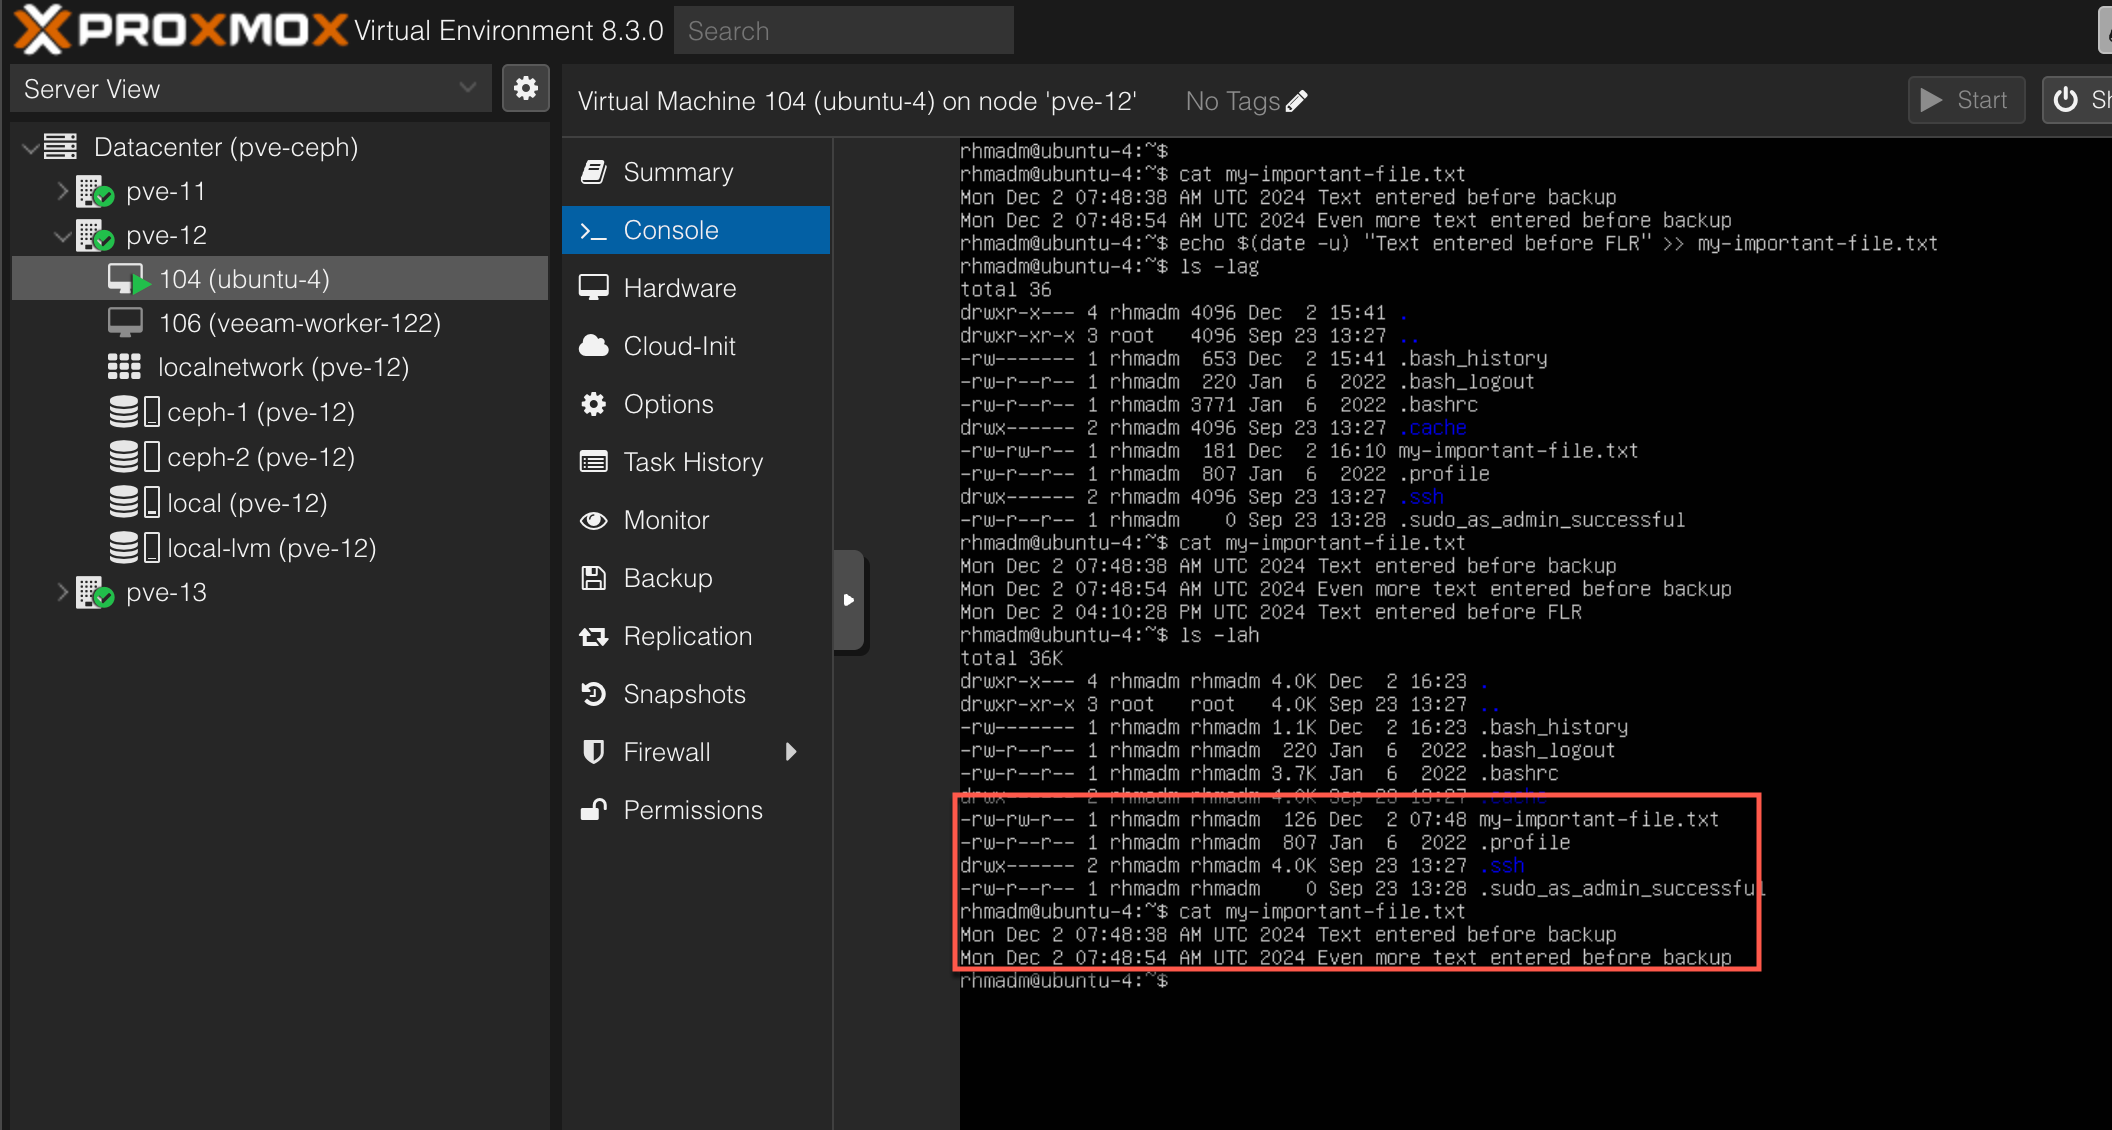
Let's check our VM to verify that the file has been restored
Summary
In this post we've seen how to utilize the Veeam File-level Restore functionality on a backup of a Proxmox VM.
For more information about the File-level restore in Proxmox, refer to the Veeam documentation