Aria Automation Custom Form Changes
In version 8.12 of Aria Automation (aka vRealize Automation) the Custom Form functionality in Service Broker changed. Now the Custom Form is tied to the Cloud Template version as opposed to being decoupled as it previously was.
This introduces some things to be aware of when working with Cloud Templates and Custom Forms. More specifically what happens when we make changes to the Template and release new changes to the Service Broker catalog.
Let's take a look at an example
Cloud Template
We have a simple Cloud Template which assembles a vSphere machine and a vSphere network. The inputs to this template is simply the amount of CPU and RAM to assign to the machine
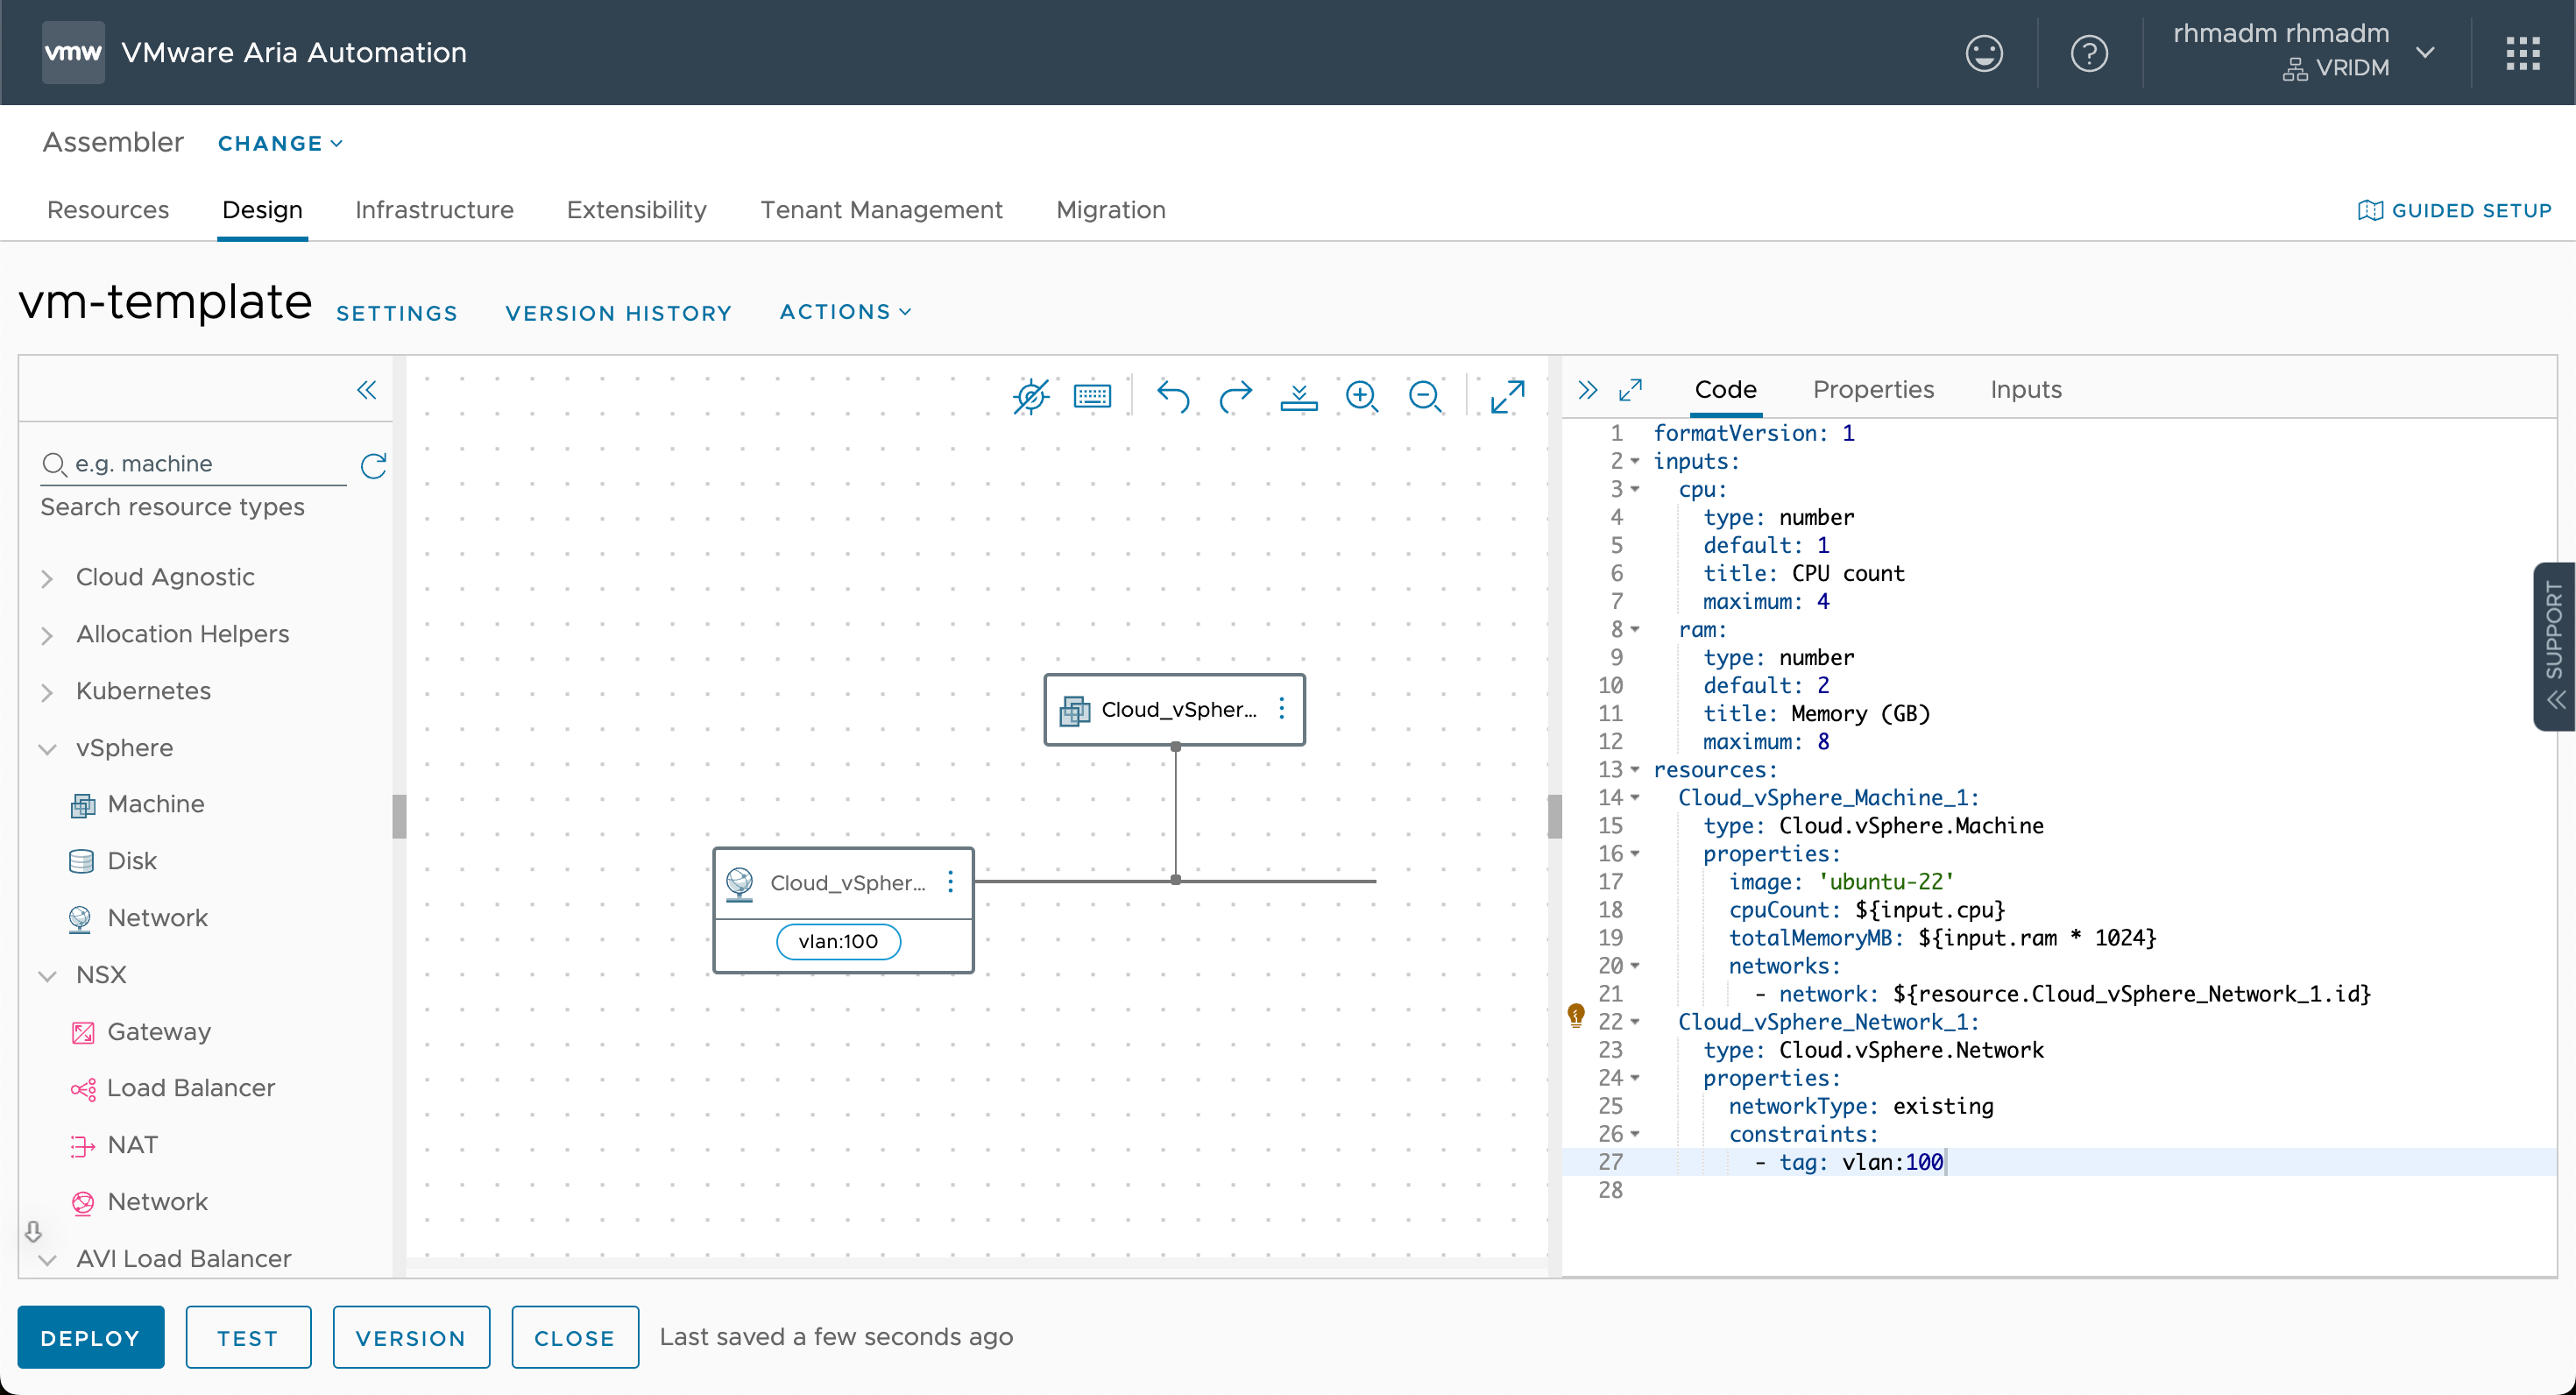
Now, let's version the template and release it to the Service Broker Catalog
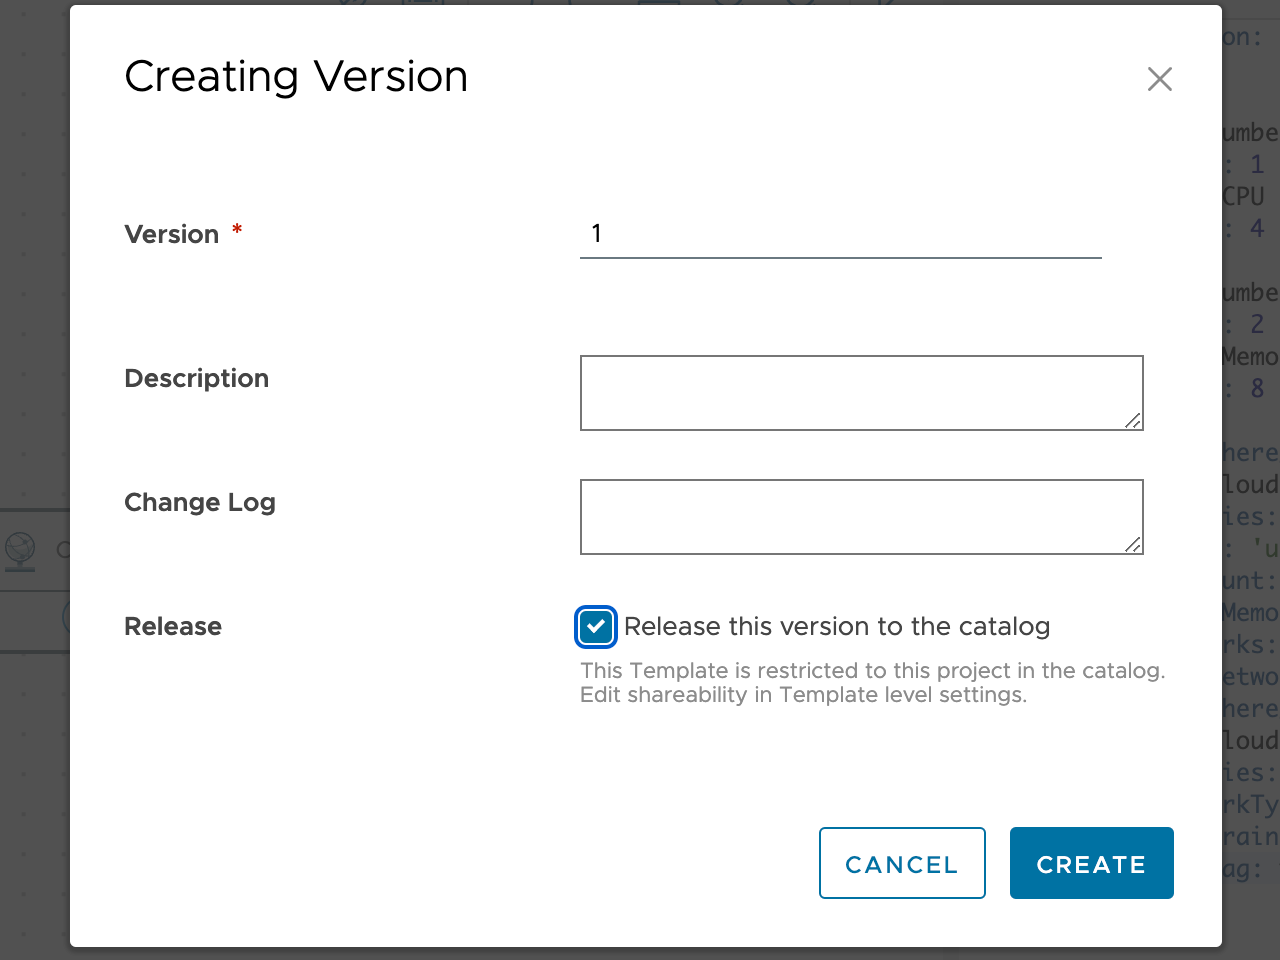
Service Broker catalog
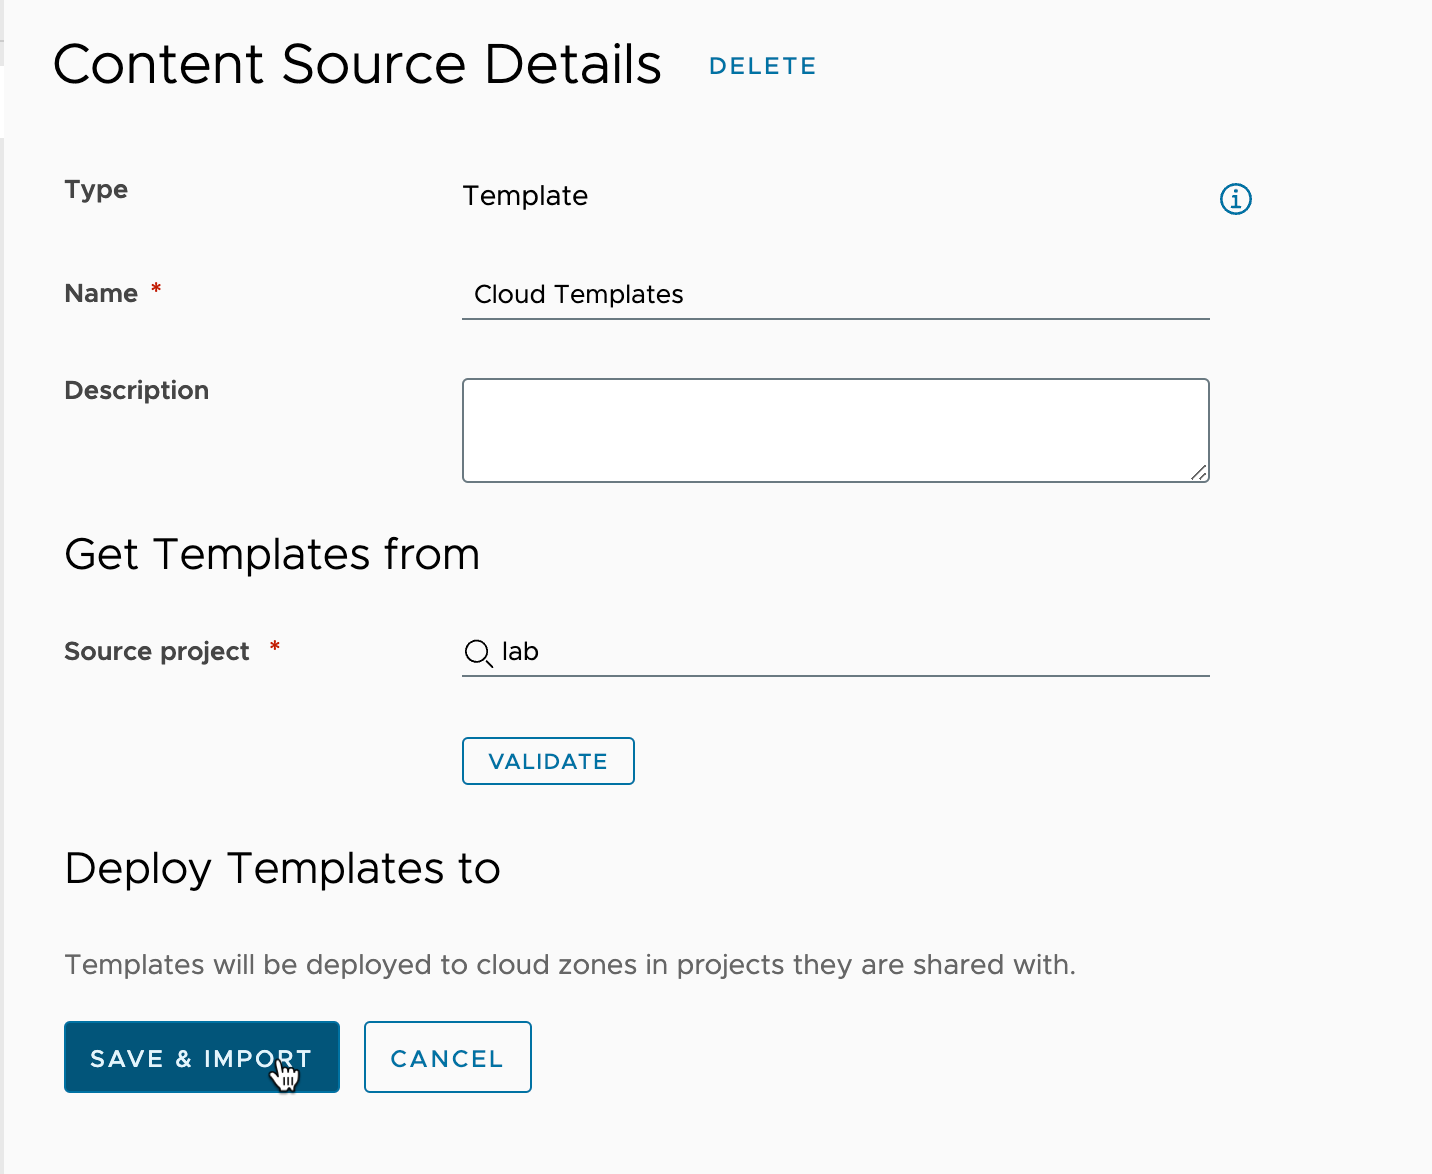
Over in Service Broker we'll need to Save & Import the content source
We should have the Template available under Content
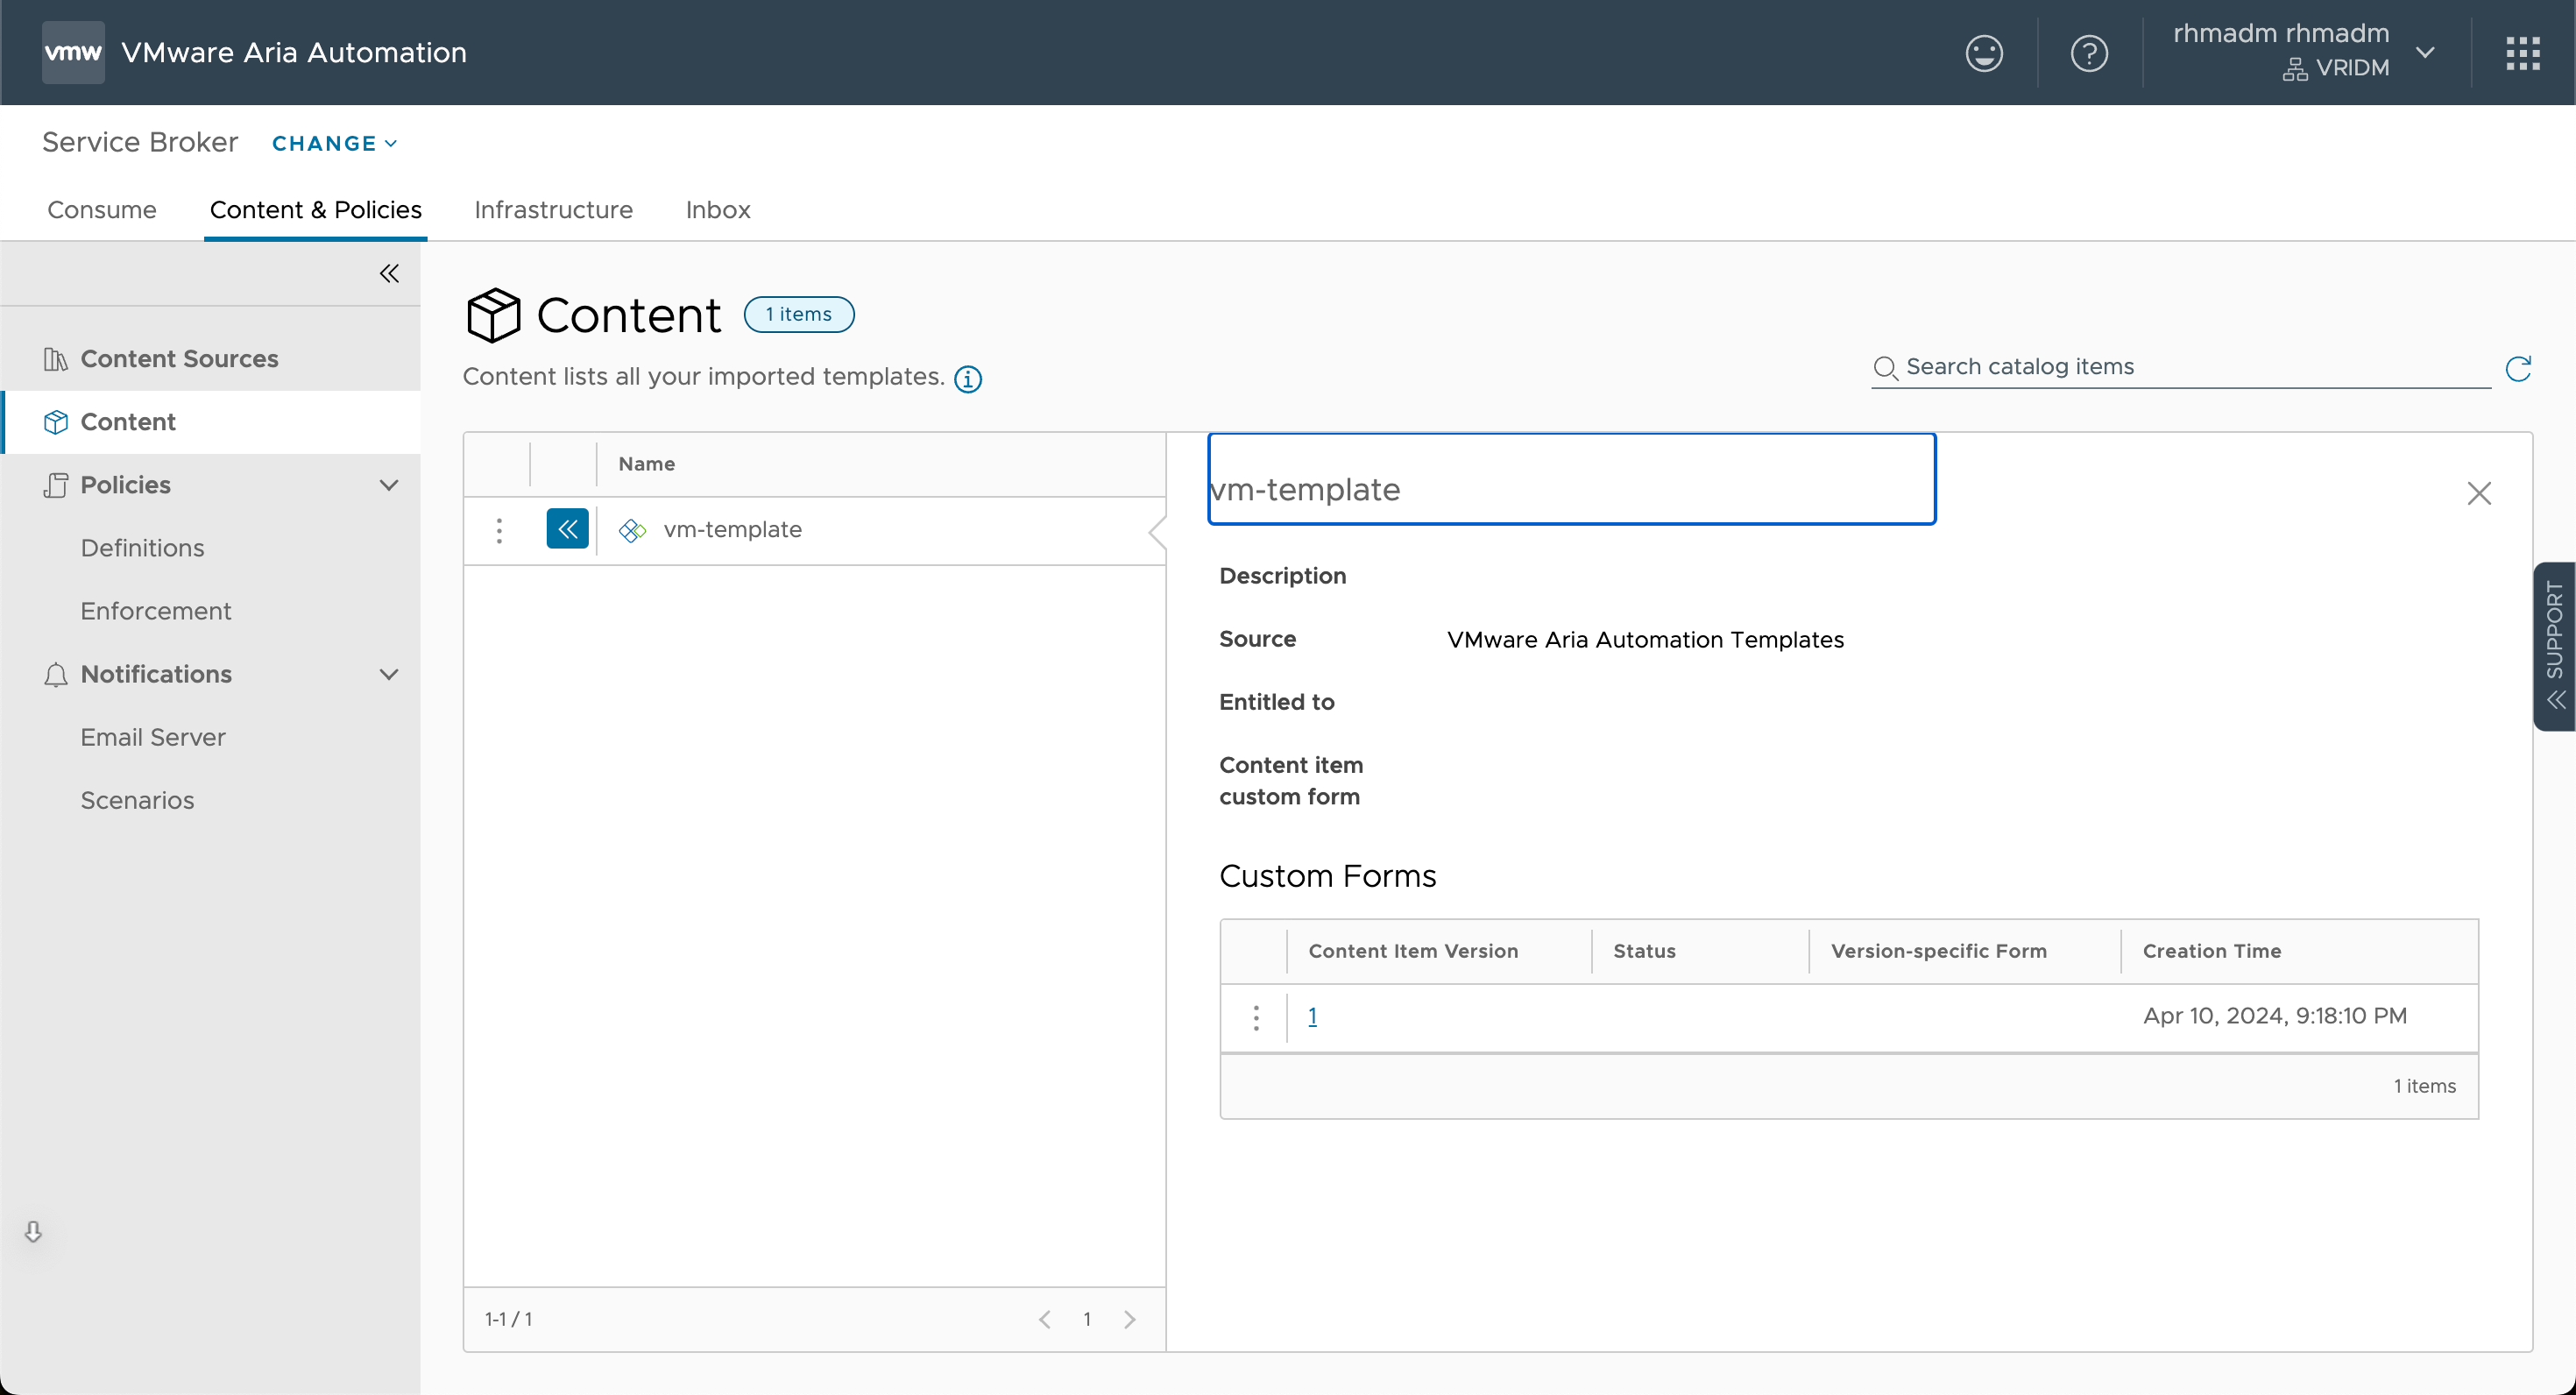
As we can see there's no Custom Form tied to this yet so the Catalog Item uses the default form created from the Template
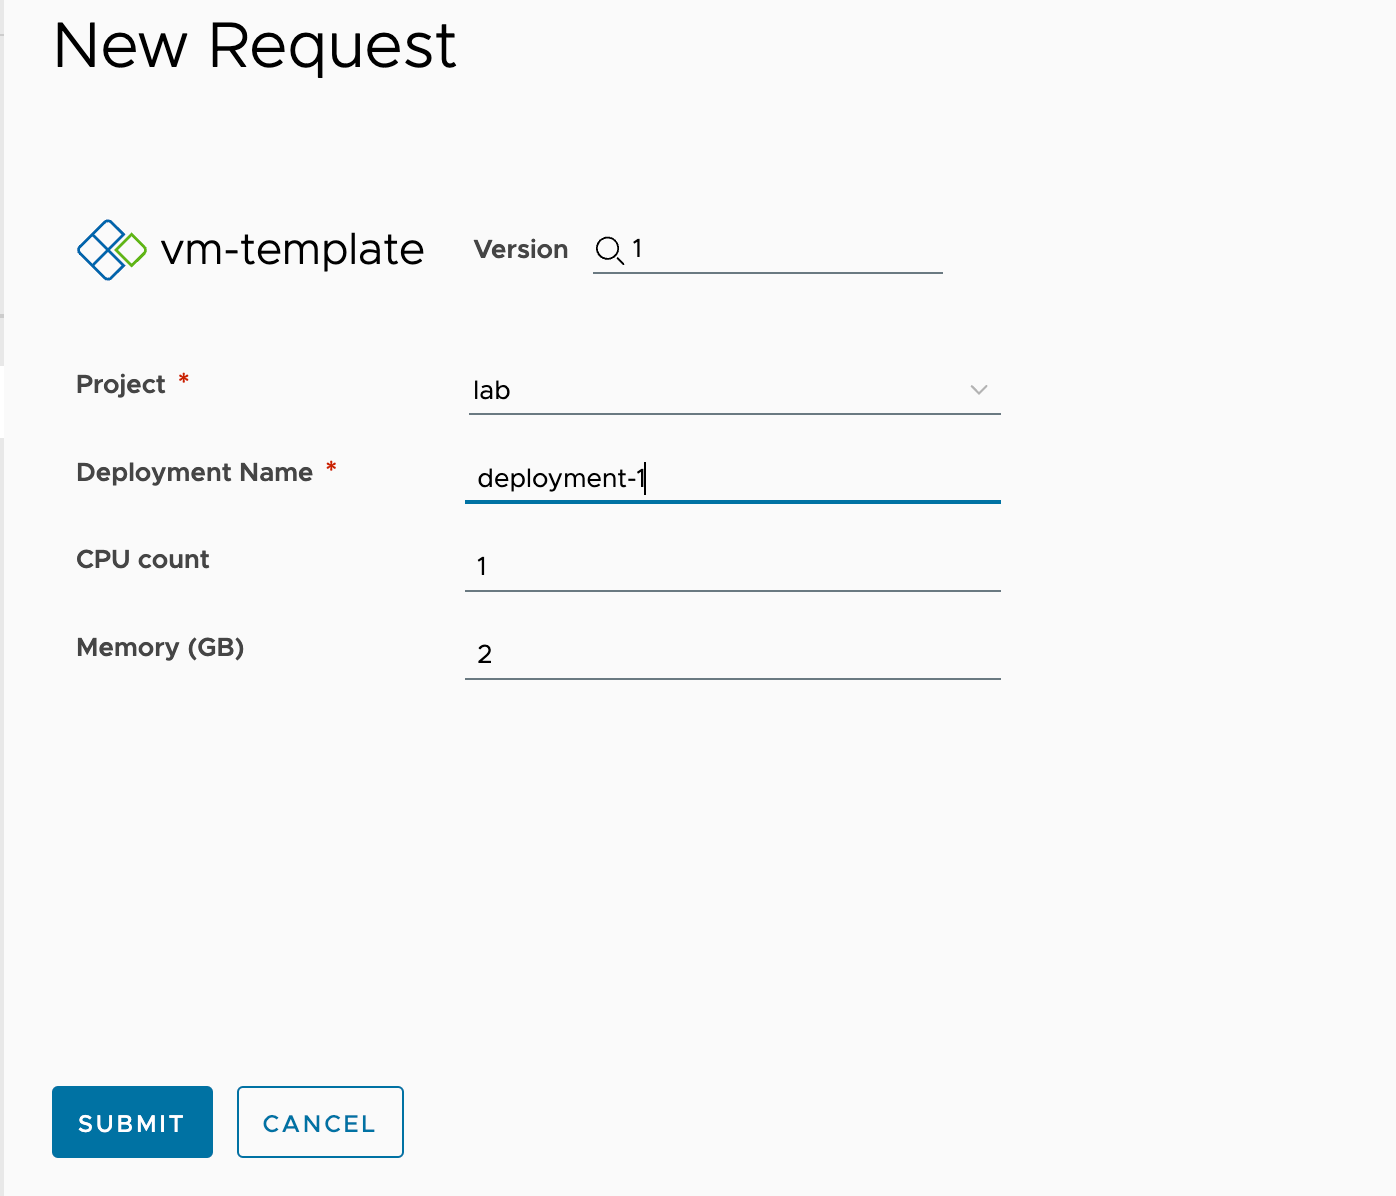
Custom Form
Now, let's initiate a new Custom Form
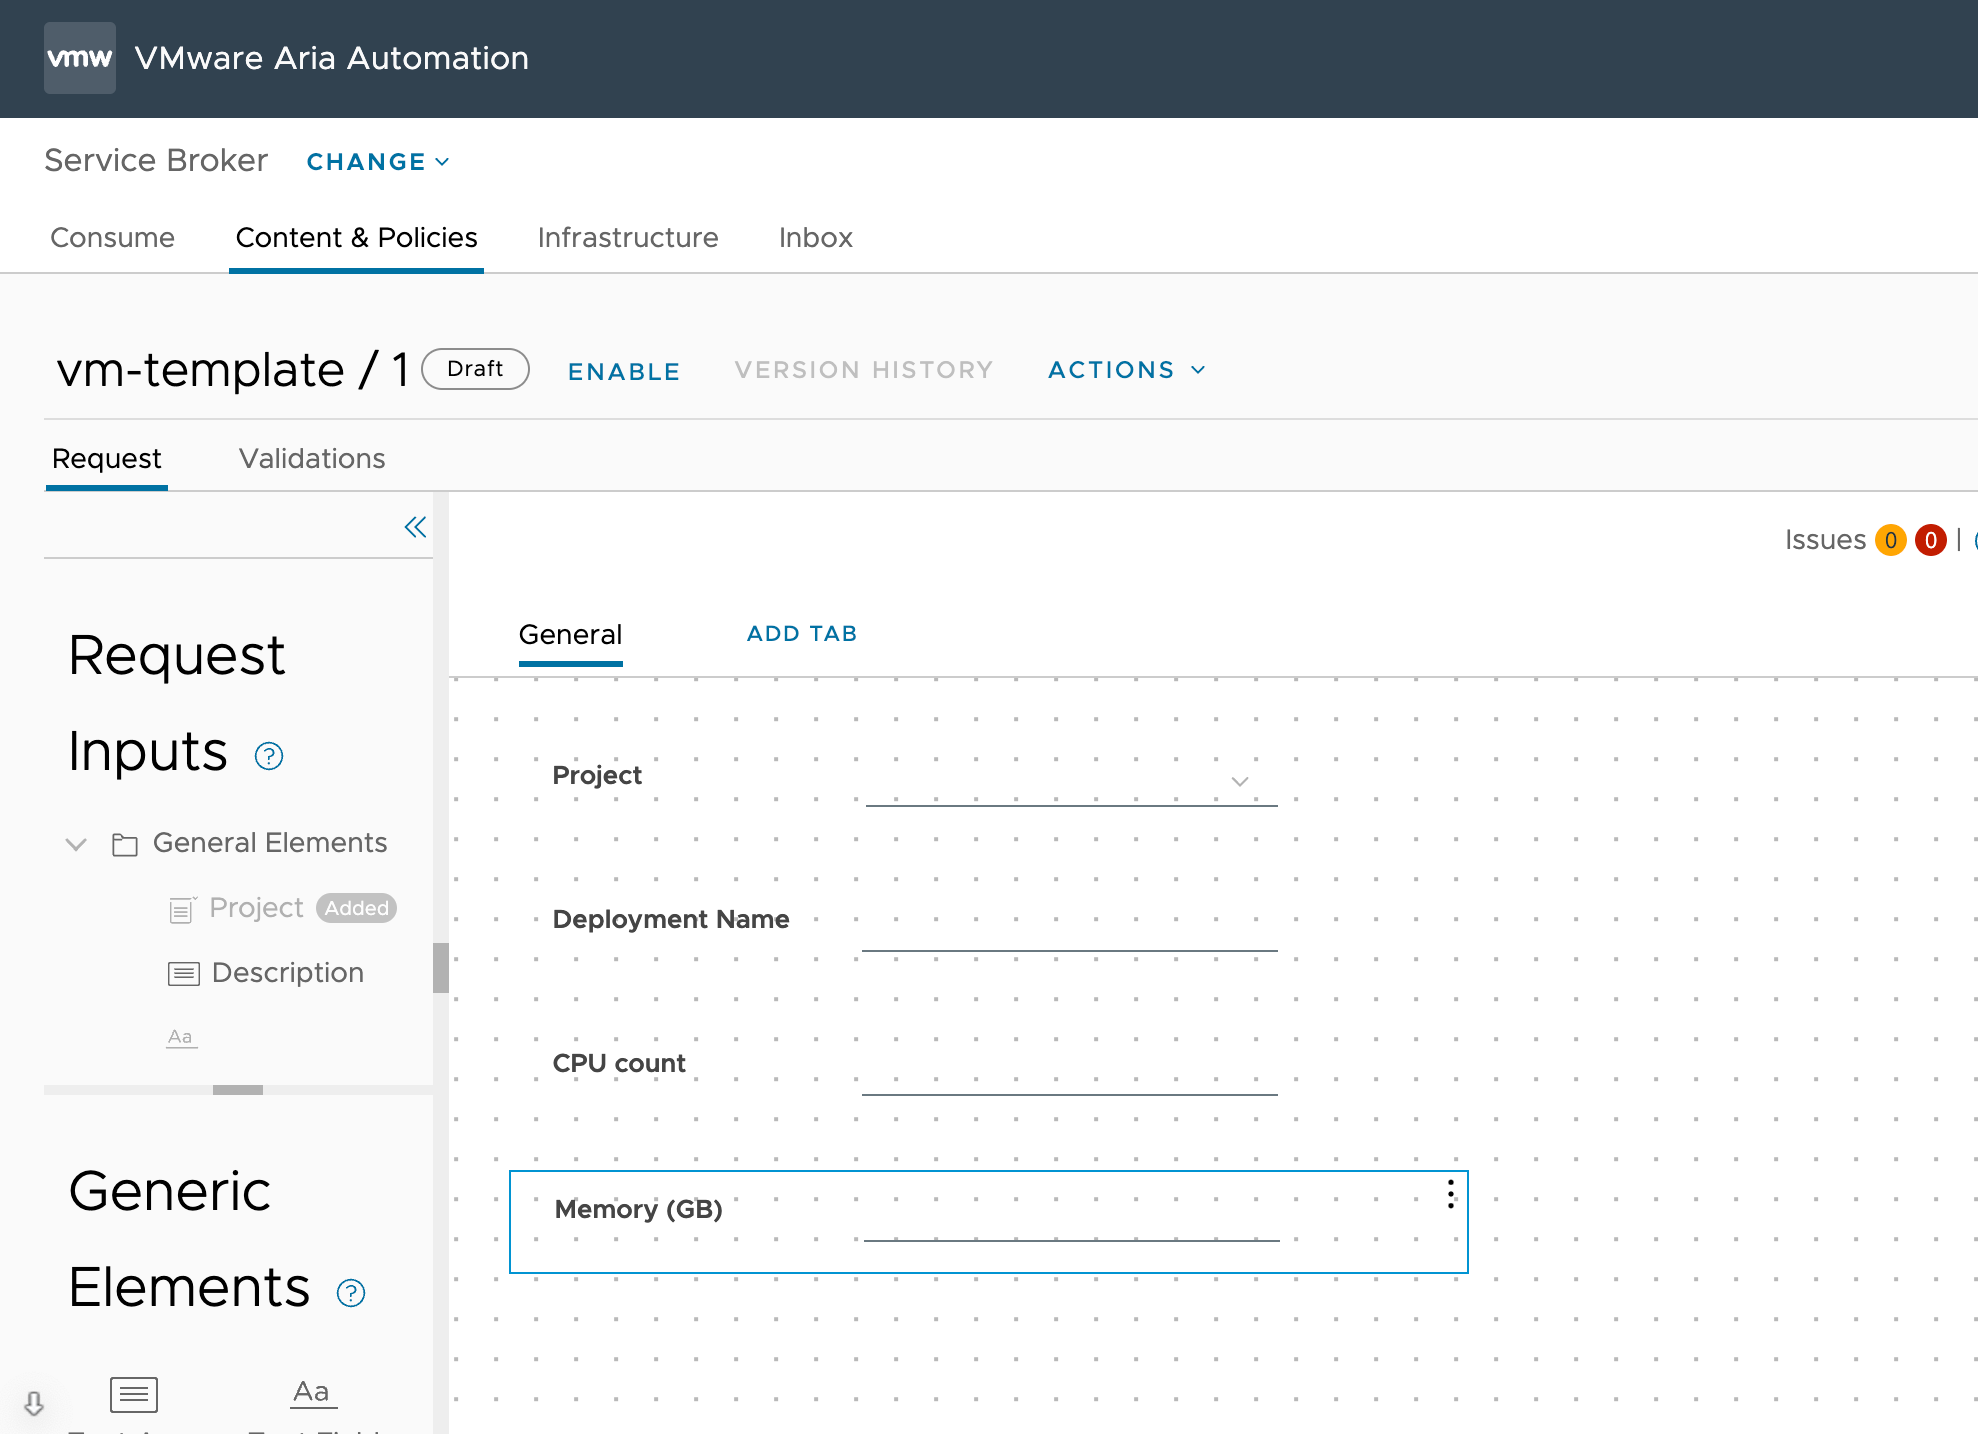
We've added some Custom Help text to CPU and Memory, and we've added a Text heading before the two fields. We've also Enabled the form
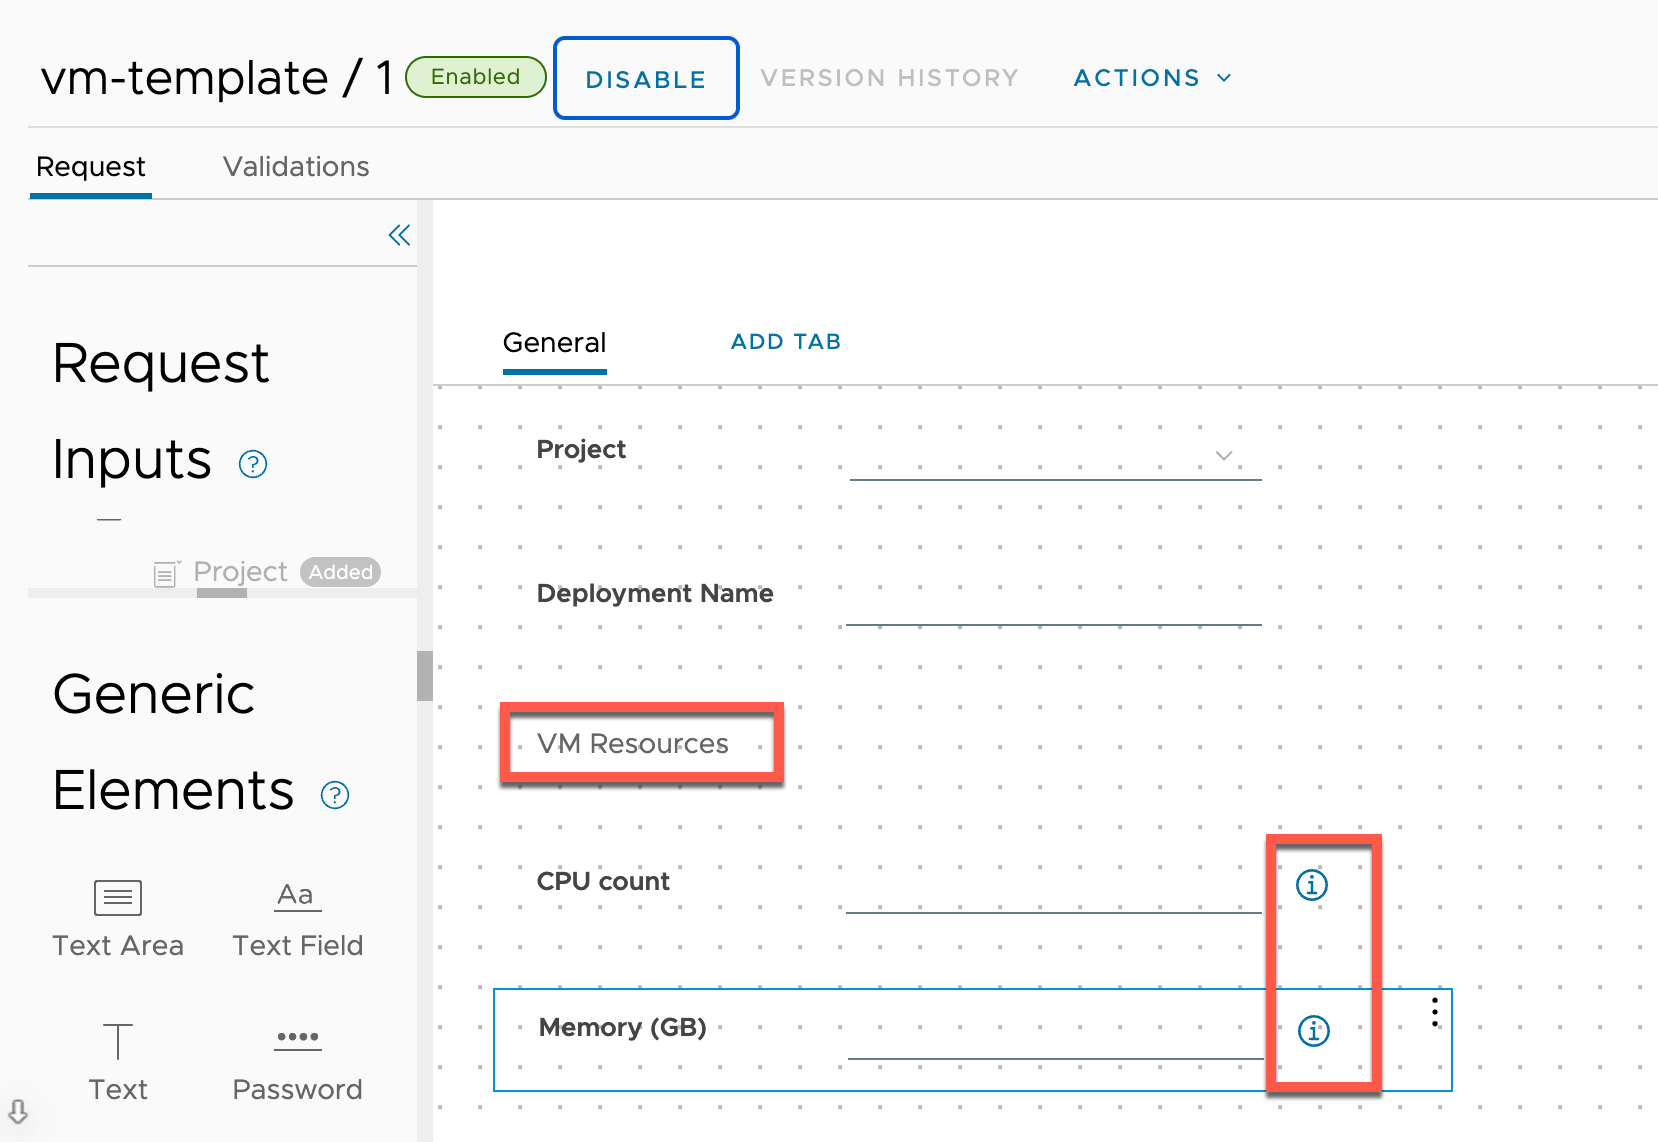
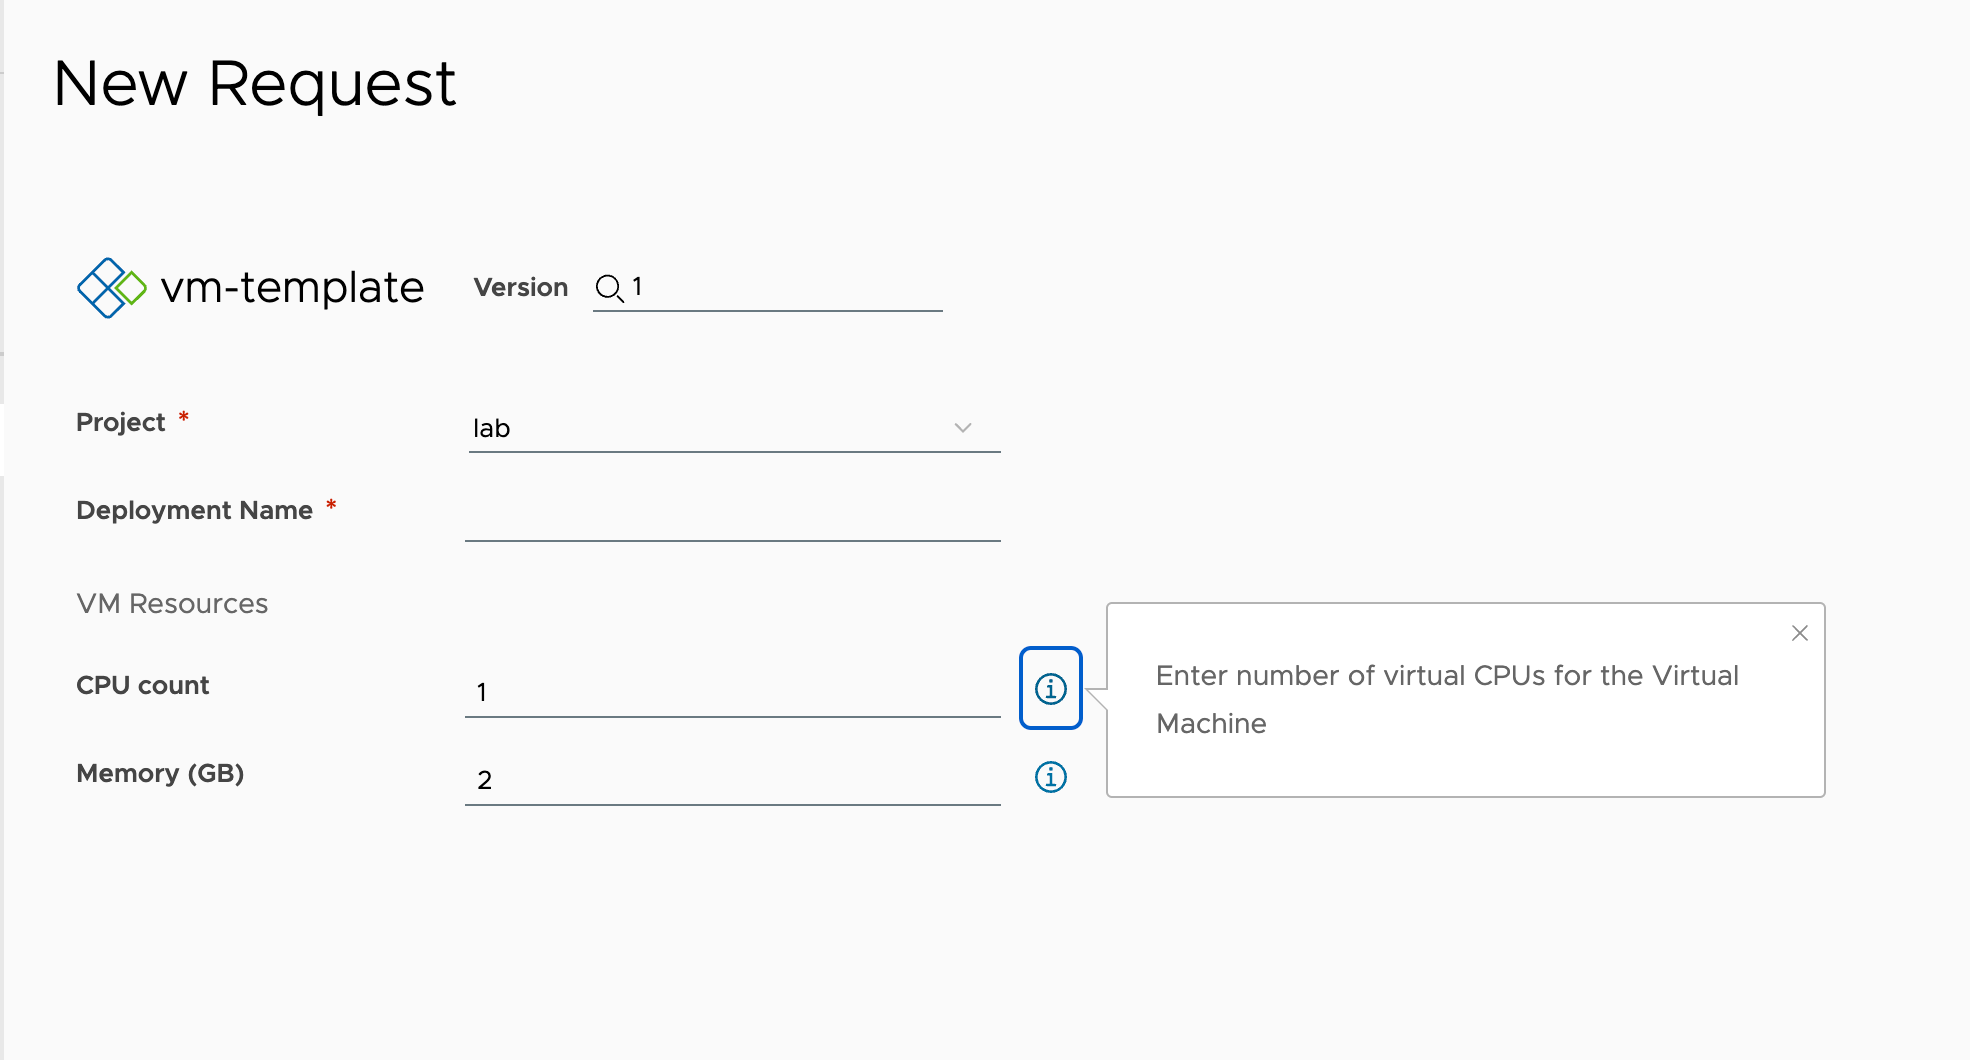
Let's verify that the form is present on the Catalog Item
Change Template
Now, let's make a small change to the Template and see what happens
We'll change the maximum amount of memory from 8 to 12
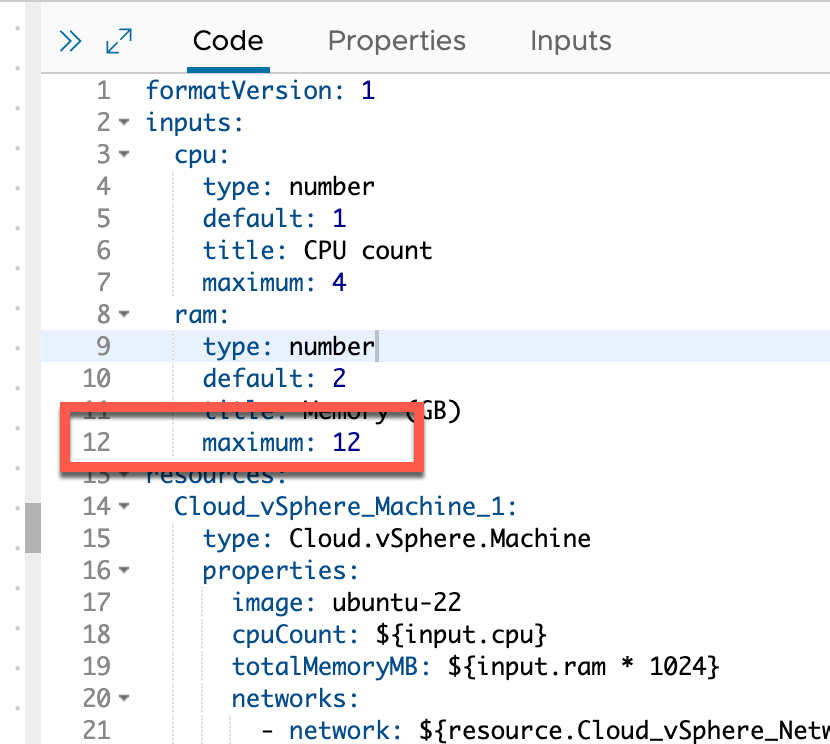
We'll version the template and release it to the catalog
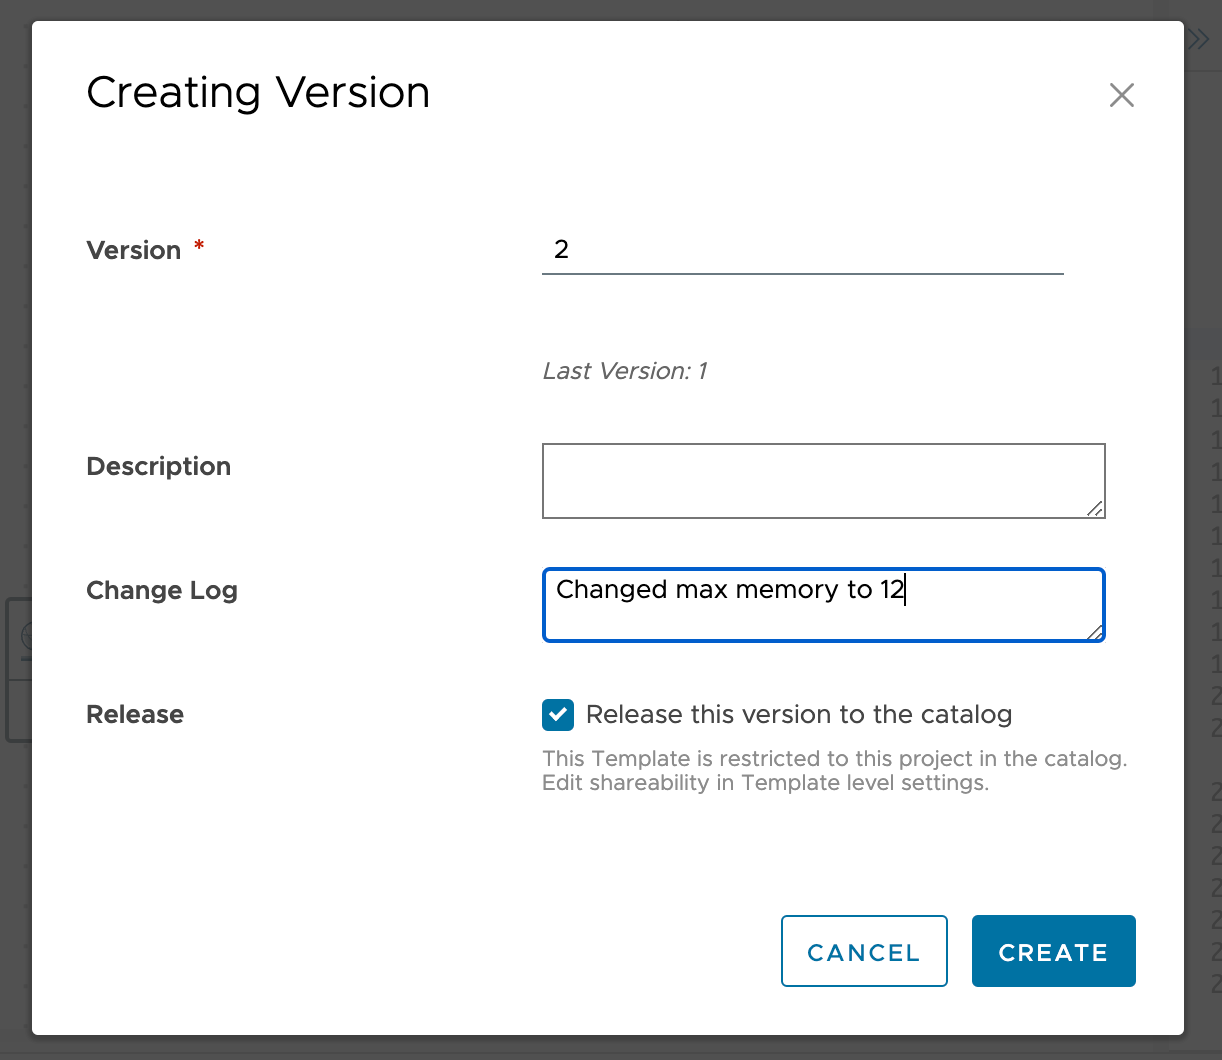
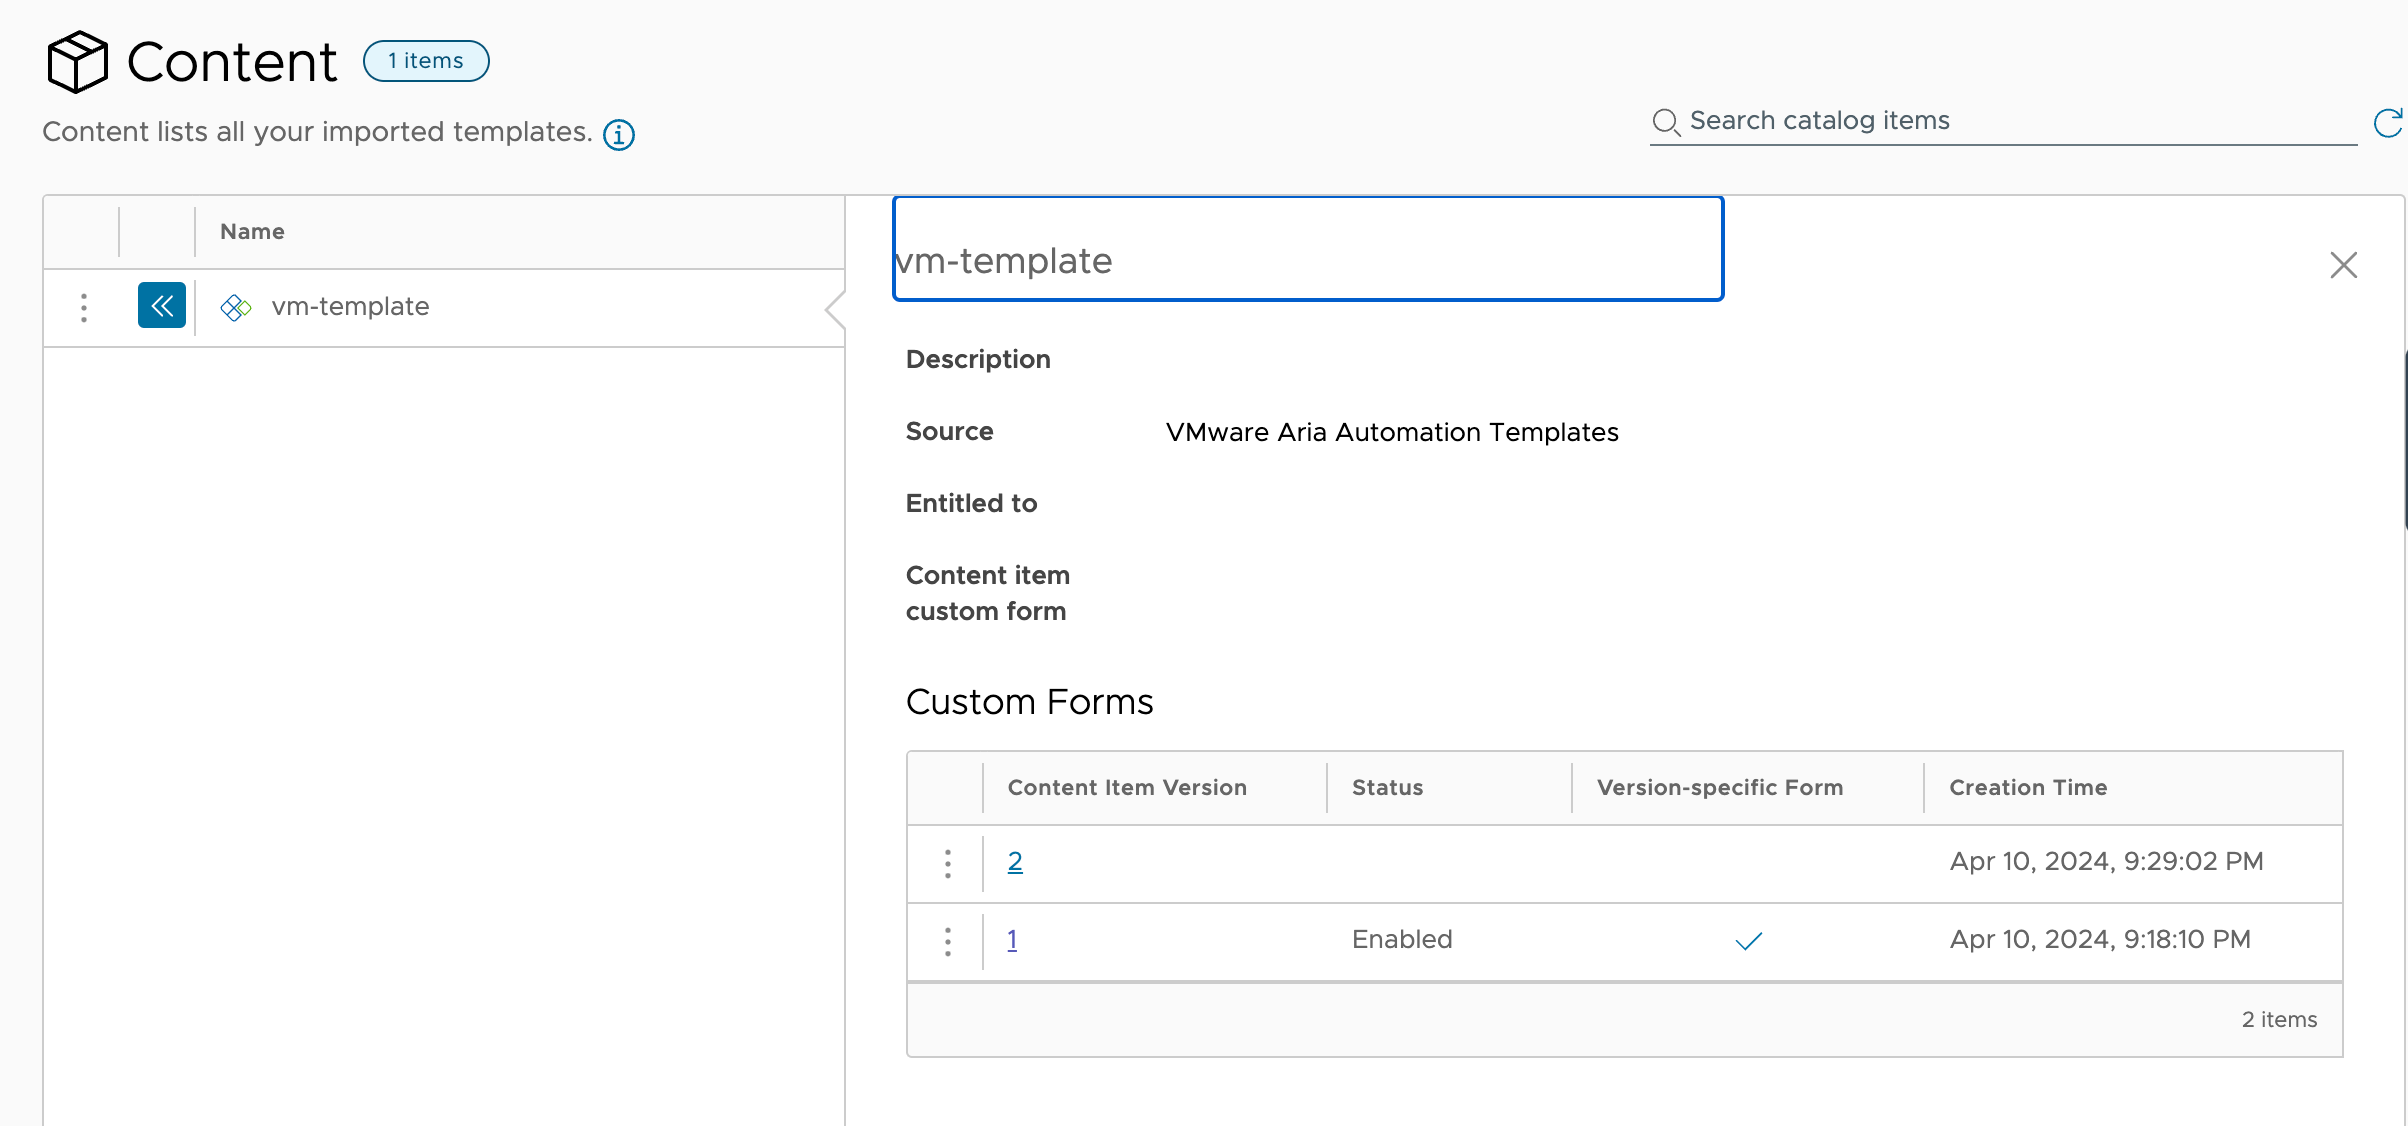
Again, Save & Import in the Service Broker Content source to get a hold of the new version
We can see under Content that we have two versions of the template available
In previous versions we'd start with the current Custom Form and deal with the changes. From version 8.12 a new Custom Form on the new version will start off fresh. Note that the max memory has been updated
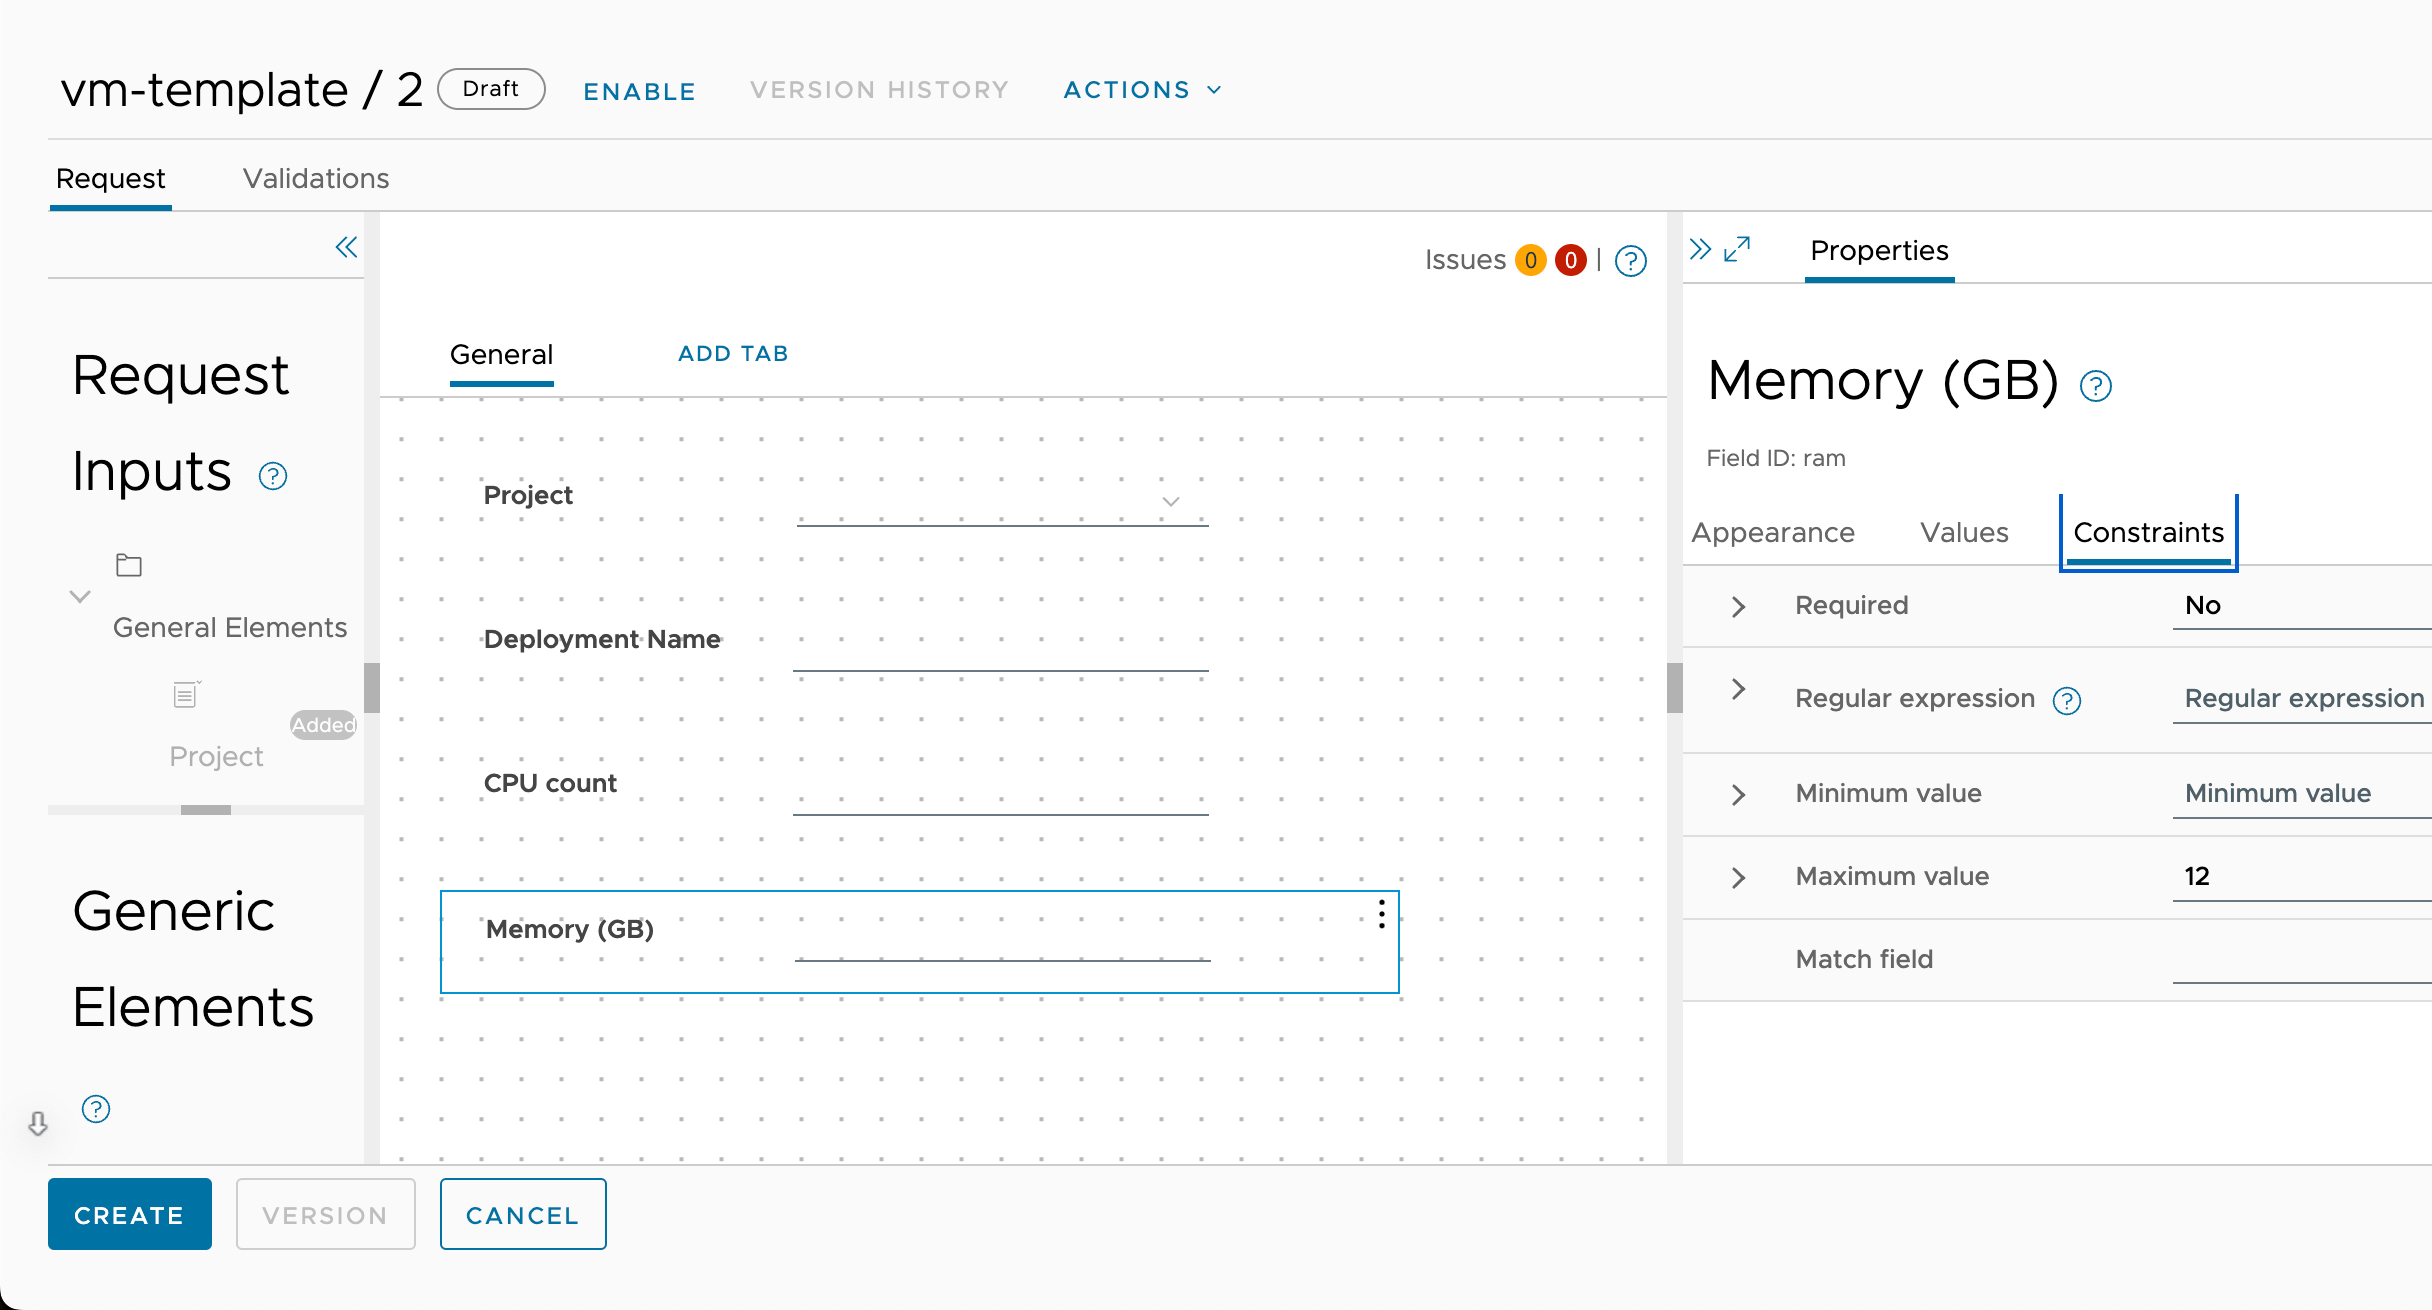
Before enabling any Custom Form on the new template version let's head over to the Catalog to see how the form looks for end users
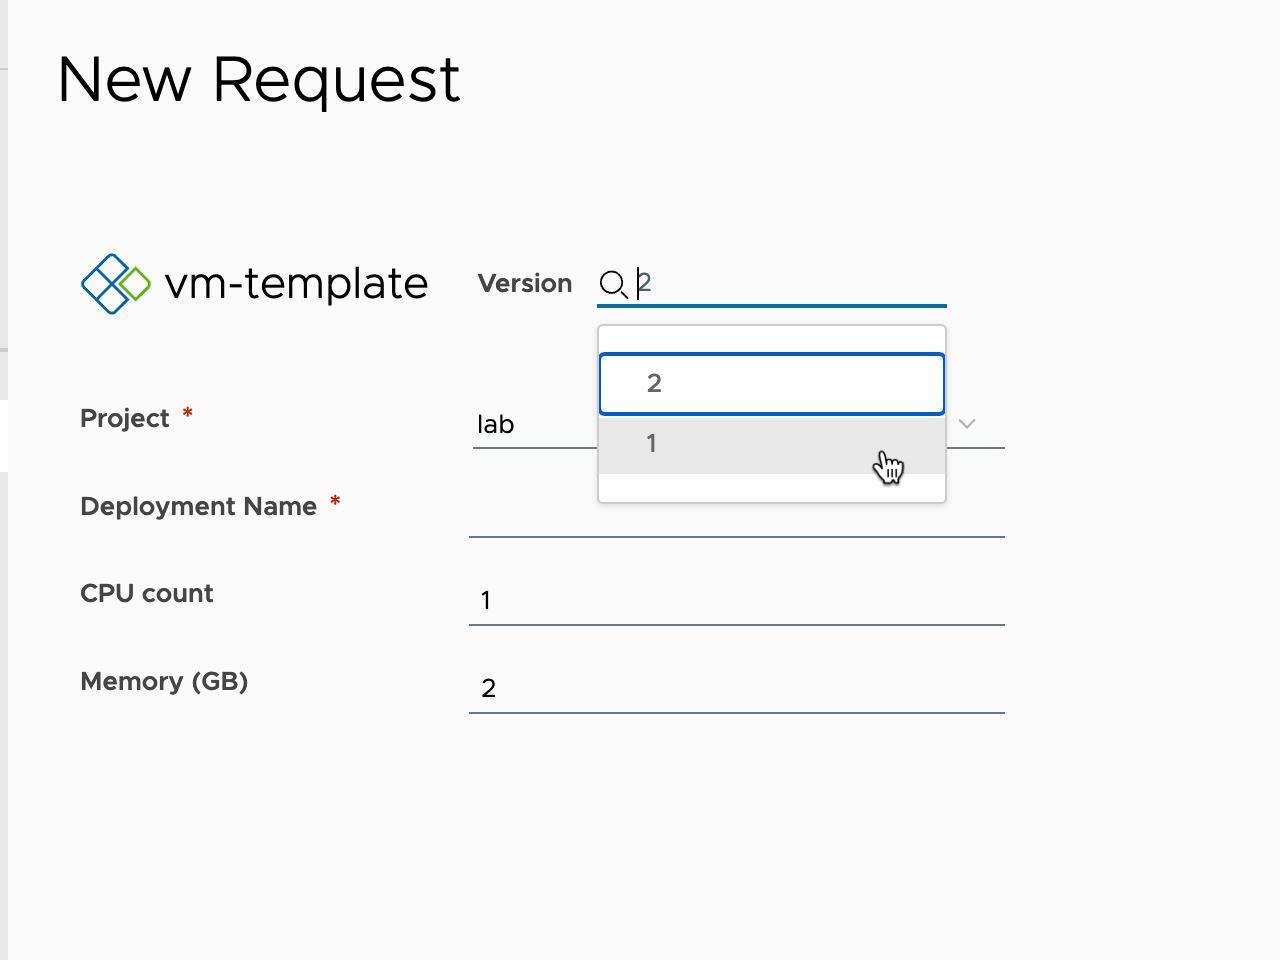
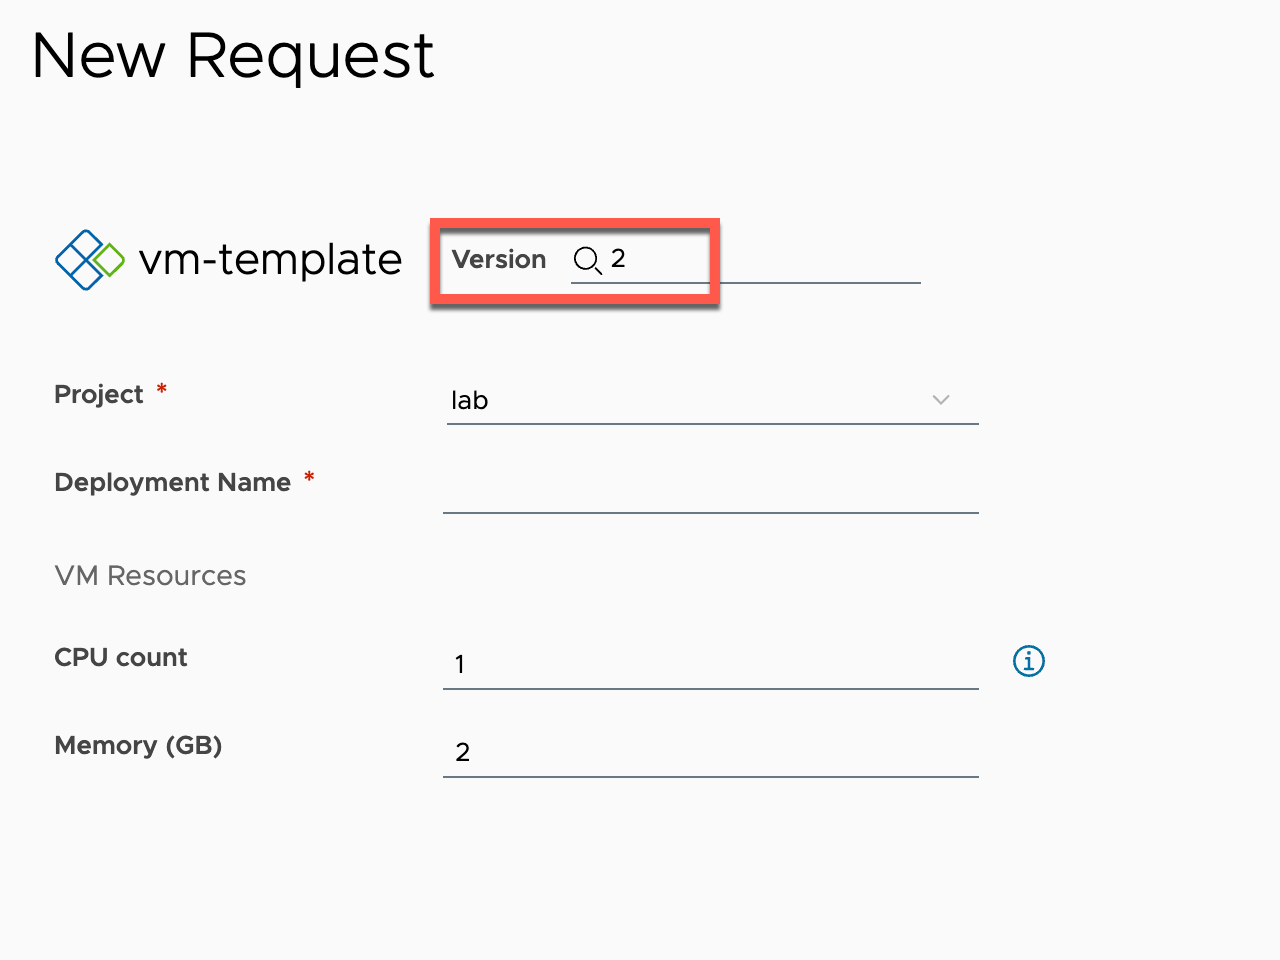
The form for version 2 is using the default form from the Template.
Now let's change to version 1 and see what happens
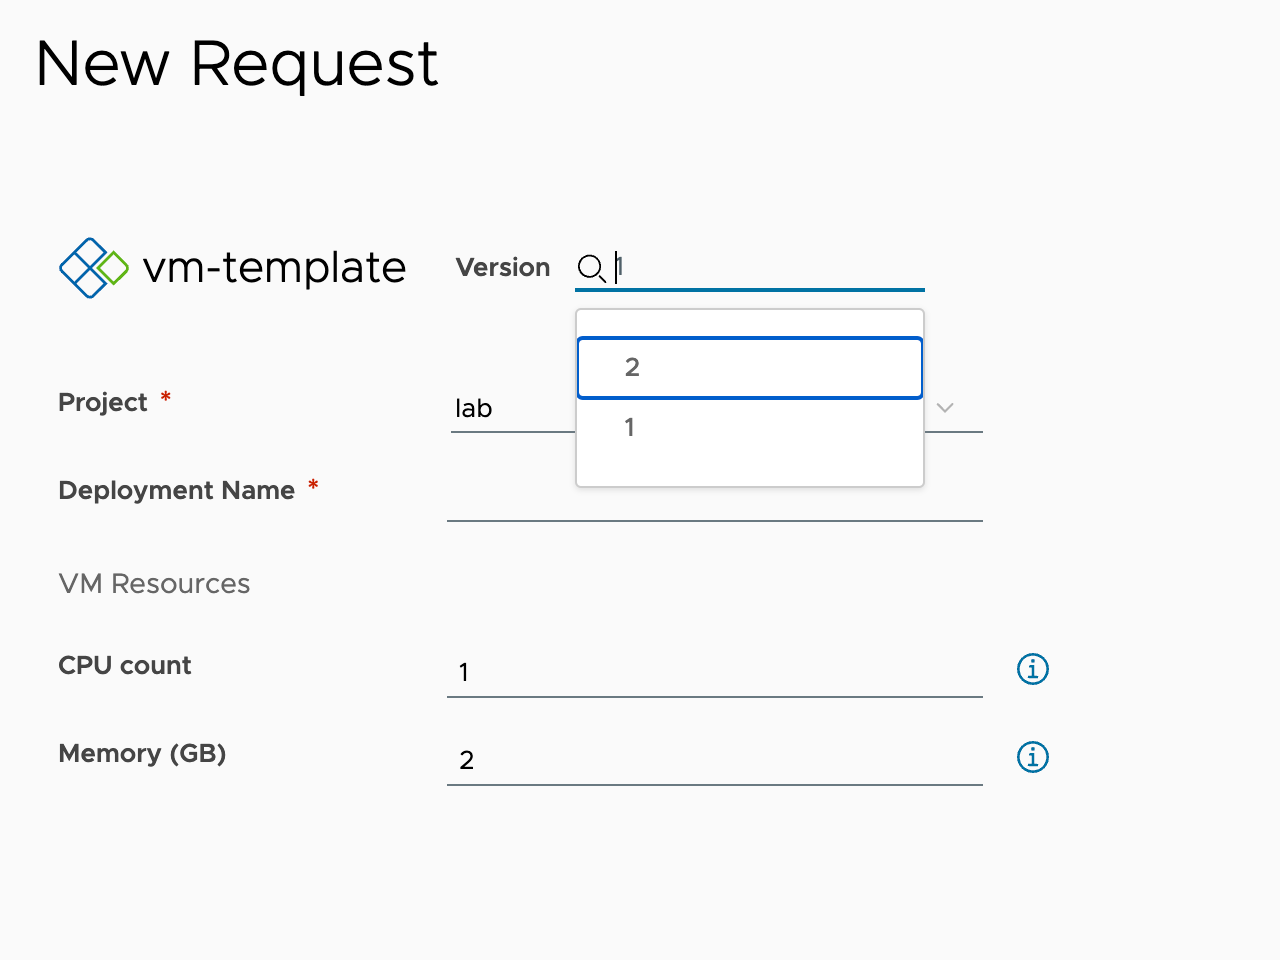
Now we're back on the Custom Form. This shows that the Custom Form now is tightly coupled with the Template version!
Create Custom Form from Old
So how do we deal with this?
Well the answer is that we create a new Custom form from the old one.
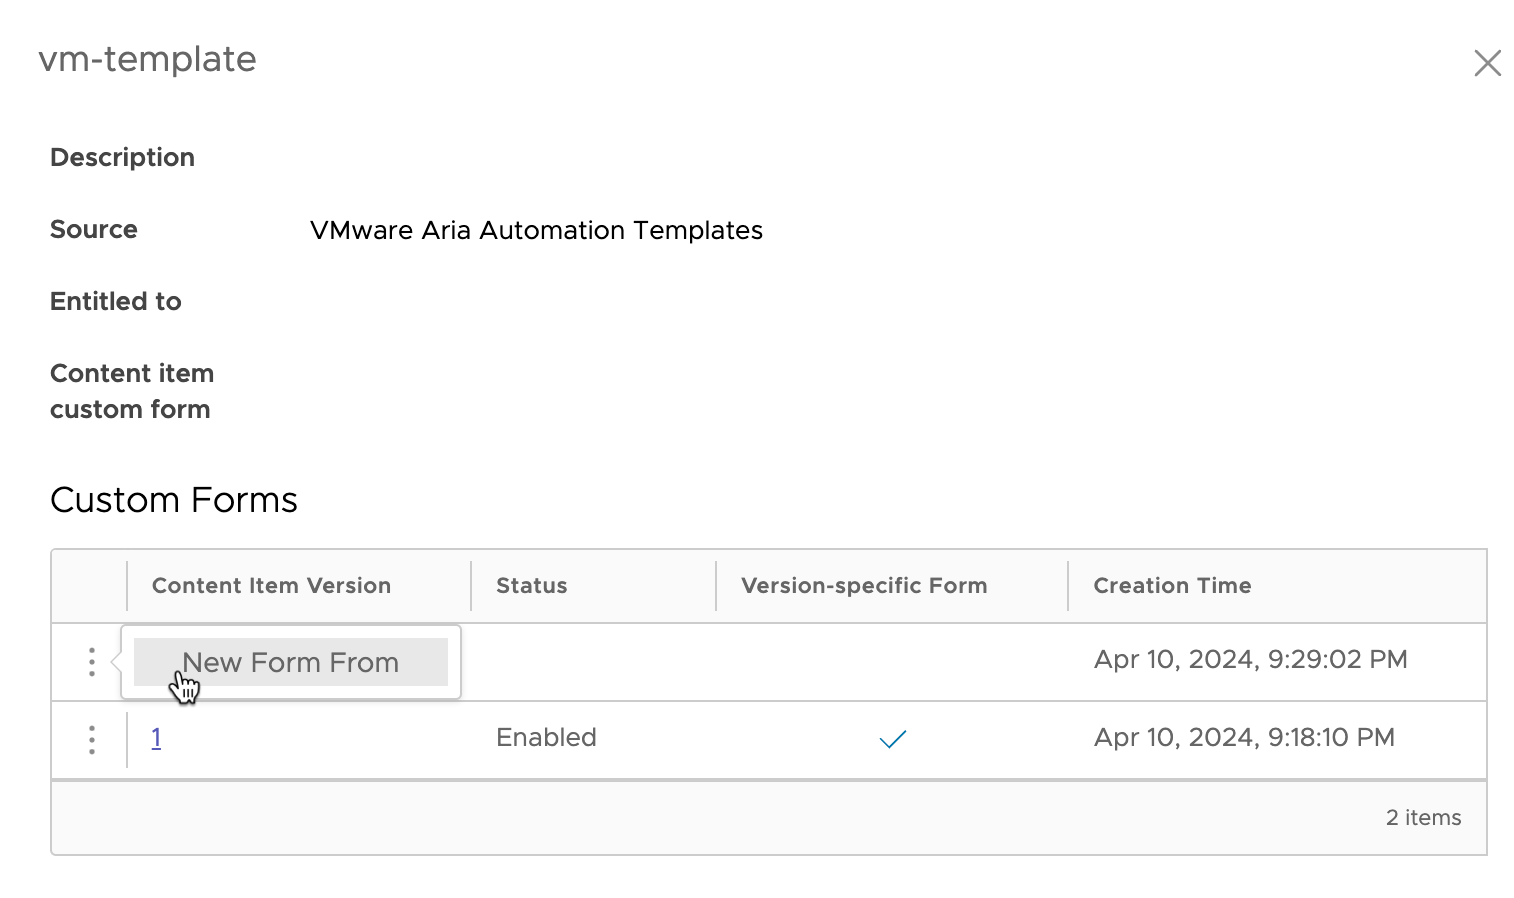
This gives us the ability to select which version we'll use as the base of our new Custom Form. In our example we only have one available

Now when we take a a look at the new Custom Form we see that it has copied over the field settings and our text from the previous one
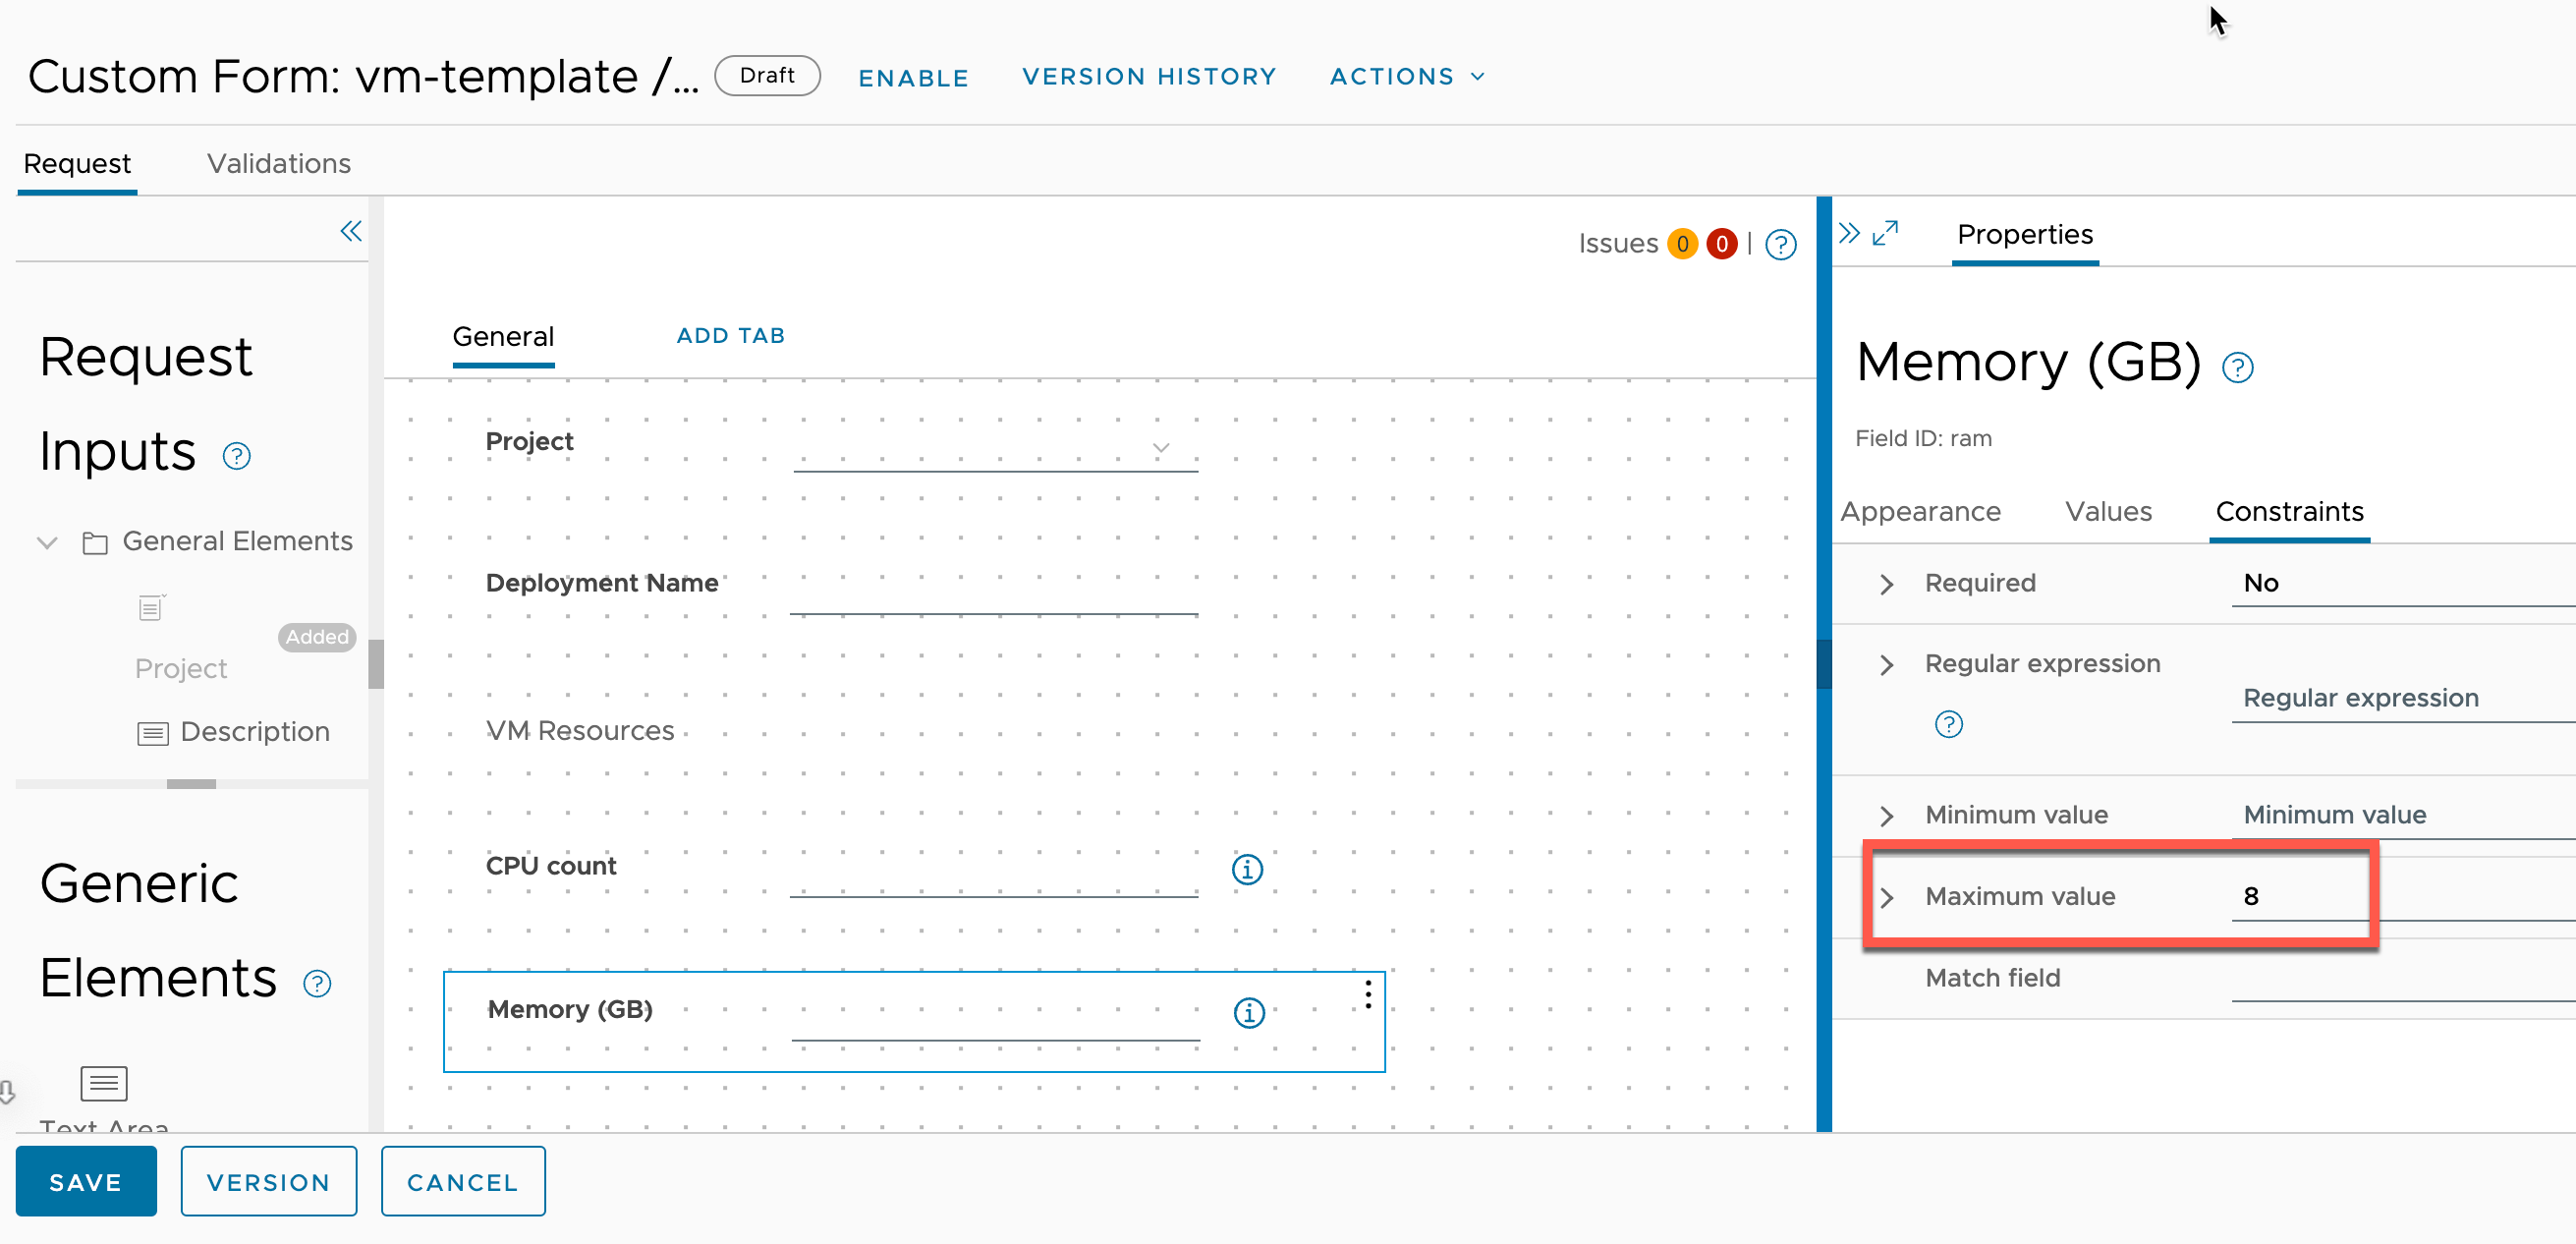
Note that this will use the old maximum value for the Memory input so this needs to change.
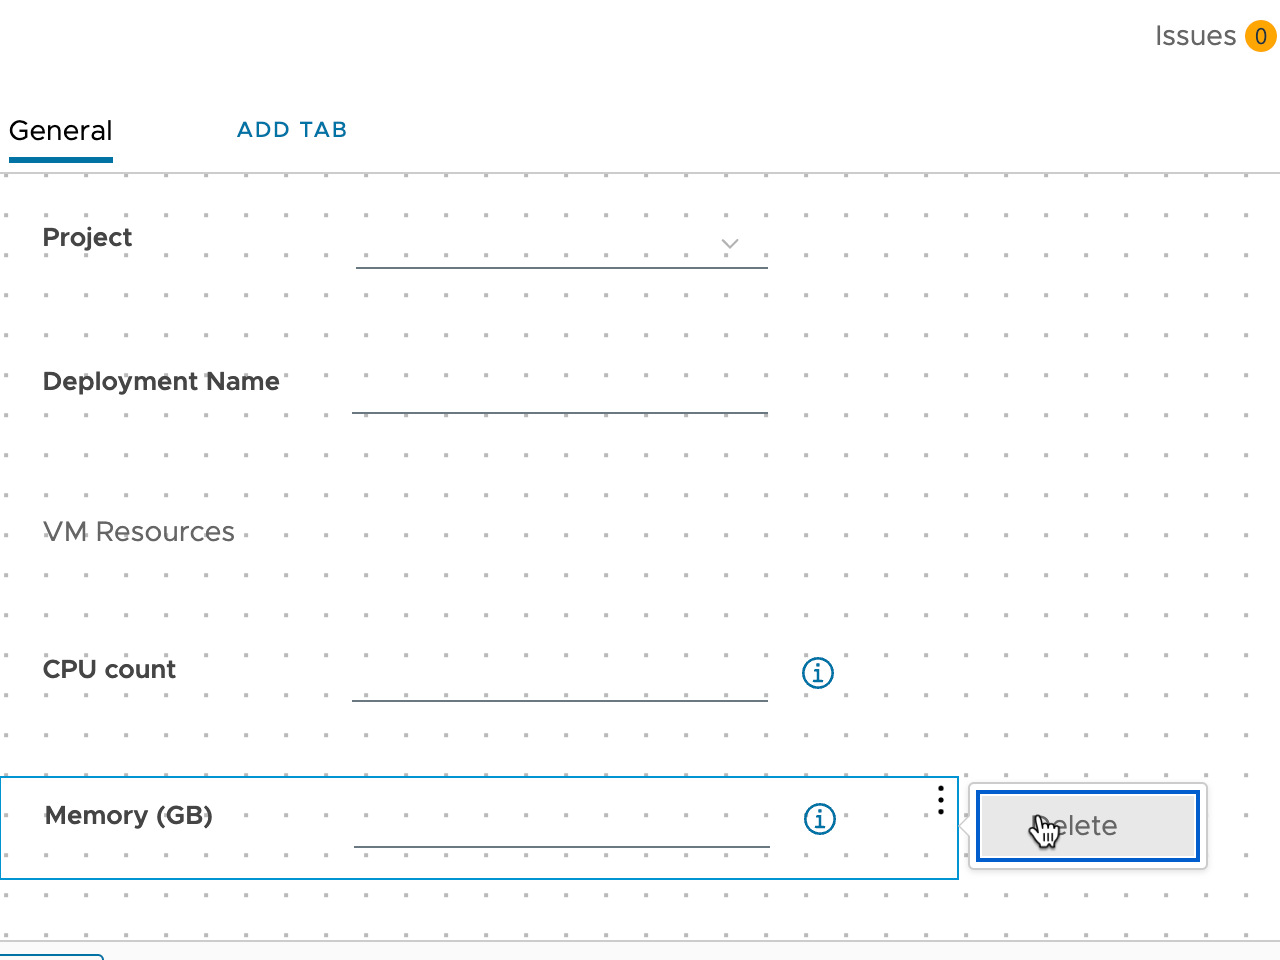
Based on the amount of changes to the field, one way of updating it would be to delete it and then add it back to the canvas
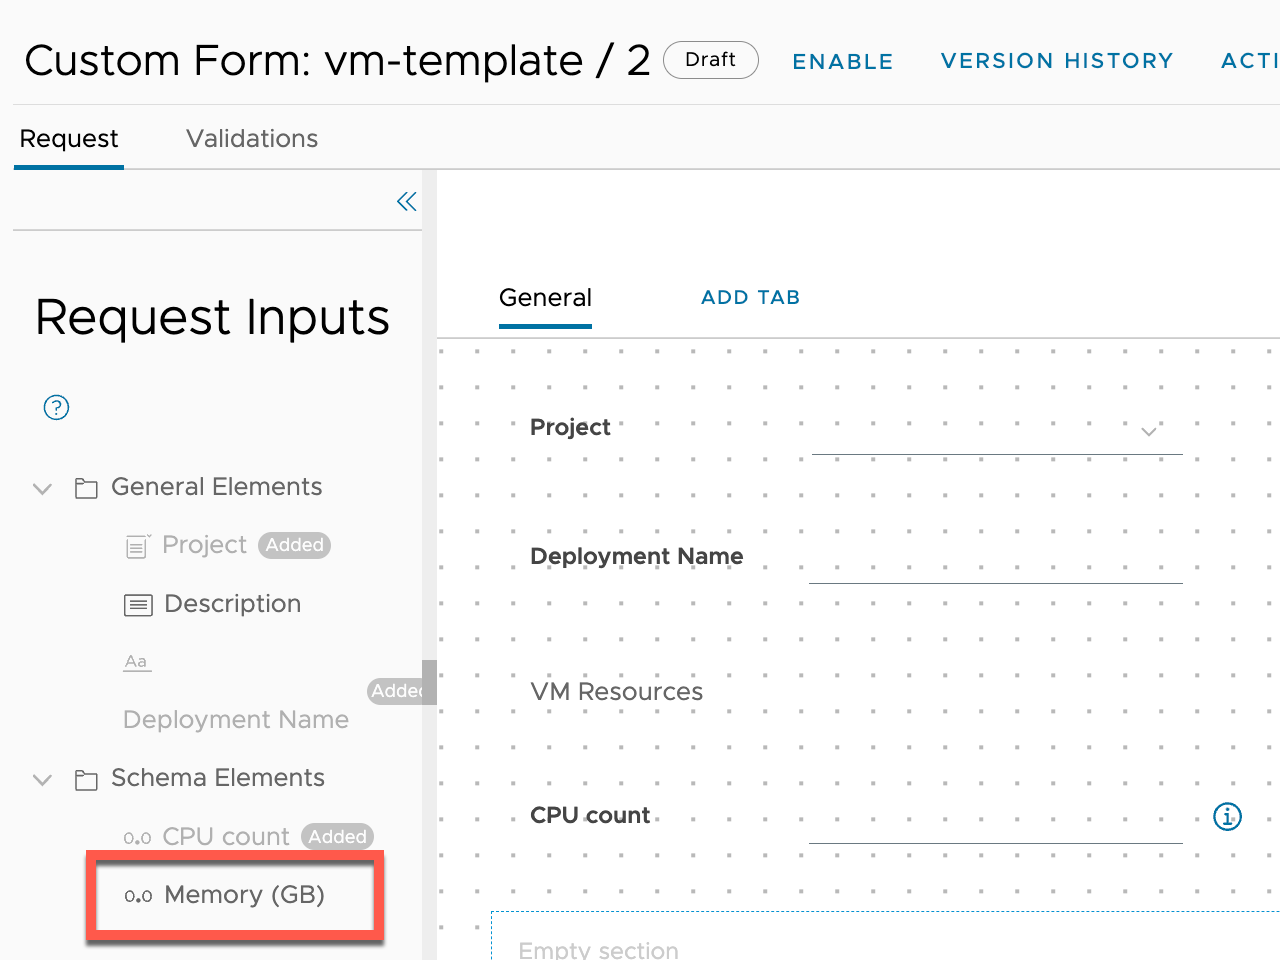
Now the field should have the updated maximum value
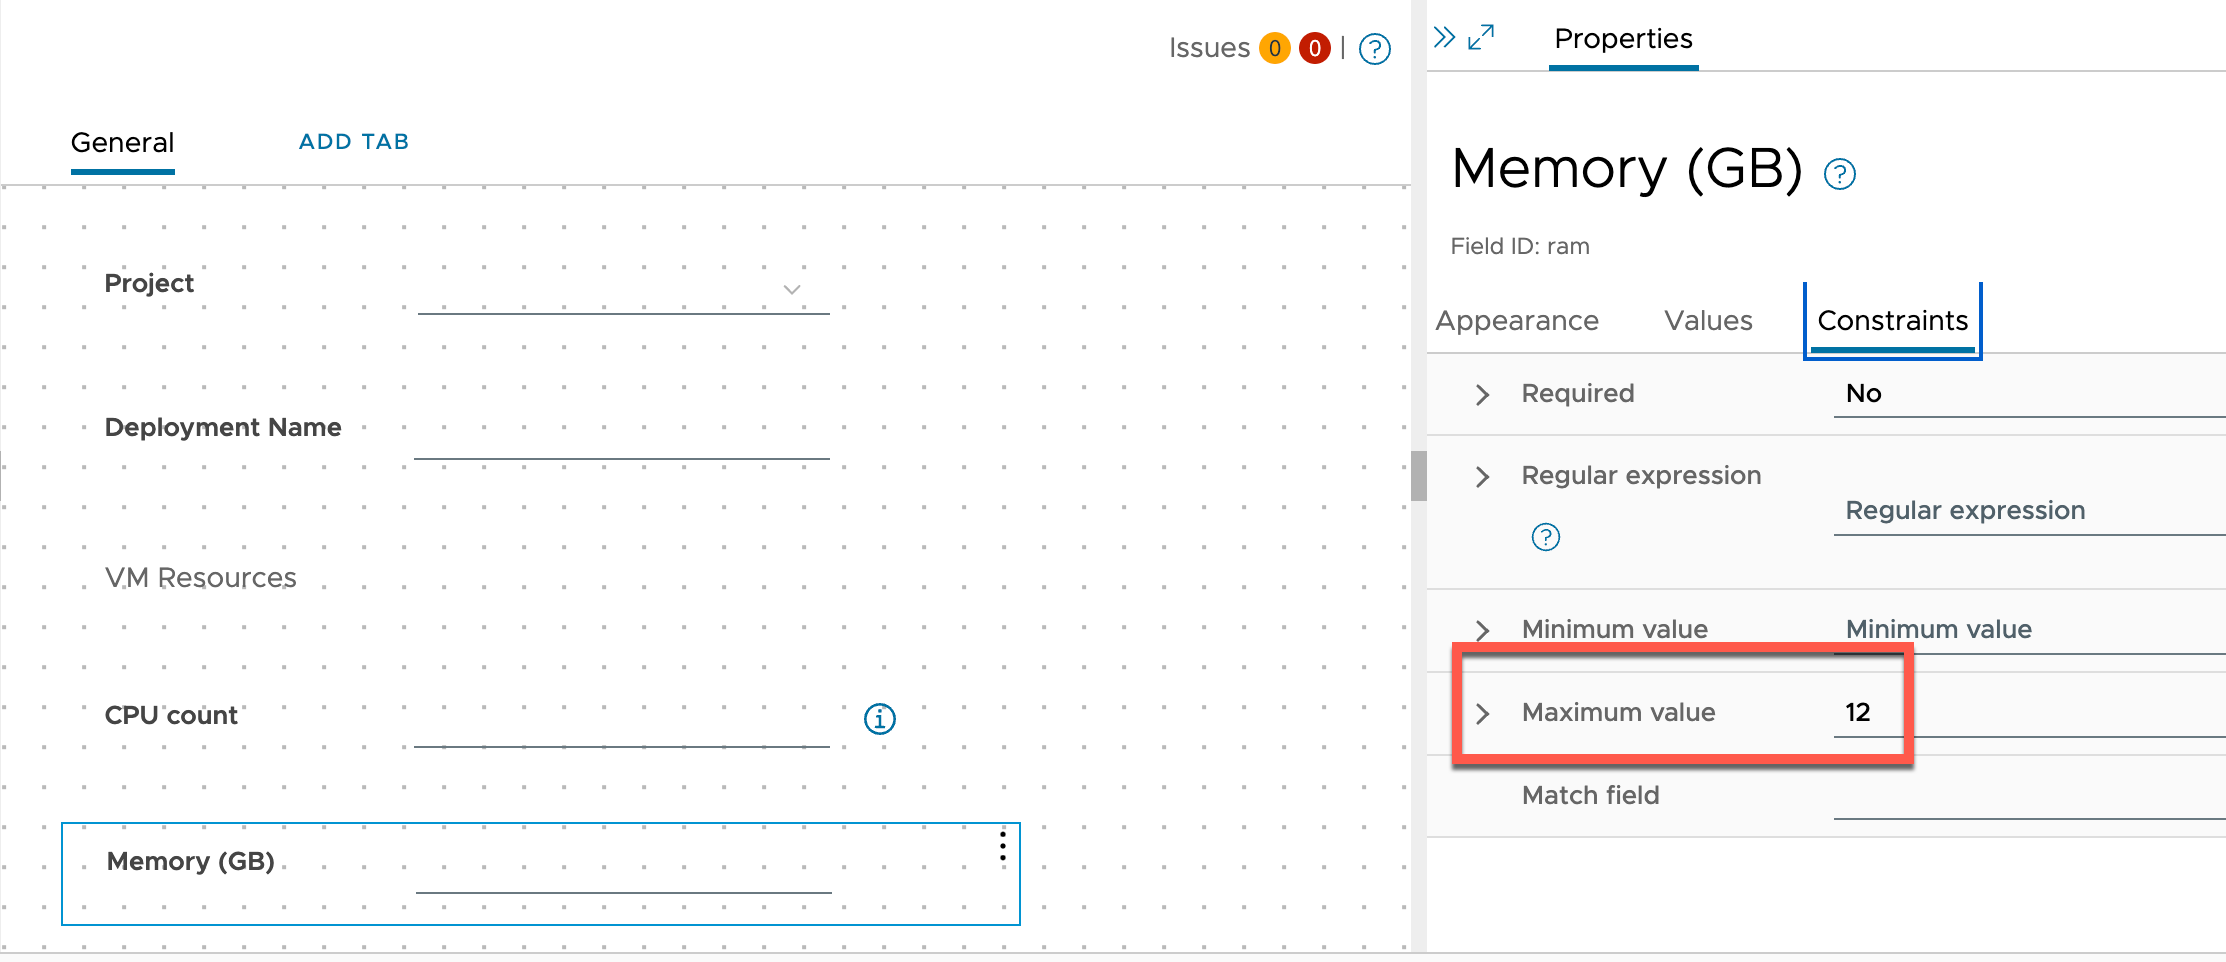
For a small change like this it would be quicker to just update the value directly on the field
Now we can verify that we have two version both with their own Custom Form available
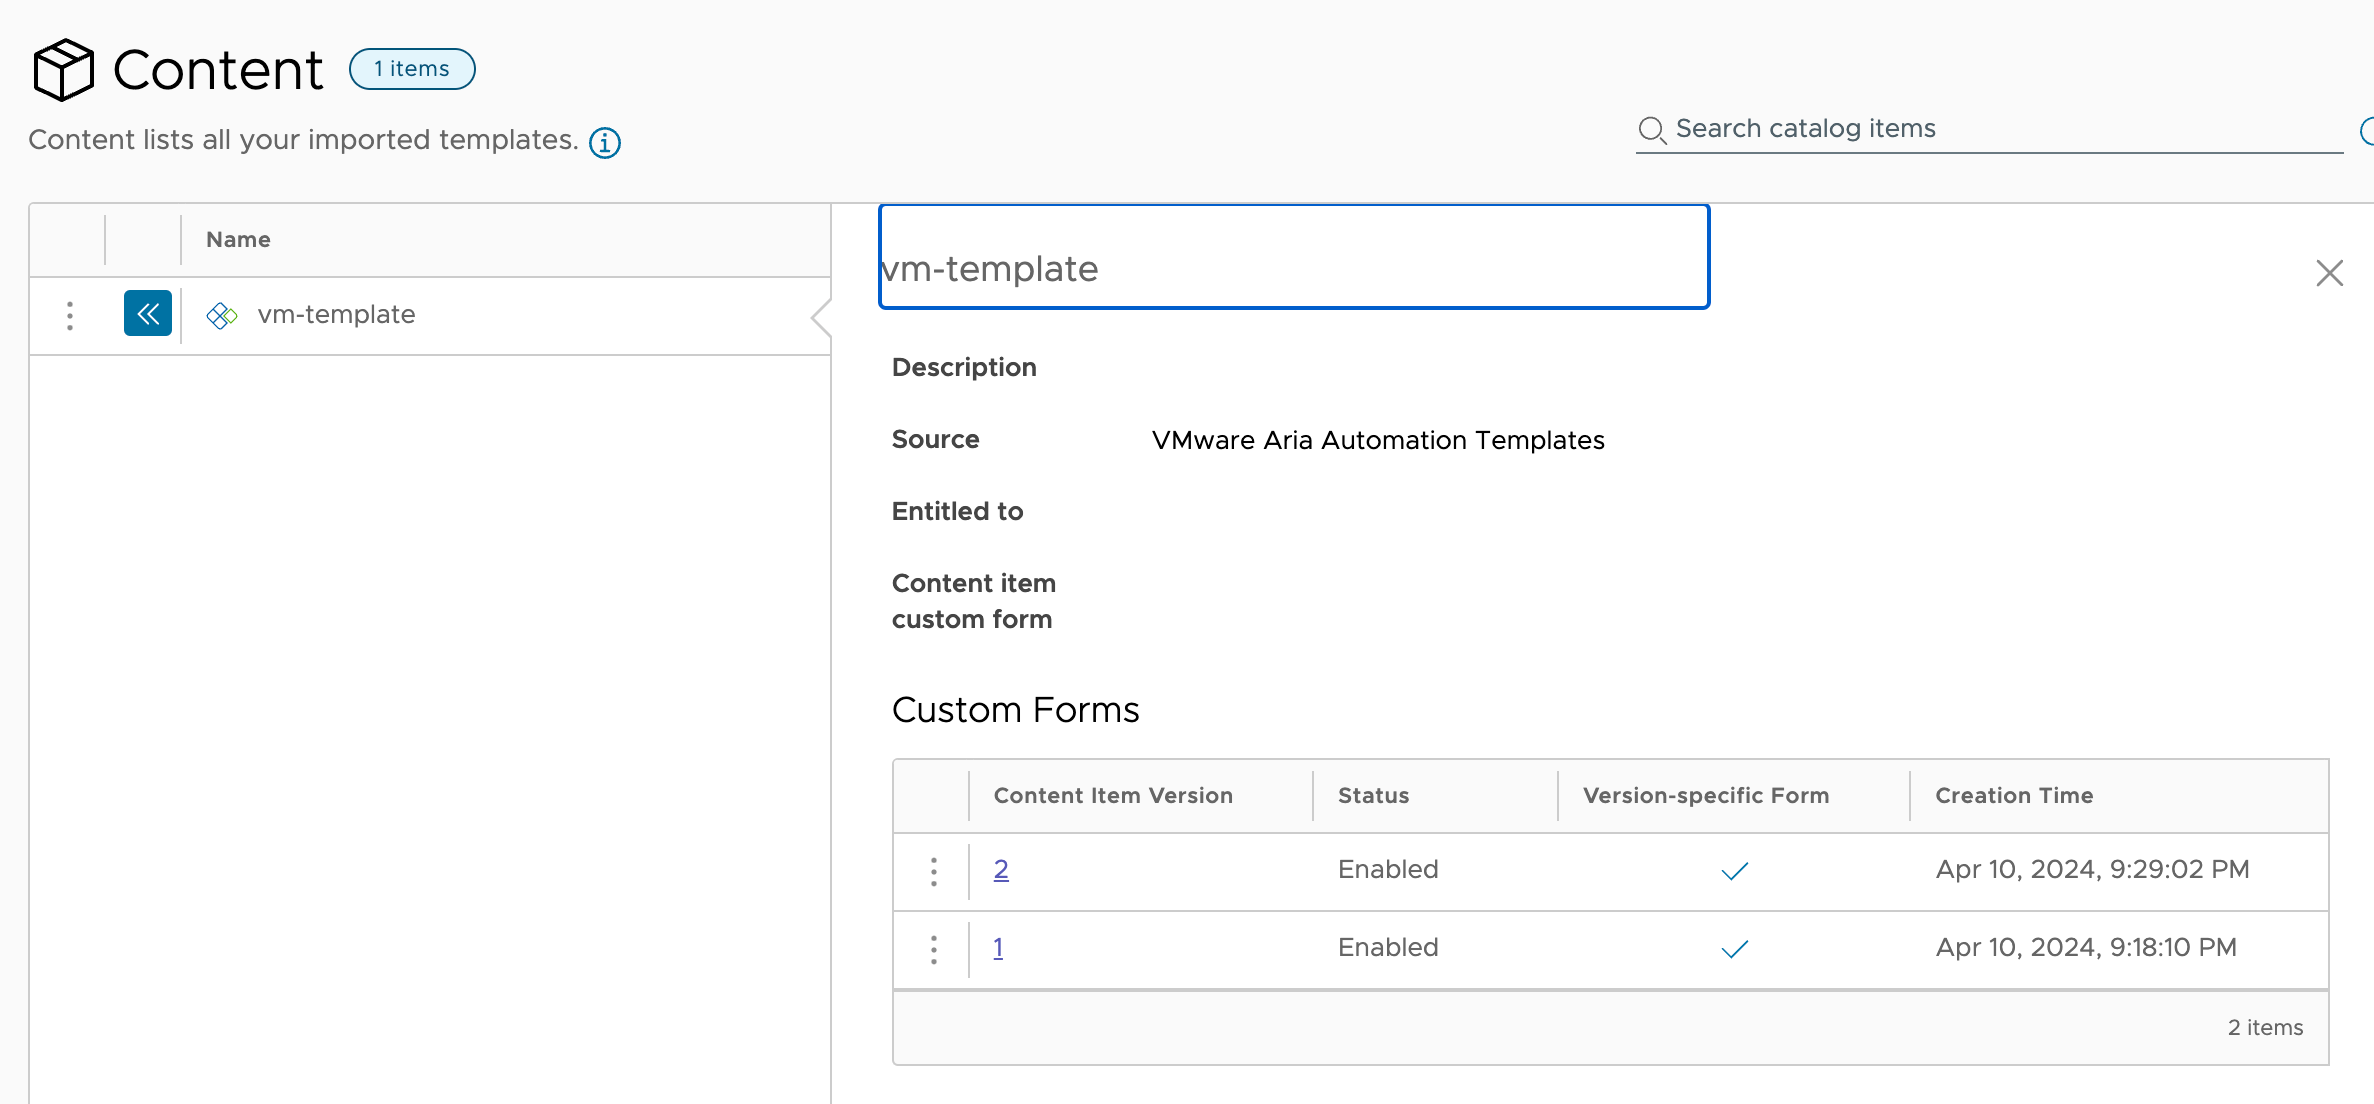
And we can verify this in the Catalog
Old versions unavailable
One thing to be aware of in this process is that we now created a form based on an old version. But what if you have unreleased all old versions?
Let's make a couple of more changes to the Template
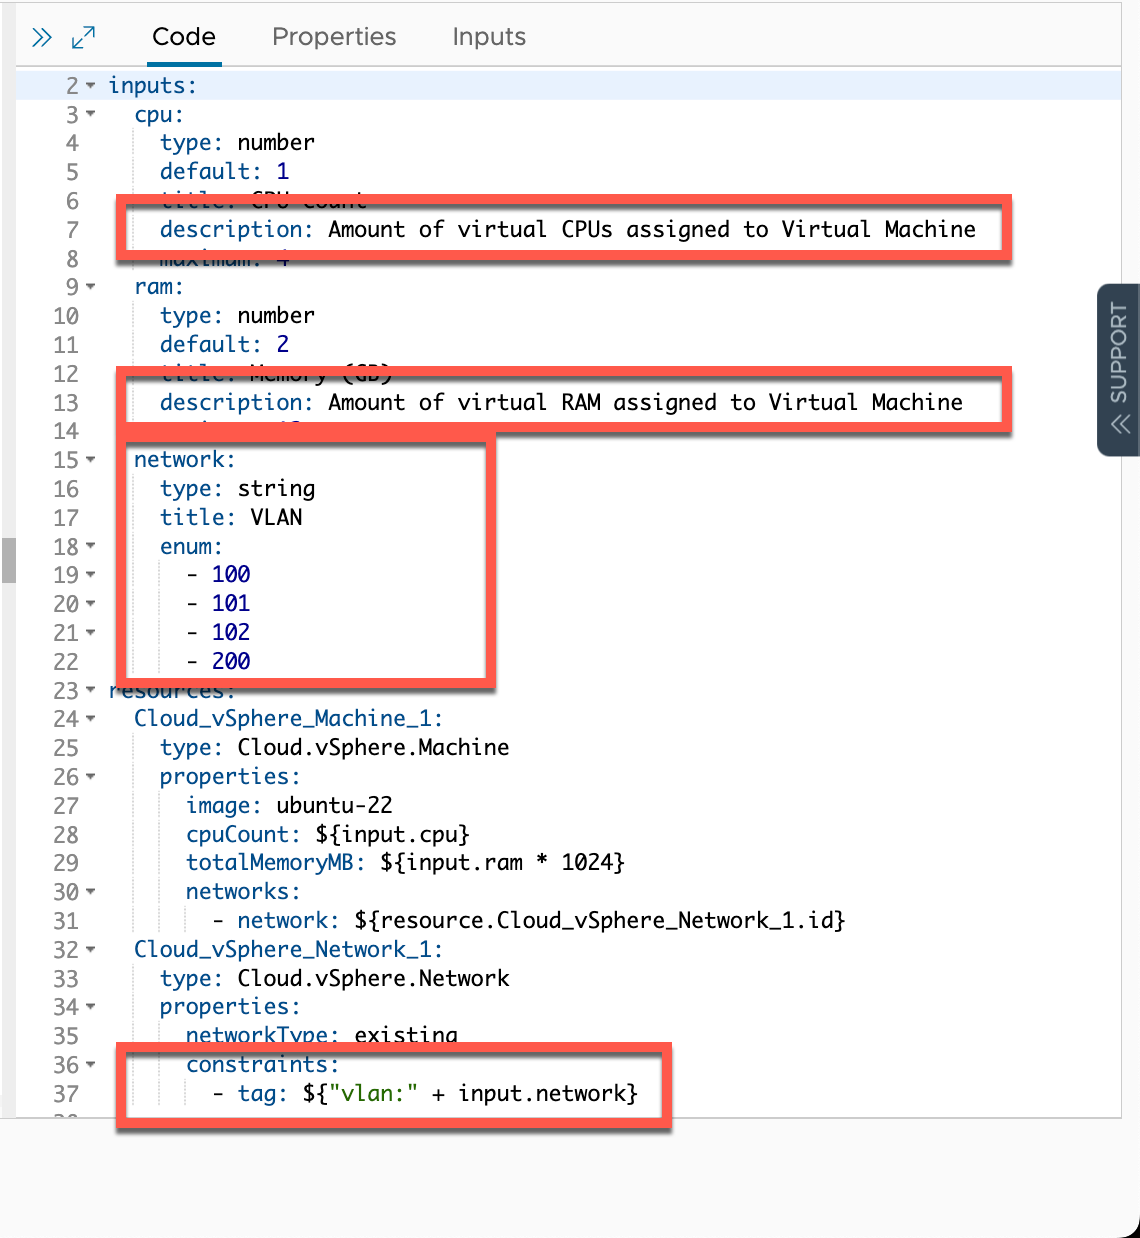
And we'll version and release this to the Catalog
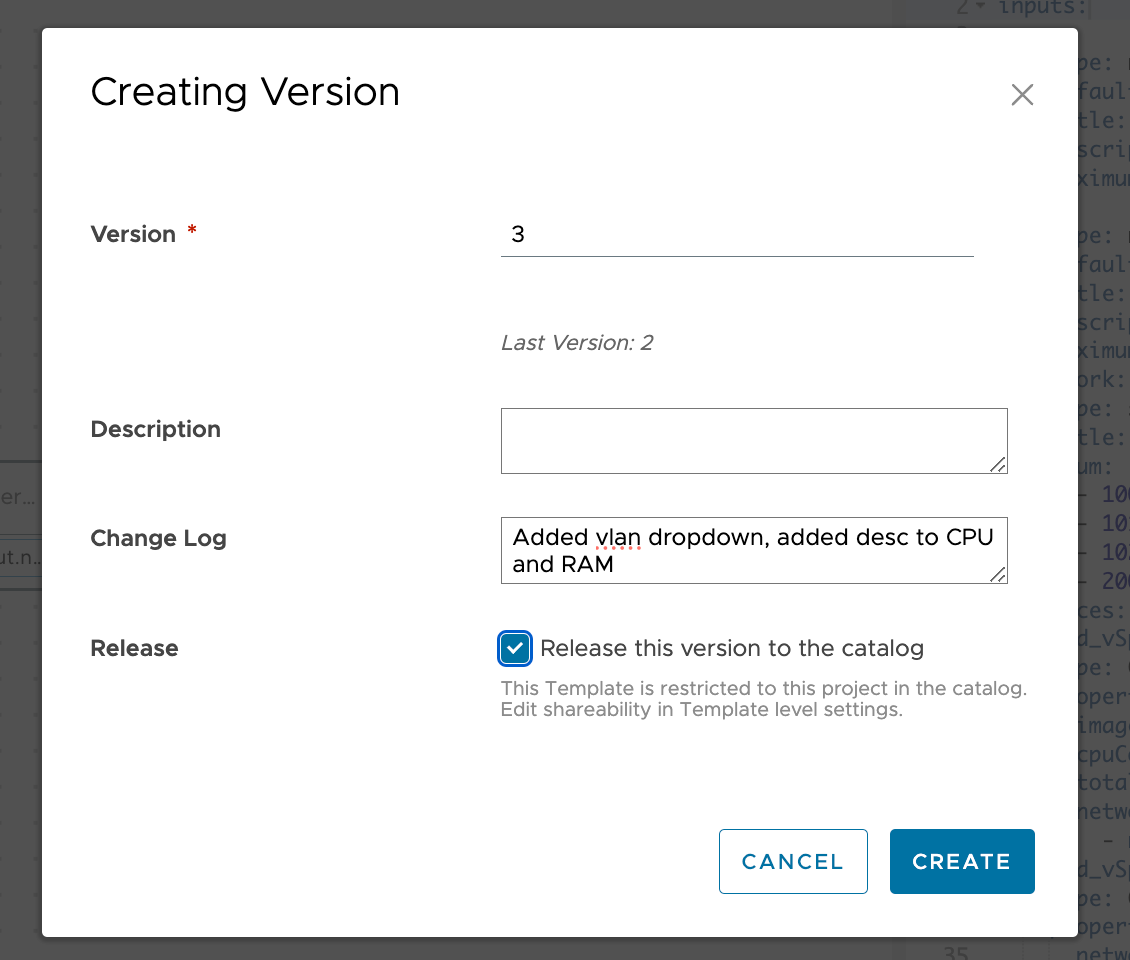
Over in Version History let's also unrelease our two old versions
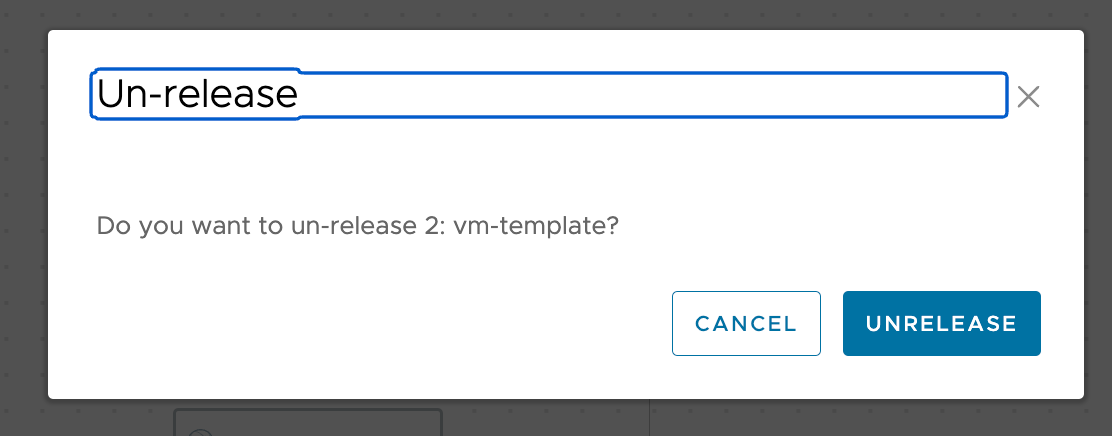
We now have only one version released
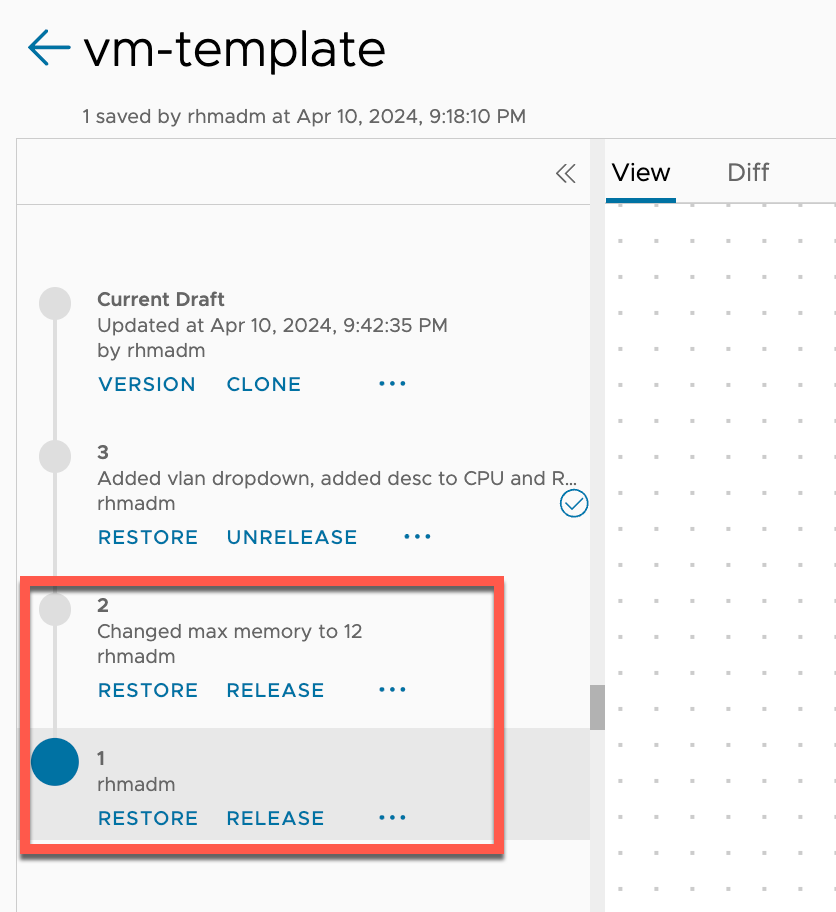
After saving and importing the Content Source we'll notice that we've only got the one version available
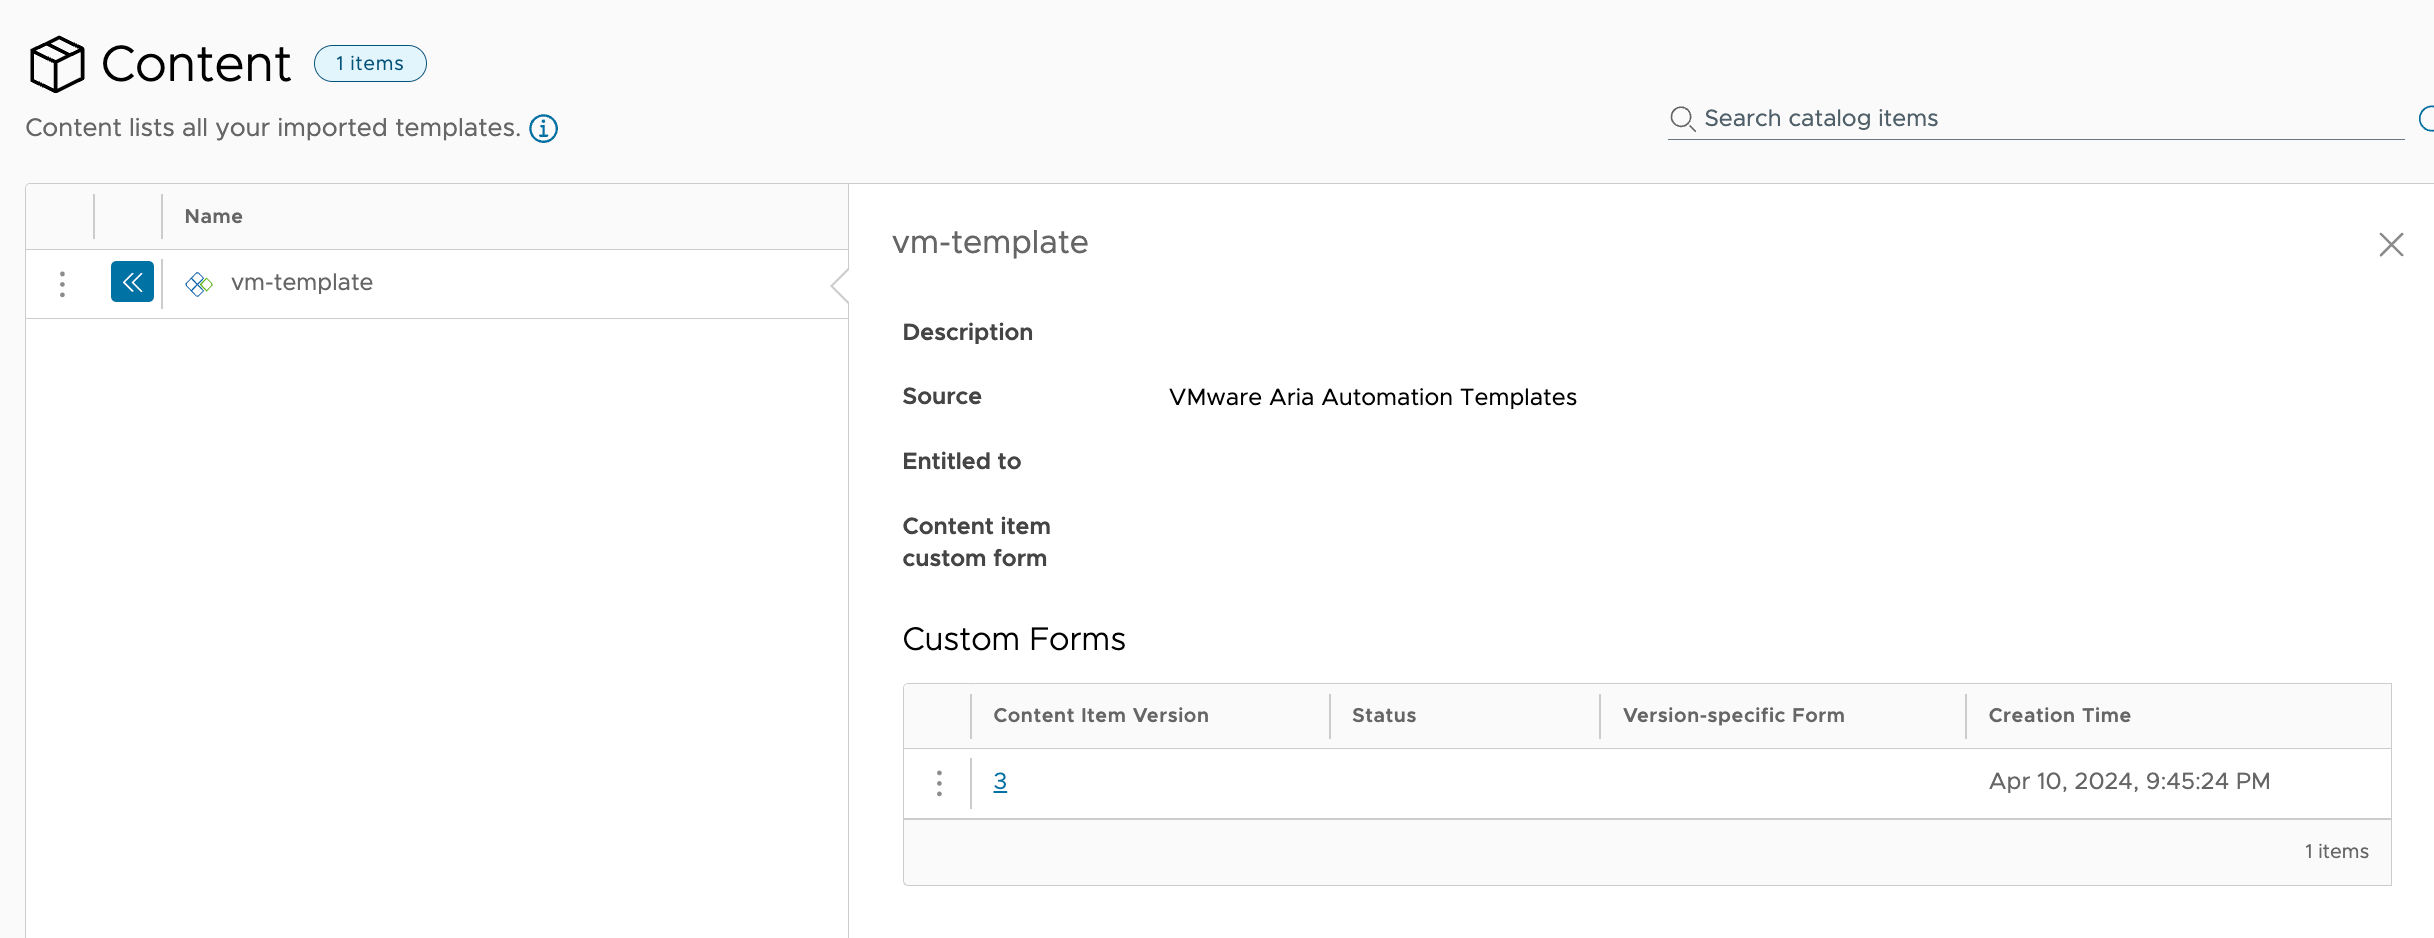
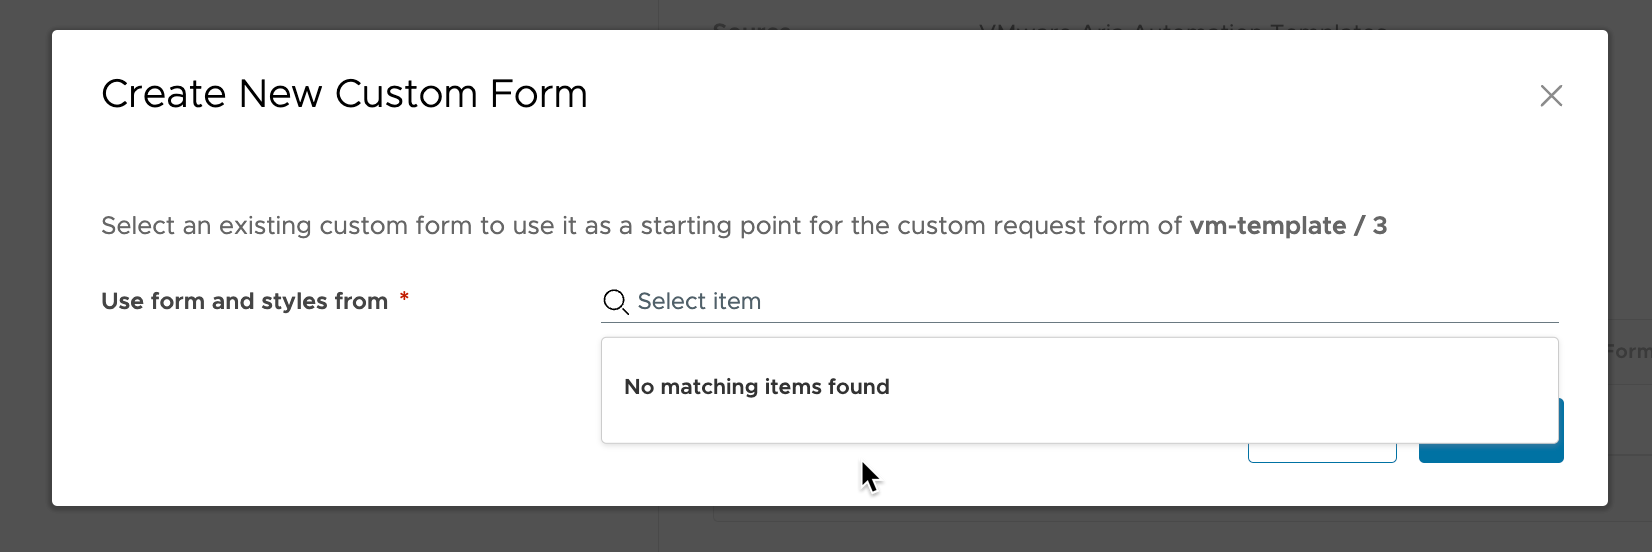
So if we want to create a new Custom Form for this version there's no version to start from
Import from backup
One way of working around this issue would be to import an old version of the custom form if you have a process of backing up your Custom Forms
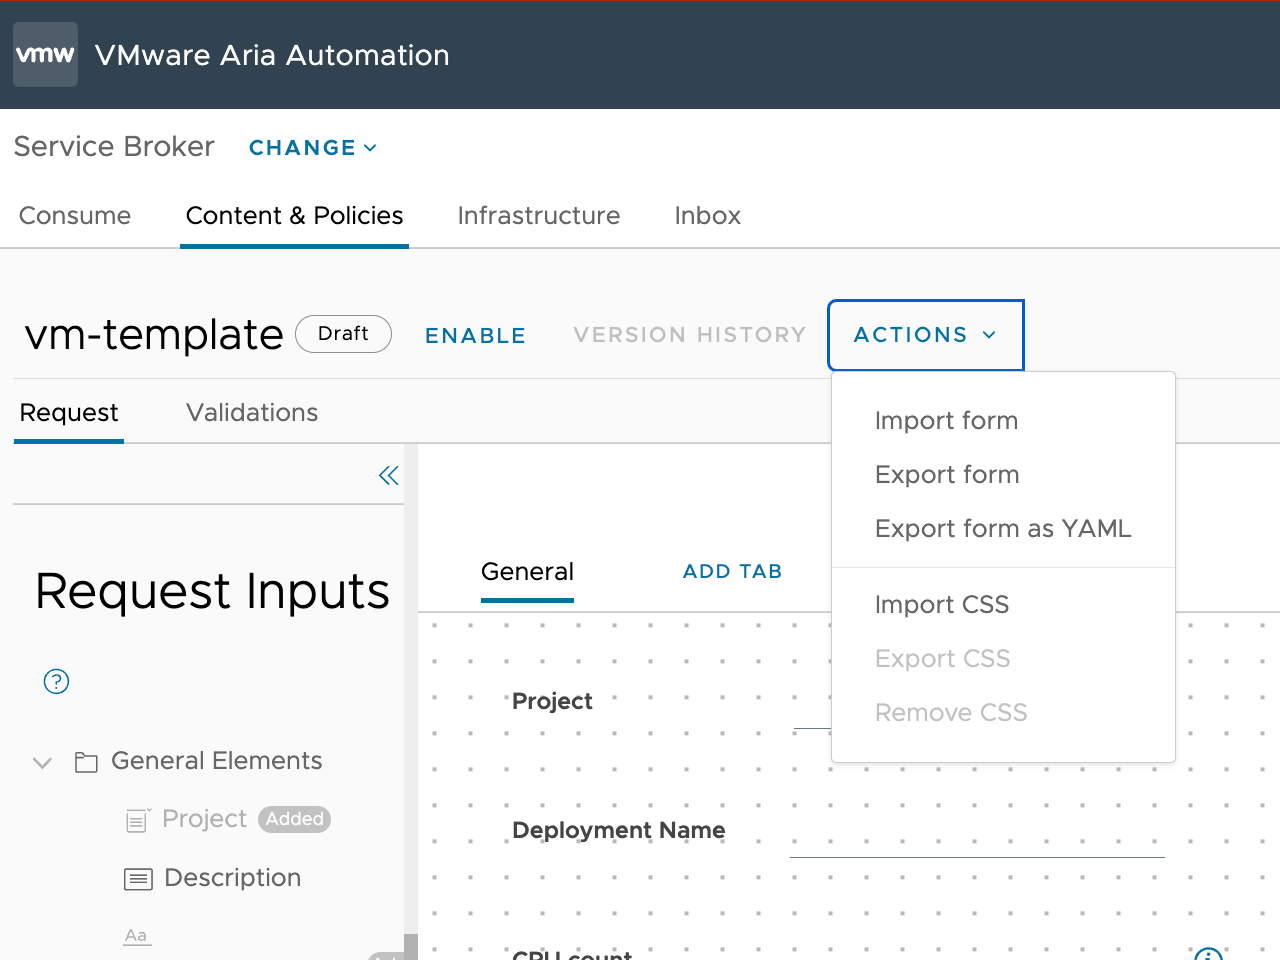
Custom Form is imported, note that the VLAN dropdown is not present.
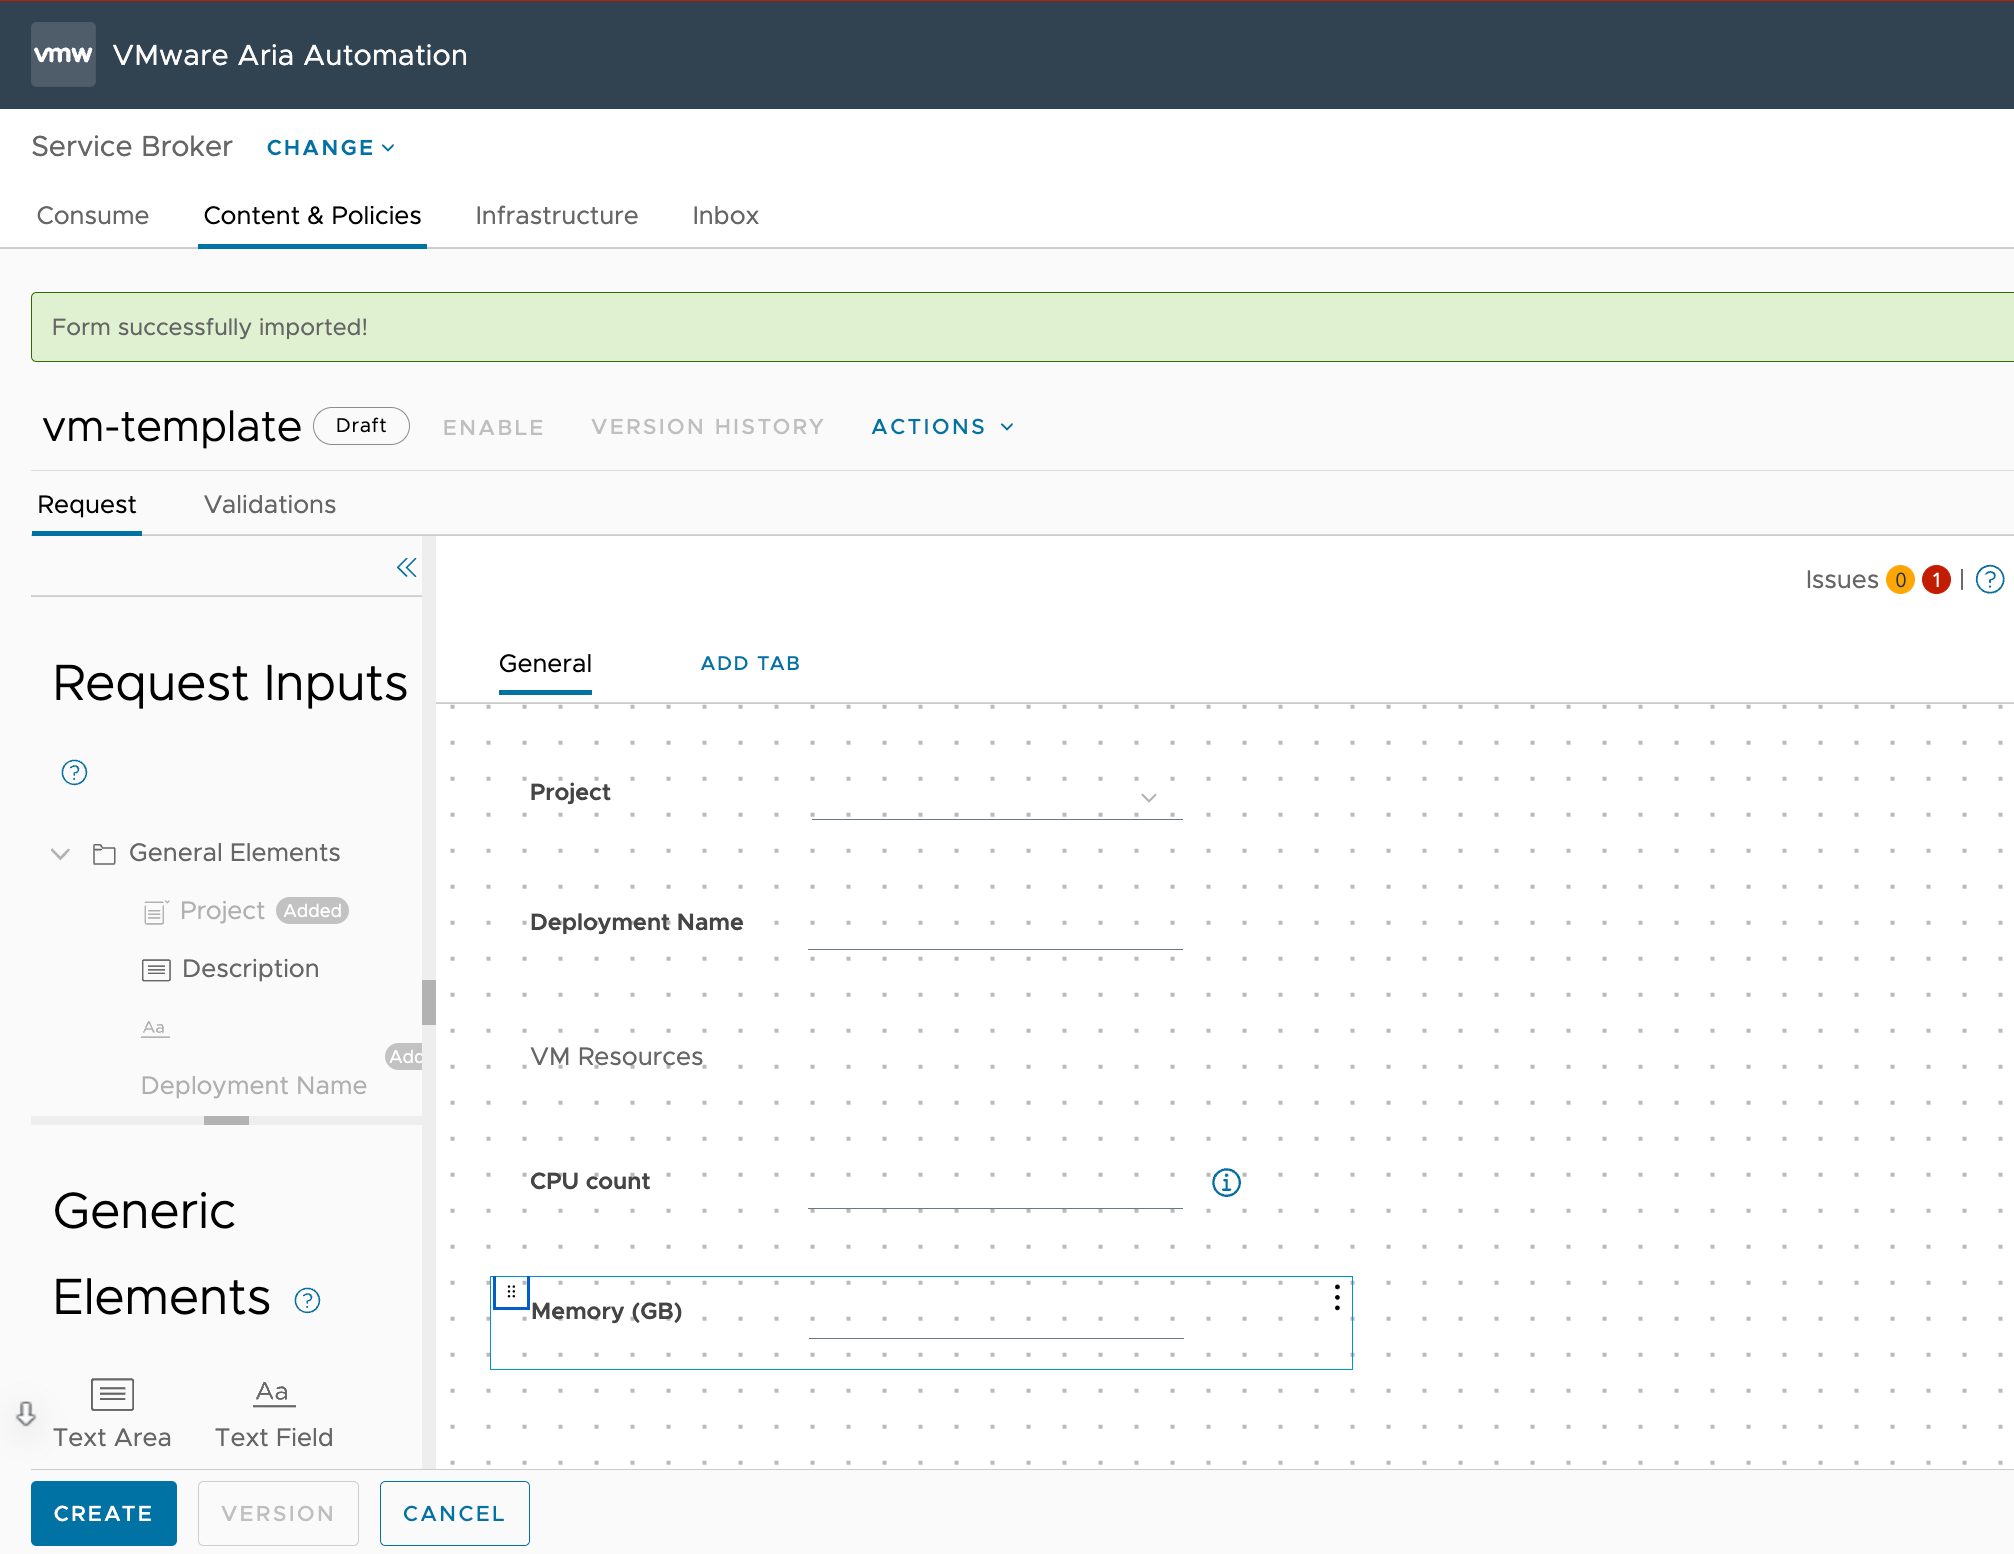
Now, to make sure we have the correct fields let's delete them and re-add them from the Request Inputs menu
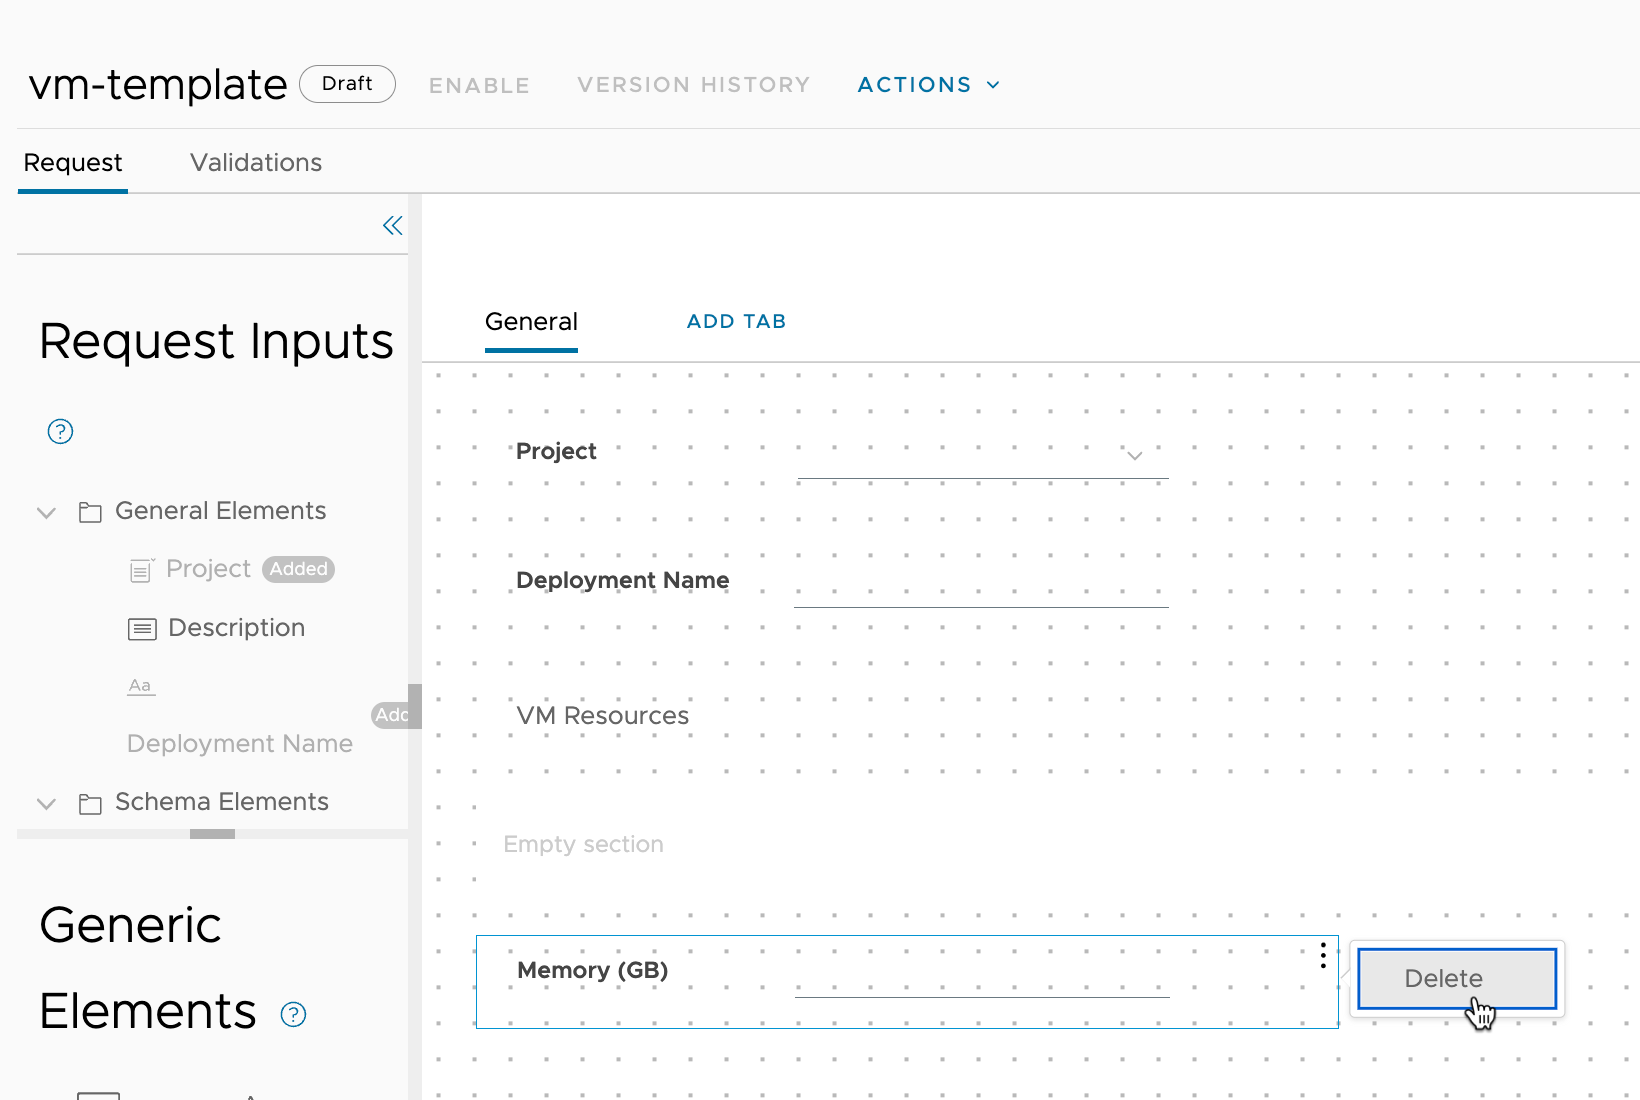
And add the missing input fields
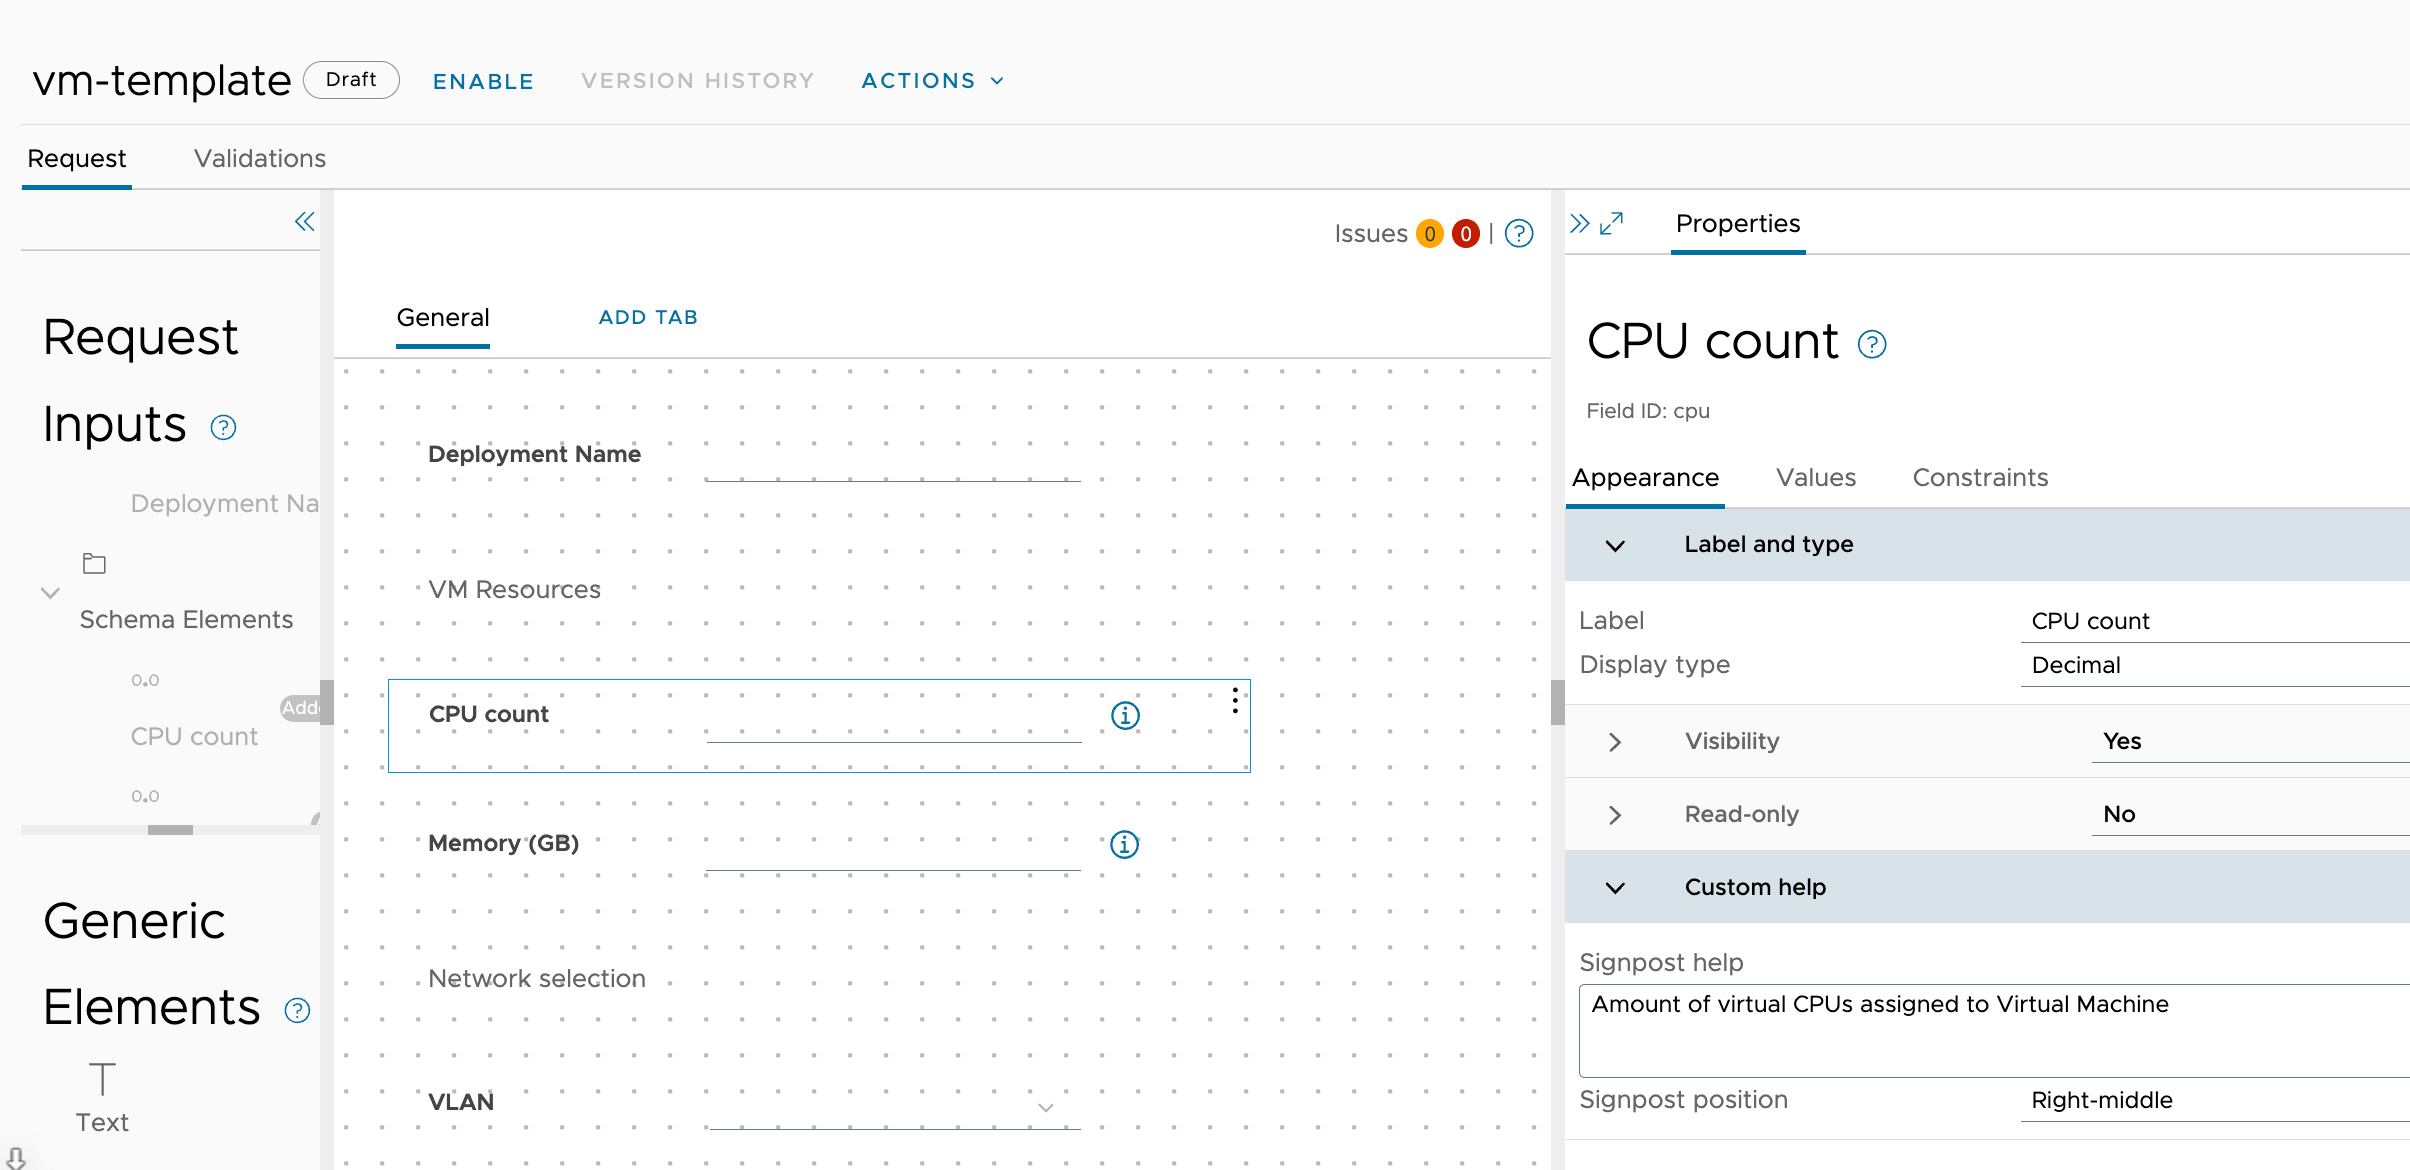
Note that since we added Descriptions to the inputs in the Cloud Template our Custom Help gets added as well
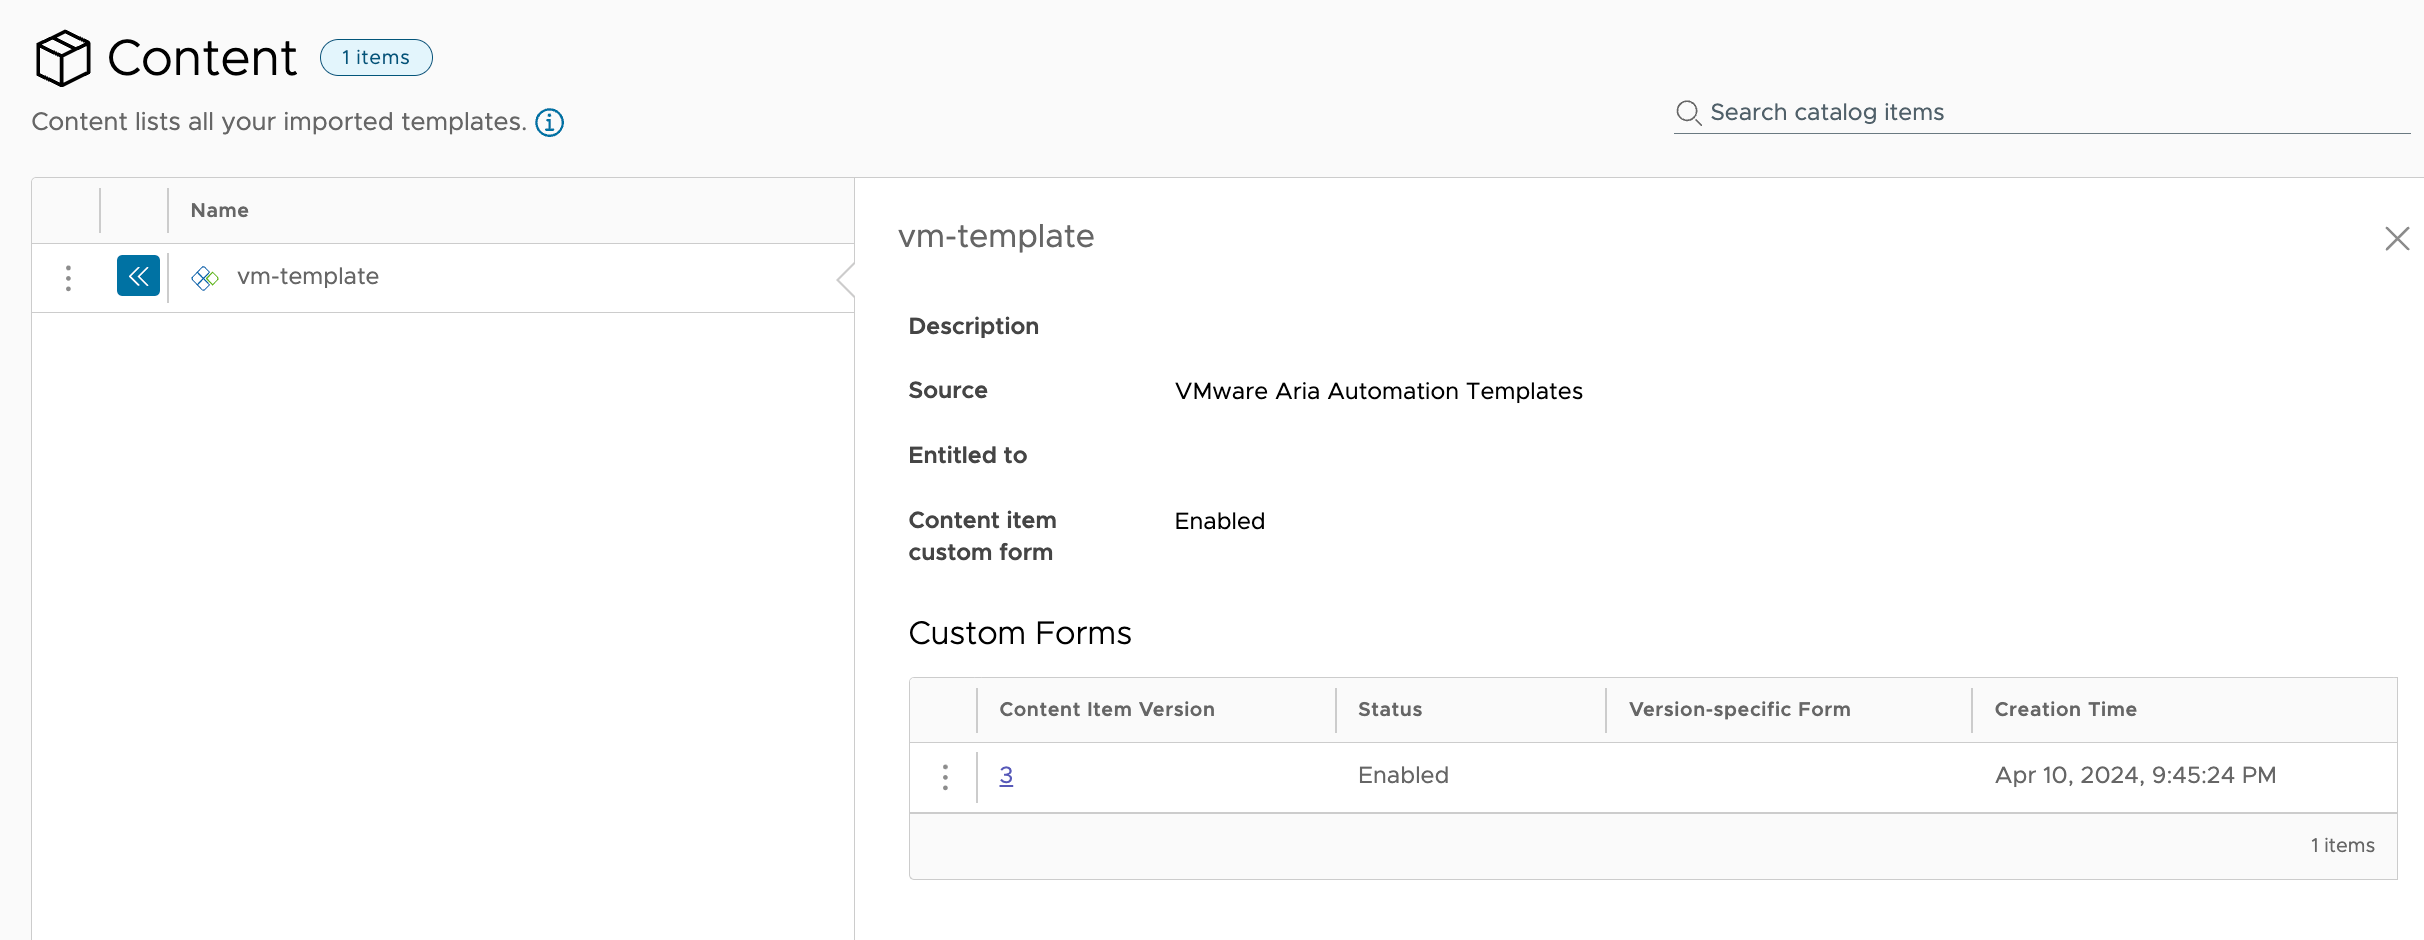
Now we can enable and save this Custom Form and verify it from the Content
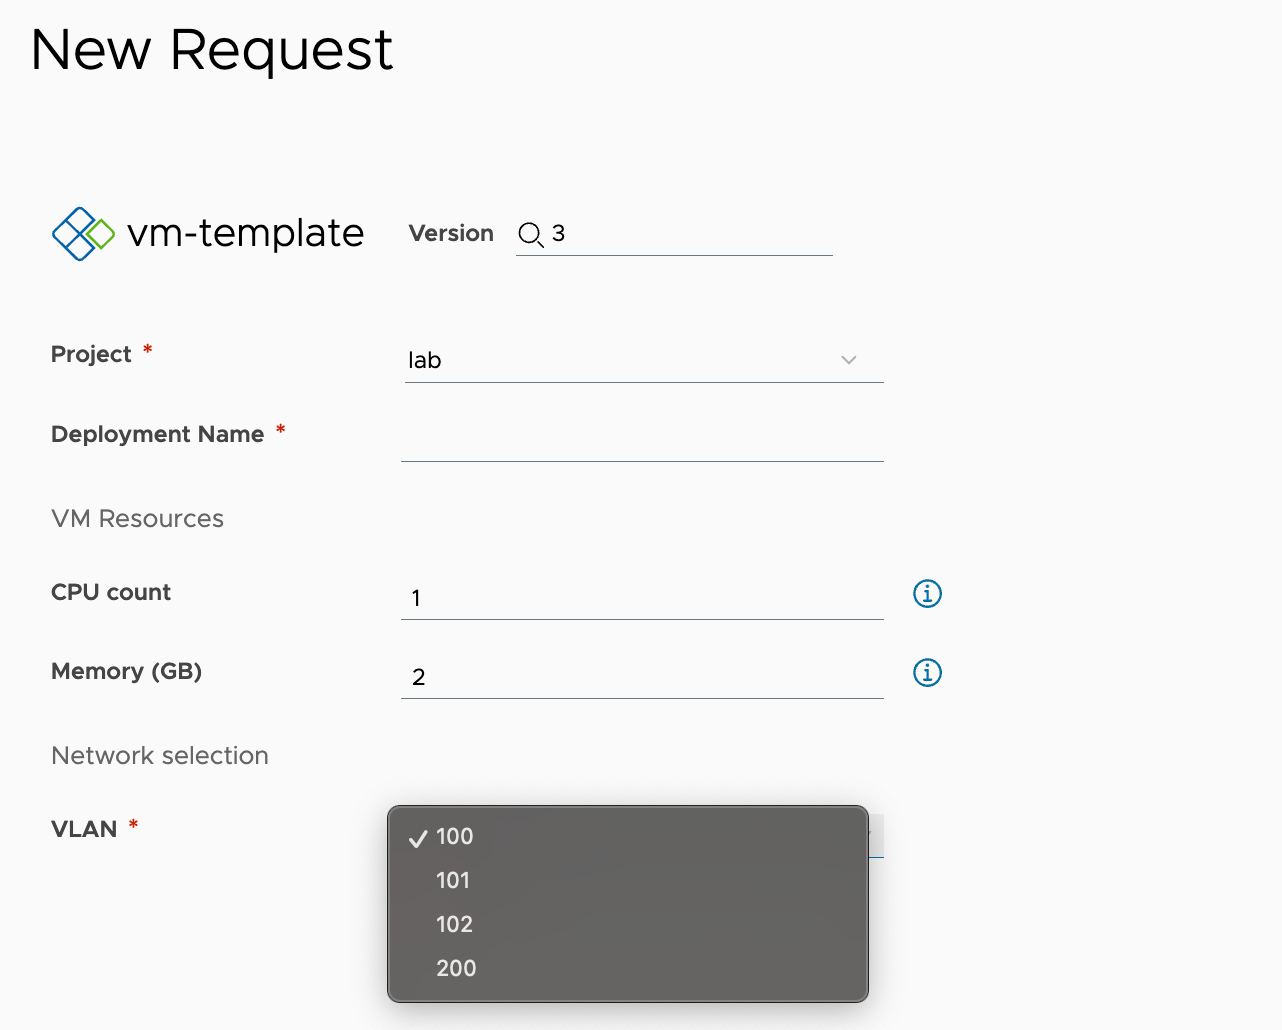
And we can take a look at our Catalog Form
Summary
As we've seen there's still quite a few steps involved when working with Custom Forms. I think it's a good thing that they're now tied to a Template Version as this allows us to actually have multiple versions available at the same time whereas previously that was difficult as the Custom Form was shared between the versions.
I would also stress that you take copies of your Custom Forms (and Templates) as they can give you a quick roll back if you've mistakenly unreleased all previous Template versions before creating the new Custom Form. Trust me, I've done this in a real environment and having that backup to import would have saved some time..
For more information about adding Aria Automation Assembler templates to the Service Broker catalog please refer to the VMware documentation
Thanks for reading and please feel free to reach out if you have any questions or comments